1
INTRODUCTION
The InFocus LP400™ is specifically designed for the mobile pre-
senter. It packs SVGA graphics with 16.7 million colors into a
small, 6.8 pound package. It generates crisp, clear images using
Digital Light Processing™ (DLP) technology. The LP400 is easy to
connect, easy to use, and easy to maintain.
NOTE: The 400 automatically
expands 640x480 images to
800x600. You can display these
images at 640x480 by turning off
the Auto Resize feature. See “Auto
Resize” on page 21 for more infor-
mation.
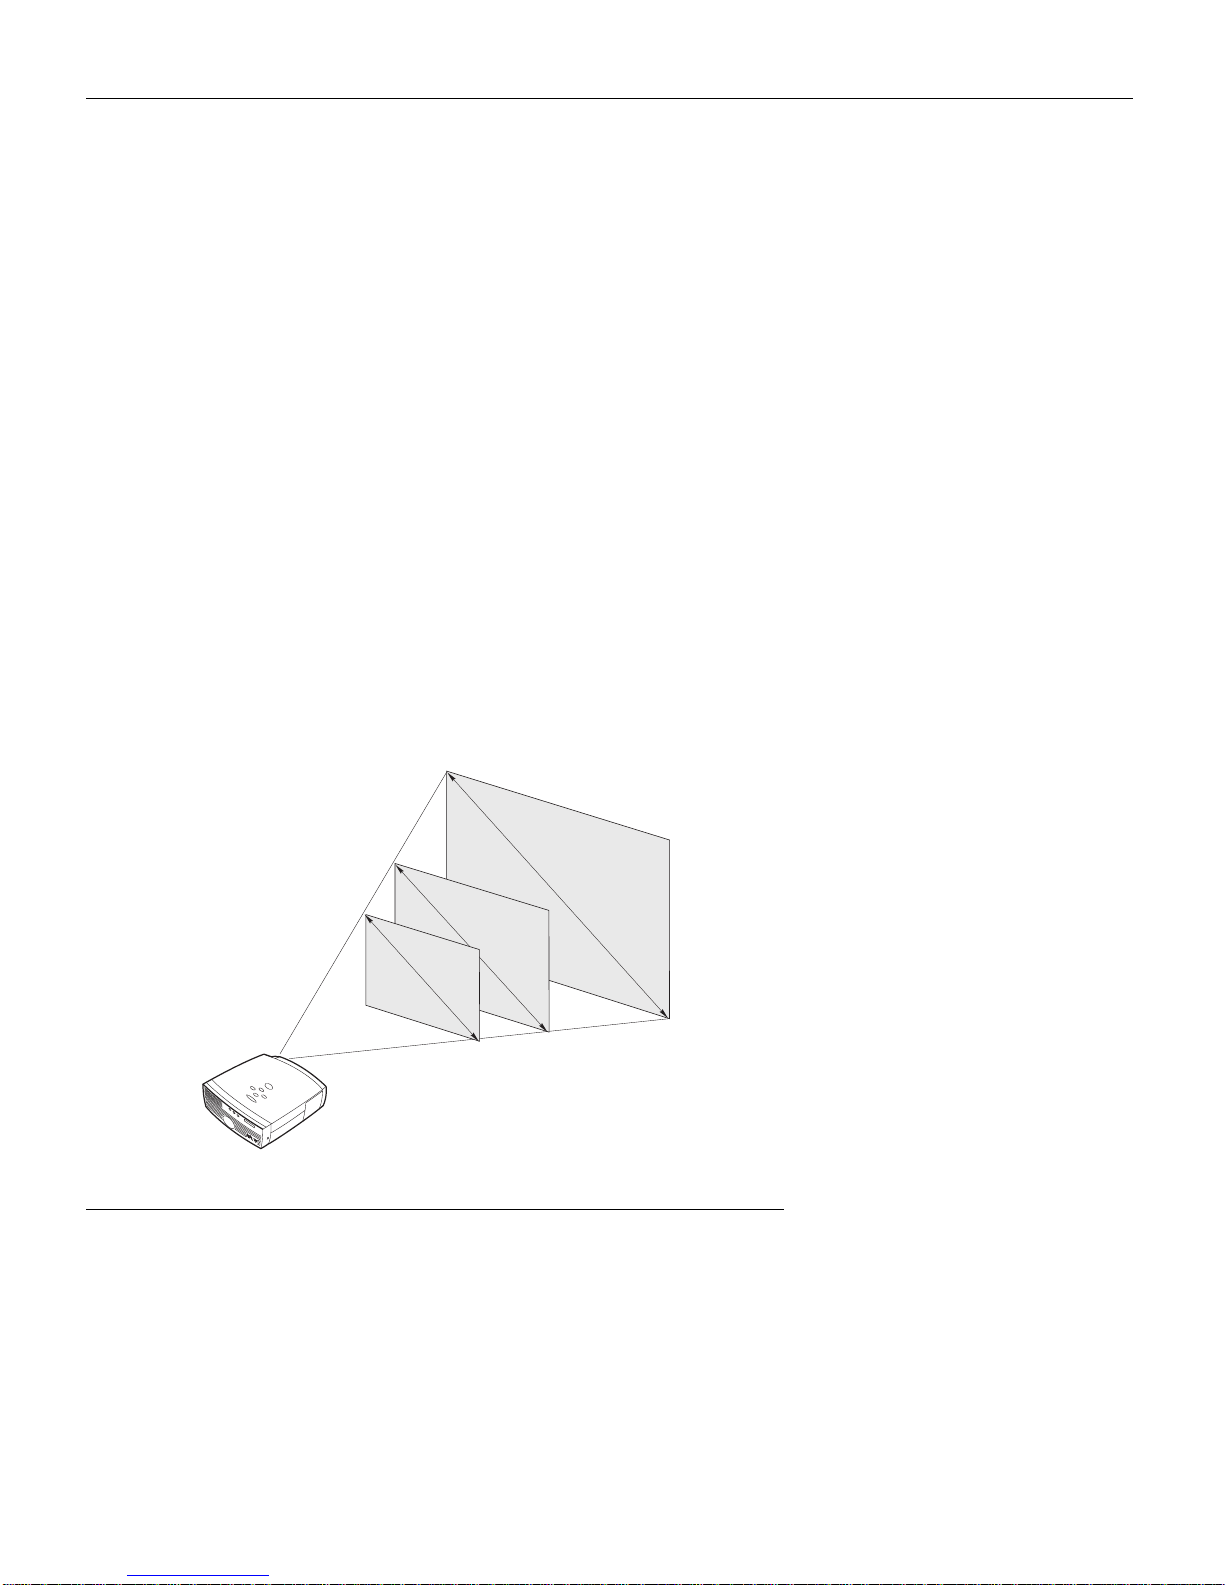
Image Resolution
The SVGA resolution of the 400’s projected image is 800x600.
Screen resolutions between 800x600 and 1024x768 are com-
pressed to 800x600. The 400 cannot compress screen resolutions
above 1024x768. If your computer’s screen resolution is higher
than 1024x768, reset it to a lower resolution before you connect
the projector.
Compatibility
The projector is compatible with a wide variety of computers and
video devices, including:
•IBM-compatible computers, including laptops, up to 1024x768
resolution.
•Apple Macintosh and PowerBook computers up to 1024x768
resolution.
•Most standard VCRs, DVD players, camcorders and laser disc
players.
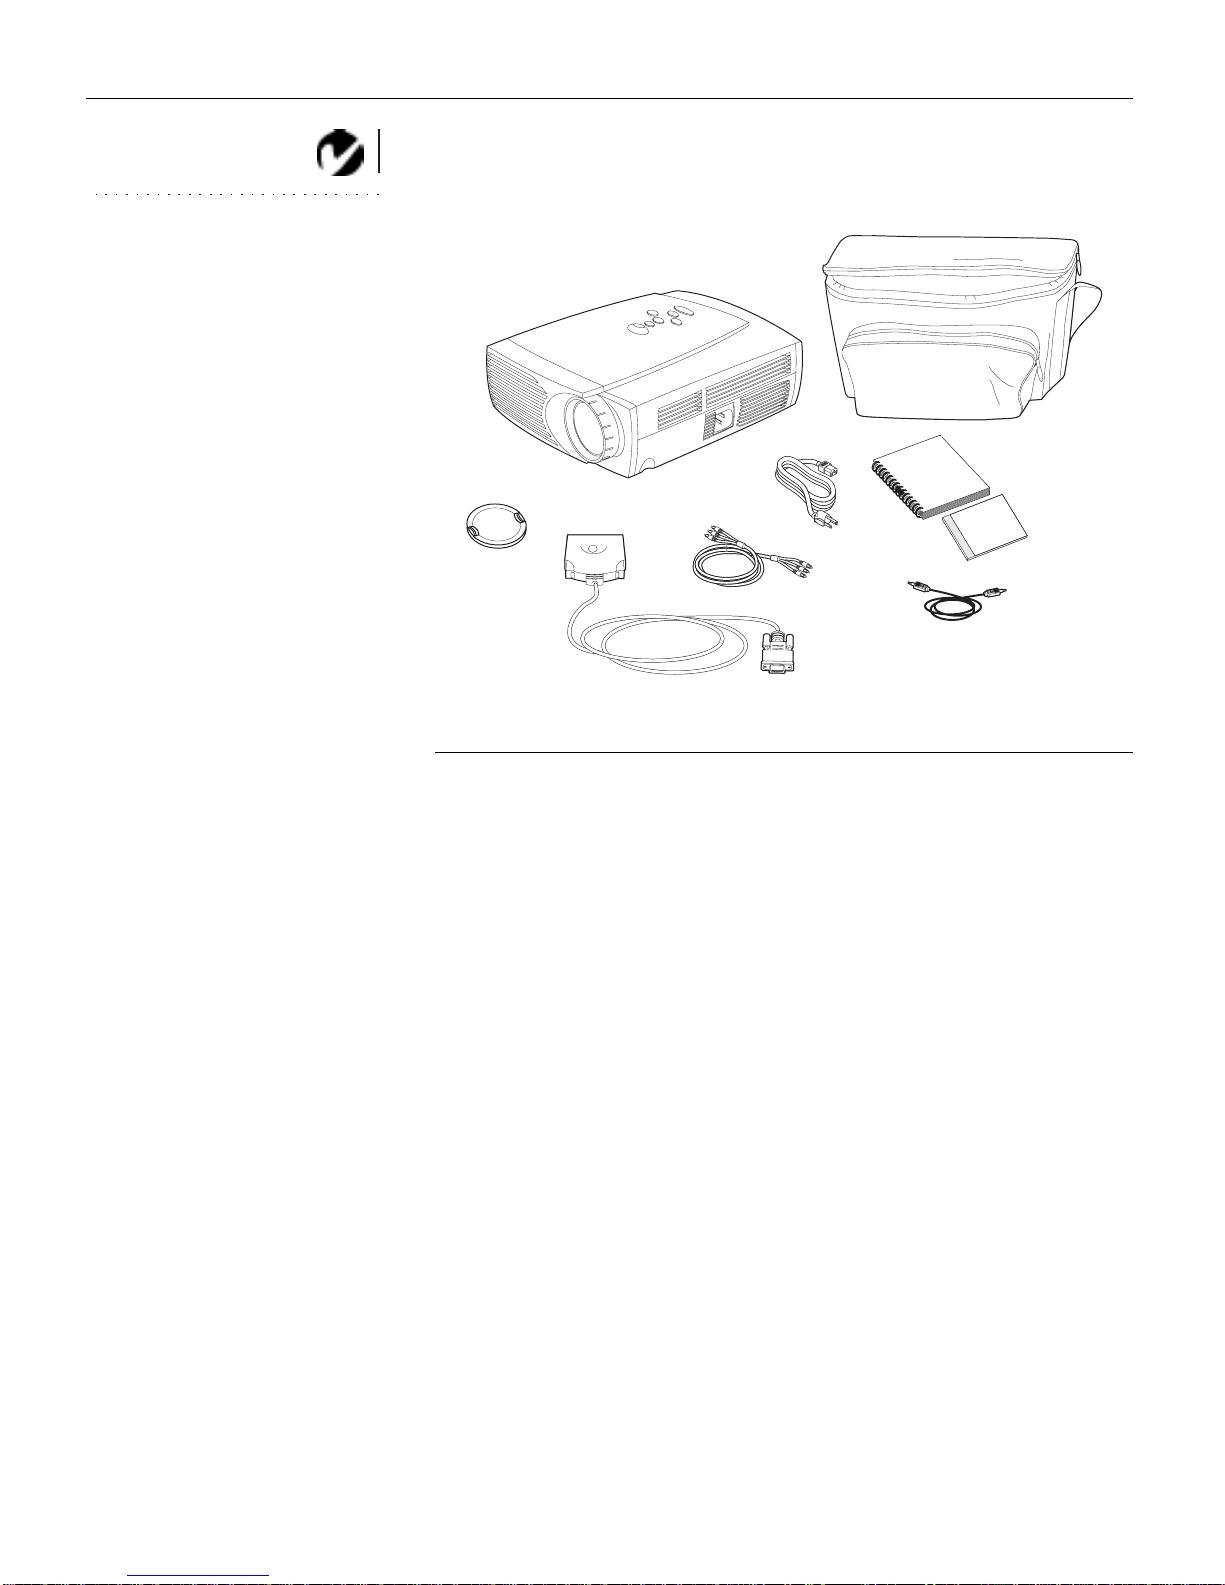
Unpacking the Projector
NOTE: The 400 ships standard
with computer and audio cables. If
you want to control your com-
puter’s mouse from the projector,
you must order the optional
CableWizard and remote.
The projector comes with the items shown in Figure 1. Check to
make sure all are included. Contact your InFocus dealer imme-
diately if anything is missing.
If you are experienced in setting up presentation systems, use the
Quick Start card that was included in the shipping box. For com-
plete details on connecting and operating the projector, refer to
this User’s Guide. User’s Guides are also available for download
from our website at www.infocus.com.