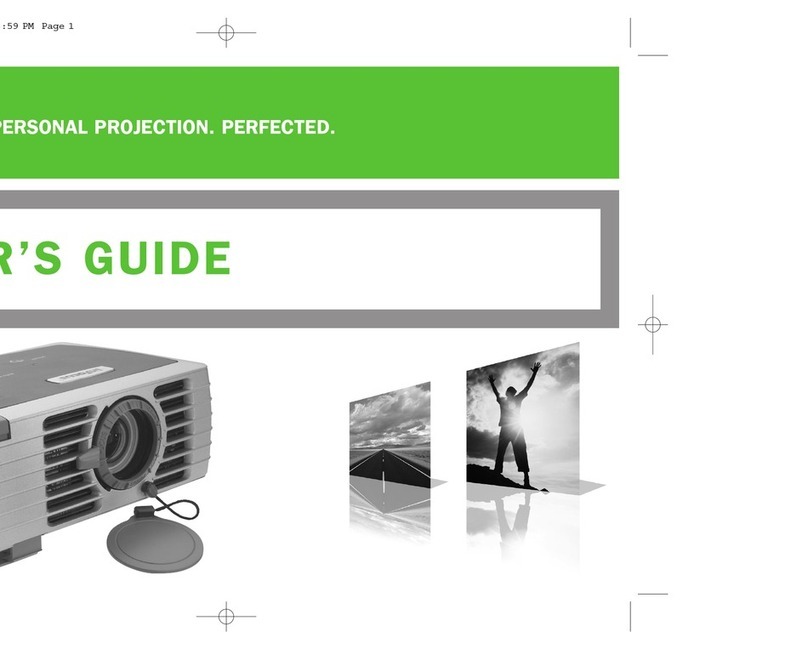
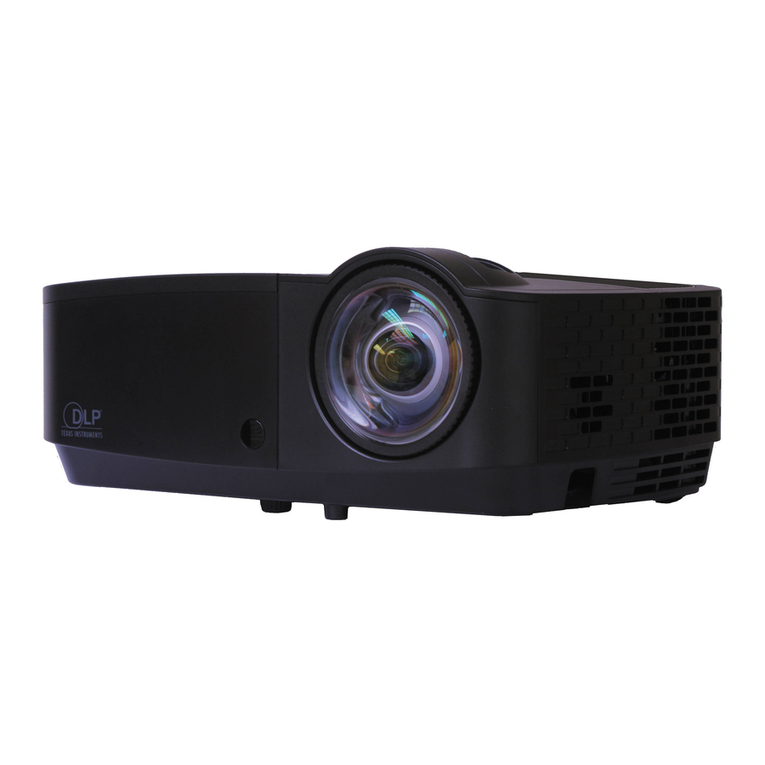
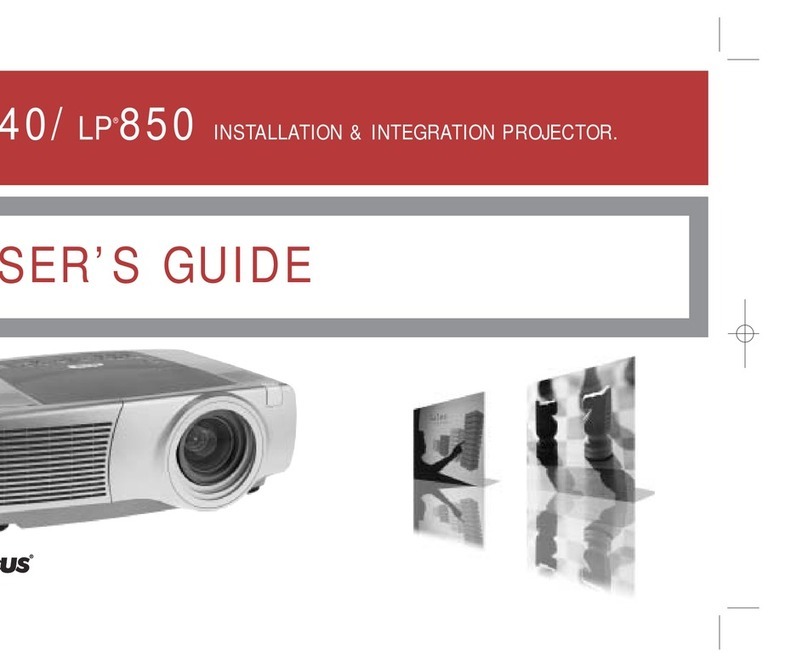
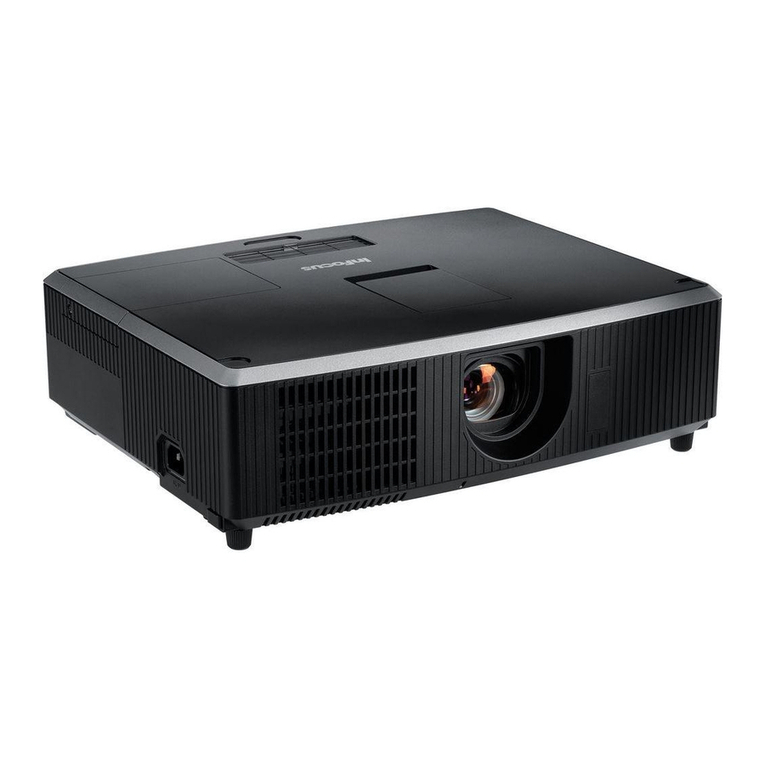
InFocus LP530 User manual

USER’S
GUIDE
5265TitlePage500.530.qxd 6/26/01 3:48 PM Page 1


FCC Warning
!"#"$"#
%#& "
"##$!"
""" !"
#!#
$"""##""'
#!"("'
##$$!#
$)
Canada
"$*+',
"-!#"."/01','
Safety Certifications
2323 45/0&0
EN 55022 Warning
"""#'
$"!(!" '
#""""

Declaration of Conformity
0#6
771+8($9772+
*##6+$(%:%77;;"" /
38%38%,<'
#"#$"6
*0=:9>,,?>**"9,>?:>**
*06*/%%
*/%%@
*/?','
*/?',',
3$5=7,>,>**"9,>?:>**
+#6*/?9%699AAA,A@6997
B
Australian Certification C-tick mark
Trademarks
08$1("("(#
"108+>"("(#
100#8$8$
"("(#0#=38'
"("(# )"
38"("(#

i
TA B L E O F C O N T E N T S
Safety Instructions iii
Introduction 1
"&
"
2(8<
2C %
#D/ %
?
Setting up the Projector 7
" 9
5=
2"
8$8< @
##8< :
Using the Projector 19
1"<" 9
<8< 9
2&"
2E&"1
2'+0 %
=0 ?
0 :
"0 9
0"0 ,
0 ,,
0 ,@
30
+0 ,?
Projector Manager Software 37
+#$ ,7
2+#$ ,:

ii
Ta b l e o f C o n t e n t s
Maintenance & Troubleshooting 45
3 @%
&8<3" @%
8<3"+ @:
&1&" @9
2+3( @9
%
Appendix 55
+# %%
%?
83 %:
250$8$1(" ?,
8<"+F ?@
Index 65

iii
SAFETY INSTRUCTIONS
8#$#1*&*
$<"$#'
"#(<
"""!"8
#
Safety Definitions:
GWarning:+"#
<
GCaution:+"#
"!"
Safety Symbols:
Attention:#"##
#2HC
Warning:I#=
$"<
Safety Terms:
GWarning:=H($"
GWarning: "##<
$ $,
"#"$
2HC
GWarning:8$
$$#
JK"
GWarning: &#!#+'
$<$$+#'
$# +#"
GCaution:=H(

iv
Safety Instructions
GCaution:=H!<+!"
"<
GCaution:=H<#
GCaution:=< <
'L %?##
Important Operating Considerations
=<#
"((#'
##<'
"
Technical Support
#H +'
1-800-799-9911+#$?"
?"8+ 0+
/"#$(##
':::'%9'?:
'" techsupport@infocus.com
* /(31) 20 579-2820
+(65) 6353-9449
'"techsupport@infocus.com
http://www.infocus.com.
Do not place objects in
this area in front of the projector
2ft(.6m)

1
INTRODUCTION
M38%N38%,N""<
##"
"=38NJ=38K
" 38%+5C:)?
38%,;C@)7?: ##
$)$L#"
H
NOTE: The LP500 automatically
expands 640x480 images to
800x600. You can display these
images at their native resolutions
by turning off the Auto Resize fea-
ture. See “Resize” on page 29 for
more information.
Image Resolution
LP500
+5C#38%H<":)?
<"$
:)@#"H
:)@$#
<
LP530
;C#38%,H<"@)7?:
<"$
:)@#"H
:)@$#
<
NOTE: The LP530 automatically
expands 640x480 and 800x600
images to 1024x768. You can dis-
play these images at their native
resolutions by turning off the Auto
Resize feature. See “Resize” on
page 29 for more information.

2
Introduction
Compatibility
<"$$#"
6
G10'"":)@
GM0M8$1(M"
:)@
NOTE: The projector is
compatible with 1080i and 720P
HDTV formats.
G05&=5=I= 5"'
Unpacking the Projector
<"$"$(
"(Contact your InFocus dealer imme-
diately if anything is missing.
#)"
$)"'
<#
2HC2HC#$
#"$$$$#"
)&
"###"
$$$#">>'
$"$#"'

3
FIGURE 1
Shipping box contents
1. Projector + lens cap 6. Computer cable
2. Soft carry case 7. Audio cable adapter
3. User’s Guide, quick start
card and User Guide CD
8. Audio cable
4. Power cord 9. Composite video cable
5. Remote control
data
video
keystone
forward
back
menu/select
12
3
4
5
6
78
9

4
Introduction
FIGURE 2
Front view of projector
FIGURE 3
Back view of projector
focus ring
zoom ring
power
cord
connector
height adjustment
button
connector panel
keypad

5
Usage Guidelines
G=(<$"
""
G=(<&#$
###"
$"#"(
GI<$$
"1#
G<)"
#)#"#$
""#
G<'#
8"# %?
If You Need Assistance
#(#"1(
O P %(
++#$
http://www.infocus.com/service. DH# 3
Q'"
#"
NOTE: For general product infor-
mation, please call
1-800-294-6400.
#H$!
D +
1-800-799-9911$?"?"8+ 0
+/"#
$(##':::'%9'?:
* /(31) 20 579-2820
+(65) 6353-9449
'"techsupport@infocus.com
http://www.infocus.com.

6
Introduction
Warranty
("$'$
#$(#"
"$#"
&# %7#"
<#""
("'
#("(#=
<#8
"##

7
SETTING UP THE PROJECTOR
18<##
G<"$#J,"K#$
$?#J:"K#"
G#$<#"
<+O&8<P
,@"
G#<#
"$0E#
"#" "$
O8<P ,@ 0E
OP %?
28<#"
NOTE: The projector must be at
least 5.6 feet (1.7 m) from the
projection screen.
G#"#<
F""F#<"
@$<"F"#'
""FO8<"+FP
?@
FIGURE 4
Projected image size at minimum zoom
30(<"
##
5.0ft.
11.8ft.
7.1ft.
8.5 ft12 ft.
20 ft.

8
Setting up the Projector
NOTE: Before you continue,
make sure the projector is
unplugged and your equipment is
turned off. If you’re connecting a
computer, make sure the distance
between it and the projector is 6
feet or less.
FIGURE 5
Connector panel
NOTE: The enhanced connectivity
module is an optional accessory
that provides RS-232, component
video, VESA computer, M1
computer, and monitor loop
through capabilities. See “Optional
Accessories” on page 56 for
ordering information.
FIGURE 6
Connector panel on optional enhanced connectivity module
FIGURE 7
Computer cable
S-video composite
video
Audio in
computer
S-video
composite
video
wired remote
computer 1-M1
computer 2-VESA
component
video
monitor
RS-232
audio in
(for all video sources)
computer
audio in
computer
audio in
to computer video
to projector
to computer
to USB mouse

9
Connecting a Computer
<$"#"'
"'
2!
"+OP
%?
18#"$
8 <
NOTE: Many laptop computers
do not automatically turn on their
external video port when a sec-
ondary display device such as a
projector is connected. Refer to
your computer manual for the
command that activates the exter-
nal video port. Activation com-
mands for some laptop computers
are listed in the Appendix of this
manual on page 58 and in the
Service section of our website.
28#"'
"
FIGURE 8
Connecting the projector to a computer
Do you want to advance slides in a PowerPointpresentation using
the projector’s remote?
NOTE: The USB functionality is
supported for use with
Windows 98, Windows ME,
Windows 2000, and Apple OS 8.5
and higher only.
182+12+1"
" 2+1#"
2+1+ ?#
Do you want to play your computer’s audio on the projector?
18#
"
NOTE: You do not need to restart
your computer after connecting a
USB mouse to use it (it is hot-plug-
gable).
28#'
<
/$H$<
+(O8$8<P @
computer cable
USB mouse

10
Setting up the Projector
Connecting a Video Device
1#'"
H
"$<
NOTE: HDTV sources are
connected to the projector using
the computer cable. See the
previous pages for details.
G##'+''
H+'
+''
J+OP %?K
28"H$
O'PJ9K
"O 0P
G#H+'O+'
PJK
38$"'
<
G#H+'#
O+'P <JK
FIGURE 9
Connecting the projector to a video player using the standard video cable (with com-
posite video connector) and the audio cable and adapter
composite video
audio cable
audio
adapter
cable

11
FIGURE 10
Connecting the projector to a video player using an S-video cable and the audio cable
and adapter
NOTE: The audio adapter is pro-
vided so that the same audio cable
used to connect a computer can
be used with the adapter to con-
nect a video device.
48H$#O
P8H
OP
J9K
58H
68OP'
<
CAUTION: Your video player
may also have a “Video Out” con-
nector for a coaxial cable connec-
tion. DO NOT use this to connect
to the projector.
<"$"<
6/ +/ +@@,8383'083'/83'?
+*0"<"F#"#
"
audio cable
S-video
audio
adapter cable

12
Setting up the Projector
Using the optional enhanced connectivity module
NOTE: If you have turned Auto
Source off (page 33), you may
need to press the source button on
the keypad more than once to
display an active source. The
sources switch in this order:
PC 1-Analog, PC 1-Digital,
PC 2-VESA, Video 3-Component,
Video 1 S-Video, and Video 2-
Composite.
"<<H"'
+"
(#<"
< ""$)
##"
"##
FIGURE 11
Connecting the optional connectivity module to the projector
FIGURE 12
Connector panel on optional enhanced connectivity module
S-video
composite
video
wired remote
computer 1-M1
computer 2-VESA
component
video
monitor
RS-232
audio in
(for all video sources)
computer
audio in
computer
audio in
This manual suits for next models
1
Table of contents
Other InFocus Projector manuals

InFocus
InFocus IN24 User manual

InFocus
InFocus IN226ST User manual

InFocus
InFocus IN74 User manual

InFocus
InFocus in114ST User manual

InFocus
InFocus LS700 User manual

InFocus
InFocus IN5302 User manual

InFocus
InFocus IN5132 User manual

InFocus
InFocus IN126x User manual

InFocus
InFocus 900 Series User manual

InFocus
InFocus LP720 Guide

InFocus
InFocus IN1116 User manual

InFocus
InFocus X1a User manual

InFocus
InFocus Play Big IN1 User manual

InFocus
InFocus X3 User manual
InFocus
InFocus X1 User manual

InFocus
InFocus in1144 User manual

InFocus
InFocus Quantum Laser Core Series User manual

InFocus
InFocus IN1110 User manual

InFocus
InFocus LP630 User manual

InFocus
InFocus LP500 User manual