Intares THROAT User manual

1

Contents 2
Contents
Introducing Throat 3
Quick Start 5
Try Out a Few Presets 5
Choose the Audio Input Settings for Your Track 5
Adjust the Throat Dimensions 5
Try Out a Different Glottal Model 5
Shift the Pitch 5
Add Breathiness 5
Adjust the Gain 6
Controls 6
Audio Input Settings 6
Vocal Range 6
Source Glottal Voice Type 6
Source Throat Precision 7
Pitch Controls 7
Pitch 7
Breathiness Controls 8
Breathiness High Pass Frequency 8
Breathiness Mix 8
Model Glottal Controls 9
Model Glottal Voice Type 9
Glottal Pulse Width 10
Model Throat Controls 10
Throat Length 10
Throat Width 11
Graphic Throat Display 11
Throat Shaping Reset 12
Output Controls 13
Output Gain and Level Meter 13
Level Matching 13
Bypass 13

Contents 3
Introducing Throat
Throat lets you process your vocals through a meticulously crafted physical model of
the human vocal tract, so you can literally design your own vocal sound.
It begins by neutralizing the effect of the original singer’s vocal tract and then lets you
specify the characteristics of the modeled vocal tract, giving you individual control over
each of the elements that go into creating a distinct vocal character.
The Model Throat Controls let you stretch, shorten, widen or constrict the overall
dimensions of the modeled vocal tract.
For more detailed control, the Graphic Throat Shaping Display lets you individually
adjust the position and width of five points in the vocal tract model, from the vocal
cords, through the throat, mouth, and lips.

Contents 4
The Breathiness Controls let you add variable frequency noise to the model, for a wide
range of vocal effects from subtle breathiness, to raspiness, to a full whisper.
The Model Glottal Controls let you specify the character and intensity of the glottal
waveform produced by the vocal cords.
With the Pitch control, you can shift the pitch of your vocal up or down a full octave in
semitone intervals, with automatic formant correction.
Whether you want to subtly enhance the quality of an existing voice, or create
dramatically unique vocal effects, Throat gives you an unprecedented amount of control
over the human voice.

Contents 5
Quick Start
Follow these steps to get started with Throat:
Try Out a Few Presets
Throat comes with a large collection of factory presets designed to help you get up and
running. Start by trying out a few presets to get an idea of the range of creative effects
you can achieve with Throat.
Choose the Audio Input Settings for Your Track
Optimize Throat’s pitch tracking and throat modeling algorithms by choosing the correct
Audio Input Settings for your track.
Choose the Vocal Range setting that best describes the pitch range of your vocals.
Select the Source Glottal Voice Type setting that best describes the intensity level of
your vocals. Choose the Source Throat Precision that best describes how extreme the
changes are that you’d like to make to your vocals (Subtle, Medium, or Extreme).
Adjust the Throat Dimensions
Adjust the Throat Length and Throat Width controls to set the overall dimensions of the
modeled vocal tract. Try moving the control points in the Graphic Throat Display and
listen to the effect that it has on your vocal. For more realistic modeling start with small
adjustments, but for more extreme effects feel free to drag them wherever you’d like.
Try Out a Different Glottal Model
Try different settings for Model Glottal Controls to adjust the character and intensity of
the glottal waveform from the modeled vocal cords.
Shift the Pitch
Try using the Pitch control to shift the pitch of your vocal up to an octave up or down.
Add Breathiness
Experiment with the Breathiness Controls to add a whispery or breathy effect to your
vocals.

Contents 6
Adjust the Gain
Keep an eye on the Level Meter, and adjust the Output Gain as needed to maintain
appropriate levels and avoid clipping. Or turn on Level Matching to automatically match
the output level to the input level.
Controls
Audio Input Settings
The Audio Input Settings help to optimize Throat’s performance by
letting you specify the characteristics of your source audio and the type
of modeling you’d like to do.
Vocal Range
The Vocal Range menu lets you select the pitch range of your track,
to optimize the pitch tracking and throat modeling algorithms.
Choose the setting that best describes the pitch range of your vocals.
Options include Soprano, Alto/Tenor, Bass/Baritone and Instrument.
Source Glottal Voice Type
The glottal waveform is the waveform produced by the vibration of the
vocal cords. It’s determined in part by the anatomy of the singer’s vocal
tract, but also varies based on loudness or intensity of singing.

Contents 7
The Source Glottal Voice Type menu lets you specify the intensity level of the vocal
performance that you’re processing.
This allows Throat to neutralize the glottal waveform of the source audio so that you
can specify a new glottal waveform using the Model Glottal Voice Type menu.
Choose the setting (soft, medium, loud, intense) that best describes your vocal track.
Source Throat Precision
The Source Throat Precision menu lets you optimize the throat
modeling algorithm by specifying how extreme the changes are that
you’d like to make to your vocals (Subtle, Medium, or Extreme).
For smaller and more realistic throat adjustments, you can leave this control set to
Subtle.
For larger adjustments to the throat model, or if you encounter undesired artifacts such
as whistling, choose the Medium or Extreme setting from the Source Throat Precision
menu.
Pitch Controls
Pitch
The Pitch control lets you shift the pitch of the input voice up or down by
semitones. The range is from -12 (one octave down) to 12 (one octave up).
The Pitch control includes automatic formant correction to preserve the
resonant characteristics of the original voice when pitch shifting, but you
can also adjust the vocal quality using the Throat Length and Throat Width
controls.
Contents 8
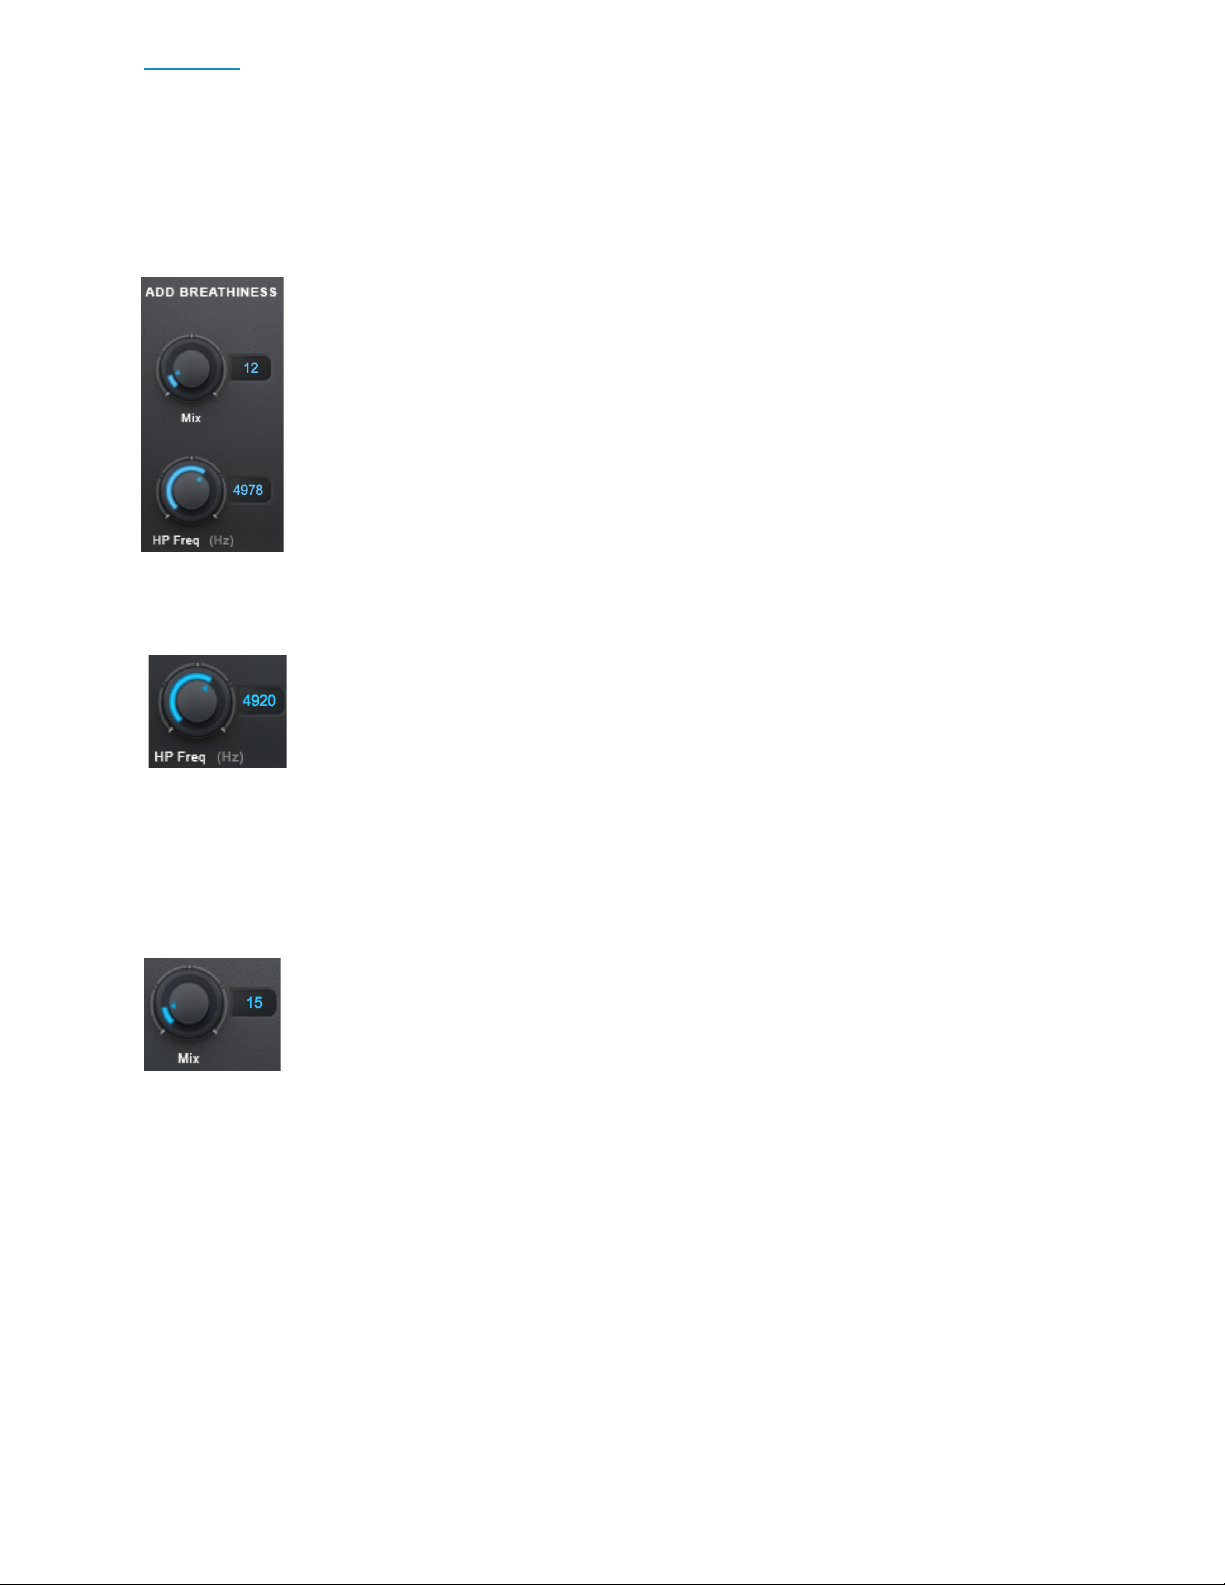
Breathiness Controls
The Breathiness Controls let you add variable frequency noise to the
model, for a wide range of vocal effects from subtle breathiness, to
raspiness, to a full whisper.
Breathiness High Pass Frequency
The Breathiness High Pass Frequency control lets you set the frequency
above which breathiness will be added to your vocal
This determines the frequency range and character of the breathiness
effect. The effect tends to be more whispery at higher settings, and more raspy at lower
settings.
Breathiness Mix
The Breathiness Mix control lets you select the amount of breathiness
component to mix into your modeled voice.

Contents 9
Model Glottal Controls
The glottal waveform is the waveform produced by the vibration of the
vocal cords. It’s determined in part by the anatomy of the singer’s
vocal tract, but also varies based on loudness or intensity of singing.
While the Source Glottal Voice Type setting is used to help Throat
neutralize the effect of the original vocal’s glottal waveform, the Model
Glottal Controls let you apply a new glottal waveform.
Model Glottal Voice Type
The Model Glottal Voice Type control lets you specify the glottal
intensity level (soft, medium, loud, intense) that you would like to
apply to your track.
For best results, be sure to also set the Source Model Glottal Voice Type control to the
setting that best describes the input audio. If you’d like to preserve the glottal waveform
of the original vocal, set the Source and Model Glottal Voice type controls to the same
setting.
Each of the Model Glottal Voice Type settings sets a default Glottal Pulse Width that is
associated with it. Once a Voice Type is set, the pulse width can then be adjusted
separately.
Note: Despite the setting names (soft, loud, etc.), the purpose of this control is not to
change the level of the signal, but to model the glottal waveform that would result from
the various styles of singing. That said, the settings can result in changes to gain, which
you can adjust for using the Output Gain control or Level Matching button.
Contents 10
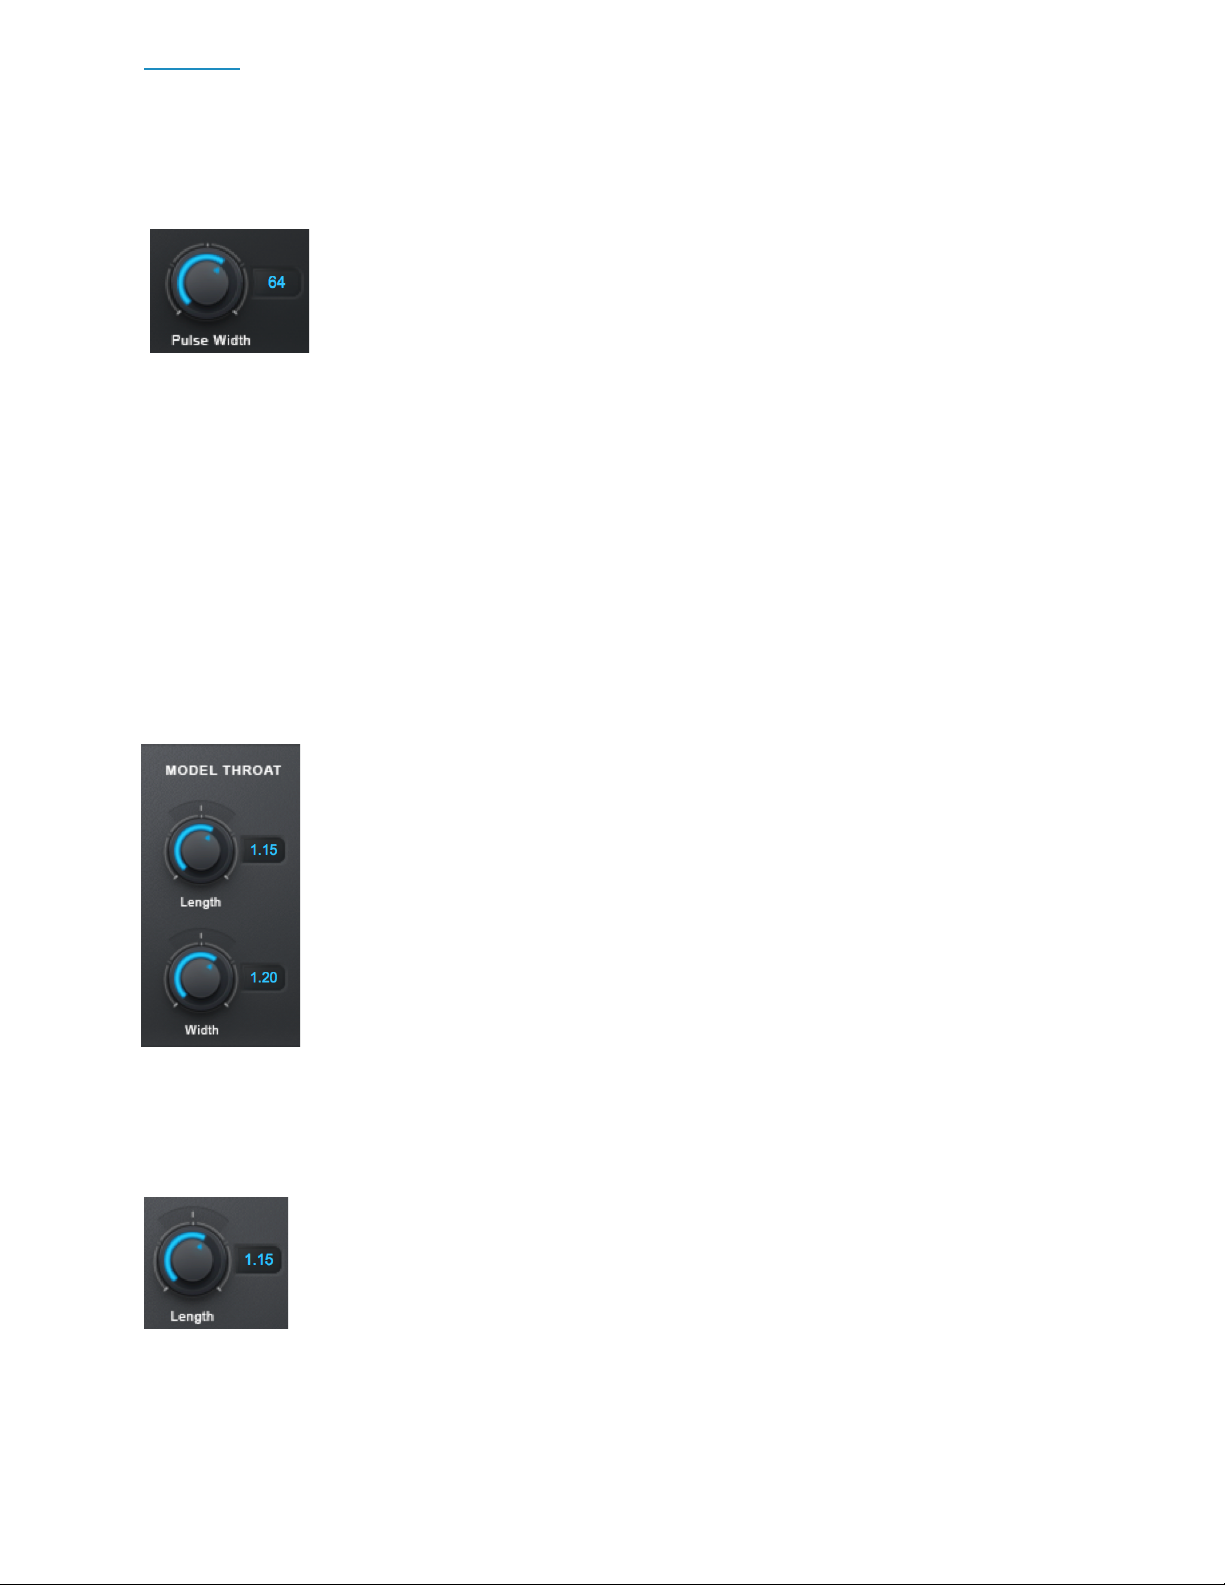
Glottal Pulse Width
The Glottal Pulse Width control lets you select the pulse width of the
modeled glottal waveform.
Each setting for the Model Glottal Voice Type menu sets its own
default value for the Glottal Pulse Width control.
After choosing a Model Glottal Voice Type setting, experiment with the Pulse Width
control to fine-tune the character of the waveform.
Note: If you’re familiar with analog synthesizers, you can think of this control as similar to
the variable pulse width control on a square wave oscillator.
Model Throat Controls
The Model Throat controls let you adjust the overall length and width of
the modeled throat.
Changes made to these controls will be reflected in the Graphic Throat
Display, and the positions of the throat contour control points will be
scaled to reflect the new throat dimensions.
For more realistic modeling start with small adjustments and keep the
Throat Length and Throat Width settings between about 0.80 and 1.20.
Throat Length
The Throat Length control lets you lengthen or shorten the model throat
to adjust the formant frequencies of the input voice.
Settings greater than 1.00 will lengthen the throat, resulting in lower
formant frequencies. Settings less than 1.00 will shorten the throat,
resulting in higher formant frequencies.

Contents 11
Throat Width
The Throat Width control lets you widen or narrow the model throat to
adjust the formant frequencies of the input voice.
Settings greater than 1.00 will widen the throat, resulting in lower
formant frequencies. Settings less than 1.00 will narrow the throat,
resulting in higher formant frequencies.
Graphic Throat Display
The Graphic Throat Display lets you create a custom model throat shape with 5
movable control points that specify the boundaries of the vocal tract (as illustrated in
the head diagram to the left of the display).
The red line and points represent the
dimensions of the modeled throat, and the
blue line and points represent the original
throat dimensions.
When Throat is processing audio, the display will also show real-time plots of the
original throat in blue, and the modeled throat in red.

Contents 12
Try moving the control points around and listen to the effect that it has on your vocal.
For more realistic modeling start with small adjustments and keep the points inside the
light gray box. For more extreme effects feel free to drag them wherever you’d like.
The left/right axis of the display shows the length of the vocal tract, and the up/down
axis shows the width at any given point, with up representing wider and down
representing narrower.
Point 1 represents the vocal cords. It can be moved up to widen the modeled vocal
cords or down to narrow them. Points 2-5 can be moved left/right to specify the
boundaries and relative length of each segment of the vocal track. They can also be
moved up to widen each segment or down to narrow it.
Note: When the Throat Width control is adjusted, the red line and control points on the
Graphic Display will move up and down in parallel to illustrate a widening or narrowing of
the entire vocal tract. When the Throat Length control is adjusted the spacing of the
control points will scale proportionally to reflect the new throat length.
Throat Shaping Reset
The Throat Shaping Reset button resets the control points on
the Graphic Throat Display to their default relative positions,
without undoing any global scaling applied by the Throat Width and Throat Length
controls.
Contents 13
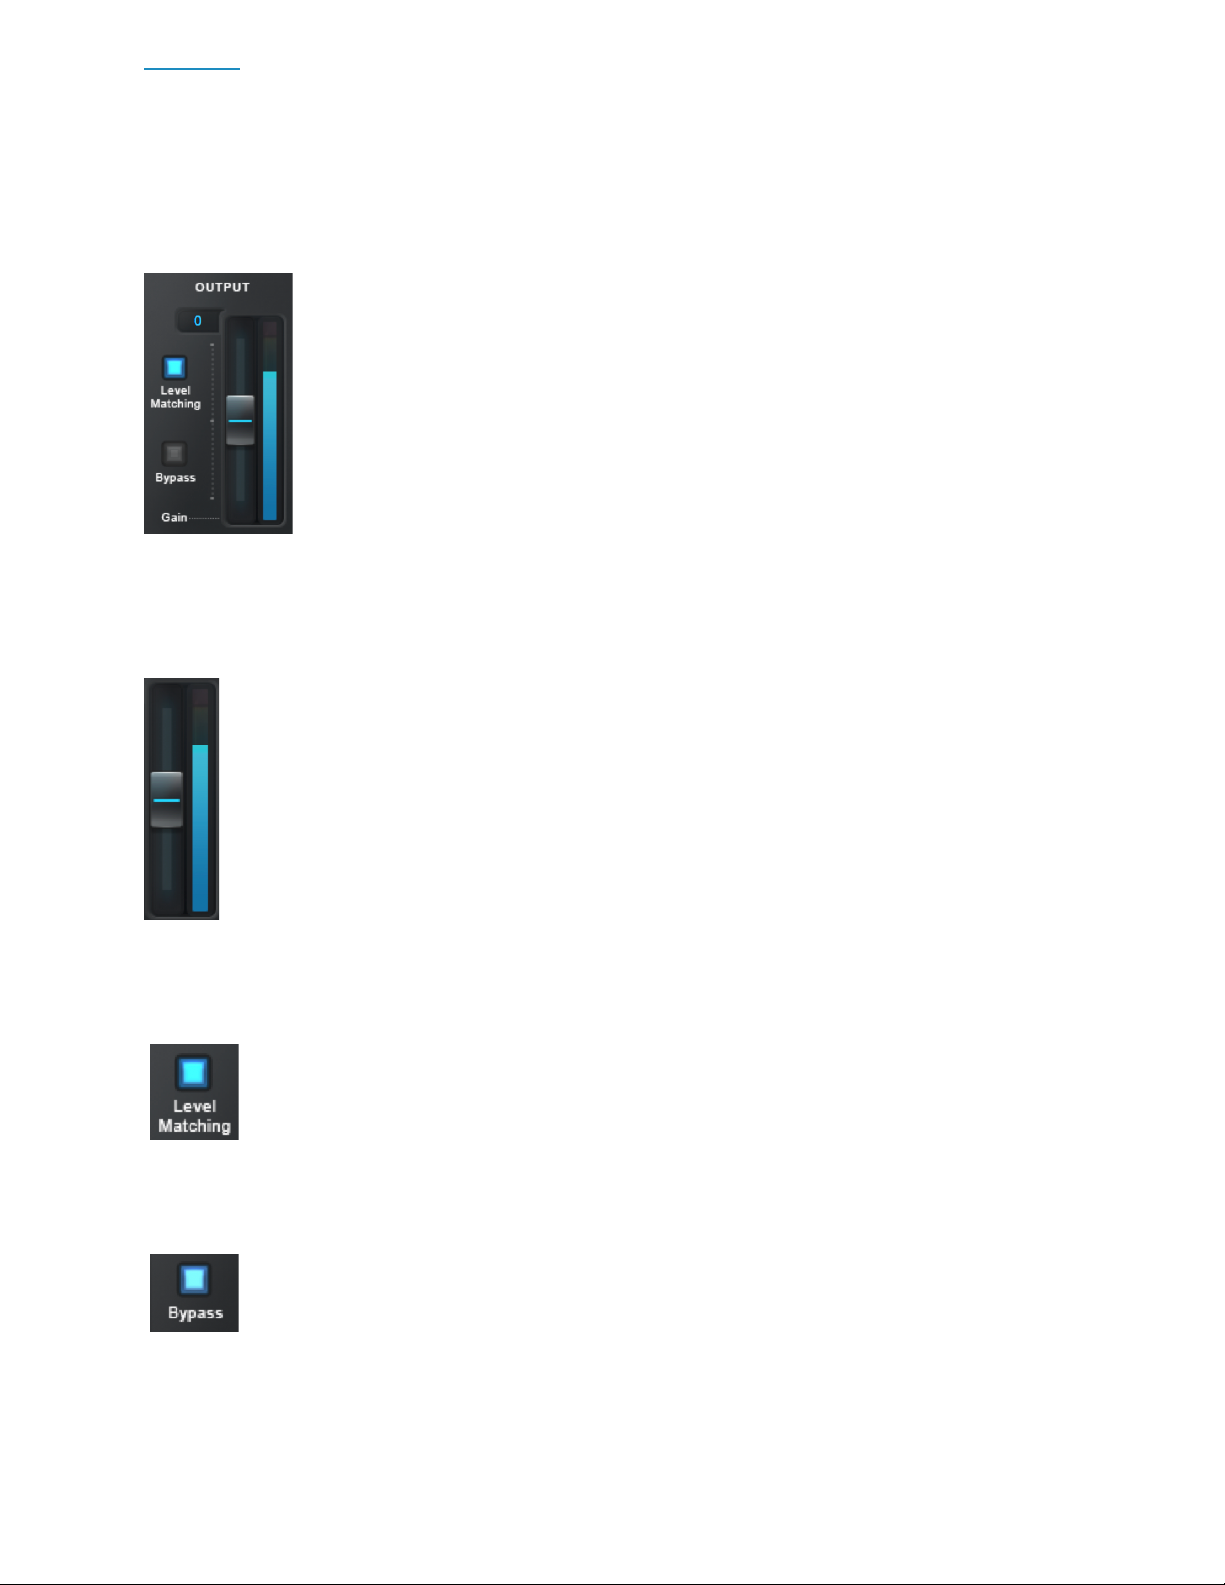
Output Controls
The Output controls let you monitor and adjust the level of Throat’s
output.
Output Gain and Level Meter
The Output Level Meter shows the level of your audio after processing by
Throat. The Output Gain control lets you adjust Throat’s output gain.
Various settings in Throat can result in amplitude changes. You can manually
adjust the Output Gain to make sure that your output is at an appropriate level
without clipping, or turn on Level Matching to automatically match the output
level to the input level.
Level Matching
The Level Matching button compensates for level differences between the
original and processed versions by automatically applying gain adjustments
to the modeled version.
Bypass
The Bypass button lets you bypass Throat and pass your audio through
unprocessed.
Use it to quickly compare the processed and unprocessed audio, or automate it in your
DAW to bring in the modeled throat effect at certain times in your track.
Table of contents


