Intelitek ViewFlex User manual

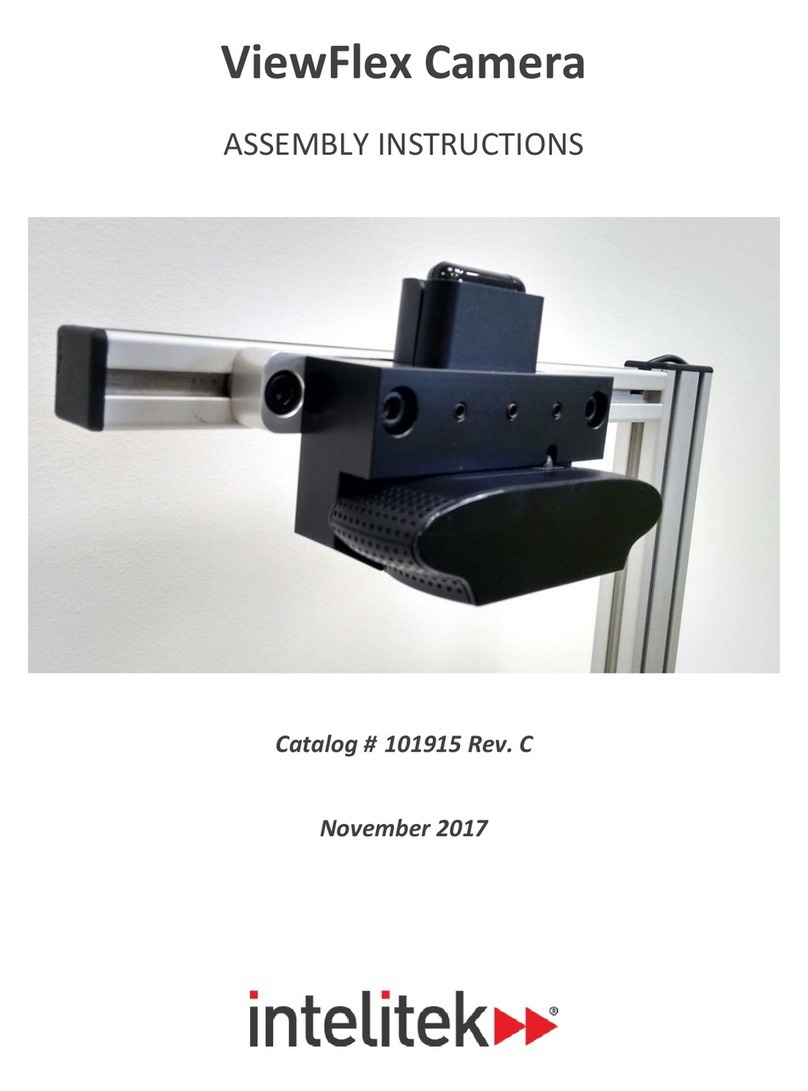
ViewFlex Camera
ASSEMBLY INSTRUCTIONS
Catalog # 101971 Rev. B
April 2019

ViewFlex Came ra Assembly Instructions ii © 2019 Intelitek - All Rights Reserved
Copyright © 2019 Intelitek Inc.
ViewFlex CameraAssembly Instructions
Cat # 101971 Rev. B
April 2019
All rights reserved. No part of this publication may be stored in a retrieval system, orreproduced in any
way, includingbutnot limited to photocopy, photography, magnetic, orotherrecording, without the
prioragreement and written permission of the publisher. Program listings may be entered, stored, and
executed in a computersystem, but not reproduced for publication.
Every effort hasbeen made to make this guide complete and as accurate as possible. However, no
warranty of suitability, purpose orfitness is made or implied. Intelitek Inc. is not liable or responsibleto
any person orentity for loss or damage in connection with orstemming from the use of the software,
equipment and/or the information contained in this publication.
Intelitek Inc. bears no responsibility forerrors which may appearin this publication and retains the right
to make changes to the software, equipment and manual without prior notice.
Intelitek Inc.
Toll Free: 800-221-2763
Phone: 603-625-8600
Fax: 603-437-2137
Email: info@intelitek.com
Intelitek software and documentation are availableat http://intelitekdownloads.com.

ViewFlex Came ra Assembly Instructions iii © 2019 Intelitek - All Rights Reserved
Contents
1. Assembling the Camera Stand .............................................................................................................................................4
2. Wiring the Power ...................................................................................................................................................................6
3. Appendix: Breakout Cable Specifications ..........................................................................................................................7
This manual only details the assemblyand wiring instructions for your Cognex 2000 Vision Sensor. For
more information about the Cognex 2000 and its use, see the Cognex 2000 user manual. Visit
https://www.cognex.com/support for the most up-to-date software.

ViewFlex Came ra Assembly Instructions 4 © 2019 Intelitek - Al l Rights Reserved
1. Assembling the Camera Stand
The camera stand forthe Cognex (#00-1430 -0000) is used to hold the Cognex Vision Sensor(QC
camera) in position in orderto carry out ViewFlexoperations. This section describes how to attach the
camera to the camera stand.
To assemble the camerastand:
1. Secure the base to a table.
▪On a slotted table, screw four M5 Allen screws through the base and into four M5 slot nuts
(shown below).
▪On a Formica table, secure the base directly to the table using four pan head Phillips screws.
▪If you are connecting the stand to a CIM track, use the angular connector with accompanying
bolts and nuts (catalog number 110633).

ViewFlex Came ra Assembly Ins tructions 5 © 2019 Intelitek - Al l Rights Reserved
2. Attach the camera to the bracket using two M3 Phillips screws. Fasten the screws.
Note: You must ensure that the camera is secure once attached.
3. Connect the Ethernet cable (green) and the breakout cable (black) to the camera. Secure the
cables to the vertical beam with two cable clamps. The clamps should be secured with M5 flat
head Allen screws and T-slot nuts.
4. Secure the loose sections of the cables to the table using cable clamps and nylon cable ties. The
clamps should be secured to a slotted table with M5 flat head Allen screws and T-slot nuts, and
to a Formica table with pan head Phillips screws.

ViewFlex Came ra Assembly Ins tructions 6 © 2019 Intelitek - Al l Rights Reserved
2. Wiring the Power Connections
You Cognex vision sensor’s breakout cable requires connection to a 24VDC adapterbefore it can be
connected to the power supply unit.
Note: For this procedure, you require a small flat-head screwdriver.
To wire the breakout cable:
1. Locate and separate the black and red wires at the end of the breakout cable. The black wire is
the ground connection and the red wire is the +24VDC connection. For information about the
other wires in the breakout cable, see the appendix.
2. Connect the black and red wires to the adapter, using the screwdriver to secure the wires:
▪Connect the black wire to the adapter’s (-) slot.
▪Connect the red wire to the adapter’s (+) slot.
Note: Unused wires can be clipped short or tied back using a tie made of non-conductive
material. Keep all bare wires separated from the +24VDC wire.
3. Connect the adapter to the power supply.
4. Connect the power supply to a wall adapter.
5. Ensure that the vision sensor’s green power LED is lit.

ViewFlex Came ra Assembly Ins tructions 7 © 2019 Intelitek - Al l Rights Reserved
3. Appendix: Breakout Cable Specifications
Besides providing connections to an external power supply, the breakout cable provides connections to
the acquisition trigger input, a general purposeinput, high-speed outputs, and RS-232serial
communications. The table below lists the connections.
Wire Color
Signal Name
Yellow
HS OUT 2
White/Yellow
RS-232 Tx1
Brown
RS-232 Rx1
White/Brown
HS OUT 3
Violet
In 0
White/Violet
INPUT COMMON
Red
+24VDC
Black
GND
Green
OUTPUT COMMON
Orange
Trigger
Blue
HS OUT 0
Grey
HS OUT 1
1If hardware handshaking is required, an I/O module mustbe used.
Table of contents
Other Intelitek Digital Camera manuals
