Istruzioni per l’uso
Vi ringraziamo per avere acquistato questo prodotto. Leggendo
questo manuale potrete conoscere le sue caratteristiche e
familiarizzare con le funzioni operative.
Vi raccomandiamo di conservare questo manuale, dopo che lo
avrete letto, in vista di altre eventuali consultazioni future.
L’imballo contiene:
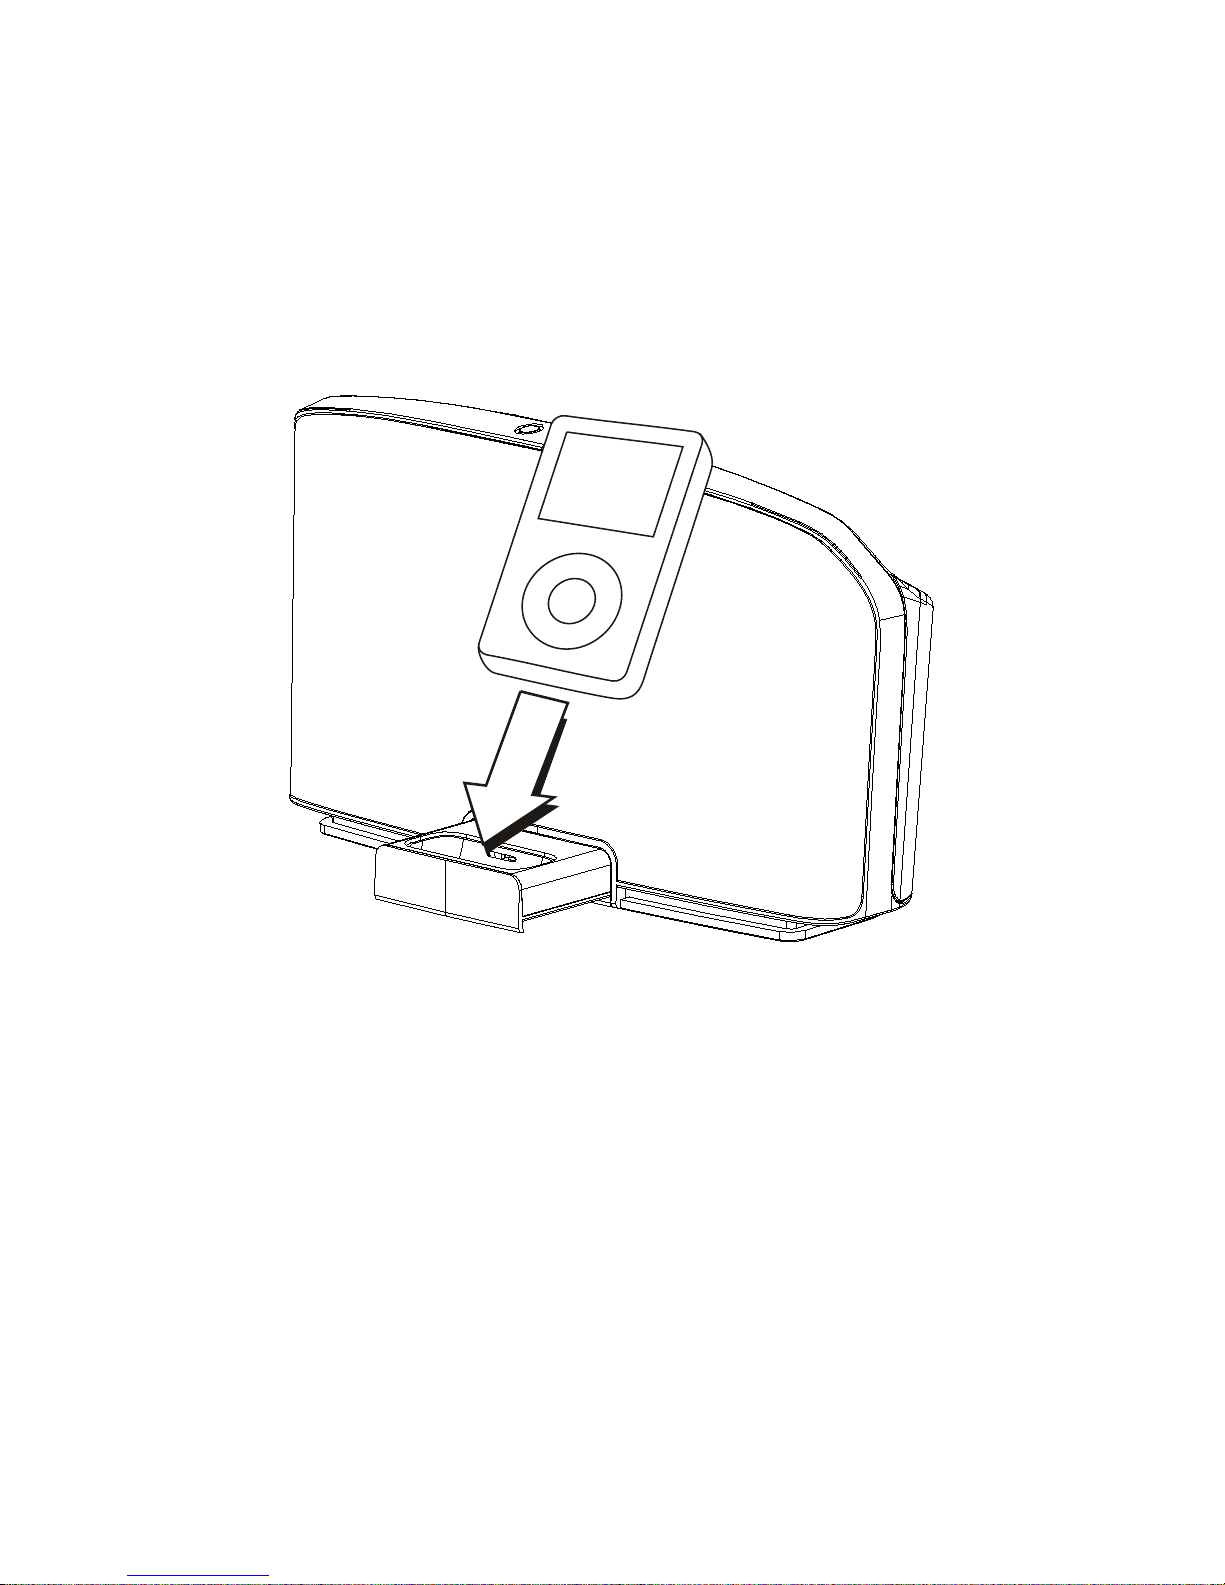
- Docking station
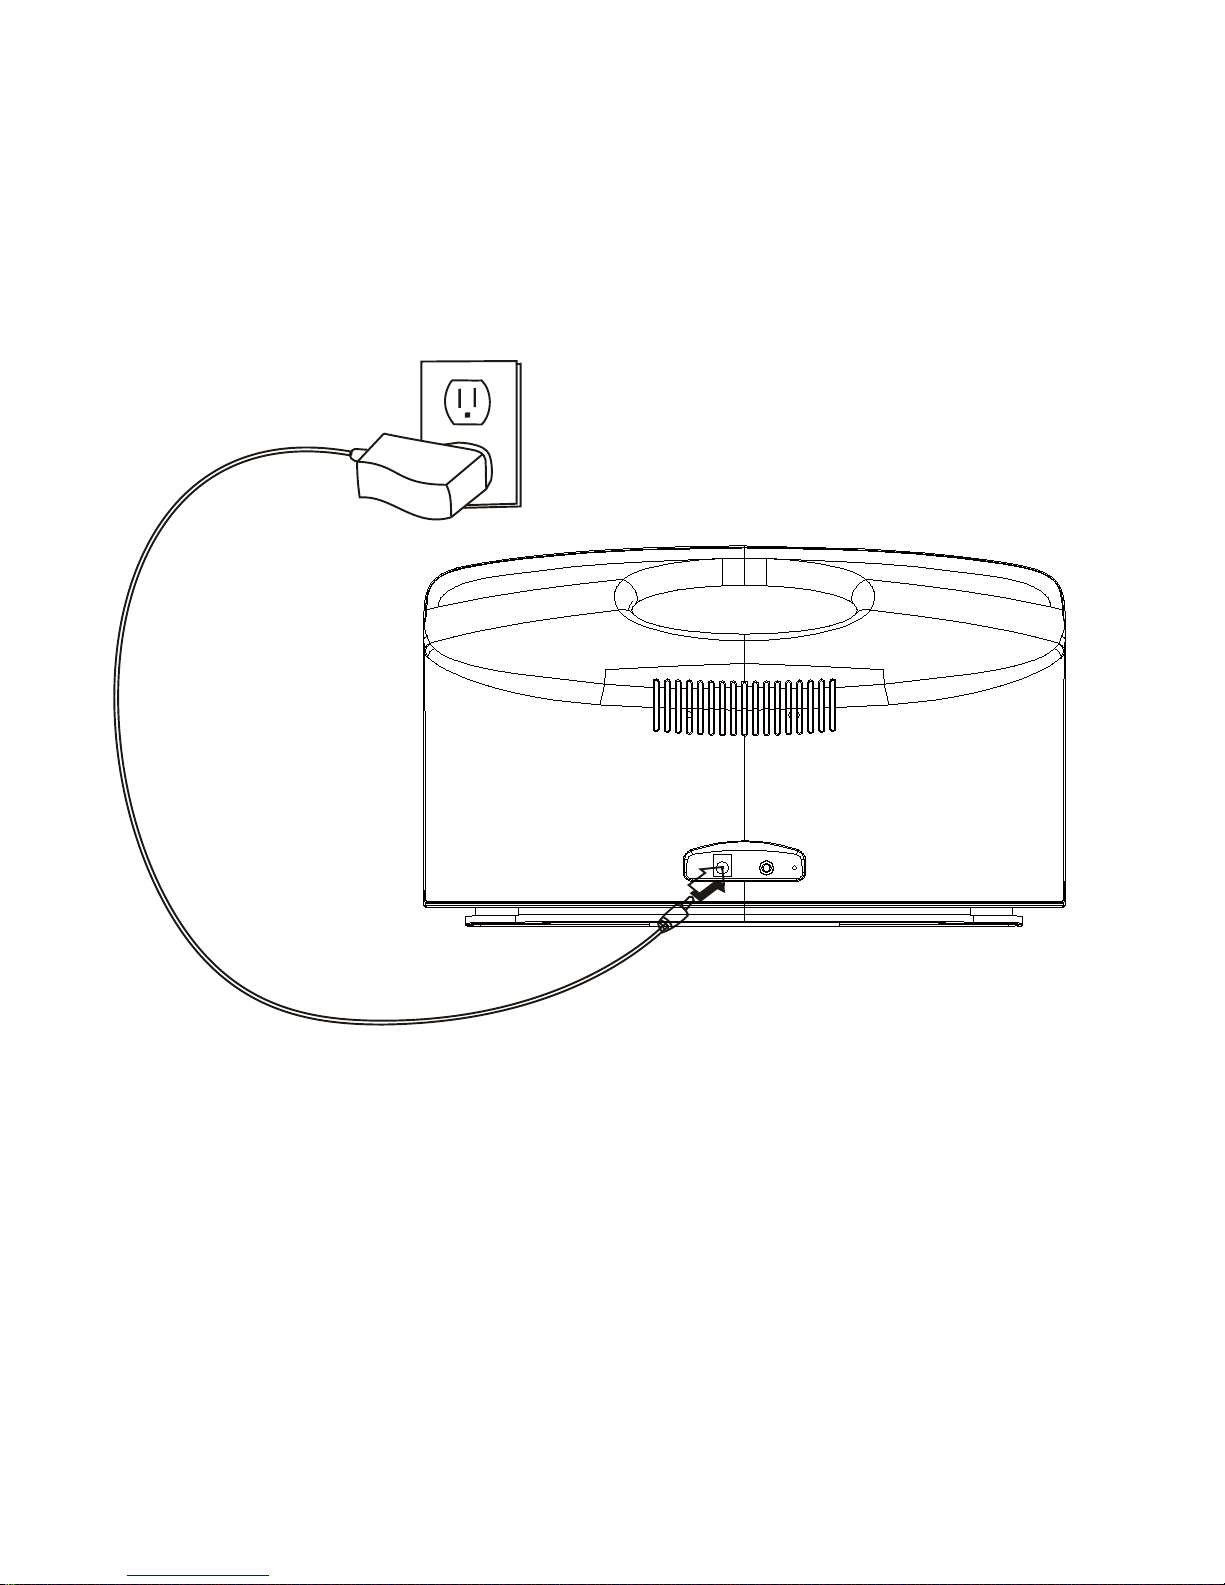
- Adattatore per alimentazione da rete
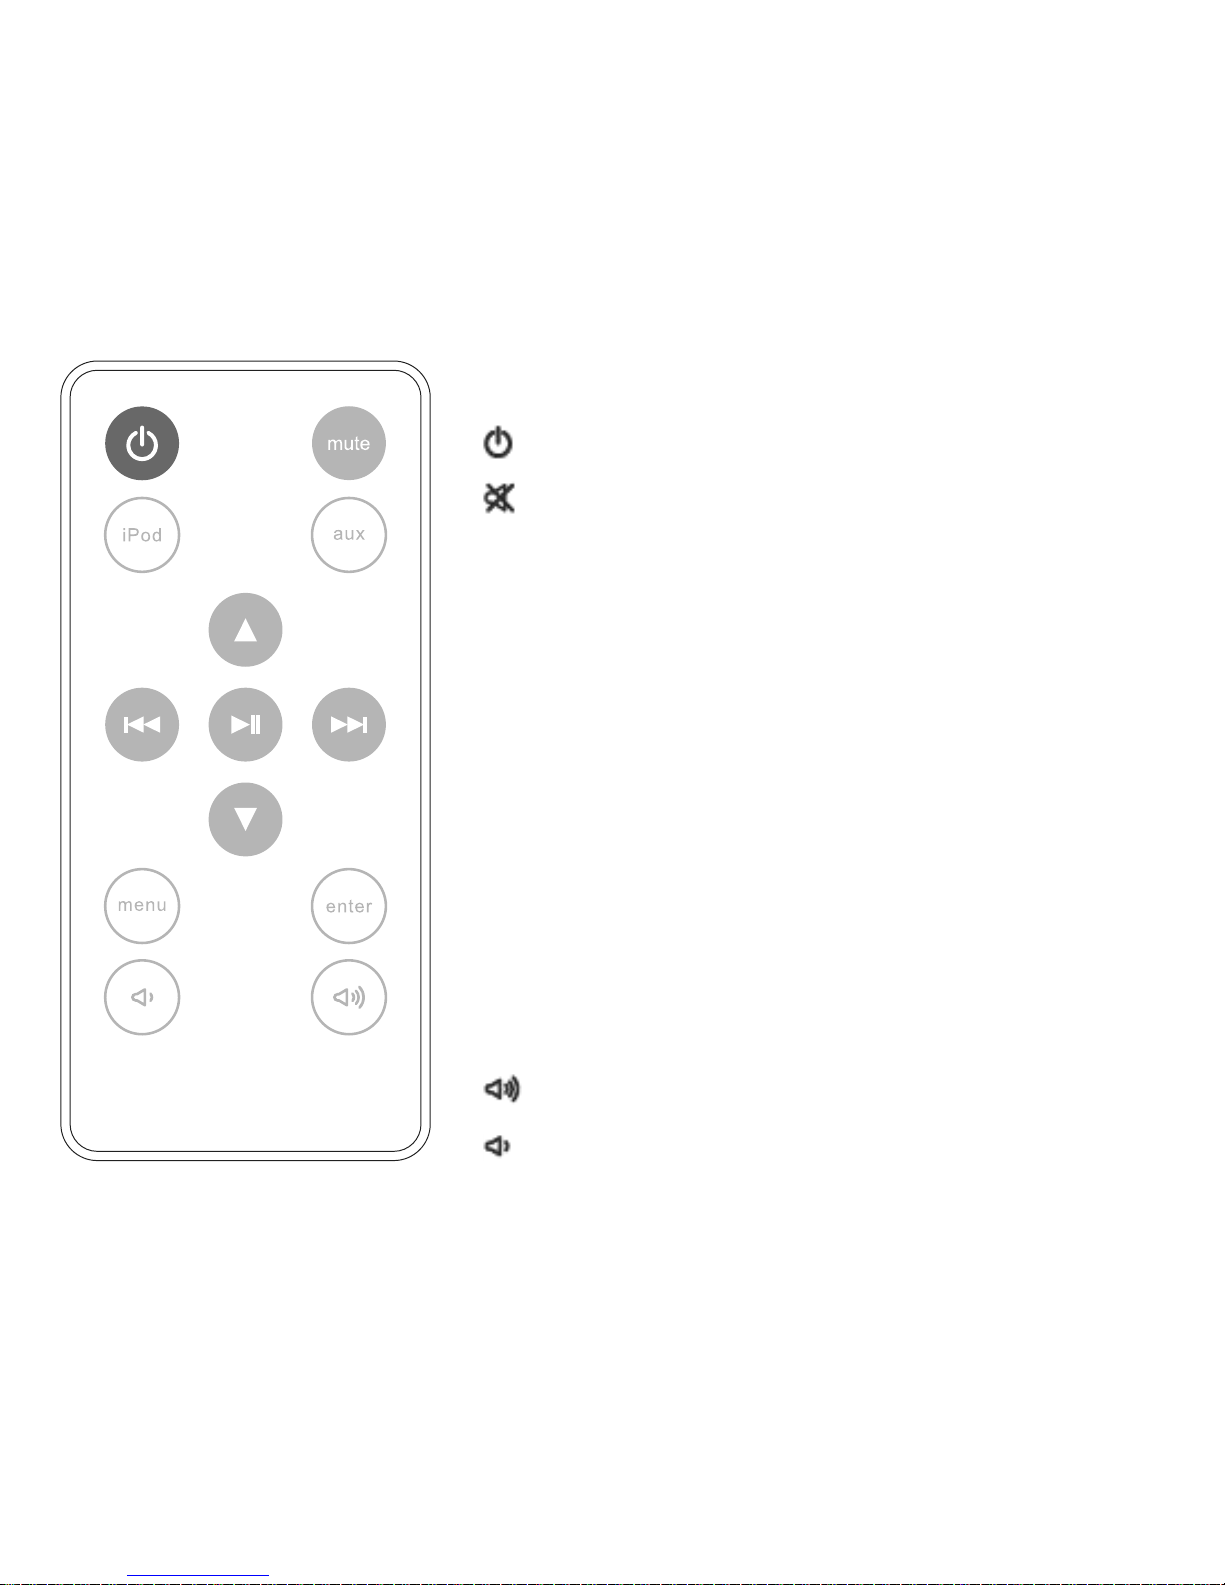
- Telecomando a infrarossi
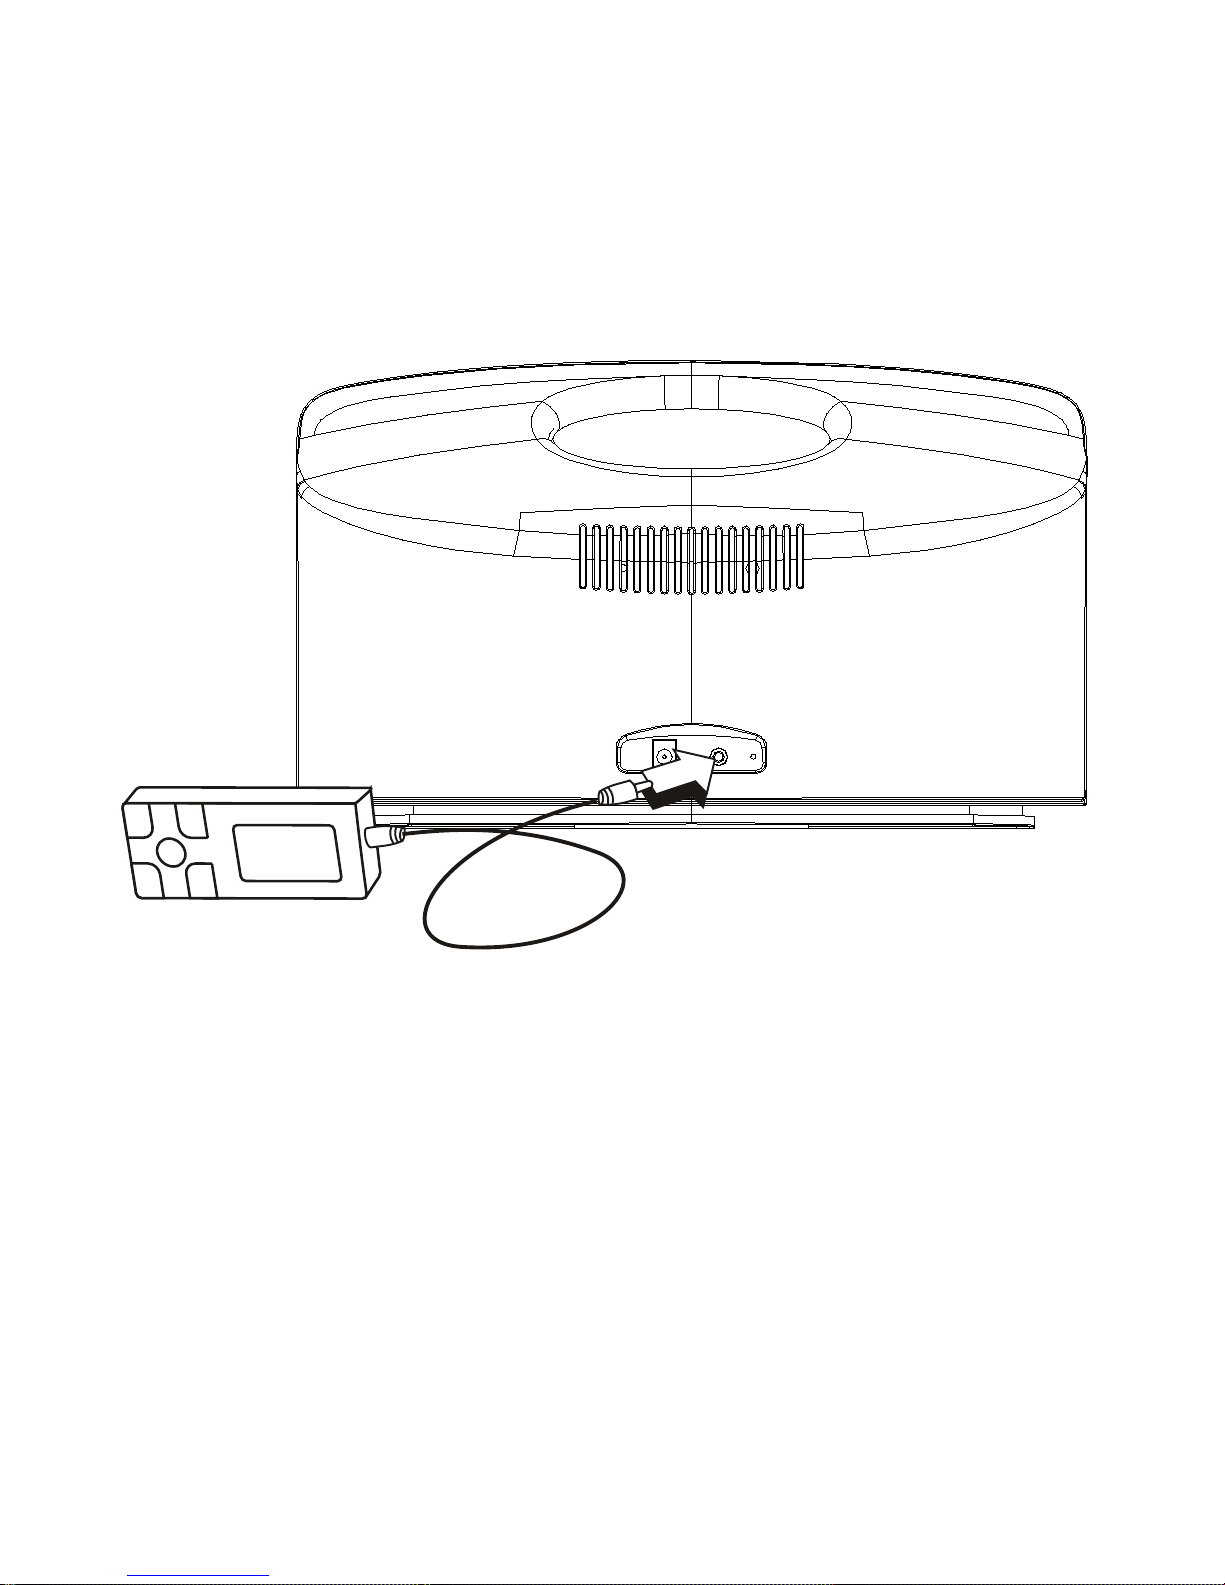
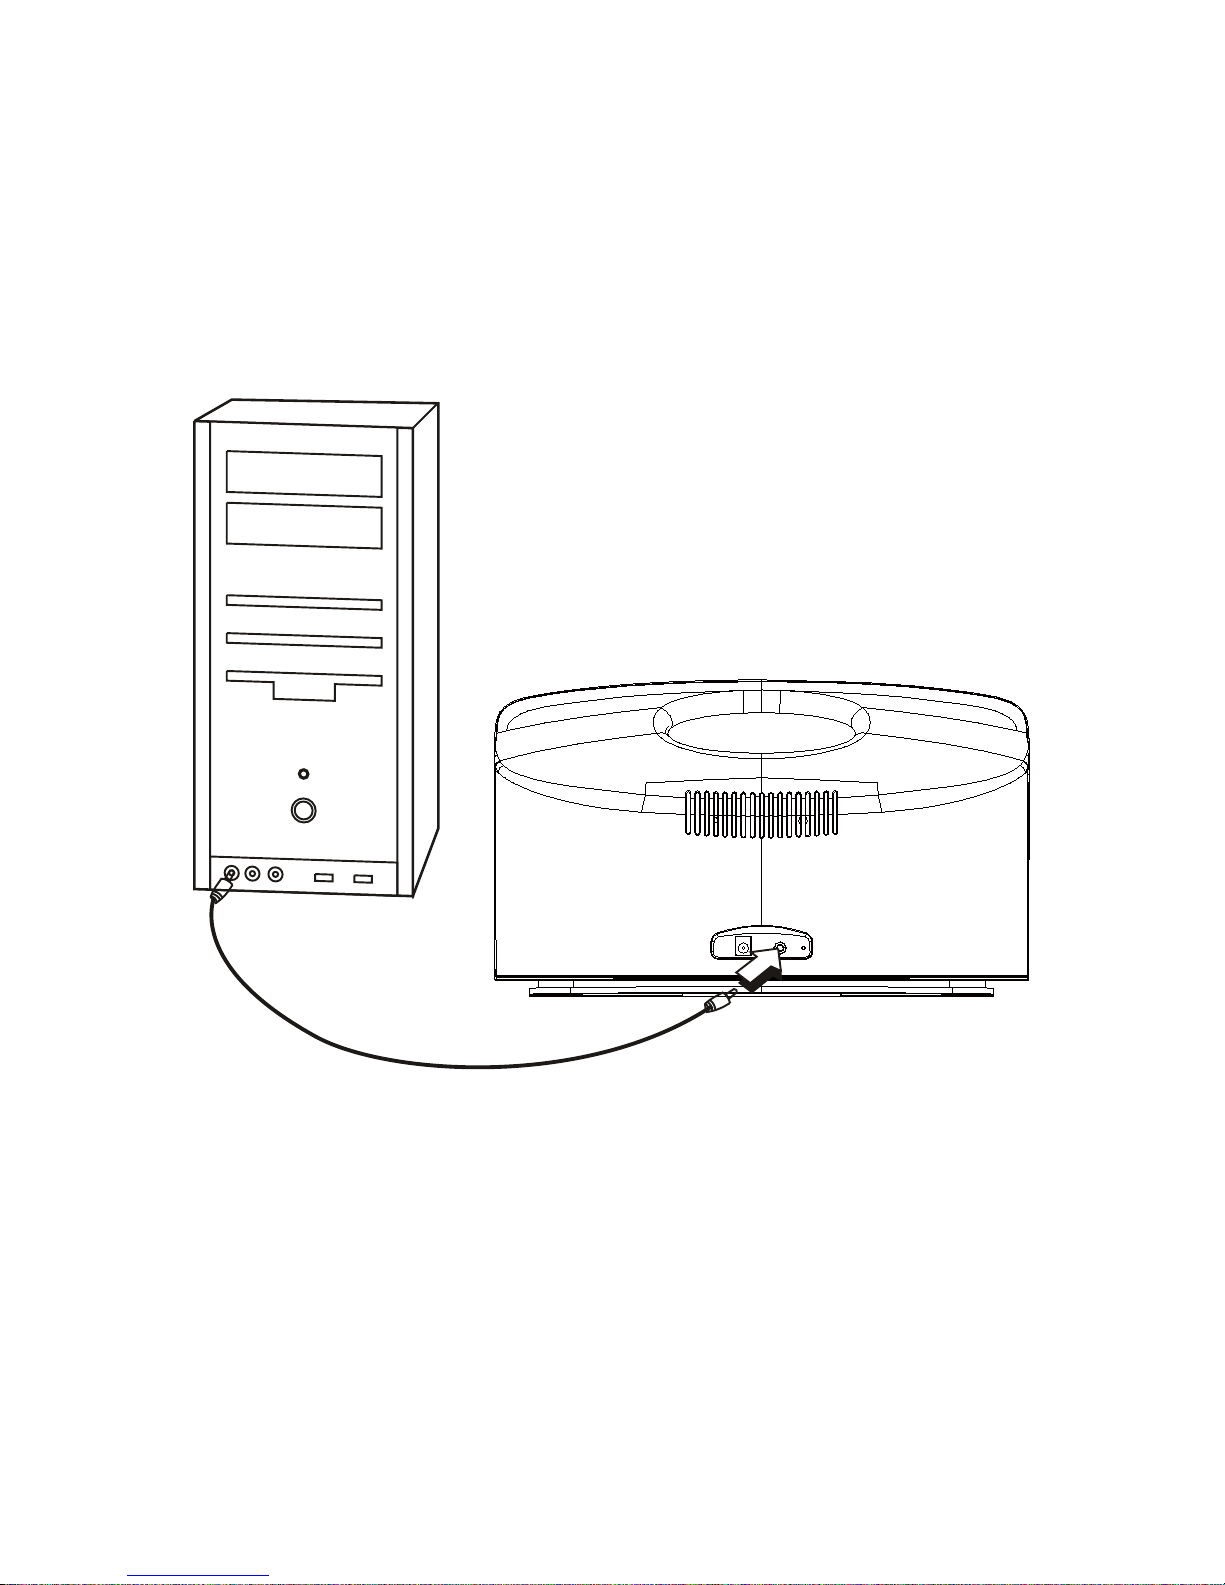
- Cavetto per il collegamento di altre sorgenti audio all’ingresso
ausiliario, con connettore stereo da 3,5 mm
INFORMAZIONI IMPORTANTI PER L'UTENTE AI SENSI DELLA
DIRETTIVA "RAEE" 2002/96/CE E SUCCESSIVA MODIFICA
2003/108/CE SULLO SMALTIMENTO DI APPARECCHIATURE
ELETTRICHE ED ELETTRONICHE.
Ai sensi della Direttiva "RAEE" 2002/96/CE e successiva modifica 2003/108/CE,
questa apparecchiatura viene contrassegnata con il simbolo del contenitore di
rifiuti barrato.
Per un futuro smaltimento di questo prodotto, si prega di tenere presente quanto
segue:
- E' vietato smaltire questa apparecchiatura come un comune rifiuto urbano: è
necessario rivolgersi ad uno dei Centri di Raccolta RAEE (Rifiuti di Apparecchiature
Elettriche ed Elettroniche) Autorizzato e predisposto dalla Pubblica Amministrazione.
E' possibile consegnare ad un negoziante questa apparecchiatura per il suo
smaltimento all'atto dell'acquisto di una nuova apparecchiatura dello stesso tipo.
- La normativa sopra citata, alla quale rimandiamo per ulteriori dettagli o
approfondimenti, prevede sanzioni in caso di smaltimento abusivo dei RAEE (Rifiuti di
Apparecchiature Elettriche ed Elettroniche).