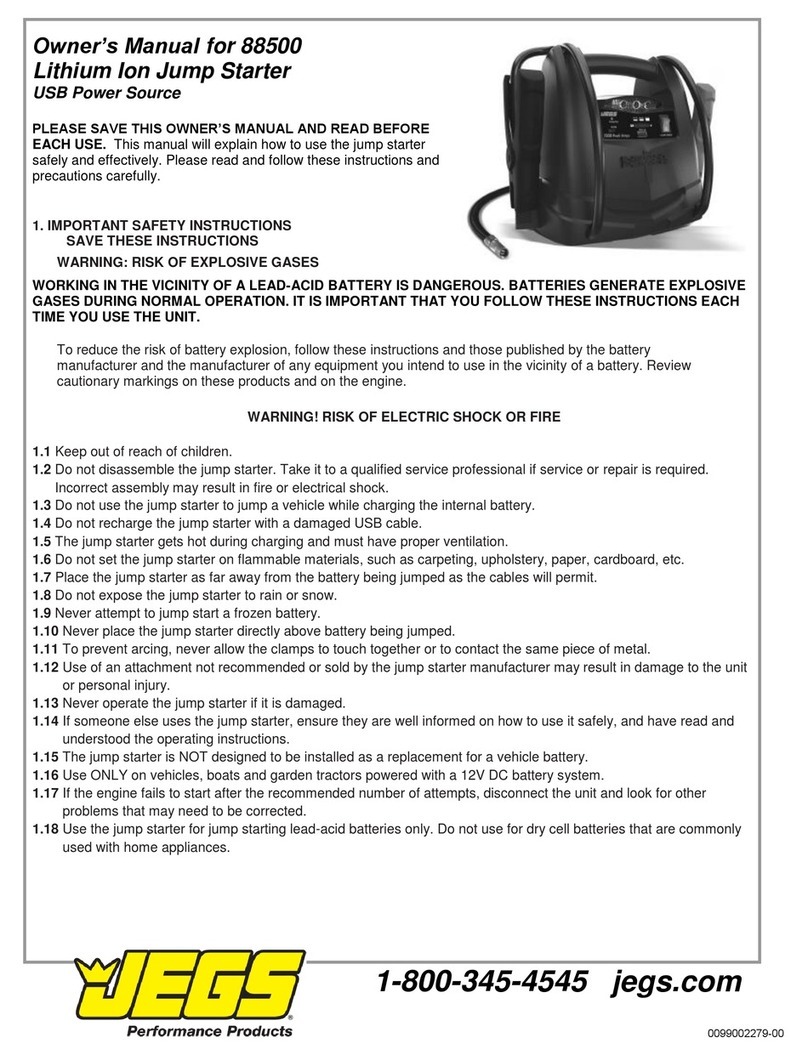
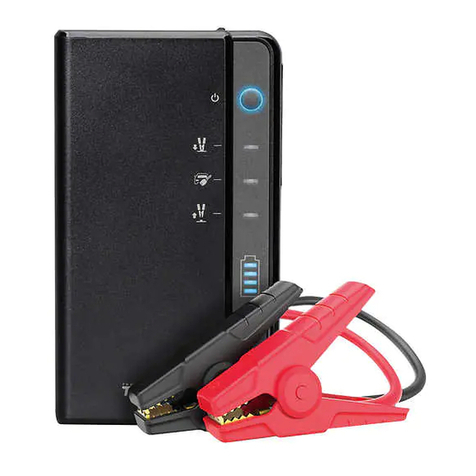
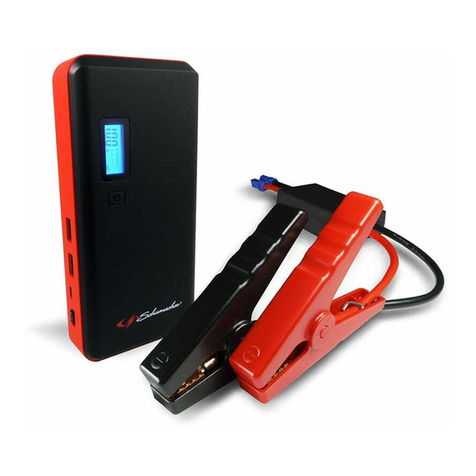
Jegs 81952 User manual

Installation Instructions for 81952
Lithium Jump Starter
with Automatic Voltage Detector
WARNING
•Read, understand and follow all instructions, cautions and warnings listed in this instruction manual, those
published by your vehicle battery manufacturer & manufacturers of any device intended to be used with this unit.
Failure to follow all instructions and abide by all cautions and warnings could result in personal injury, injury to
others and property damage. Save these instructions for future reference.
•Use this product with 12V& 24V lead-acid batteries only. DO NOT connect to 6V DC batteries.
•DO NOT use with dry-cell batteries, these batteries may burst and may cause injury to person or damage personal
property.
•Never charge or jump-start a vehicle with a frozen battery.
•DO NOT face battery. Stay as far as possible from vehicle battery being jumped when making final connection.
•Working around lead-acid batteries may be dangerous. Lead-acid batteries generate explosive gases during
normal charging and jump-starting operations.
•All lead-acid batteries (car, truck & boat) produce hydrogen gas, which may violently explode in the presence of fire
or sparks. DO NOT smoke, use matches, lighters or open flame near batteries.
•DO NOT operate this device or place this product near flammable materials or any location, which accumulate
flammable fumes.
•Do not submerge in water, or expose unit to heavy moisture or rain.
•This product is not intended for use in the rain or temperature above 140° F.
•Some late model vehicles have on-board computers that might be damaged if jump-started. Always read the
vehicle owner's manual before attempting to jumpstart (battery boost) the vehicle to determine if external-starting
assistance is acceptable.
•Stay clear of fan blades, belts, pulleys and moving parts that can cause bodily injury during battery jump-start.
1-800-345-4545 jegs.com

WARNING
•DO NOT use additional attachments other than those recommended or provided by the manufacturer.
•Allow one (1) hour cool-down period before recharging.
•DO NOT exceed manufacturer's recommended specifications.
•Make sure that any electrical outlet, located in a potentially wet or moist area, and is to be used to charge the jump
starter, is protected by a ground fault interrupt switch.
•Do not charge the jump starter on boat, boat ramp or docks since the electrical cords and outlets used for charging
could cause severe electrical shock if they get wet.
CAUTION
•Make sure fresh water & soap are available nearby in case battery acid contacts skin, eyes or clothing. If contact
with battery acid occurs, rinse immediately and thoroughly with water, and then wash with soap and water.
•Get immediate medical attention if redness, irritation or pain is present. For eye contact flush eyes for at least 15
minutes and get immediate medical attention.
•It is highly recommended that this product be operated by two persons. Ensure that someone is available to give
assistance, if needed.
•Wear complete eye and clothing protection. Do not touch eyes while working near battery.
•Do not operate this device while wearing vinyl clothing. Static electricity sparks maybe generated when vinyl
clothing is rubbed.
•Remove personal metal items such as rings, bracelets, necklaces and watches while working with a lead-acid
battery. It can produce a short-circuit high enough to cause a severe burn.
•Always keep the booster clamps in their storage holders to prevent sparking when recharging and when they are
not in use.
•Never allow booster clamps to touch together or to contact the same piece of metal to prevent short circuits and
arching.
•Avoid dropping metal tools onto vehicle battery. It might spark or short circuit battery or other electrical parts that
may cause short circuits or explosion.
•Keep battery terminals clean. Be careful to keep corrosion from coming in contact with eyes.
•When using the 120V AC charger, pull on the plug and never pull on the cord when disconnecting.
•DO NOT recharge product battery with damaged chargers, replace them immediately.
•DO NOT place anything into the jump starter charging port except the provided plug from the charger unit.
•Use only the provided charger, cables and clamps. Unauthorized parts may damage the jump starter.
•This product has no consumer serviceable parts.
•This device contains a lithium battery and must be disposed of properly. Contact your local government recycling
authority for proper disposal.
•DO NOT attempt to remove or replace the battery used in this device. When battery has reached the end of its
useful lifetime, take the entire unit to a battery recycling facility for proper disposal and/or battery replacement.
•This is not a toy. KEEP OUT OF REACH OF CHILDREN!
FEATURES:
Heavy-Duty Booster Clamps: 700A starting/1400A
peak current rated color-coded battery clamps
Power Push Button: Powers USB, LED Lights, LED
Charge Status %
Professional Quality Cables: Color coded cables with
extra thick oil resistant external cable insulation
sheathing
USB Port: 5V/2.4A to power USB powered devices
Booster Clamps Storage Holders: Prevents accidental
sparking when cables are not in use
LED Power Status & Charge Indicator: 25%, 50%,
75%, & 100% indicators, LED battery charge status
LED Light: Provides long lasting portable lighting with
emergency flasher functions
12V & 24V Manual Buttons: Manually Select between
12V & 24V batteries
Convenient Charge Cord: 120V AC charger for in home
use
1-800-345-4545 jegs.com

CHARGING & RECHARGING INSTRUCTIONS
CAUTION
•Ensure that the unit power push-button is in the off position.
•This product may arrive partially charged from the manufacturer. It is recommended to fully charge the unit
immediately after purchase and before using for the first time.
•Recharge immediately when red LED (25%) is flashing due to jump starter battery low voltage. Fully recharge the
jump starter, when charge status is 50%. Once unit is 100% charged, all LEDs lights will turn off. To check status,
press power push-button one time.
•The charging LED indicators will be illuminated while charging, showing 25%, 50%, 75%, & 100%.
•It is recommended that the jump starter is in an upright position while charging.
2. IMPORTANT: THE 120 VOLT AC POWER UNIT (CHARGER) IS INTENDED TO BE CORRECTLY ORIENTED IN A
VERTICAL OR FLOOR MOUNT POSITION DURING CONNECTION TO A 120V AC RECEPTACLE.
3.
NOTE: ENSURE BOTH BOOSTER CLAMPS (POSITIVE & NEGATIVE) ARE PLACED IN THEIR STORAGE
HOLDERS WHEN NOT IN USE & DURING THE JUMPSTARTER RECHARGING.
CHARGING WITH 120 VOLT AC CHARGER
1. Insert the 120V AC charger plug into the jump starter charging port.
4. 2. Insert the 120V AC charger transformer plug into a 120V AC receptacle.
5. 3. Fully charge the unit according to the following:
Initial & first time charge: charge until LED charge status lights turn off.
Recharge or between each use: 6 to 8 hours.
4. Charging LEDS will turn off once 100% status is achieved. Press power push-button to verify 100% charging status.
When charging is complete unplug the 120V AC charger transformer plug first and then the 120V AC charger plug from
the charging port on the jump starter.
SPECIFICATIONS
1. BUILT IN BATTERY: 33 AMP HOUR (Ah) LITHIUM COBALT BATTERY
2. STARTING CURRENT: 12V/700A : 24V/350A
3. PEAK CURRENT: 12V/1400A : 24V/700A
4. USB PORT: 5V DC/ 2.4A
5. LED LIGHT: 12V DC/ 2 LED (2W/330mA)
6. PROTECTIONS: OVER CURRENT, LOW VOLTAGE, OVER & REVERSE CHARGE, REVERSE POLARITY,
OVER TEMPERATURE, SHORT CIRCUIT
7. OPERATING TEMP: -40° F - 1400° F
8. NET WEIGHT: 6.8 1b
9. UNIT DIMENSIONS: 9.5" (H) x 10.6" (W) x 5" (D)
STORAGE
Store in cool, dry, well ventilated area with overhead cover. This unit may be stored in any position. Ensure that the
booster clamps are secured to their storage holders.
NOTE: Jump starter output & power buttons must be in the off positions. If not used for prolonged time, recharge every
3 months.
1-800-345-4545 jegs.com

JUMP STARTING (BATTERY BOOST) INSTRUCTIONS
CAUTION: Follow correct polarity connection and never allow booster clamps to touch together or to contact the same
piece of metal to prevent short circuits and arching.
1. Turn off the vehicle ignition and all accessories (e.g., radios, lights, air conditioner and cellular phones).
2. Set the emergency brake and put vehicle with automatic transmission in the PARK position.
3. Determine the polarity of the vehicle battery terminals. The Positive (POS, P, +) battery terminal usually is
larger in diameter than the Negative (NEG, N, -) terminal. (If you are unsure you should refer to vehicle
owner's manual).
4. Determine whether your vehicle uses a Negative or Positive Grounded System:
Negative Grounded System: Negative battery terminal is grounded to chassis. Most vehicles use this system.
Positive Grounded System: Positive battery terminal is grounded to chassis or any other metallic part of the
vehicle (If you are unsure you should refer to the vehicle owner's manual).
5. Access the jump starter booster clamps by squeezing the clamp handles. Pull the clamps outward and
remove clamps from their storage holders. Never allow clamps to touch together or to contact the same
piece of metal to prevent short circuits and arching.
6. Follow instructions for Negative Grounded System or Positive Grounded System as indicated below:
Negative Grounded System:
a. Securely connect the Positive (+) Red clamp to the Positive (POS, P, +) terminal of the vehicle battery or
the remote Positive (+) terminal if equipped.
b. Securely connect the Negative (-) Black clamp to the vehicle chassis, engine block or a thick non-moving
grounded metal part of the vehicle as far away from the battery as possible. Do not clamp directly to
carburetor, fuel lines, or non-grounded sheet-metal body parts.
c. See Jump Starting (Battery Boost) step #7 to continue.
Positive Grounded System:
a. Securely connect the Negative (-) Black clamp to the Negative (NEG, N, -) ungrounded terminal of the
vehicle battery.
b. Securely connect the Positive (+) Red clamp to the vehicle chassis, engine block or a nonmoving grounded
metal part of the vehicle as far away from the battery as possible. Do not clamp directly to carburetor, fuel
lines, or Sheet-metal body parts.
c. See Jump Starting (Battery Boost) step #7 to continue.
NOTE: Unit should detect 12V or 24V battery voltage on vehicle. If the battery is severely discharged, 12V and/or 24V
LED will be flashing. Stop the process immediately and disconnect clamps. Check vehicle manual to identify battery
voltage. User must manually select 12V or 24V battery until the proper LED is illuminated. Then connect clamps based
on Positive or Negative Ground System (step #6) and proceed to step #7.
NOTE: DO NOT start vehicle until you check all connections. Make sure correct positive and negative polarity
connections are achieved when using manual voltage selection for 12V or 24V to avoid damage to unit and/or vehicle
battery.
7. Allow 2 or 3 minutes charging time. It is recommended to have a second person to assist holding the jump
starter unit securely in place during the next steps.
8. Turn the ignition key and attempt to start the vehicle.
NOTE: If the vehicle does not start after 4 to 5 seconds of engine cranking, stop. Wait 3 to 4 minutes, then try again.
Repeat several times until the vehicle starts.
NOTE: Excessive engine cranking can damage vehicle starter motor. If the engine turns, but fails to start after several
attempts, other technical problem(s) might be involved. Discontinue cranking the engine until the other problem is
determined and corrected.
1-800-345-4545 jegs.com

9. If the vehicle starts, disconnect clamps in reverse sequence to connecting procedure above as far away
from the vehicle battery as practical:
For Negative Grounded System first disconnect Negative (-) Black clamp then Positive (+) Red clamp.
For Positive Grounded System first disconnect Positive (+) Red clamp then Negative (-) Black clamp.
10. Replace the clamps to their storage holders.
NOTE: 12V or 24V LED output indicators will turn off after use automatically.
LED LIGHT & EMERGENCY FLASHER INSTRUCTIONS
1. To power on the LED light, press & hold the power push-button until LED display illuminates, then
release. Double-click on button to turn light on.
2. Press the push-button switch once to activate the emergency flasher function.
3. Press the push-button switch once to activate the SOS function.
4. To power off the light press & hold the power push-button until lights turn off.
NOTE: LED light, emergency flasher & SOS functions will operate in sequence to each other. The lighting mode will
depend on the prior (last) operating function selected. User may have to cycle between modes in order to achieve the
proper lighting function.
USB POWERED DEVICES
1. Prior to connecting the device to the unit's USB port, make sure the device is off.
2. Using the power/charging cable included with the device to be powered or charged, connect the device to
the USB port on the jump starter.
3. Press & hold the power push-button until LED display illuminates. (The device with built-in battery will start charging
automatically). Turn on the device & use as normal.
4. Once finished charging device, unplug cable from USB port & press power push-button until LEDs turn
off.
NOTE: Make sure device power/charging cable works prior to use. Make sure all connections are correct to USB port
and device port.
1-800-345-4545 jegs.com

TROUBLE SHOOTING GUIDE:
NOTE: Do not start vehicle until you check all connections. Make sure correct positive and negative polarity
connections are achieved when using manual voltage selection for 12V or 24V to avoid damage to unit and/or vehicle
battery.
Trouble
Cause
Solution
Vehicle does not
start
1. Bad clamp connection due to loose
clamp installation.
2. Incorrect polarity connection during
automatic voltage detection. 12V/24V
LED output indicators flashing & buzzing.
3. Very low vehicle battery charge.
4. Low Jump starter charge.
5. Vehicle battery defective.
6. Require higher starting current than
provide by this unit.
7. Vehicle electrical system faulty.
8. Wrong manual voltage selected when
battery is severely discharged.
1. STOP! Carefully disconnect and reconnect the
Jump starter booster clamps to the proper battery
polarity to achieve full connections for positive &
negative polarity.
2. STOP! Carefully disconnect and reconnect the
Jump starter booster clamps to the proper
positive and negative vehicle battery polarity.
3. Maintain Jump starter connection to the vehicle
depleted battery. Wait 3-4 minutes before
attempting to start vehicle again.
4. Recharge the Jump starter to full charge or at
least 50% of charge status.
5. Replace with new battery.
6. This unit will not start vehicle. Disconnect
clamps and use Jump starter with higher starting
current.
7. Have your vehicle alternator/starter/battery
checked by a professional for repair.
8. Ensure to verify the correct battery voltage
from the vehicle's owner manual and follow
jumpstarting/battery boost instructions.
12V/24V output
indicator flashing
1. Weak charging connectors.
2. Defective AC charger.
3. Reverse charged protection after
jumpstarted vehicle.
4. Vehicle battery defective & will not be
charged with this unit.
1. Insert AC charger plug to full contact into DC
charger port.
2. Replace with new AC charger.
3. Immediately disconnect Jump starter clamps
from vehicle battery connections.
4. Replace with new battery.
12V/24V output
indicator flashing &
buzzer during
autovoltage
connection
1. Incorrect polarity connection during
automatic voltage detection & short
circuit protection activated.
1. STOP! Carefully disconnect and reconnect the
Jump starter booster clamps to the proper
positive & negative vehicle battery polarity.
Red LED (25%)
flashing
1. Low voltage protection.
1. DO not use unit to jumpstart vehicle. Charge
Jump starter immediately to at least 50%
charging level.
Red LED (25%)
flashing & buzzer
1. Over temperature protection. Jump
starter exceeded 140° F operational
temperature.
1. Do not use Jump starter at existing
temperature. Place unit in a well ventilated area
to cool the battery.
12V or 24V LED
light stays
illuminated after
jumpstarted vehicle
1. Normal operation.
1. Press 12V or 24V output button until they turn
off.
1-800-345-4545 jegs.com
Table of contents
Other Jegs Remote Starter manuals
Popular Remote Starter manuals by other brands
Black Widow Security
Black Widow Security 200 installation manual
Sealey
Sealey Roadstart RS1B manual

PURSUIT
PURSUIT PRO9556Z Quick installation guide
ULTIMATE SPEED
ULTIMATE SPEED UPBS 8000 A1 Operation manual
Tyrell Chenergy
Tyrell Chenergy HH607 quick start guide
Chamberlain
Chamberlain SECURITY+ 940-315CB owner's manual
