Kenmore 348.71395610 User manual

UHD TV
™
Manual de Uso y Cuidado
Use & Care Guide
Sears Brands Management Corporation
Hoffman Estates, IL 60179 U.S.A.
www.kenmore.com
Models/Modelos:
348.71395610 - 50" UHD
348.71397610 - 55" UHD
348.71398610 - 65" UHD
™

1
En -
CONTENTS
Important Safety Instructions 2
Preparation 4
What's Included 4
Front/Rear View 5
Rear View 6
Installing the Base Stand Legs 7
Removing the Stand for Wall-Mounting 7
Remote Control 8
Connecting External Devices 10
Customizing TV Settings 11
Initial Setup 11
Navigating the On Screen Display 12
Settings 13
Setup 13
Audio 15
Picture 16
Channel 17
Lock 18
Use & Care Guide 19
Source 19
Media 20
Viewing Photos 20
Listening to Music 21
Watching Movies 21
Parental Control 22
Troubleshooting 24
Maintenance 26
Specications 26
License Statement 28
Kenmore Limited Warranty 29
Master Protection Agreements 30

2
En -
IMPORTANT SAFETY INSTRUCTIONS
• Referallservicingtoqualiedservicepersonnel.
Servicing is required when the apparatus has been
damaged in any way, such as the power-supply cord
or plug is damaged, liquid has been spilled or objects
have fallen into the apparatus, the apparatus has been
exposed to rain or moisture, does not operate normally,
orhasbeendropped.
• Pleasekeeptheunitinawell-ventilatedenvironment.
WARNING:Toreducetheriskofreorelectricshock,
donotexposethisapparatustorainormoisture.The
apparatusshouldnotbeexposedtodrippingorsplashing.
Objectslledwithliquids,suchasvasesshouldnotbe
placedonapparatus.
WARNING: The batteries shall not be exposed to
excessiveheatsuchassunshine,reorthelike.
WARNING: The mains plug is used as disconnect device,
thedisconnectdeviceshallremainreadilyoperable.
WARNING: To reduce the risk of electric shock, do not
remove cover (or back) as there are no user-serviceable
partsinside.Referservicingtoqualiedpersonnel.
Thislightningashwitharrowheadsymbolwithin
an equilateral triangle is intended to alert the
user to the presence of non-insulated “dangerous
voltage” within the product’s enclosure that may be of
sufcientmagnitudetoconstituteariskofelectricshock.
The exclamation point within an equilateral
triangle is intended to alert the user to the
presence of important operating and maintenance
instructionsintheliteratureaccompanyingtheappliance.
This equipment is a Class II or double insulated
electricalappliance.Ithasbeendesignedinsucha
way that it does not require a safety connection to
electricalearth.
This product contains electrical or electronic
materials.Thepresenceofthesematerials
may,if not disposed of properly, have potential
adverse effects on the environment and human
health.
Presence of this label on the product means it
should not be disposed of as unsorted waste and
mustbecollectedseparately.Asaconsumer,you
are responsible for ensuring that this product is
disposedofproperly.
• Read these instructions – All the safety and
operating instructions should be read before this
productisoperated.
• Keep these instructions – The safety and operating
instructionsshouldberetainedforfuturereference.
• Heed all warnings – All warnings on the appliance
and in the operating instructions should be adhered
to.
• Follow all instructions – All operating and use
instructionsshouldbefollowed.
• Do not use this apparatus near water – The
appliance should not be used near water or moisture
– for example, in a wet basement or near a swimming
pool,andthelike.
• Cleanonlywithdrycloth.
• Do not blockanyventilationopenings.Installin
accordancewiththemanufacturer’sinstructions.
• Do not install near any heat sources such as
radiators, heat registers, stoves, or other apparatus
(includingampliers)thatproduceheat.
• Do not defeat the safety purpose of the polarized or
grounding-typeplug.Apolarizedplughastwoblades
withonewiderthantheother.Agrounding-typeplug
hastwobladesandathirdgroundingprong.The
wide blade or the third prong are provided for your
safety.Iftheprovidedplugdoesnottintoyour
outlet, consult an electrician for replacement of the
obsoleteoutlet.
• Protect the power cord from being walked on
or pinched particularly at plugs, convenience
receptacles, and the point where they exit from the
apparatus.
• Onlyuseattachments/accessoriesspeciedbythe
manufacturer.
• Use only with the cart, stand, tripod, bracket, or
tablespeciedbythemanufacturer,orsoldwiththe
apparatus.Whenacartisused,usecautionwhen
moving the cart/apparatus combination to avoid injury
fromtip-over.
• Unplug this apparatus during lightning storms or
whenunusedforlongperiodsoftime.

3
En -
IMPORTANT SAFETY INSTRUCTIONS
Electrical Safety
• The TV set should only be connected to a main
power supply with voltage that matches the label
attherearoftheproduct.
• To prevent overload, do not share the same
power supply socket with too many other
electroniccomponents.
• Do not place any connecting wires where they
maybesteppedonortrippedover.
• Do not place heavy items on any connecting wire,
whichmaydamagethewire.
• Hold the main plug, not the wires, when removing
fromasocket.
• During a thunderstorm or when the television
is not being used for long periods, remove the
powercordfromthewallreceptacle.
• Do not allow water or moisture to enter the TV or
poweradapter.DoNOTuseinwet,moistareas,
such as bathrooms, steamy kitchens or near
swimmingpools.
• Pull the plug out immediately, and seek
professional help if the main plug or cable is
damaged, liquid is spilled onto the set, if the TV
set accidentally exposed to water or moisture, if
anything accidentally penetrates the ventilation
slotsoriftheTVsetdoesnotworknormally.
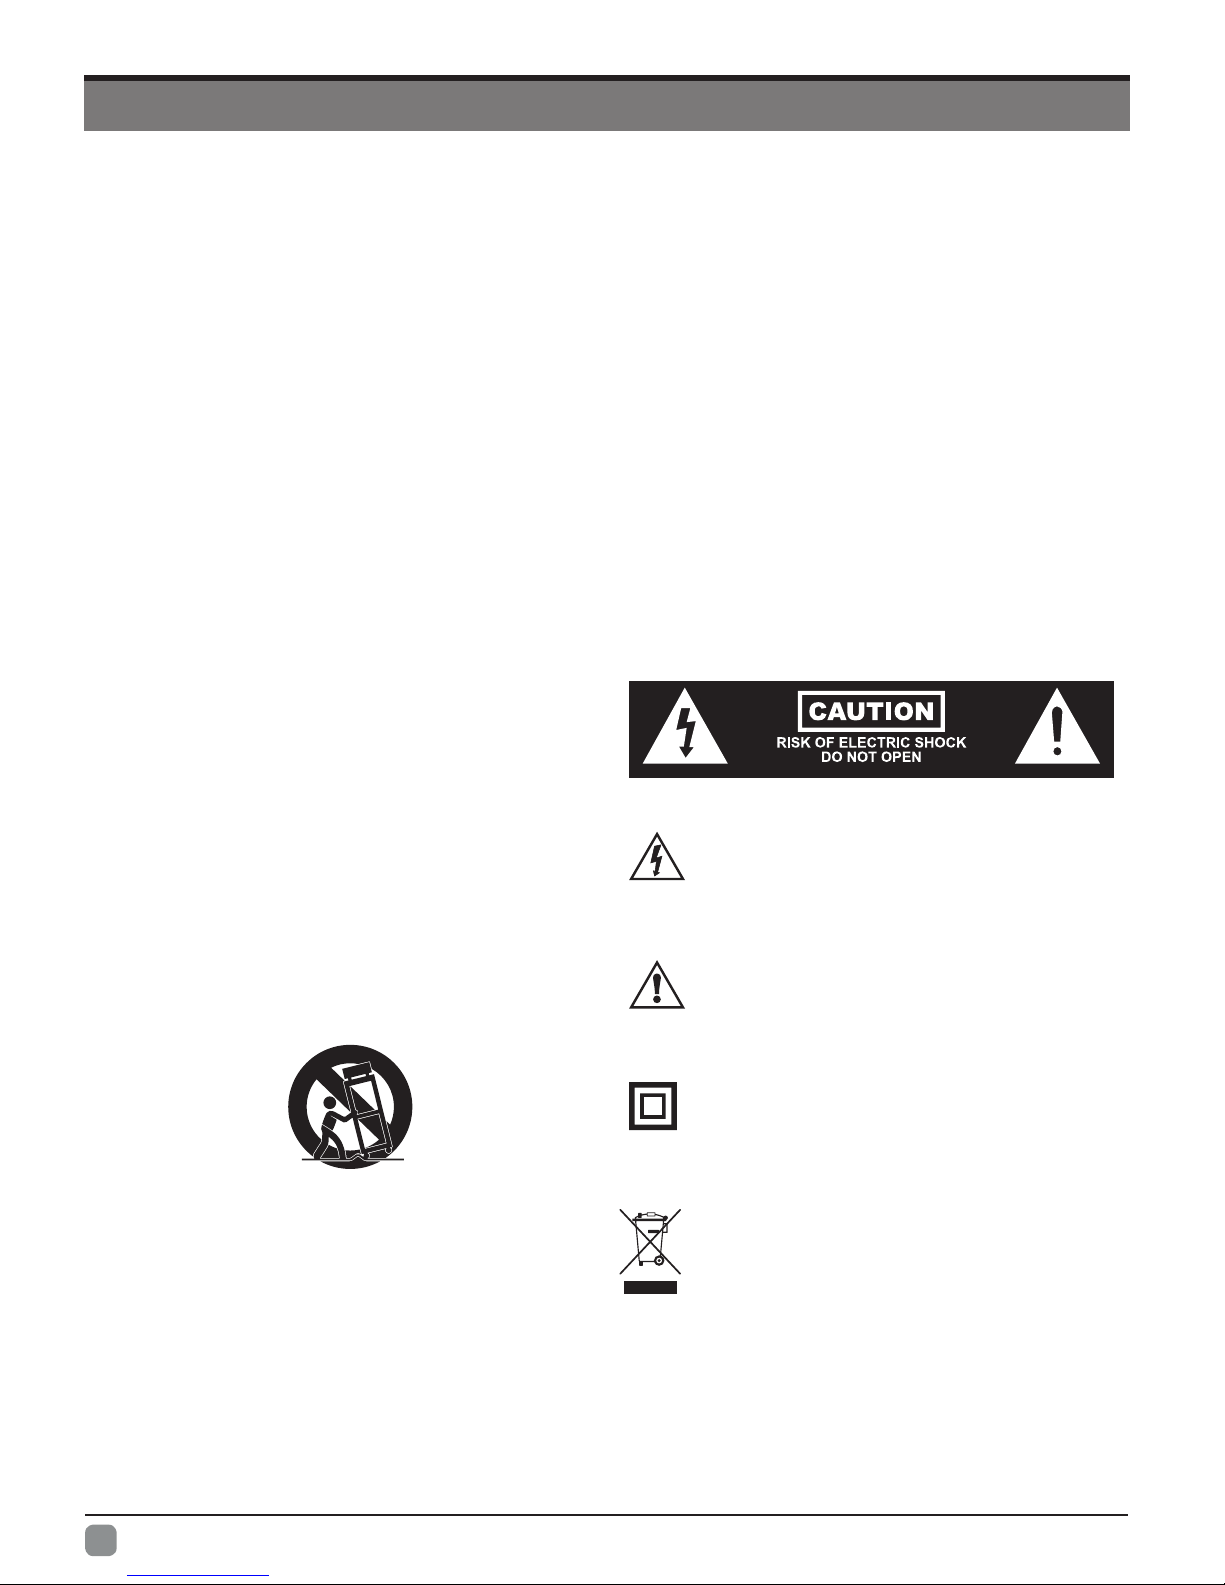
• Donotremovethesafetycovers.Thereareno
userserviceablepartsinside.Tryingtoservice
the unit yourself is dangerous and may invalidate
theproduct’swarranty.Qualiedpersonnelmust
onlyservicethisapparatus.
• To avoid battery leakage, remove batteries
from the remote control when the remote is not
used for long periods, or when the batteries are
exhausted.
• Do not break open or throw exhausted batteries
intoare.
• For best results, use type AAA (example-alkaline,
carbon-zinc,etc.)batteries.
• Install only new batteries of the same type in your
product.
• Failure to insert batteries in the correct polarity,
as indicated in the battery compartment, may
shorten the life of the batteries or cause batteries
toleak.
• Donotmixoldandnewbatteries.
• Do not mix Alkaline, Standard (Carbon-Zinc) or
Rechargeable (Nickel Cadmium) or (Nickel Metal
Hydride)batteries.
• Batteries should be recycled or disposed of as
perstateandlocalguidelines.
• Donotattempttorechargedisposablebatteries.
• Donotshortcircuitbatteryterminals.
• Keepawayfromchildren.
Physical Safety
• Donotblockventilationslotsinthebackcover.
You may place the TV in a cabinet, but ensure at
least5cm(2’’)clearanceallaround.
• Do not tap or shake the TV screen, or you may
damagetheinternalcircuits.Takegoodcareof
theremotecontrol.
• TocleantheTVuseasoftdrycloth.Donotuse
solventsorpetroleumbaseduids.
• Do not install near any heat sources such
as radiators, heat registers, stoves or other
apparatus(includingampliers)thatproduce
heat.
• Servicing is required if liquid has been spilled, or
objects have fallen into the apparatus; when the
apparatus has been exposed to rain or moisture;
oriftheapparatushasbeendropped.
• Always connect your television to a power outlet
withprotectivegroundconnection.
WARNING
Neverplaceatelevisionsetinanunstablelocation.Atelevisionsetmayfall,causingseriouspersonalinjuryordeath.
Many injuries, particularly to children, can be avoided by taking simple precautions such as:
-Usingcabinetsorstandsrecommendedbythemanufacturerofthetelevisionset.
-Onlyusingfurniturethatcansafelysupportthetelevisionset.
-Ensuringthetelevisionsetisnotoverhangingtheedgeofthesupportingfurniture.
-Not placing the television set on tall furniture(for example, cupboards or bookcases) without anchoring both the
furnitureandthetelevisionsettoasuitablesupport.
-Not placing the television set on cloth or other materials that may be located between the television set and
supportingfurniture.
-Educatingchildrenaboutthedangersofclimbingonfurnituretoreachthetelevisionsetoritscontrols.
Ifyourexistingtelevisionsetisbeingretainedandrelocated,thesameconsiderationsasaboveshouldbeapplied.

4
En -
PREPARATION
What's Included
QuickStartGuide
Quick
Start Guide
TV Set
TV Stand Legs Four Screws
Remote Control with Batteries
HDMI
VGA
USB
Use & Care
Guide
Use & Care Guide

5
En -
PREPARATION
Front/Rear View
1. VOL -/+
Presstoadjustthevolume.
2. CH
Presstoselectachannel.
3. MENU
Displaythemainmenu.
4. SOURCE
Presstoselectamongdifferentinputsignalsources.
5. POWER
SwitchtheTVbetweenOn/Standbymode/Off.
6. IR (Infrared Receiver)
ReceivesIRsignalsfromtheremotecontrol.
7. POWER Indicator
DoesnotilluminatewhentheTVisinstandbymode.IlluminatesbluewhentheTVisturningon,andthen
turnsoffafter20seconds.(Thisindicatorwillalsoblinkduringnormaloperationwhenanybuttononthe
remoteisdepressed.)

6
En -
PREPARATION
Rear View
1. Power Cord
ConnecttoACpoweroutlet.
2. OPTICAL Output
Connectadigitalsoundsystemtothisjack.
3. USB Port
Connect to a USB storage device to play music or view
photos/video.
4. HDMI Input
ConnecttoaHigh-Denition(HD)signaloutputdevice.
(HDMI can support 4K60Hz Signal)
5. VGA Input
Connect to a computer or other devices with a VGA
interface.
6. PC AUDIO Input
Connecttoacomputeraudiooutput.
7. DTV/TV Input
Connecttotheantenna(75ΩVHF/UHF)socketwith
theRFcoaxialcable.
8. Headphone Socket
ConnecttotheHeadphones.
9. COMPONENT/AV IN
Connect to AV devices with composite/component (Y/
Pb/Pr)videoandaudiooutputsockets.COMPOSITEVIDEO
andCOMPONENT(Y/PB/PR)sharewithAUDIOIN(L/R).
OPTICAL USB DTV/TV
COMPONENT/AV IN
Y/VIDEO PB PR

7
En -
Installing the Base Stand Legs
WARNING: Only use a UL Listed wall mount to
support this television. A bracket that is not UL listed
may result in the television falling from the wall.
• LaytheTVface-downonaat,cushionedsurfaceto
avoiddamagingorscratching.
• Loosenandremovethe2screwsfromeachstandleg.
• Attach the wall-mount bracket to the TV using the
mountingholesonthebackoftheTV.MountthisTV
according to the instructions included in the wall-mount
bracket.
Removing the Stand for Wall-Mounting
• LaytheTVface-downonaat,cushionedsurfaceto
avoiddamagingorscratching.
• Fix the Right Base Stand Leg to the main unit using 2
oftheprovidedscrews.
• Fix the Left Base Stand Leg to the main unit using 2 of
theprovidedscrews.
PREPARATION

8
En -
Remote Control
HDMI VGA USB
PREPARATION
1. : Switch the TV between on and
standbymode.
2. : Mute and restore your TV
sound.
3. 0~9:Selectaprogram.(ATV/DTV
mode)
4. —: Use to enter a digital
subchannelsuchas2-1.
5. : Return to previous viewing
channel.
6. MENU:Display the OSD (on screen
display)menu.
7. SOURCE:Select among the
different input signal sources: TV/
Component/Composite/HDMI1/
HDMI2/HDMI3/VGA.
8. OK: Conrmtheselectioninthe
OSD(onscreendisplay)menus.
9. :Allows you to navigate
the OSD menus and adjust the
systemsettingstoyourpreference.
10.RETURN: Return to previous
menu.
11. EXIT: ExittheOSDmenu.
12.VOL+/-:Adjustthevolume.
13.TV: Press this button to select TV
source.
14.REPEAT: Select between different
repeatmodes.(USBmode)
15.CH : Selectachannel.
16. : Reverseplaybackrapidly.(USB
mode)
17. :Advanceplaybackrapidly.(USB
mode)

9
En -
Remote Control
HDMI VGA USB
PREPARATION
18. : Skip to the beginning of the
previouschapter/track/photo.(USB
mode)
19. : Startplaybackorpause.(USB
mode)
20. :Stoptheplayback.(USBmode)
21. : Skip to the beginning of the next
chapter/track/photo.(USBmode)
22.A/B/C/D: Push once to select a
favorite channel; push and hold to
savecurrentchannelasfavorite.
23.MTS: Switch among different audio
channels:STEREO/MONO/SAP.
24.V-CHIP: Setupparentalcontrol.
25.CC: Closed Caption selection: ON/
OFF/CCOnMute.
26.P.MODE: Select picture mode:
Standard/Movie/Game Mode/User/
Dynamic
27.S.MODE: Select sound mode:
standard/music/movie/user.
28.SLEEP: Set the TV sleep timer:
OFF/5/10…/180/240min.
29.ASPECT: Select the aspect ratio
settings:standard/wide/wide zoom/
zoom/JUSTSCAN(HDMIOnly).
30.DISPLAY: Display the present
screen information such as the
currentchannelandinputsource.
31.AUTO: Press to adjust the picture
automaticallyinVGAsource.
32.HDMI/VGA/USB:Press the
appropriate button to change
inputs: HDMI,VGAorUSB.

10
En -
CONNECTING EXTERNAL DEVICES
Note: AudioIn(L/R)issharedwithComponent/CompositeInput.
COMPONENT/AV IN
LRY/VIDEO PB PR
OPTICAL
USB
DTV/TV

11
En -
CUSTOMIZING TV SETTINGS
Initial Setup
• Plugthepowercordintoapowersocketafteryouhavecompletedallthephysicalconnections.Oncepluggedin,the
TVwillenterStandbyModeandtheLEDindicatorwillnotilluminate.
• In Standby Mode, press the buttononthemainunitorontheremotecontroltoturntheTVon.TheLEDindicator
will turn blue,andthenturnsoff20secondslater.
• ThersttimeyouturntheTVon,itwillgointotheSetupWizard.Press▲/▼/ buttons to select your desired
mode and press OKtoconrm.
Home Mode : The picture mode will be Standard if you select this mode.
Retail Mode : Select Dynamic Mode if you would like your picture to be brighter. At times this mode may use more
energy to operate the Volume/Sound Mode and Picture Mode
• The SLEEP-MODE Power is less than 0.5 W.
5
789
• If channels cannot be found, this frame will be displayed automatically.

12
En -
CUSTOMIZING TV SETTINGS
Navigating the On-screen Display
• Press the MENUbuttontodisplaythemainmenuanduse▲/▼buttonstoselectSettings.
• Use buttonstonavigateandselecttheavailablemenus.
Note: ChannelandLockareonlyavailablewhenTVsourceisselected.

13
En -
CUSTOMIZING TV SETTINGS
Settings
Press the MENUbuttononthemainunitorontheremotecontroltodisplaythemaininterface.Thenpress▲/▼buttons
to select Settings menu and press OKbuttonstoenter.Thenuse buttonstoselectthedesiredoption.
Setup
Press buttonsuntilAudioishighlighted.PressOKtoentertheSetupoptionsscreen.Usethe▲/▼toselectthe
options listed below and then use buttonstosettheselectedoption.

14
En -
Menu Language Selectmenulanguage:EnglishorSpanish.Thedefaulton-screen
menulanguageisEnglishorEspañol.
Transparency Selecttoturnon/offtransparencyfunction.
Zoom Mode
Selectzoommode:Wide/WideZoom/Zoom/Standard.
Note: With a different input source, the zoom mode options may
differ.
VGA Setting Adjustadvancedoptionsettings:HorizontalPos./VerticalPos./
Clock/Phase/Auto.(VGAsourcemodeonly)
Closed Caption
(Available when TV
source is selected)
CC Mode Select CC mode: On, Off or CC on
Mute.
Basic Selection Basic Selection: CC1, CC2, CC3,
CC4,Text1,Text2,Text3,Text4.
Advanced Selection
Advanced Selection: Service1,
Service2, Service3, Service4,
Service5,andService6.
Option
Options: Mode, Font Style, Font Size,
Font Edge Style, Font Edge Color,
FG Color, BG Color, FG Opacity and
BGOpacity.
DLC SelecttoturnthedynamicluminancecontrolOn/Off.
Time
Sleep Timer: Select a period of time after which the TV
automaticallyswitchestostandbymode:Off/5/10/…/180/240min.
Alternative: You may press the SLEEP button repeatedly to select
thenumberofminutesdirectly.
Time Zone:SelectaTimeZone:Hawaii/Alaska/Pacic/Mountain/
Central/Eastern/Atlantic/Newfoundland.
Daylight Saving Time: SelecttoturndaylightsavingtimeOn/Off.
Other Setting
Set other settings:
HDMI EDID: selecttheHDMIversion:HDMI2.0/HDMI1.4.
HDMI-CEC: set the following settings: HDMI-CEC Control, Device
Power Off, TV Power On, Audio Receiver, HDMI-CEC Device List,
RootMenu.
DBC: SelecttheDynamicBacklightControlbetweenOn/Off.
Input Label: Rename the source: HDMI1/HDMI2/HDMI3/
Component/AV.
Selecting the options of these sources among: HDMI1/HDMI2/
HDMI3/Component/AV/Satellite STB/Cable STB/Blu-ray/DVD/VCR/
Game/Computer.
Auto Input Sensing: When Auto Input is on the TV will
automaticallydetectconnectedinputsources.
Restore Default RestoretheTVtofactorydefaultsettings.
CUSTOMIZING TV SETTINGS

15
En -
Press buttonsuntilAudioishighlighted.PressOK toentertheAudiooptionsscreen.Usethe▲/▼toselectthe
options listed below and then use buttonstosettheselectedoption.
Audio
Audio Mode
Allow the selection of an audio-enhancement technique: Standard/
Music/Movie/User.
Alternative:YoumaypresstheS.MODEbuttonontheremoteto
selectsoundmodedirectly.
Bass Controltherelativeintensityoflower-pitchedsounds.
Treble Controltherelativeintensityofhigher-pitchedsounds.
Balance Adjust the relative volume of the speaker in a multiple speaker
system.
SPDIF Mode SelectthedigitalaudiooutputmodebetweenRAW/PCM.
Surround Sound Provide an enhanced listening experience
Auto Volume Volumelevelsareautomaticallycontrolled.
Audio Language
(Only available
when TV source is
selected)
SelectaudiolanguageamongEnglishandSpanish.
CUSTOMIZING TV SETTINGS

16
En -
Press buttonsuntilPictureishighlighted.PressOKtoenterthePictureoptionsscreen.Usethe▲/▼toselectthe
options listed below and then use buttonstosettheselectedoption.
Picture
Picture Mode
Cycle among picture mode: Standard/Movie/Game Mode/User/
Dynamic.
Alternative:YoumaypresstheP.MODEontheremotetoselect
thepicturemodedirectly.
Contrast Adjustthedifferencebetweenlightanddarklevelsinthepicture.
Brightness Increaseordecreasetheamountofwhiteinthepicture.
Color Controlthecolorintensity.
Tint Adjustthebalancebetweenredandgreenlevels.(ForAVmode
and ATV mode)
Sharpness Adjust the level of crispness in the edges between light and dark
areasofthepicture.
Color Temp. Cycleamongcolortemperatures:Cool/Normal/Warm.
Blue Screen Allow the blue background to turn On/Off during weak or no signal
conditions.
Advanced Settings
Noise Reduction: Reduce the noise level of the connected
device:Off/Weak/Middle/Strong.
White Balance:Adjuststhewhitebalance.
Color Management System: To set Color Mode, Color, Hue,
Saturation,Brightnessorresetthecolorspace.
Color Space: SelectbetweenWideorStandard.
Backlight: Toadjustthebacklight.
Gamma:Tosetthevalueofgamma:2.0/2.2/2.4.
Factory-reset:ResettheTVtofactorydefaultsettings.
MEMC Cycle among Motion Estimate and Motion Compensation modes:
Off/Low/Middle/High.
CUSTOMIZING TV SETTINGS

17
En -
Air/Cable SelectantennaAir/Cable.
Auto Scan SelecttheAutoScanfeaturetoscanyouravailableair/cablechannels.
Channel List Displaythechannellist.
Favorite Settheselectedchannelasafavoritechannel.
Show/Hide Show/Hidetheselectedchannel.
Channel Number Displaythecurrentchannelnumber.
Channel Label Displaythecurrentchannellabel.
Signal Information Displaythecurrentsignalinformation.
Press buttonsuntilChannelishighlighted.PressOKtoentertheChanneloptionsscreen.Usethe▲/▼toselect
the options listed below and then use buttonstosettheselectedoption.
Channel
CUSTOMIZING TV SETTINGS

18
En -
Press buttonsuntilLockishighlighted.PressOK toentertheLockoptionsscreen.Usethe▲/▼toselectthe
options listed below and then use buttonstosettheselectedoption.
Note: The default password is “0000”.
Lock
Change Password Use 0-9 buttons to input the old password and then input the new
4-digitpassword.Re-enternewpasswordforconrmation.
System Lock
Selecttoturnon/offsystemlock.Thefollowingoptions
(US, Canada, RRT Setting and Reset RRT) will only be accessible
whenyouturnthesystemlockon.
US TV TV RATING: Press OK button to lock or unlock TV
rating.
MPAA SelectMPAArating:N/A,G,PG,PG-13,R,NC-17,orX.
Canada
Canada
English
Select MPAA rating for English-speaking Canada : E,
C,C8+,G,PG,14+,18+.
Canada
French
SelectMPAAratingforQuebecCanada:E,G,
8ans+,13ans+,16ans+,18ans+.
RRT Setting SetRatingRegionTable.
Reset RRT SelecttoresettheRRTsetting.
Clear Lock Clearalllocksettings.
CUSTOMIZING TV SETTINGS

19
En -
Press buttonsuntilUserGuideishighlighted.PressOKtoentertheUserGuidetoviewtheelectronicusermanual.
Use & Care Guide
Source
Press MENUbuttononthemainunitorontheremotecontroltodisplaythemainmenu,thenpress▲/▼buttonsto
select SOURCE, select the desired input source among TV/Component/AV/HDMI 1/HDMI 2/HDMI 3/VGA, and then
press OK buttontoconrm.
Note: If Auto Input is selected in the setup menu, only connected inputs will be highlighted when selected in the source
menu.
CUSTOMIZING TV SETTINGS
This manual suits for next models
2
Table of contents
Languages: