Kikko WXX User manual

User Manual
Model WXX

Thank you for purchasing your Kikko GPS watch.
The Kikko watch is a small data and voice tracking device which has been developed for personal
positioning. It is based on the existing GSM/GPRS network and GPS satellites.
There are no tie-in contracts, just ensure you load a small data bundle and preferred airtime for phone calls.
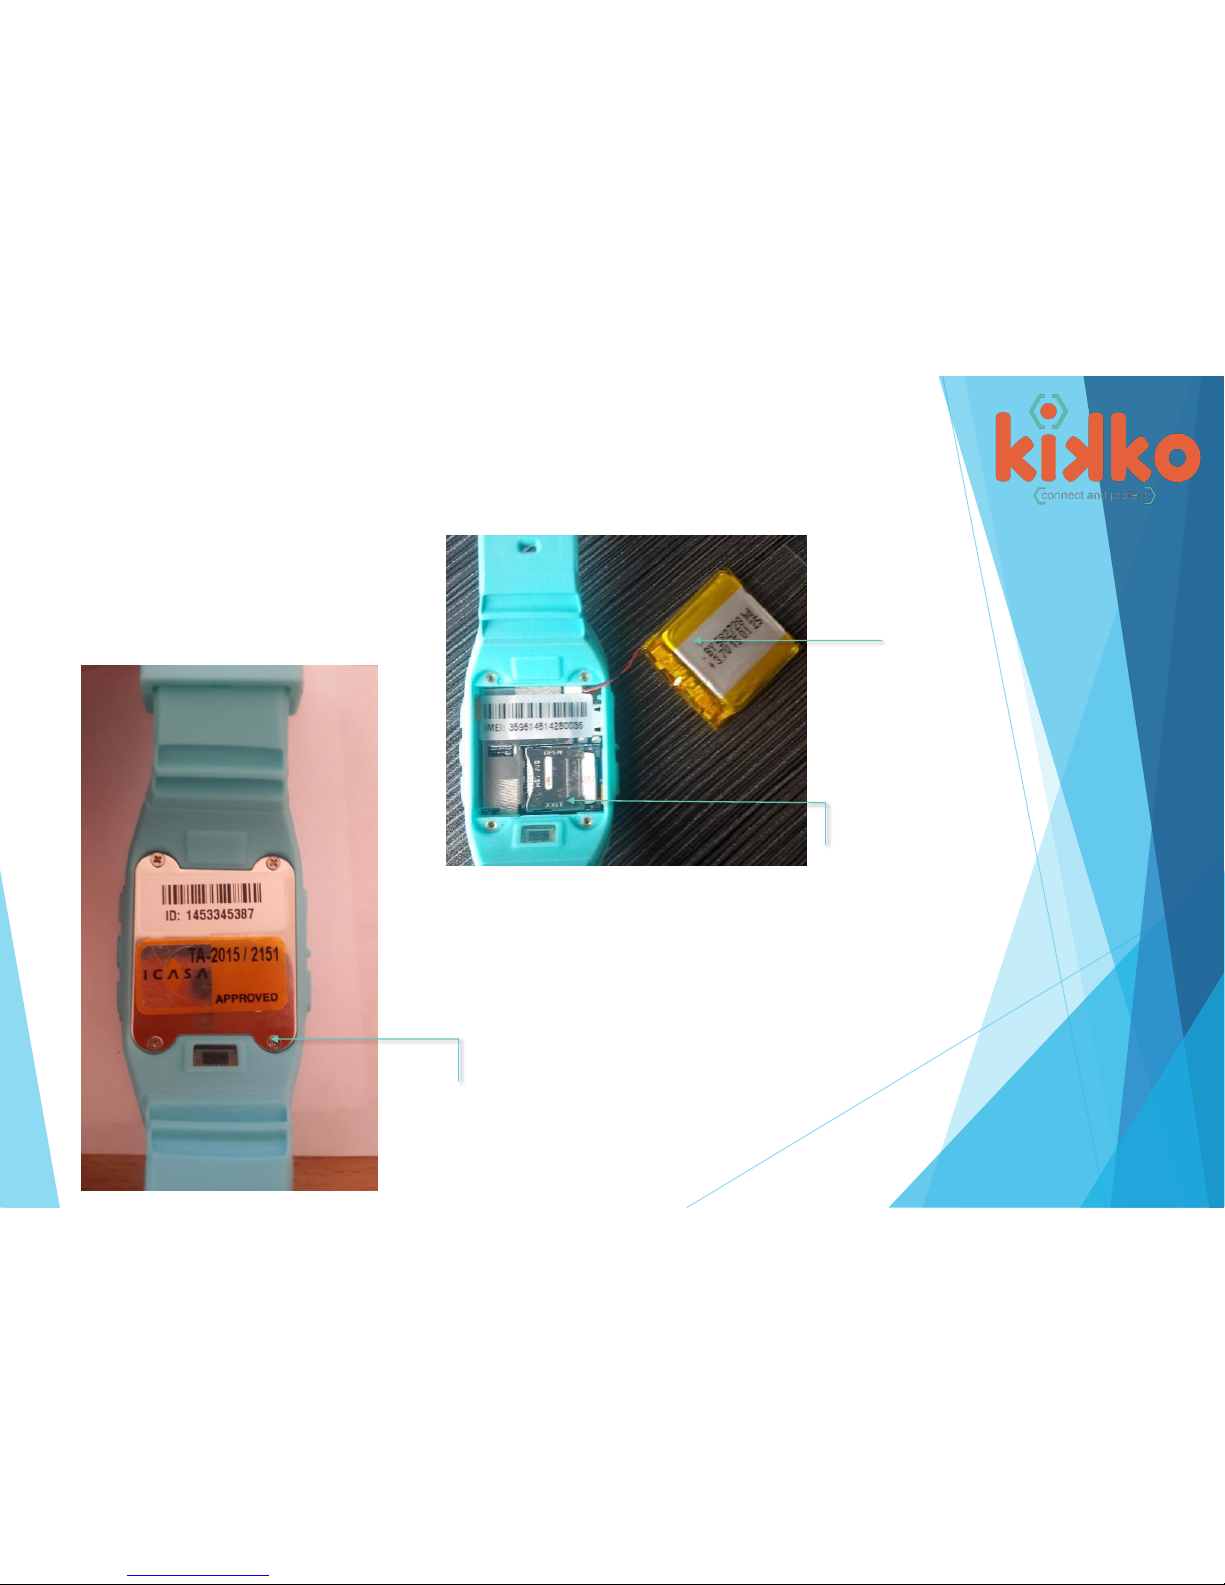
All GPS devices requires a SIM card to transmit the GPS coordinates to a designated server by GPRS which we as
Kikko provide with your purchase. We use Vodacom by default.
Please Remember
- Make sure your device is charged
- Sim card provided please make sure to Rica your sim card first
- (ensure when visiting your Rica store to take along proof of residence no older than 3 months and your id)
- Make sure you load airtime + data bundle
- Make sure you the device is switched on and has signal.
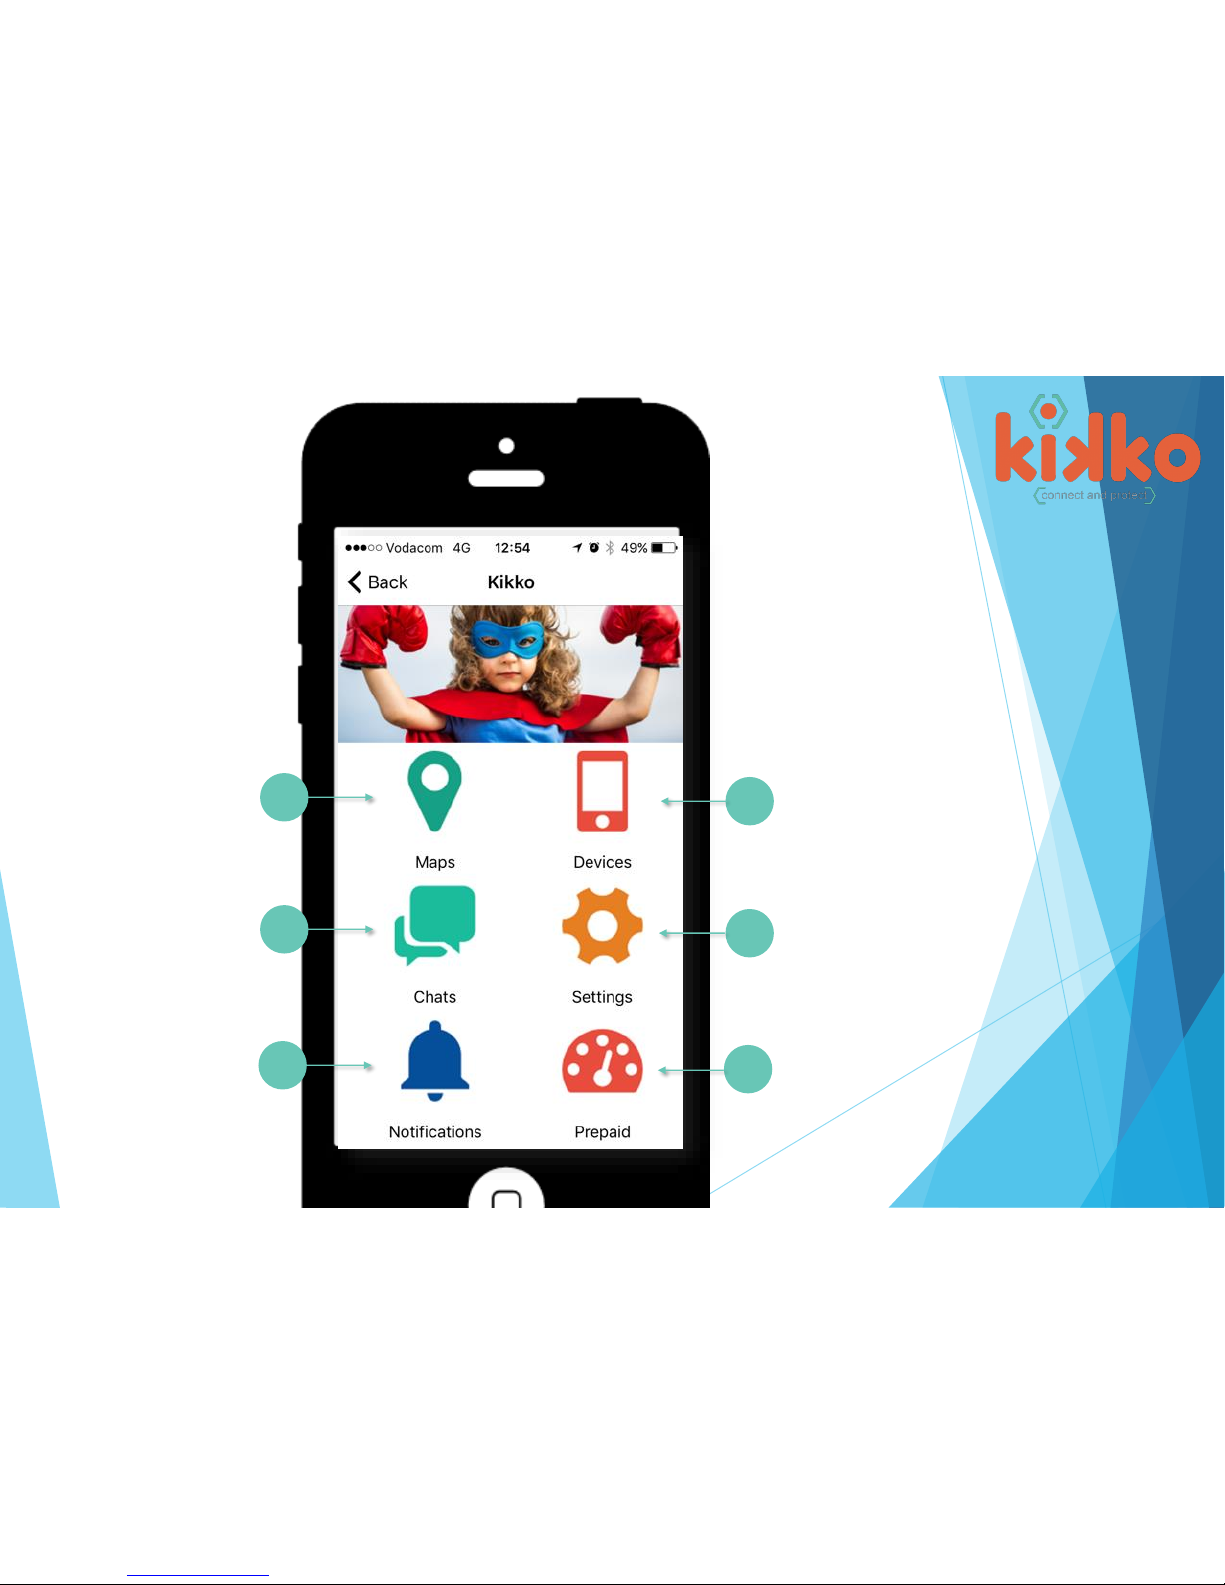
- Make sure after each setting saved on the app, you get a Set OK afterwards.
- Make sure you put a screen protector on (provided in the tin)
-Do not use a power bank or car charger to charge the watch.
- The device is water resistant IP63, NOT WATERPROOF - NO swimming or bathing.
- It is splash proof but be VERY careful, accidents happen very quickly, rather safe than sorry.
-Don’t use on airplanes, switch off.
- The device will not function 100% if there is weak/ no GPS/no GSM signal.
- Kikko does not accept any liability or responsibility for the use of the Kikko watch. You are using the
- device solely at your own risk.
Important To Remember
1

Speed Dial 1
Phonebook Scroll
Volume +
Speed Dial 2
Phonebook
Call From Phonebook
Volume -
Power On
Voice Message Record
Charging Unit
SOS / Panic
Answering phone calls
GSM Signal Strength
GPS / LBS
Battery Level
Time Pedometer
(will not display if not activated)
Date
Speaker
Microphone
Watch Display / Button Functions
2

How to insert the Sim card
Loosen all 4 screws,
and remove the plate
Gently Remove the battery
(preferably with a tweezer)
Gently lift the sim tray,
And insert the sim card

Find the app in your Google Playstore or iOS App Store
You can aso scan the barcode for the app.
1. Click on Register
2. Enter Device ID (on back)
3. Enter Device nr (nr of watch)
4. Enter Device Name (Child Name)
5. Enter Your email
6. Enter Your Name
7. Enter Your Surname
8. Enter Your Phone nr
9. Enter a unique password
10. Confirm password
11. Click on Register
Now you can log in with your
Email and unique password.
2
3
4
5
6
7
Download + Register
1
8
9
10
11
3

Maps / Track / GEO 1
Home Screen
Chats / Voice / Call 3
Notifications 3
Device Manager
1
Device Settings
3
Prepaid /
Still to come
3
4

GEO Fence Management
Manage your multiple GEO Fences
1
2
3
Track / History
View a Track History of the device’s movements
Refresh Device Locations
Refresh Device Locations in between work modes
1) Maps Please note, in the map view you will be able to see all the
devices added Under devices (2)
PLUS your own device. Click on a pin to view which device it is,
you will notice the location icon
is either red, blue, green.
Your own location based on your phones gps
Device location –GPS satellites, accurate 5-15m
Device location –LBS cellphone towers, accurate 100-1000m
12
3
In the map you can zoom in and out + pan
As you would normally do on your smart phone.
ALWAYS make sure if the location is GPS or LBS
ALWAYS make sure of the date and time of the location 5

You can set multiple GEO Fences with time periods
That the fence needs to be active.
When all your fences are set you will see it here in a list
You can manage fences by selecting one.
1
1) Map / GEO Fence
click on Add Geo Fence
6

Select your desired radius by
Sliding the button
1
1) Map / GEO Fence
Click Next
2
Give a name for the fence
3
Active From Time
4
Active To Time
5
Select Device to add Fence to
6
Click on Save to save your fence settings
7
1
2
3
4
5
6
7
7

Select the From date
1
2
3
4
Select the To date
Select the device you want to track
Click Track
1) Map / Footprint
8
Select Track from your map interface (p.5) to
View the movement history of a device.
1
2
3
4

2) Devices - Adding Device
9
You can add and manage your devices here.
Note that you an see the
Battery levels of each device.
Click on Add Device to add a new device
OR
Click on any device already added to manage
The device

2) Devices - Adding Device
10
You need to enter the following information
in order to add a device.
Enter the ID nr of the device (on the back)
1
2Enter the phone nr of the device
3Enter a name for the device (child’s name)
4Click add to Add the device

2) Devices - Manage Device
11
Managing your device (Please
note; Remove Device is on its way)
You can edit the device serial nr
1
2You can edit the phone nr of the device
3You can edit the name of the device
4Click to Reset watch –all the info will be reset
4Click to Remotely shutdown the watch
(You can not switch of the watch by itself
4Click to Save new information set

3) Chats & Call
12
You can sent a 15 character text or 15 seconds voice message to the watch
First you need to select your device
1
2You can view the previous chats in the
Main window
3You can enter your text to sent here
4Press Send to sent text, wait 30sec
5To make a voice call to the device, click Call
4Start Recording to record voice message

3) Chats & Call
13
You can sent a 15 character text or 15
second voice message to the watch
First you need to select your device
1
2Contacts –Input the name and nrs of
People you authorise that may call the
The device and that the device may call.
3Notifications –you will see all the recent
Notifications –Low battery, on/off arm, SOS
4SOS –You need to enter up to 3 numbers
That will be notified when the SOS has been
Activated. Nr 1 will be called from the watch.
5Select your Time Zone here( RSA GMT +02:00)
4Work Mode, client needs to select the
Intervals that the watch needs to acquire
A position, the more frequent set, the
Faster the battery will run out.
1 Hour –when in safe environment
10 min –when moving outside of safe environment
1min –when in danger or busy
Environment.

Additional Information
•Our app is in developing phase and a lot more convenient features
are on the way
•Please note again that the devices are NOT WATERPROOF
•Please do not charge with a power bank or car charger
•When your device does not switch on, make sure it is charged, if no luck, you need to
contact the repair guys.
•When your device says Network Error, please make sure the device is switched on,
it has airtime on and the device has signal
•Since the devices are for children, we are aware of unplanned accidents and we need to
be prepared. We have technical guys that are equipped to do basic repairs.
•Please email us for the technical guys details at [email protected]a
Table of contents