OPERATION
INSTALLING CHUCK & CHANGING DRILL BIT
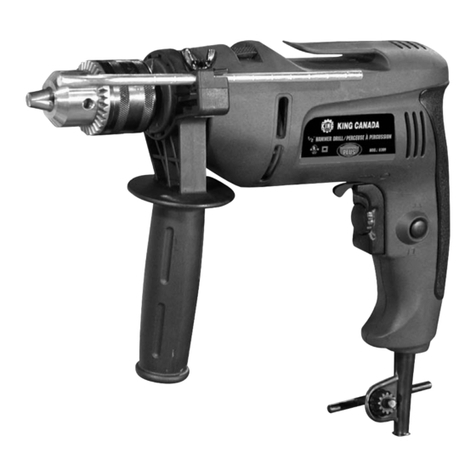
•To install 1/2” chuck to the drill, first make sure the
mixing paddle collet adaptor is not installed on
the drill. Simply screw the chuck on the drill shaft.
•To install a drill bit, first clean and remove any
foreign objects away from the drill bit and chuck,
otherwise the bit might not be tightened
securely and thus producing unsatisfactory
results and possible injury.
•Insert the drill bit into the chuck, make sure that the drill bit is in as far as it will go.
•Place the chuck key in one of the 3 holes, then tighten all three jaws of the chuck by
rotating the chuck key clockwise.
•When dismantling the drill bit, loosen the three jaws with the chuck key, then remove the drill bit.
NOTE:Always remove chuck key before restarting drill.
•To remove the chuck from the drill, completely open the chuck jaws, then position the
adjustment key (3) on flat of drill shaft, turn chuck body counterclockwise to unscrew
chuck from drill shaft.
INSTALLING MIXING PADDLES
Warning! For your own safety, before proceeding to a mixing operation, it is highly
recommended to use both the D-handle and the 3 position handle.
This mixing drill is designed to mix liquid or powdery building materials such as paint,
mortar,adhesive, plaster and similar substances.
Toachieve the required mixing consistency,the
correct mixing paddle must be installed. Below is a
list of recommended usage:
Mixing paddle A-Paint, lacquer, glazzings, paste.
Mixing paddle B-Paint, ready mix plaster/drywall.
Mixing paddle C-Tile adhesive, ready mix mortar
and pointing mortar.
•Toinstall a mixing paddle to the drill, first make
sure the drill chuck is removed.
•Then install the mixing paddle collet adaptor (1)
by threading it onto the drill shaft. Securely
tighten the collet adaptor using the 2 adjustment
keys (2 & 3), one key on the flat of the collet
adaptor and the other on the flat of the drill shaft.
•Install the required mixing paddle (4) to the collet
adaptor.
Reminder:
•Before mixing material,always remember to
start or stop the tool while the mixing paddle is
emerged in the material. Make sure your mixing
bucket is set on a leveled and firm surface.
MAINTENANCE
MAINTENANCE
IMPORTANT:To assure product SAFETY and RELIABILITY, repairs, maintenance and
adjustments should be performed by an authorized service center or other qualified
service technician, always using identical replacement parts.
1. Air vents of the tool should be cleaned regularly to avoid overheating of the motor which
is caused by the blocking of the air vents.
2. DON’T clean this tool with water, as no liquid is allowed in the tool body. Clean the tool
with a dry clean cloth only. Compressed air at low pressure is also suitable.
3. DON’T allow petroleum based products to come into contact with the plastic parts of
the tool, as they contain chemicals that can damage or destroy the plastic parts.
CARBON BRUSHES
Remove and check the carbon brushes regularly (normally after 50 hours of use). The
carbon brushes are installed inside the motor housing. Using a screwdriver, remove the
4pan head screws that hold the motor housing cap in place.
Remove the carbon brush from the motor housing and inspect it. Repeat this step for the
second carbon brush. Carbon brushes need to be replaced once they wear down to the
small limit mark. Keep the carbon brushes clean and free to slip in the holders.
If they have worn down to the limit mark, purchase a set of identical replacement carbon
brushes (both carbon brushes should be replaced at the same time). Install new carbon
brushes and reinstall the motor housing cap using the 4 pan head screws.
If you are unsure about these instructions, we recommend that you get a qualified
service technician to replace the carbon brushes. Contact a King Canada service centre.
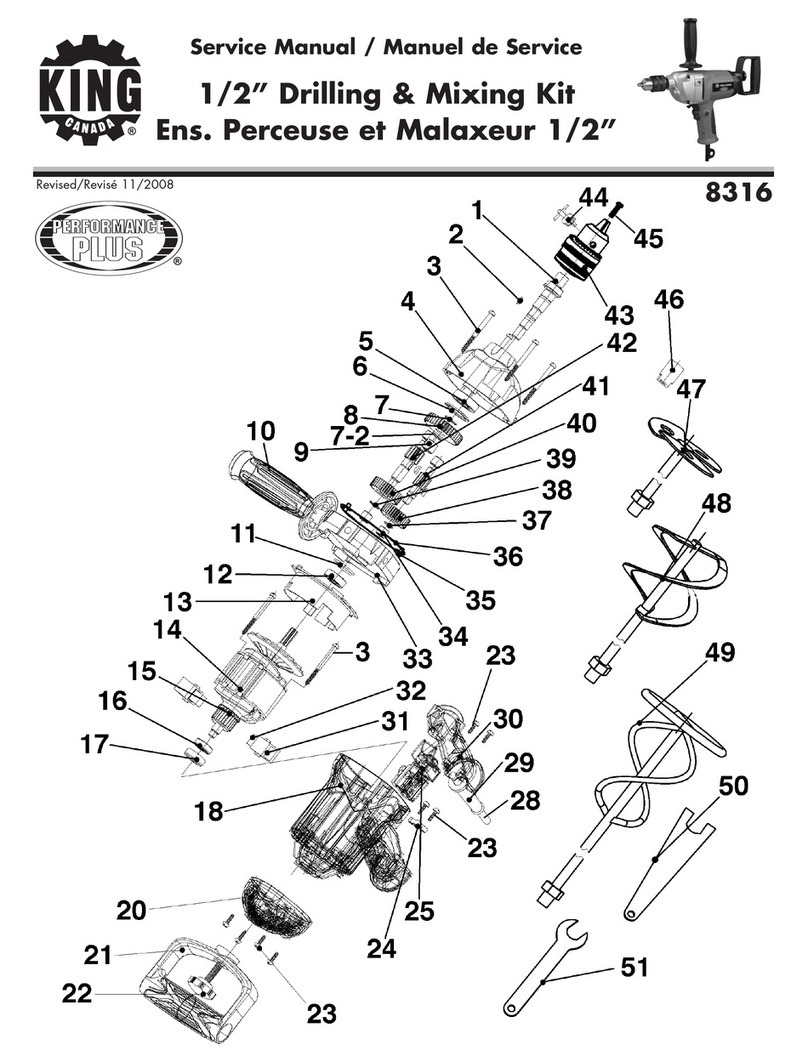
PARTS DIAGRAM & PARTS LISTS
Refer to the Parts section of the King Canada web site for the most updated parts
diagram and parts list.
