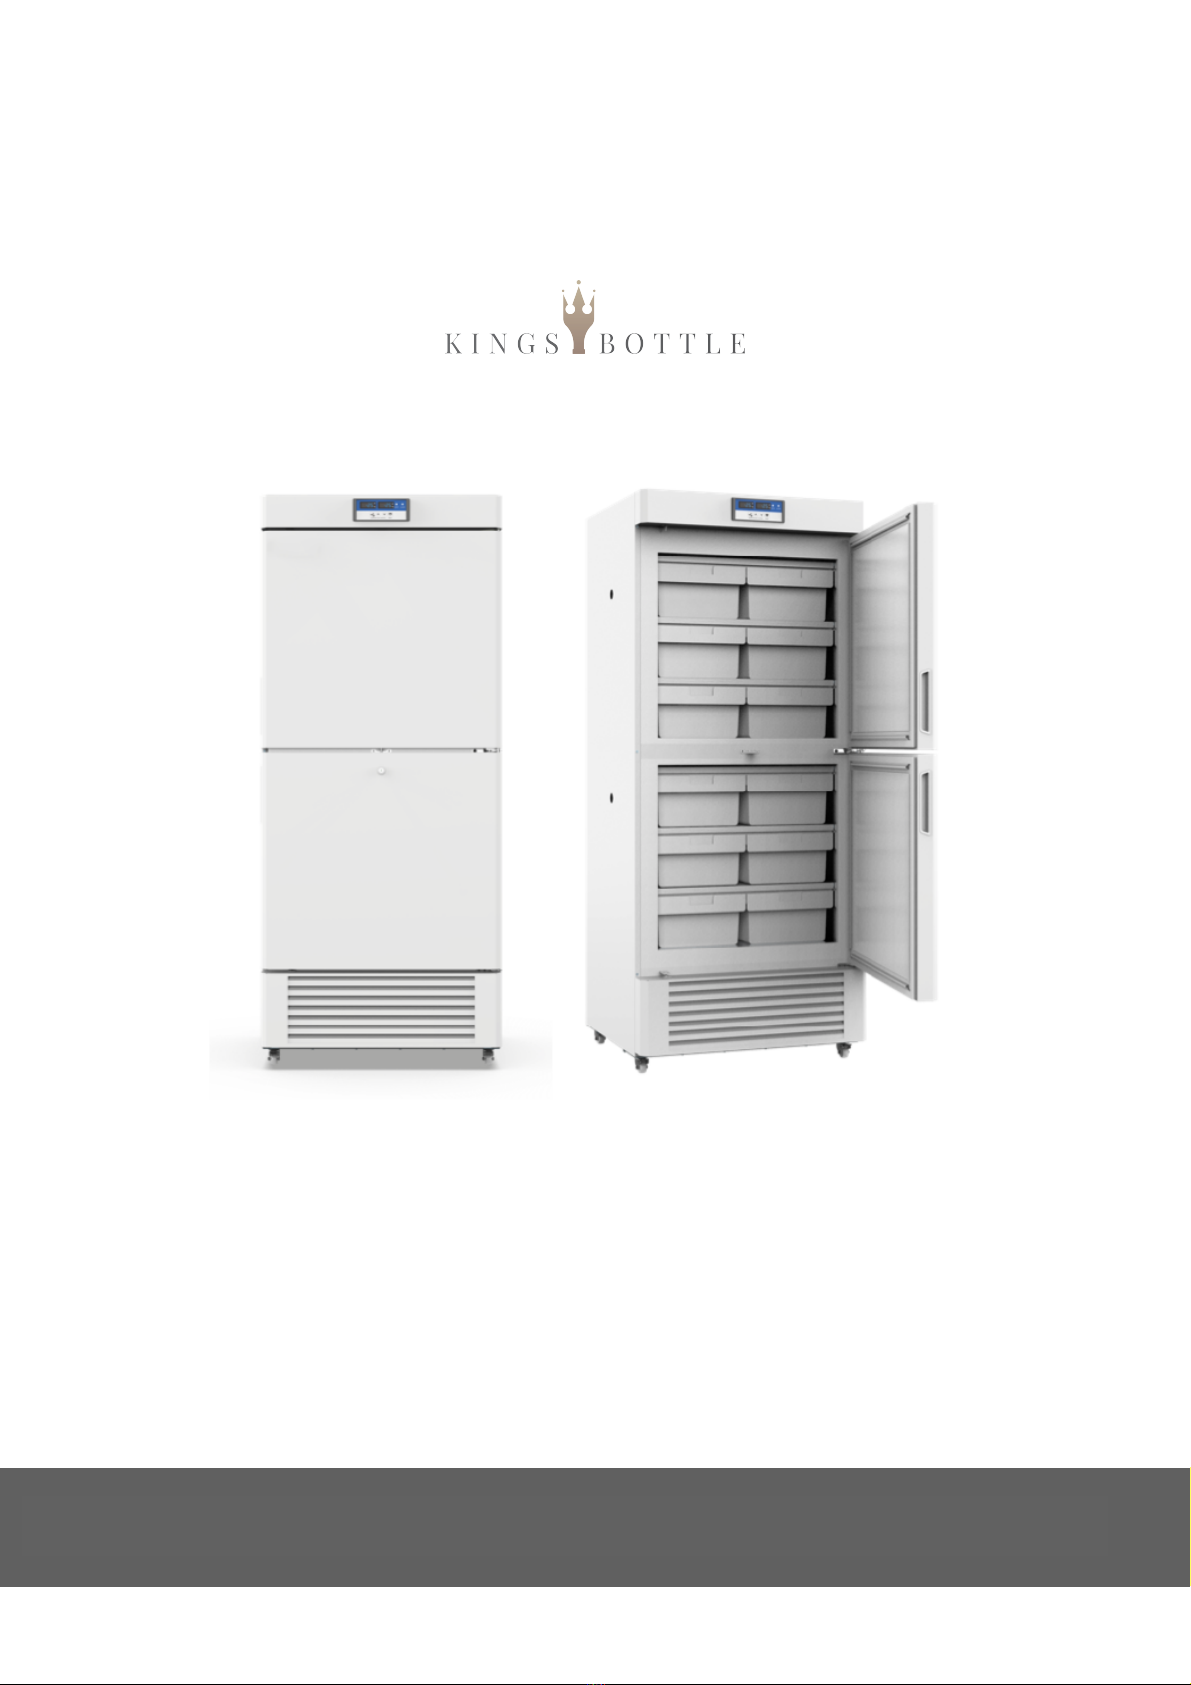
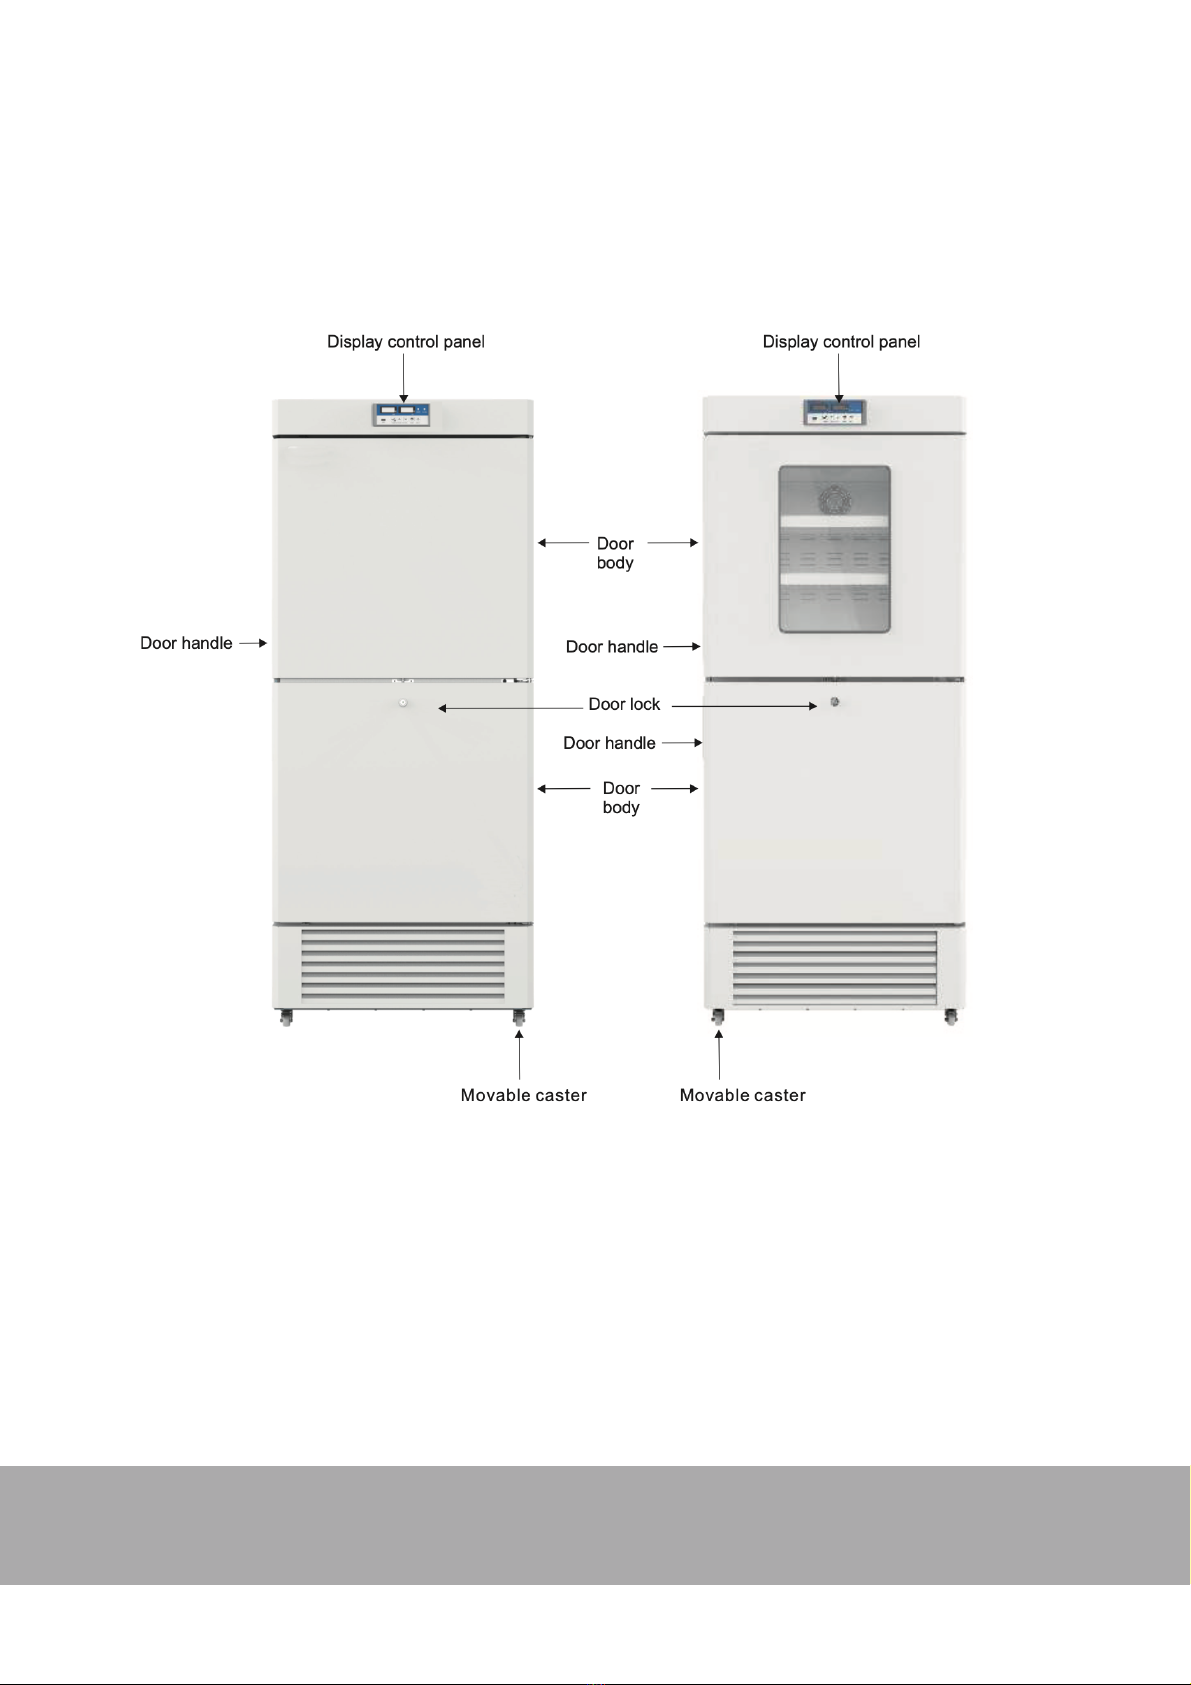
PART I PRECAUTIONS FOR SAFE OPERATION
Please read this user manual carefully and store near the device for
quick referral. The following symbols will be used throughout this
manual:"
WARNING
Failure to observe WARNING signs could be hazardous to
personnel, possibly resulting in serious injury or death.
CAUTION
Failure to observe CAUTION signs could result in injury to
personnel and damage to the unit or associated property.
CAUTION HOT
This sign informs the user about the danger of burns from
high temperatures.
DANGER OF EXPLOSION
This sign is a warning of the application of volatile or
explosive chemical substances.
DO NOT TILT
AVOID DIRECT SUNLIGHT
WARNING
•Failure to observe the WARNING signs could be
hazardous to personnel, causing serious personal injury or
even death.
•Because of the presence of carbon dioxide, it is necessary
to evaluate the worksite to ensure proper ventilation. If
ventilation seems to be restricted, consider other ways to
ensure a safe environment: atmospheric monitoring or
other warning equipment.
•Do not touch any electrical parts (power supply plug or
any switches) with a wet hand. This can cause electric
shock.
•Only qualified engineers or service personnel should install
this unit. Installation by unqualified personnel may cause
adverse events like electric shock or fire.
•Be sure to install the unit on a sturdy floor. If the floor is not
sturdy or the installation site has inadequate flooring, the
unit may fall or tip over resulting in injury.
•Be careful with the power cord to avoid short circuits or
open circuits. When removing the plug from the power
outlet, grip the plug and not the cord. Pulling the cord my
result in electric shock or fire.
•When installing the unit, do not push the power line up
against the wall or other furnishings. Leave room for the
compressor and heat source as well.
•Use the dedicated power supply according to the
instructions on the rating level provided with the device. If
you exceed this value, a performance transformer or
appropriate voltage regulator should be installed to ensure
safe operation. Otherwise, this may cause damage to the
freezer or injury to the user.
•Do not tilt the device or hit the device for any reason.
Because of the registration system, unexpected vibration
can damage the freezer.
•To avoid overheating, short circuits, or other dangers,
install the device in a dry, dust-free environment.
•If the unit makes unexpected sounds, smells, or smoke
when turned on, unplug the unit and contact the
manufacturer or supplier. Continued operation may cause
electric shock or fire.
•Install freezer in a dry and ventilated environment to ensure
proper ventilation of the unit. Using the device in a poorly
ventilated environment may cause damage by the release
of heat.
•Do not disassemble, repair, or modify the unit yourself. Any
such work carried out by unauthorized personnel may
result in fire or injury due to malfunction of the unit.
•Storing volatile or flammable substances in this unit may
cause an explosion or fire. Storing corrosive substances in
this unit may lead to damage to the inner components or
electrical parts.
•Ensure a safe environment when dealing with poisonous,
radioactive, or other harmful substances. Improper use
can have a detrimental effect on your health or
environment.
•Do not ground the unit near a gas pipe, water main,
telephone line, or lightning rod. Such grounding may cause
electric shock in the case of an incomplete circuit.
•Use a power supply outlet that is properly grounded to
prevent electric shock. If it is not grounded, it will be
necessary to install a ground by a qualified engineer.