OPERATING INSTRUCTIONS
Airflow direction control
Adjust th e air f lo w direct io n p ro perly ot he rwise, i t
might cau se di sc omfort or c ause unev en r oo m
tempera tu re s.
Adjust th e hor iz ontal louv er u si ng the remote
control le r.
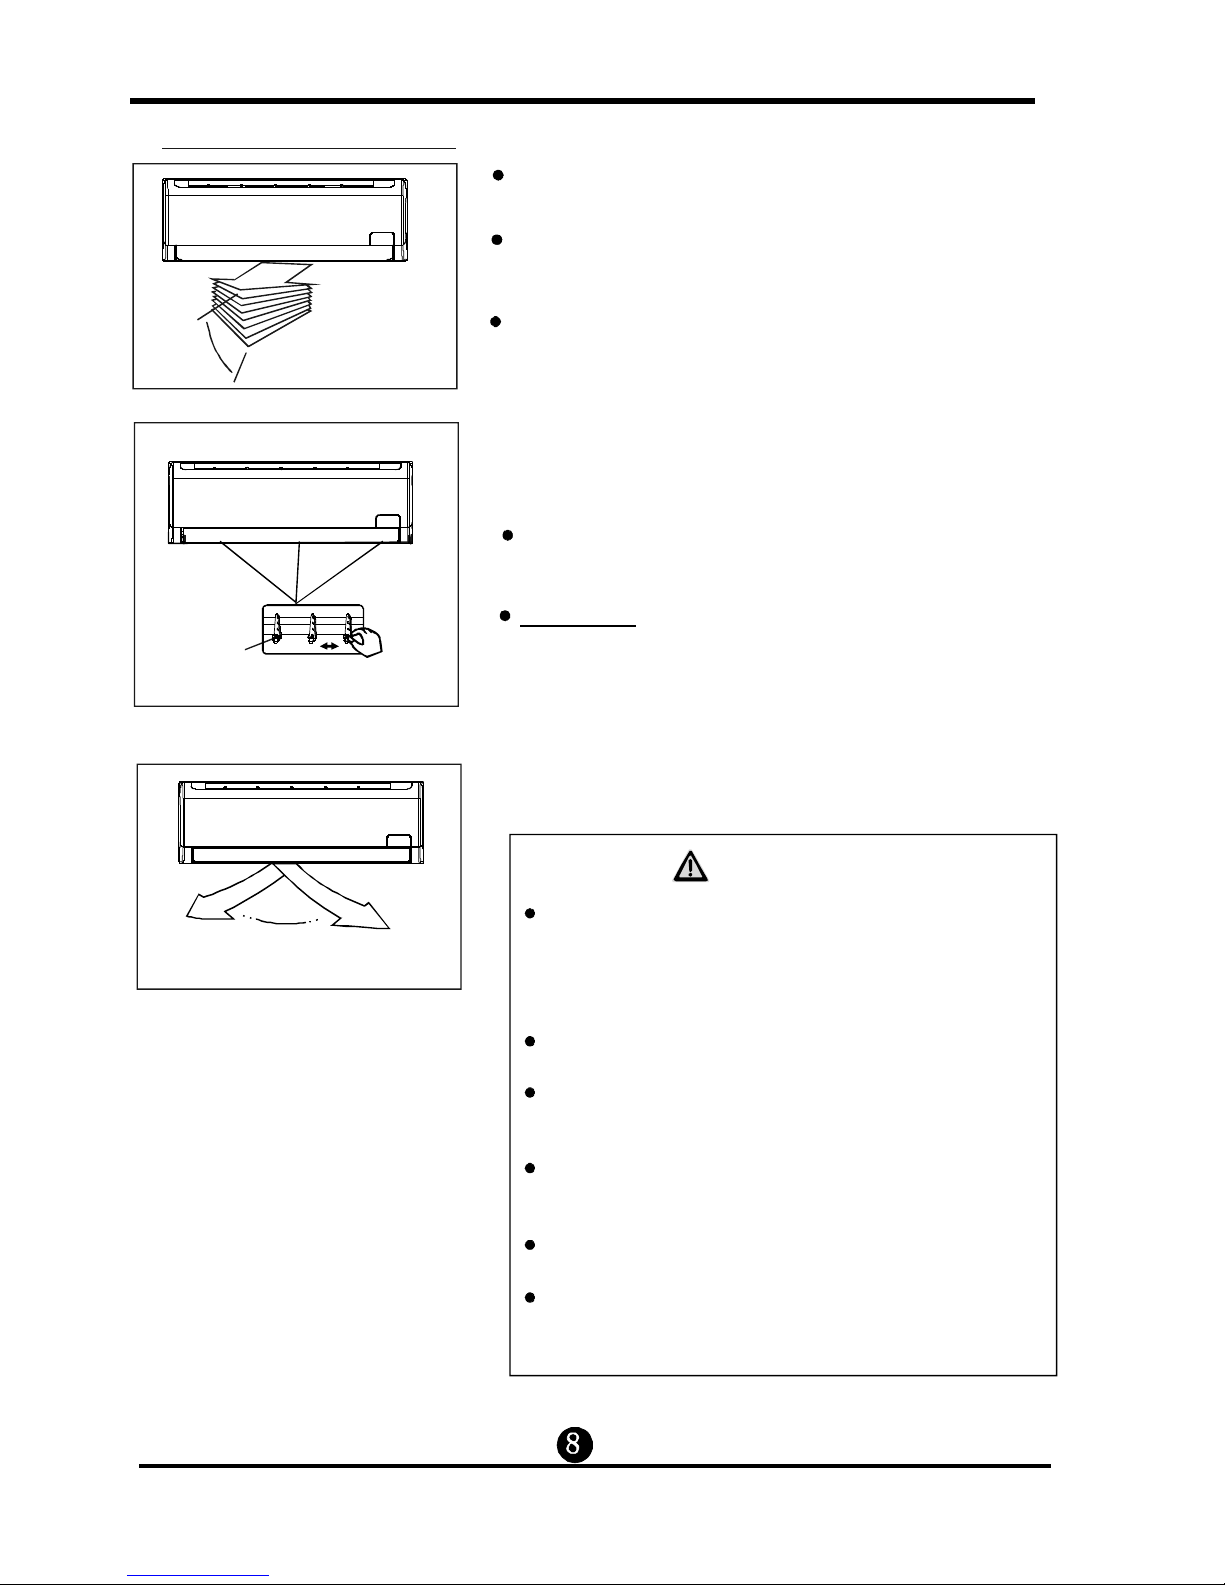
Adjust th e vertical lo uver m an ually.
To set the ve rt ic al air flow( Up -- Do wn) d ir ec tion
Perform t his functio n while th e u nit is in operati on .
Use the re mo te c on tr oller to adju st t he a ir flow
directi on . Th e h or iz on ta l louver can be m ov ed a t
a range of 6 O fo r eac h pr ess, or s wi ng u p and d ow n
automa ti ca ll y. Please ref er t o th e REM OT E
CONTRO LL ER O PE RATION MANU AL for detai ls .
To set t he horiz on ta l a ir f lo w directio n ( le ft - r ig ht)
Move t he v ertical lo uv er ma nually to adju st th e ai r
flow i n th e directio n you p re fer.
Before ad ju st in g the v er ti cal louver s,
the su pp ly p ow er must b e disconnect ed .
For some m od el s, t he vertic al l ou ve r can b e ad ju st ed
by using t he r emote contr ol le r.P lease refe r to th e
REMOTE C ONTROLLE R OPERATIO N M AN UA L
for deta il s.
IMPORTA NT :
Do not operate the air conditioner for long periods with
the air flow direction set downward in cooling or
dehumidifying mode. Otherwise, condensation may
occur on the surface of the horizontal louver causing
moisture to drop on to the floor or on furnishings.
Do not move the horizontal louver manually unless it is
necessary. Always use the remote controller.
When the air conditioner is started immediately after it
was stopped, the horizontal louver might not move for
approximately 10 seconds.
Open angle of the horizontal louver should not be set
too small, as COOLING or HEATING performance may
be impaired due to too restricted air flow area.
Do not operate unit with horizontal louver in closed
position.
When the air conditioner is connected to power (initial
power), the horizontal louver may generate a sound for
10 seconds, this is a normal operation.
CAUTION
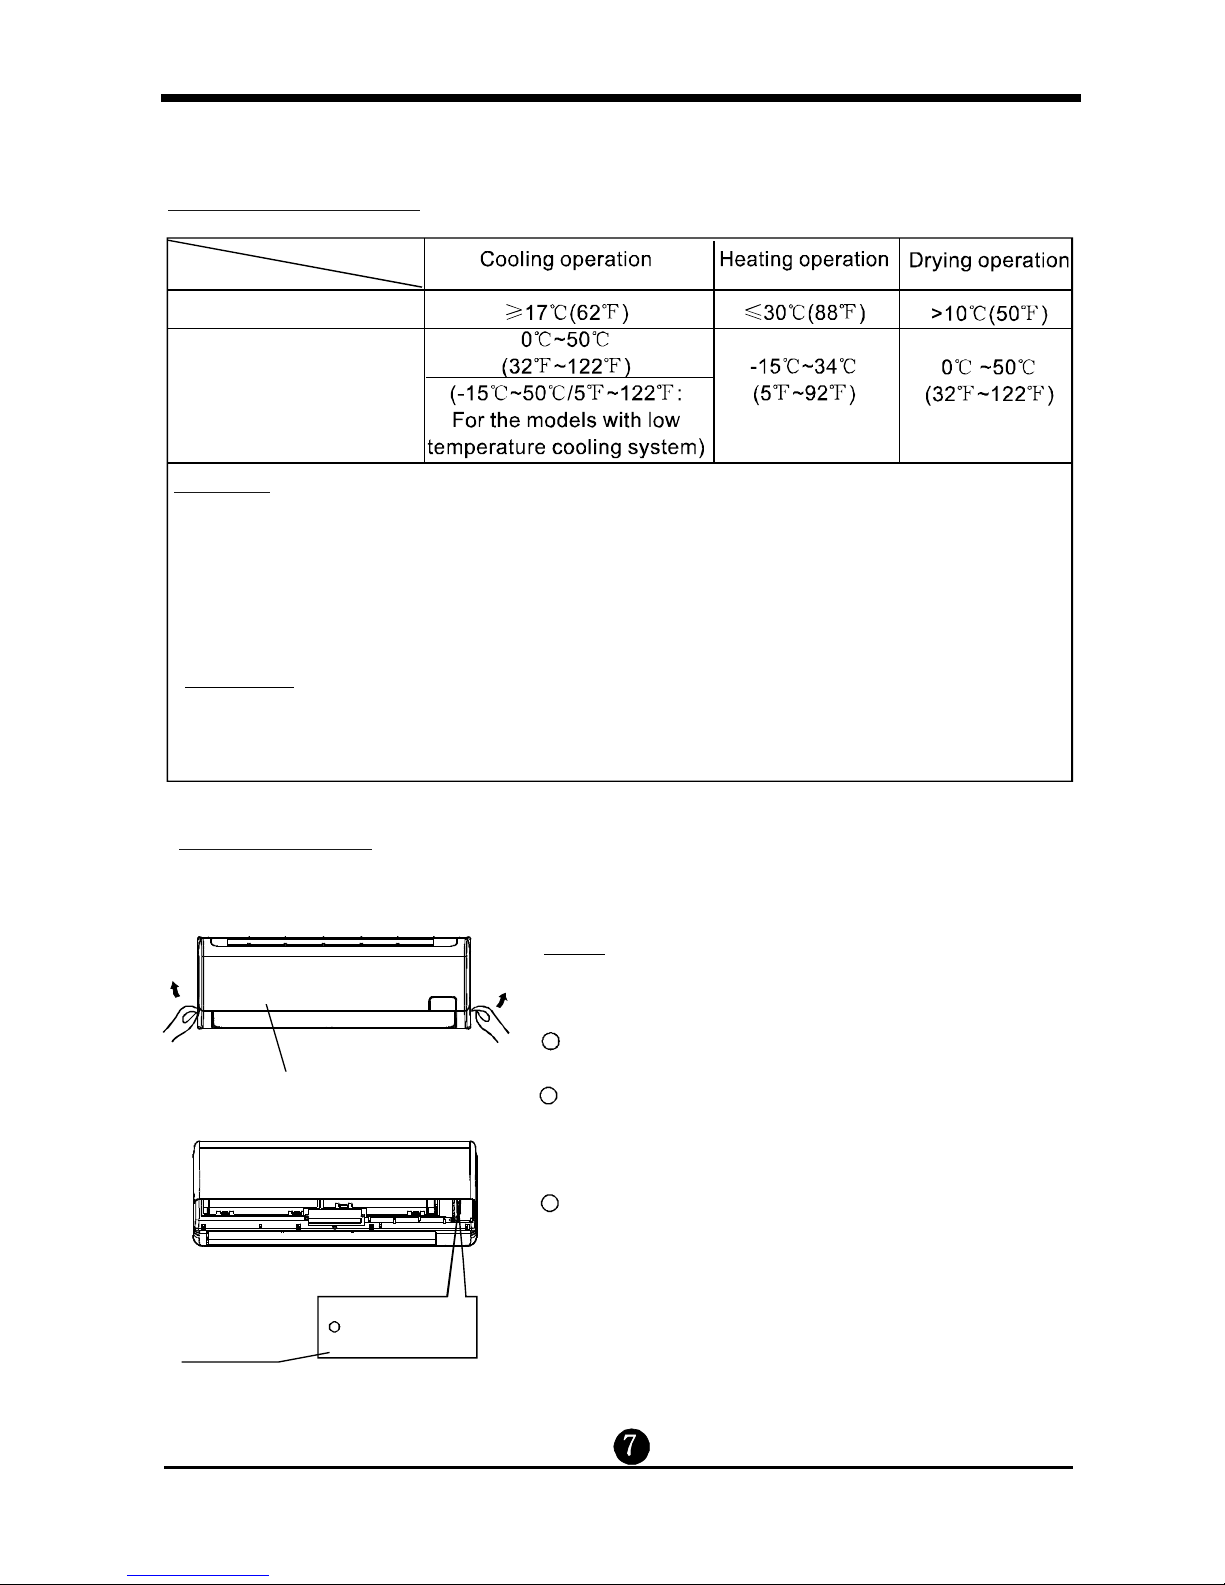
Range
Range
Vertical
louver
(three places)