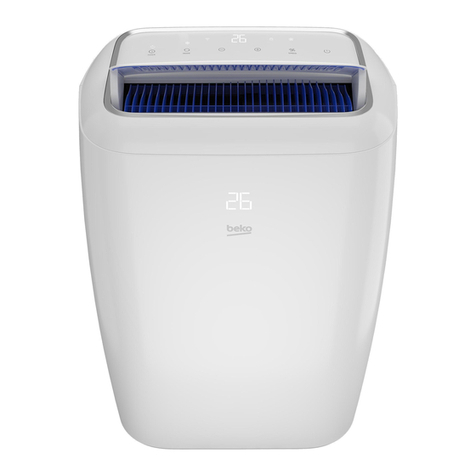
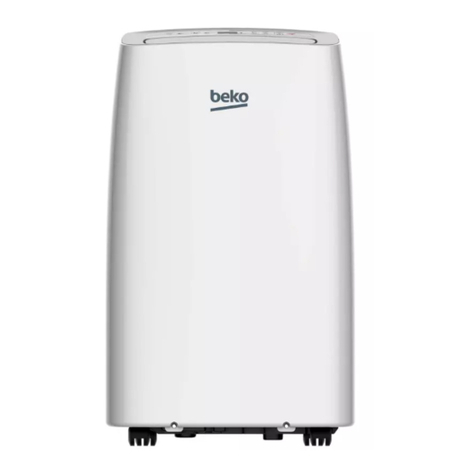
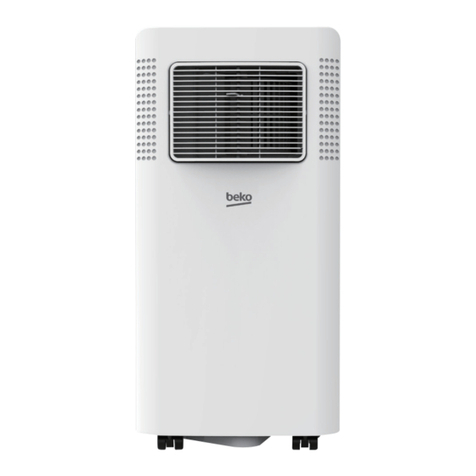
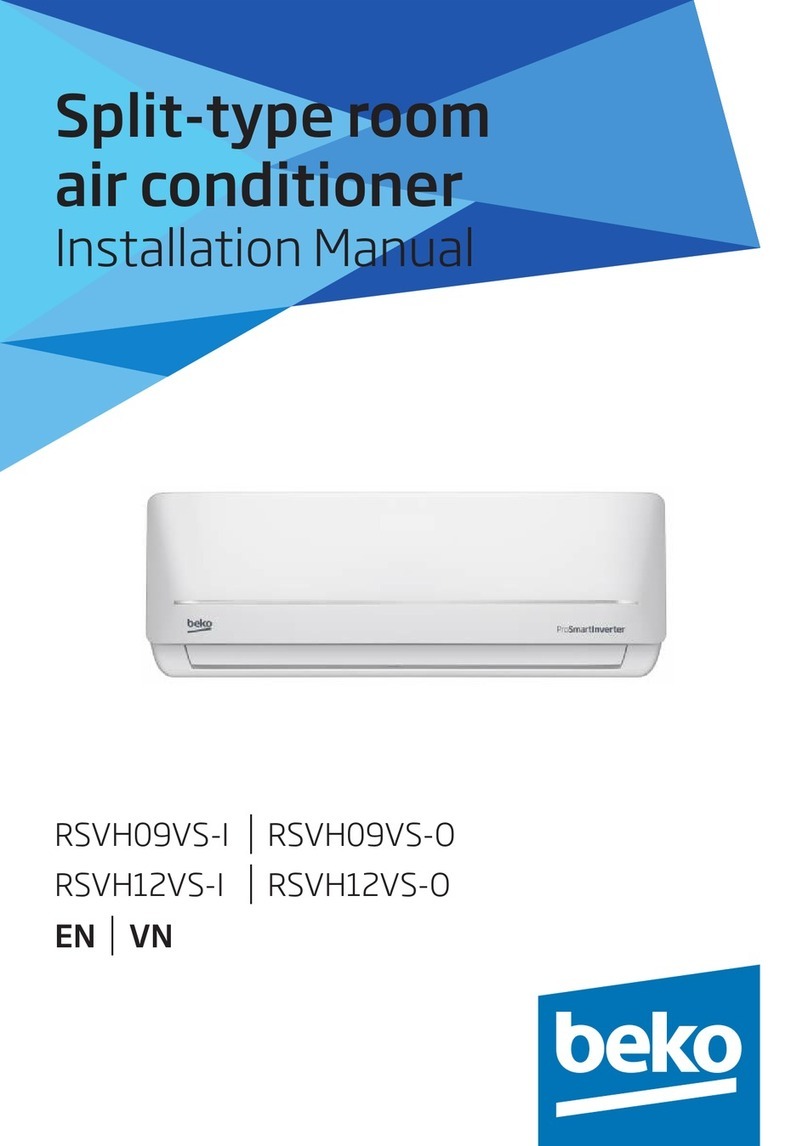
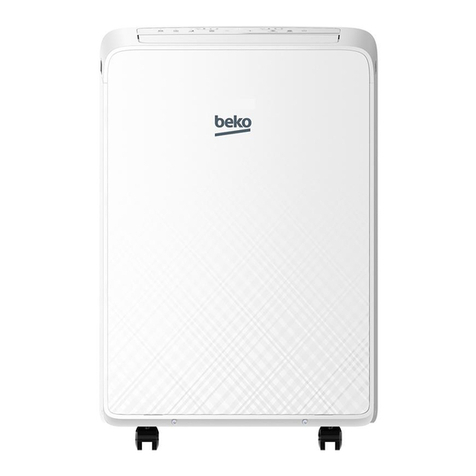
Beko BEP 09C User manual

Mobile type air conditioners
(local air conditioners)
User Manual
BEP 09C BEP 09H BEP 12C BEP 12H
EN

Please read ths user manual frst!
Dear Customer,
Thank you for preferrng a Beko product. We hope that you get the best results from
your product whch has been manufactured wth hgh qualty and state-of-the-art
technology. Therefore, please read ths entre user manual and all other accompanyng
documents carefully before usng the product and keep t as a reference for future
use. If you handover the product to someone else, gve the user manual as well. Follow
all warnngs and nformaton n the user manual.
Meanngs of the symbols
Followng symbols are used n the varous secton of ths manual:
C
Important nformaton or
useful hnts about usage.
A
Warnng for hazardous
stuatons wth regard to lfe
and property.
Warnng to actons that must
never perform.
This product has been produced in environmentally friendly, modern facilities
Complies with the WEEE Regulation. Does not contain PCB.

Moble type ar condtoners (local ar condtoners) / User Manual 3 / 28 EN
1 Safety nstructons 4
2 Socable remark 6
3 Safety precautons 7
3.1 Safety rules . . . . . . . . . . . . . . . . . . . . . . . . . . . . . . . . . . . . . . . . . . . . . . . . . . . . . . . . . . . . . . . . . . . . . . . . . . . . . . . . . . . . . . . . .7
3.2 Operatng condton. . . . . . . . . . . . . . . . . . . . . . . . . . . . . . . . . . . . . . . . . . . . . . . . . . . . . . . . . . . . . . . . . . . . . . . . . . . . . . . . .8
3.3 Electrcal nformaton . . . . . . . . . . . . . . . . . . . . . . . . . . . . . . . . . . . . . . . . . . . . . . . . . . . . . . . . . . . . . . . . . . . . . . . . . . . . . . .9
4 Identfcaton of parts 10
4.1 Accessores . . . . . . . . . . . . . . . . . . . . . . . . . . . . . . . . . . . . . . . . . . . . . . . . . . . . . . . . . . . . . . . . . . . . . . . . . . . . . . . . . . . . . . . 10
4.2 Names of parts. . . . . . . . . . . . . . . . . . . . . . . . . . . . . . . . . . . . . . . . . . . . . . . . . . . . . . . . . . . . . . . . . . . . . . . . . . . . . . . . . . . . .11
5 Ar condtoner features 12
5.1 Operaton panel of the ar condtoner. . . . . . . . . . . . . . . . . . . . . . . . . . . . . . . . . . . . . . . . . . . . . . . . . . . . . . . . . . . . 12
6 Operatng nstructons 14
7 Installaton nstructons (optonal) 17
7.1 Locaton. . . . . . . . . . . . . . . . . . . . . . . . . . . . . . . . . . . . . . . . . . . . . . . . . . . . . . . . . . . . . . . . . . . . . . . . . . . . . . . . . . . . . . . . . . . .17
7.2 Wndow slder kt nstallaton . . . . . . . . . . . . . . . . . . . . . . . . . . . . . . . . . . . . . . . . . . . . . . . . . . . . . . . . . . . . . . . . . . . . . .17
7.2.1 Installaton n a double-hung sash wndow . . . . . . . . . . . . . . . . . . . . . . . . . . . . . . . . . . . . . . . . . . . . . . . . . . . . . . . 18
7.2.2 Installaton n a sldng sash wndow. . . . . . . . . . . . . . . . . . . . . . . . . . . . . . . . . . . . . . . . . . . . . . . . . . . . . . . . . . . . . . 19
8 Installaton nstructons 20
8.1 Exhaust hose nstallaton . . . . . . . . . . . . . . . . . . . . . . . . . . . . . . . . . . . . . . . . . . . . . . . . . . . . . . . . . . . . . . . . . . . . . . . . . 20
8.2 Water dranage . . . . . . . . . . . . . . . . . . . . . . . . . . . . . . . . . . . . . . . . . . . . . . . . . . . . . . . . . . . . . . . . . . . . . . . . . . . . . . . . . . . 21
9 Care and mantenance 23
10Troubleshootng tps 25
11 Installaton nstructons 26
11.1 F-Gas nstructon. . . . . . . . . . . . . . . . . . . . . . . . . . . . . . . . . . . . . . . . . . . . . . . . . . . . . . . . . . . . . . . . . . . . . . . . . . . . . . . . . . 26
CONTENTS

4 / 28 EN Moble type ar condtoners (local ar condtoners) / User Manual
Read this manual
Insde you wll fnd many helpful hnts on how to use and mantan
your ar condtoner properly. Just a lttle preventve care on your
part can save you a great deal of tme and money over the lfe of
your ar condtoner. You'll fnd many answers to common problems
n the chart of troubleshootng tps. If you revew o ur chart of
Troubleshootng Tps frst, you may not need to call for servce at all.
Warning
•Ths applance can be used by chldren aged from 8 years and
above and persons wth reduced physcal, sensory or mental
capabltes or lack of experence and knowledge f they have been
gven supervson or nstructon concernng use of the applance
n a safe way and understand the hazards nvolved. Chldren shall
not play the applance. Cleanng and user mantenance shall not
be made by chldren wthout supervson. (be applcable for the
European Countres
•Ths applance s not ntended for use by persons (ncludng
chldren) wth reduced physcal ,sensory or mental capabltes
or lack of experence and knowledge, unless they have been
gven supervson or nstructon concernng use of the applance
by a person responsble for ther safety. (be applcable for other
countres except the European Countres )
•Chldren should be supervsed to ensure that they do not play wth
the applance.
•If the supply cord s damaged, t must be replaced by the
1 Safety nstructons

Moble type ar condtoners (local ar condtoners) / User Manual 5 / 28 EN
manufacturer, ts servce agent or smlarly qualfed persons n
order to avod a hazard.
•The applance shall be nstalled n accordance wth natonal wrng
regulatons.
•Do not operate your ar condtoner n a wet room such as a
bathroom or laundry room.
•The applance wth electrc heater shall have at l east 1 meters
pace to the combustble materals.
•Contact the authorsed servce techncan for repar or
mantenance of ths unt.
•Contact the authorsed nstaller for nstallaton of ths unt.
1 Safety nstructons

6 / 28 EN Moble type ar condtoners (local ar condtoners) / User Manual
When using this air conditioner in the European countries, the following
information must be followed:
DISPOSAL: Do not dspose ths product as unsorted muncpal waste. Collecton of
such waste separately for specal treatment s necessary.
It s prohbted to dspose of ths applance n domestc household waste.
For dsposal, there are several possbltes:
A) The muncpalty has establshed collecton systems, where electronc waste can
be dsposed of at least free of charge to the user.
B) When buyng a new product, the retaler wll take back the old product at least free
of charge.
C) The manufacture wll take back the old applance for dsposal at least free of
charge to the user.
D) As old products contan valuable resources, they can be sold to scrap metal
dealers.
Wld dsposal of waste n forests and landscapes endangers your health when
hazardous substances leak nto the ground-water and fnd ther way nto the food
chan.
A
Warning
•Ths applance s not ntended for use by persons (ncludng chldren)
wth reduced physcal,sensory or mental capabltes, or lack of
experence and knowledge, unless they have been gven supervson or
nstructon concernng use of the applance by a person responsble for
ther safety.
•Chldren should be supervsed to ensure that they do not play wth the
applance.
2 Socable remark

Moble type ar condtoners (local ar condtoners) / User Manual 7 / 28 EN
3.1 Safety rules
To prevent njury to the user or other people and property damage, the followng
nstructons must be followed. Incorrect operaton due to gnorng of nstructons
may cause harm or damage.
C
Always do this
•Your ar condtoner should be used n such a way that t s protected
from mosture. e.g. condensaton, splashed water, etc. Do not place or
store your ar condtoner where t can fall or be pulled nto water or
any other lqud. Unplug mmedately.
•Always transport your ar condtoner n a vertcal poston and stand on
a stable, level surface durng use.
•Turn off the product when not n use.
•Always contact a qualfed person to carry out repars. If the supply
cord s damaged t must be repared by a qualfed reparer.
•Keep an ar path of at least 30cm all around the unt from walls,
furnture and curtans.
•If the ar condtoner s knocked over durng use, turn off the unt and
unplug from the mans supply mmedately.
3 Safety precautons

8 / 28 EN Moble type ar condtoners (local ar condtoners) / User Manual
Never do this
•Do not operate your ar condtoner n a wet room such as a bathroom
or laundry room.
•Do not touch the unt wth wet or damp hands or when barefoot.
•Do not press the buttons on the control panel wth anythng other than
your fngers.
•Do not remove any fxed covers. Never use ths applance f t s not
workng properly, or f t has been dropped or damaged.
•Never use the plug to start and stop the unt.
•Always use the swtch on the control panel.
•Do not cover or obsturct the nlet or outlet grlles.
•Do not use hazardous chemcals to clean or come nto contact wth the
unt. Do not use the unt n the presence of nflammable substances or
vapour such as alcohol, nsectcdes, petrol,etc.
•Do not allow chldren to operate the unt unsupervsed.
•Do not use ths product for functons other than those descrbed n ths
nstructon manual.
A
Energy save
•Use the unt n the recommended room sze.
•Locate the unt where furnture cannot obstruct the ar flow.
•Keep blnds/curtans closed durng the sunnest part of the day.
•Keep the flters clean.
•Keep doors and wndows closed to keep cool ar n and warm ar out.
3.2 Operatng condton
•The ar condtoner must be operated wthn the temperature range ndcated below:
MODE Room temperature
COOL 17°C (62°F)~35°C (95°F)
DRY 13°C (55°F)~35°C (95°F)
HEAT (heat pump type) 5°C (41°F)~30°C (88°F)
HEAT (electrcal heat type) ≤30°C/88°F
3 Safety precautons

Moble type ar condtoners (local ar condtoners) / User Manual 9 / 28 EN
3 Safety precautons
Suggested tools for window kit installation
1. Screwdrver (medum sze Phllps)
2.Tape measure or ruler
3.Knfe or scssors
4.Saw (In the event that the wndow kt needs to be cut down n sze because the
wndow s too narrow for drect nstallaton)
For your safety
•Do not store or use gasolne or other flammable vapors and lquds n the vcnty of
ths or any other applance.
•Avod fre hazard or electrc shock. Do not use an extenson cord or an adaptor plug.
Do not remove any prong from the power cord.
3.3 Electrcal nformaton
Warning
•Be sure the electrcal servce s adequate for the model you have
chosen. Ths nformaton can be found on the seral plate, whch s
located on the sde of the cabnet and behnd the grlle.
•Be sure the ar condtoner s properly grounded. To mnmze shock
and fre hazards, proper groundng s mportant. The power cord s
equpped wth a three-prong groundng plug for protecton aganst
shock hazards.
•Your ar condtoner must be used n a properly grounded wall
receptacle. If the wall receptacle you ntend to use s not adequately
grounded or protected by a tme delay fuse or crcut breaker, have a
qualfed electrcan nstall the proper receptacle.
•Ensure the receptacle s accessble after the unt nstallaton.

10 / 28 EN Moble type ar condtoners (local ar condtoners) / User Manual
4.1 Accessores
Parts: Parts name: Quantıty:
or
Exhaust hose and Apaptor and
Adaptor B (flat mouth or round
mouth: dependng on models)
Wndow Slder Kt and bolt
1 set
Wall Exhaust Adaptor A (
?
)1 pc
Adaptor B (round mouth) (
?
)1 pc
Expanson Plug and wooden
screw
?
4/pc
Foam seal 3/pc
TEMP
AUTO
COOL
DRY
HEAT
FAN
HIGH
MED
LOW
MODE
F DEEP
SNA
G
NIWS
N
O
RE
MIT
YM
ONOCE
FFO/
NO
FFOREMIT
KCO
L
T
E
S
ER
AREPMETTES )C(ER
U
T
FOLLOW
ME LED
ALPSID
Y
ION
TURBO
Remote Controller and Battery
(For remote control models
only) 1 pc
Dran hose ( ) and dran hose
adaptor ( ) 1 pc
C
Note: Optional parts ( ), some models without.
•Check all the accessores are ncluded n the package and please refer to the
nstallaton nstructons for ther usage.
C
Note: All the llustratons n ths manual are for explanaton purpose only. Your ar
condtoner may be slghtly dfferent. The actual shape shall preval.
4 Identfcaton of parts

Moble type ar condtoners (local ar condtoners) / User Manual 11 / 28 EN
4.2 Names of parts
Front
4
12
3
4
1. Operaton panel
2. Horzontal louver blade (swng automatcally)
3. Caster
4. Carryng handle (both sdes)
Fg. 1
Rear
1
1
1
5
6
7
8
9
10
11 12
13
14
15
5. Upper ar flter (Behnd the grlle)
6. Upper ar ntake
7. Ar outlet
8. Dran outlet (only for Pump heatng model)
9. Power cord outlet
10. Power cord buckle (Used only when storng the
unt)
11. Bottom tray dran outlet
12. Power plug socket (Use only when storng the
unt)
13. Lower ar flter (Behnd the grlle)
14. Lower ar ntake
Fg. 2
4 Identfcaton of parts

12 / 28 EN Moble type ar condtoners (local ar condtoners) / User Manual
Electronic control operating instructions
Before you begn, thoroughly famlarze yourself wth the control panel and remote controller and all
ts functons, then follow the symbol for the functons you desre.
The unit can be controlled by the unit control panel alone or with the remote controller.
C
Note: Ths manual does not nclude Remote Controller Operatons, see the <Remote
Controller Instructon> packed wth the unt for detals.
5.1 Operaton panel of the ar condtoner
Swing Timer Mode Fan Sleep
12344
8 9
567
Fg. 3
C
Note: On some models SLEEP button s nstead of ECO button.
1. POWER button
Power swtch on/off.
2. SLEEP/ECO button
Used to ntate the SLEEP/ECO operaton.
3. FAN button
Control the fan speed. Press to select the fan speed n four steps-LOW, MED, HI and AUTO. The
fan speed ndcator lght llumnates under dfferent fan settngs except AUTO speed. When select
AUTO fan speed, all the fan ndcator lghts turn dark.
4. UP (+) and DOWN (-) button
Used to adjust (ncreasng/decreasng) temperature s ettngs n 1 °C /2 °F ( or 1 °F) nc rements n a
range of 17 °C/62 °F to 30 °C/88 °F (or 86 °F) or the TIMER settng n a range of 0~24hrs.
5 Ar condtoner features

Moble type ar condtoners (local ar condtoners) / User Manual 13 / 28 EN
C
Note: The control s capable of dsplayng temperature n degrees Fahrenhet or
degrees Celsus. To convert from one to the other, press and hold the Up and Down
buttons at the same tme, for 3 seconds.
5. MODE select button
Selects the approprate operatng mode. Each tme you press the button, a mode s selected n a
sequence that goes from AUTO, COOL, DRY, FAN and HEAT (coolng only models wthout). The
mode ndcator lght llumnates under the dfferent mode settngs.
6. TIMER button
Used to ntate the AUTO ON start tme and AUTO OFF stop tme program, n conjucton wth the
+ & - buttons. The tmer on/off ndcator lght llumnates under the tmer on/off settngs.
7. SWING button
(Applcable to the models wth auto swng feature only)
Used to ntate the Auto swng feature. When the operaton s ON, press the SWING button can
stop the louver at the desred angle.
8. LED display
Shows the set temperature n "°C" or ("°F" no dsplay) and the Auto-tmer settngs.
Whle on DRY and FAN modes, t shows the room temperature.
Error codes and protection code:
E1- Room temperature sensor error-Unplug the unt and plug t back n. If error repeats, call for
servce.
E2- Evaporator temperature sensor error-Unplug the unt and plug t back n. If error repeats, call for
servce.
E3- Condenser temperature sensor error-Unplug the unt and plug t back n. If error repeats, call for
servce (on some models).
E4- Dsplay panel communcaton error-Unplug the unt and plug t back n. If error repeats, call for
servce.
P1- Bottom tray s full - Connect the dran hose and dran the collected water away. If protecton
repeats, call for servce.
9. Power management feature
When the ambent temperature s lower (Coolng mode) or hgher (Heatng mode) than the settng
temperature for a perod of tme, the unt wll be automatcally operate power management
feature. The compressor and fan motor stop and the power management ndcator lght
llumnates. When the ambent temperature s hgher (Coolng mode) or lower (Heatng mode) than
the settng temperature, the unt wll be automatcally qut the power management feature. The
power management ndcator lght turns dark and the compressor and (or) fan motor run.
5 Ar condtoner features

14 / 28 EN Moble type ar condtoners (local ar condtoners) / User Manual
COOL operation
- Press the "MODE" button untl the "COOL" ndcator lght comes on.
- Press the ADJUST buttons "+" or " - " to select your desred room temperature. The temperature can
be set wthn a range of 17°C-30°C/62°F-88°F (or 86°F).
- Press the "FAN SPEED" button to choose the fan speed.
HEAT operation (cooling only models without)
- Press the "MODE" button untl the "HEAT" ndcator lght comes on.
- Press the ADJUST buttons "+" or " - " to select your desred room temperature. The temperature can
be set wthn a range of 17 °C-30 °C/62 °F-88 °F (or 86 °F).
- Press the "FAN SPEED" button to choose the fan speed. For some models, the fan speed can not be
adjusted under HEAT mode.
DRY operation
- Press the "MODE" button untl the "DRY" ndcator lght comes on.
- Under ths mode, you cannot select a fan speed or adjust the temperature. The fan motor operates
at LOW speed.
- Keep wndows and doors closed for the best dehumdfyng effect.
- Do not put the duct to wndow.
AUTO operation
- When you set the ar condtoner n AUTO mode, t wll automatcally select coolng, heatng (coolng
only models wthout), or fan only operaton dependng on what temperature you have selected and
the room temperature.
- The ar condtoner wll control room temperature automatcally round the temperature pont set by
you.
- Under AUTO mode, you can not select the fan speed.
C
Note: Under AUTO mode, both the AUTO mode and the actual operaton modeY mode
ndcator lghts llumnate.
FAN operation
- Press the "MODE" button untl the "FAN " ndcator lght comes on.
- Press the "FAN SPEED" button to choose the fan speed. The temperature cannot be adjusted.
- Do not put the duct to wndow.
6 Operatng nstructons

Moble type ar condtoners (local ar condtoners) / User Manual 15 / 28 EN
TIMER operation
- When the unt s on, press the Tmer button wll ntate the Auto-off stop program, the TIMER OFF
ndcator lght llumnates. Press the UP or down button to select the desred tme. Press the TIMER
button agan wthn 5 seconds, the Auto-on start program s ntated. And the TIMER ON ndcator
lght llumnates. Press the up or down button to select the desred Auto-on start tme.
- When the unt s off, press the Tmer button to ntate the Auto-on start program, press t agan
wthn fve seconds wll ntate the Auto-off stop program.
- Press or hold the UP or DOWN button to change the Auto tme by 0.5 hour ncrements, up to
10 hours, then at 1 hour ncrements up to 24 hours. The control wll count down the tme remanng
untl start.
- The system wll automatcally revert back to dsplay the prevous temperature settng f there s no
operaton n a fve seconds perod.
- Turnng the unt ON or OFF at any tme or adjustng the tmer settng to 0.0 wll cancel the Auto
Start/Stop tmer program.
- When the malfuncton (E1, E2, E3 or E4) occurs, the Auto Start/Stop tmed program wll also be
cancelled.
SLEEP/ECO operation
Press ths button, the selected temperature wll ncrease (coolng) or decrease (heatng) by 1°C/2°F
(or 1°F) 30 mnutess.The temperature wll then ncrease (coolng) or decrease (heatng) by another
1°C/2°F (or 1°F) after an addtonal 30 mnutes. Ths new temperature wll be mantaned for 7 hours
before t returns to the orgnally selected temperature. Ths ends the Sleep/Eco mode and the unt
wll contnue to operate as orgnally programmed.
C
Note: Ths feature s unavalabe under FAN or DRY mode.
Other features
Auto-restart (on some models)
If the unt breaks off unexpectedly due to the power cut,t wll restart wth the prevous functon
settng automatcally when the power resumes.
Wait 3 minutes before resuming operation
After the unt has stopped, t can not be restarted operaton n the frst 3 mnutes. Ths s to protect
the unt. Operaton wll automatcally start after 3 mnutes.
6 Operatng nstructons

16 / 28 EN Moble type ar condtoners (local ar condtoners) / User Manual
Air flow direction adjustment
The louver can be adjusted automatcally.
C
Note: On some models the louver can be adjusted manually only.
•Adjust the air flow direction automatically (Fig. 4):
- When the Power s ON, the louver opens fully. Press the SWING button on the panel or remote
controller to ntate the Auto swng feature.
- The louver wlll swng up and down automatcally.
- Please do not adjust the louver manually.
Swng automatcally
Fg. 4
6 Operatng nstructons

Moble type ar condtoners (local ar condtoners) / User Manual 17 / 28 EN
B
A
Fg. 5
Fg. 6
Fg. 7
Fg. 7a
Wndow
slder kt
bolt
A: 30cm-100cm
Horzontal
wndow
Horzontal
wndow
Wndow Slder Kt
Mnmum: 67.5cm (2.22ft).
Maxmum: 123cm (4.04ft).
Wndow Slder Kt
Mnmum: 67.5cm (2.22ft).
Maxmum: 123cm (4.04ft).
B: ≥30cm
7.1 Locaton
•The ar condtoner should be placed on a frm foundaton to
mnmze nose and vrbraton. For safe and secure postonng,
place the unt on a smooth, level floor strong enough to
support the unt.
•The unt has casters to ad placement, but t should only be
rolled on smooth, flat surfaces. Use cauton when rollng on
carpet surfaces. Do not attempt to roll the unt over objects.
•The unt must be placed wthn reach of a properly rated
grounded socket.
•Never place any obstacles around the ar nlet or outlet of the
unt.
•Allow 30cm to 100cm of space from the wall wth for effcent
ar-condtonng.
7.2 Wndow slder kt nstallaton
Your wndow slder kt has been desgned to ft most standard
"Vertcal" and "horzontal" wndow applcatons, However, t may
be necessary for you to mprovse/modfy some aspects of the
nstallaton procedures for certan types of wndow. Please refer
to Fg. 6 & Fg. 7 for mnmum and maxmum wndow openngs.
Wndow slder kt can be fxed wth a bolt (see Fg. 7a).
C
Note: If the wndow openng s less than the
mentoned mnmum length of the wndow slder
kt, cut that one wth a hole n t short to ft for
the wndow openng.
Do never cut out the hole n wndow slder kt.
7 Installaton nstructons (optonal)

18 / 28 EN Moble type ar condtoners (local ar condtoners) / User Manual
26.5 ~ 48.0
Fg. 8
Fg. 9
Fg. 10
Fg. 11
Foam seal A
(adhesve type)
Wndow kt
Wndow kt
Wndow stool
Wndow stool
Foam seal
7.2.1 Installaton n a double-hung
sash wndow
1. Cut the foam seal (adhesve type) to the proper length
and attach t to the wndow stool. Fg. 8
2. Attach the wndow slder kt to the wndow stool. Adjust
the length of the wndow slder kt accordng to the
wdth of wndow, shorten the adjustable wndow kt f
the wdth of wndow s less than 26.5 nches Open the
wndow sash and place the wndow slder kt on the
wndow stool. Fg. 9
3. Cut the foam seal (adhesve type) to the proper length
and attach t on the top of the wndow. Shown as n
Fg. 10
4. Close the wndow sash securely aganst the wndow.
5. Cut the foam seal to an approprate length and seal
the open gap between the top wndow sash and outer
wndow sash. Shown as n Fg. 11.
7 Installaton nstructons (optonal)

Moble type ar condtoners (local ar condtoners) / User Manual 19 / 28 EN
26.5 ~
48.0
Fg. 13
Fg. 12
Fg. 14
Fg. 15
Foam seal A
(adhesve type)
Wndow
panel
Foam seal
7.2.2 Installaton n a sldng sash
wndow
1. Cut the foam seal (adhesve type) to the proper length
and attach t to the wndow frame. See Fg. 12.
2. Attach the wndow slder kt to the wndow stool. Adjust
the length of the wndow slder kt accordng to the
wdth of wndow, shorten the adjustable wndow kt f
the wdth of wndow s less than 26.5 nches.
Open the wndow sash and place the wndow slder kt
on the wndow stool. See Fg. 13.
3. Cut the foam seal (adhesve type) to the proper length
and attach t on the top of the wndow. Shown as n
Fg. 14.
4. Close the sldng sash securely aganst the wndow.
5. Cut the foam seal to an approprate length and sea
the open gap between the top wndow sash and outer
wndow sash. Shown as n Fg. 15.
C
Note: All the llustratons n ths manual
are for explanaton purpose only.Your unt
may be slghtly dfferent. The actual shape
shall preval.
7 Installaton nstructons (optonal)

20 / 28 EN Moble type ar condtoners (local ar condtoners) / User Manual
Fg. 16a Fg. 16b
Fg. 17
Hole seat
Hook
8.1 Exhaust hose nstallaton
The exhaust hose and adaptor must be nstalled or removed n
accordance wth the usage mode.
COOL, HEAT (heat pump type) or AUTO
mode Install
FAN, DEHUMIDIIFY or HEAT (electrcal
heat type) mode Remove
1. Install the adaptor B and adaptor I onto the exhaust hose as
shown n Fg. 16a or Fg. 16b. Refer to the prevous pages for
wndow kt nstallaton.
2. Resert the hook of the Exhaust hose nto the hole seat of
the ar outlet and slde down the Exhaust hose along the
arrow drecton (See Fg. 17) for nstallaton.
Fg. 18
Fg. 19
max 120CM
Adaptor A
Adaptor
cap
mn 30CM
Expanson plug
poston The exhaust hose can be installed into the wall
(Not applicable to the units without adaptor A, expansion plugs
and wooden screws of Accessories).
1. Prepare a hole n the wall. Install the wall Exhaust adaptor
A onto the wall (outsde) by usng 4 expanson plugs and
wooden screws, be sure to fx thoroughly. (See Fg. 18)
2. Attach the Exhaust hose to wall Exhaust adaptor A.
C
Note: Cover the hole using the adaptor
cap when not in use.
•The exhaust hose can be compressed or
extended moderately accordng to the
nstallaton requrement, but t s desrable to
keep the hose length to a mnmum.
Important:
Do not over bend the exhaust hose (See Fig. 19)
A
Warning:
Make sure that there s no obstacle around the
ar outlet of the exhaust hose (n the range of
500mm) n order to the exhaust system works
properly.
8 Installaton nstructons
This manual suits for next models
3
Table of contents
Languages:
Other Beko Air Conditioner manuals