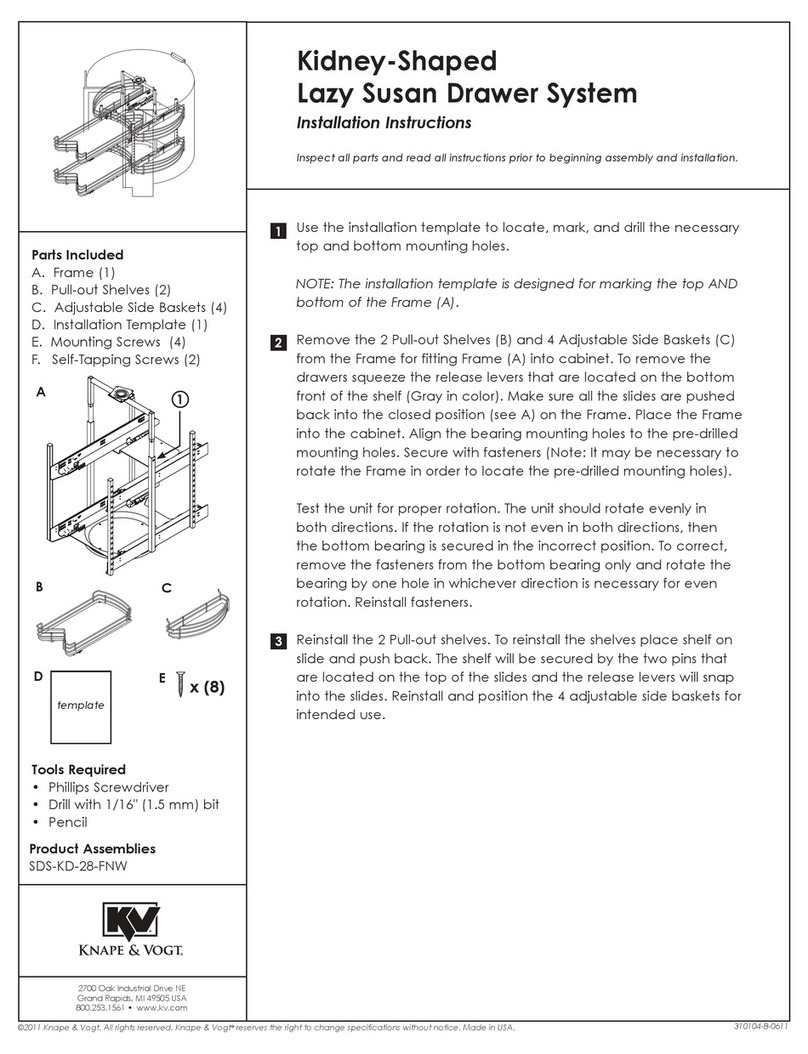
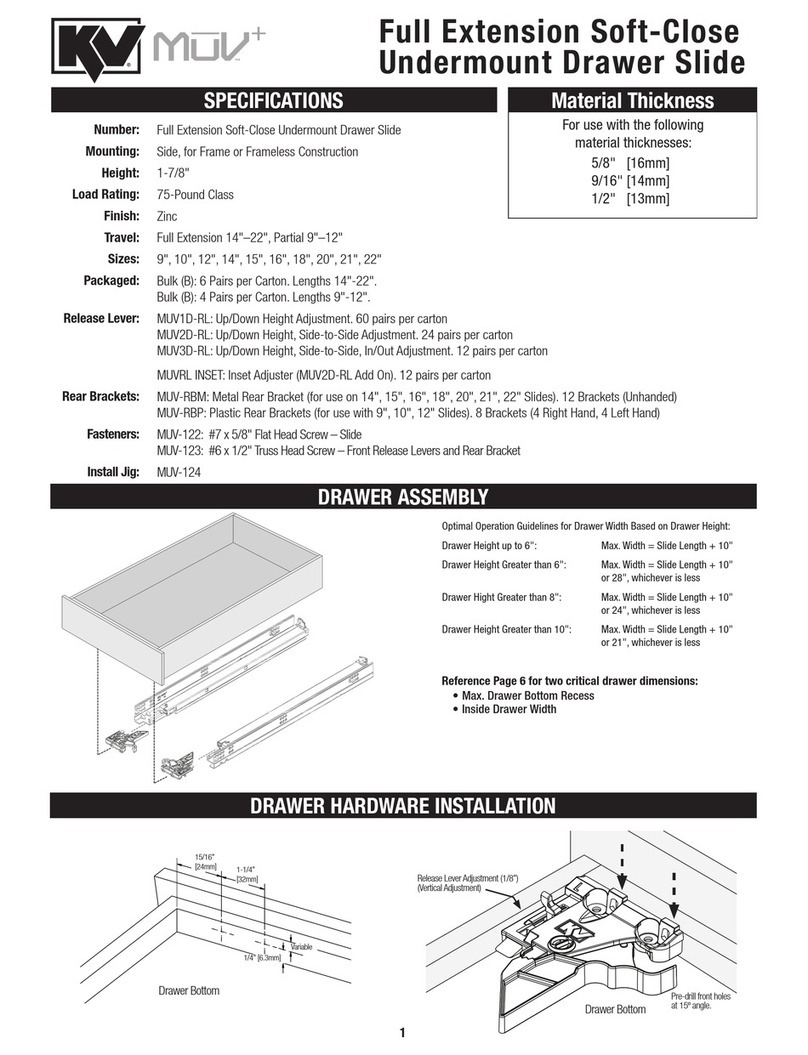
Step 2. Assemble mounting brackets.
The L-shaped mounting brackets can be mounted
facing either inward or outward. Attach mounting
brackets to the keyboard tray in the desired height
position (see step 1 a or b), using the 4- #8 x 1⁄4"
self-tapping screws provided in hardware kit (figure
2).
Step 3. Surface preparation.
Depending on whether the bracket direction is
inward or outward- locate the dimensions provided
on this sheet to layout the hole locations on the
underside of the worksurface before drilling.
Figure 2.
Using the locations marked, drill 4 pilot hole 3/32" x
1/2" deep, for #8 x 5/8" mounting screws, into the
underside of the worksurface.
Step 4. Mounting.
Using 4- #8 x 5⁄8" wood screws provided in the hard-
ware kit, drive four screws into predrilled holes,
leaving approximately 1⁄16" clearance under the
screw head. Slide the keyhole slots in the attached
keyboard mounting brackets underneath the 4
screw heads and tighten to secure. Open and close
the keyboard slowly. Check that nothing is binding
and that the tray latches in the open position. (The
latch is to hold the tray stationary during typing. To
store the keyboard tray underneath the worksurface
just push it fully into the closed position.)
For extra safety, you may further secure the tray
using 4 additional #8 x 5⁄8" wood screws through one
of the oblong holes in each of the mounting brack-
ets.
Install Mouse Tray
(KD-110 ONLY)
Assemble mouse tray to the keyboard as shown in
figure 3.
Step 5. Operation.
The keyboard tray is now ready for use. Place you
keyboard on the tray and route any cables through
the holes located in the back of the keyboard tray.
Figure 3.
NOTE: Mouse tray
option is only available
on KD-110 model.
To add a mouse tray to
a KD-100 model, please
contact your dealer.
