10
Follow the steps below to mount the antenna.
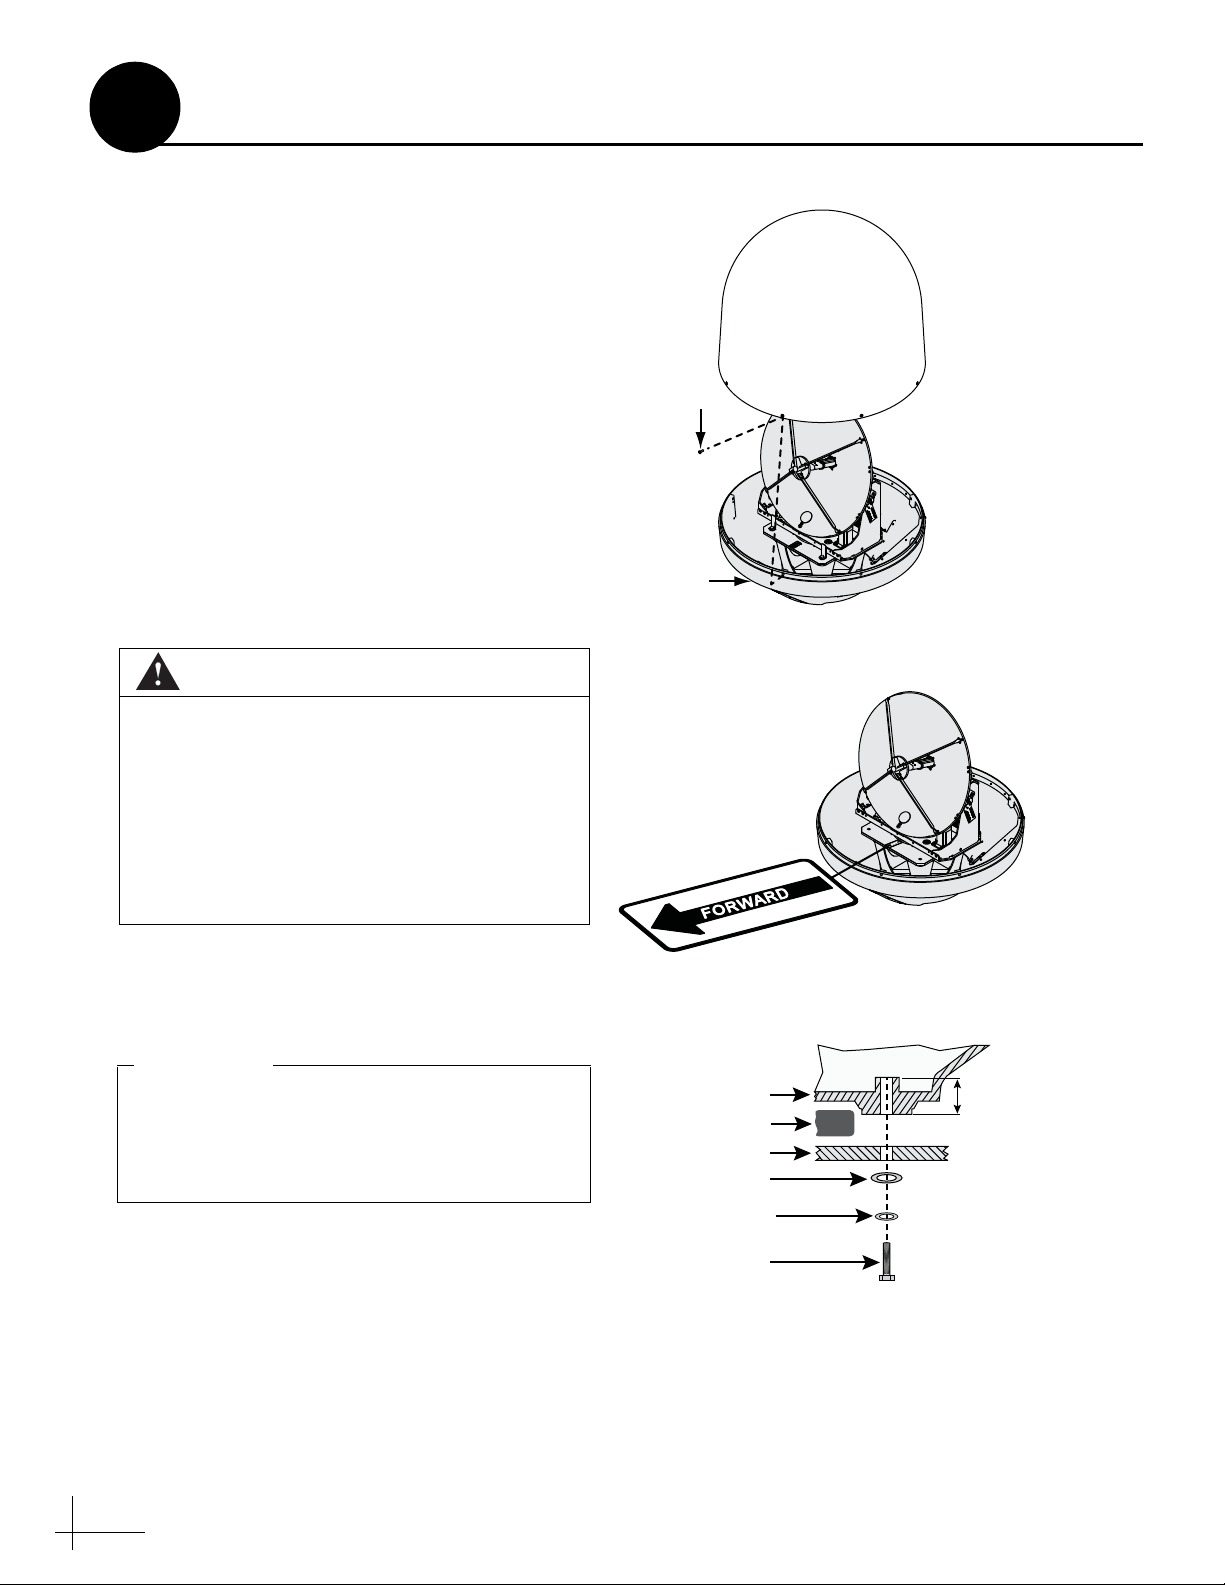
a. Remove the six #10-32 screws securing the
radome to the baseplate (see Figure 12). Then
carefully lift the radome straight up off the
antenna and set it aside in a safe place. If you
keep the radome topside, secure it with a
lanyard to prevent it from falling overboard.
Also, do not place the radome on a hot steel
deck – the heat may warp the radome.
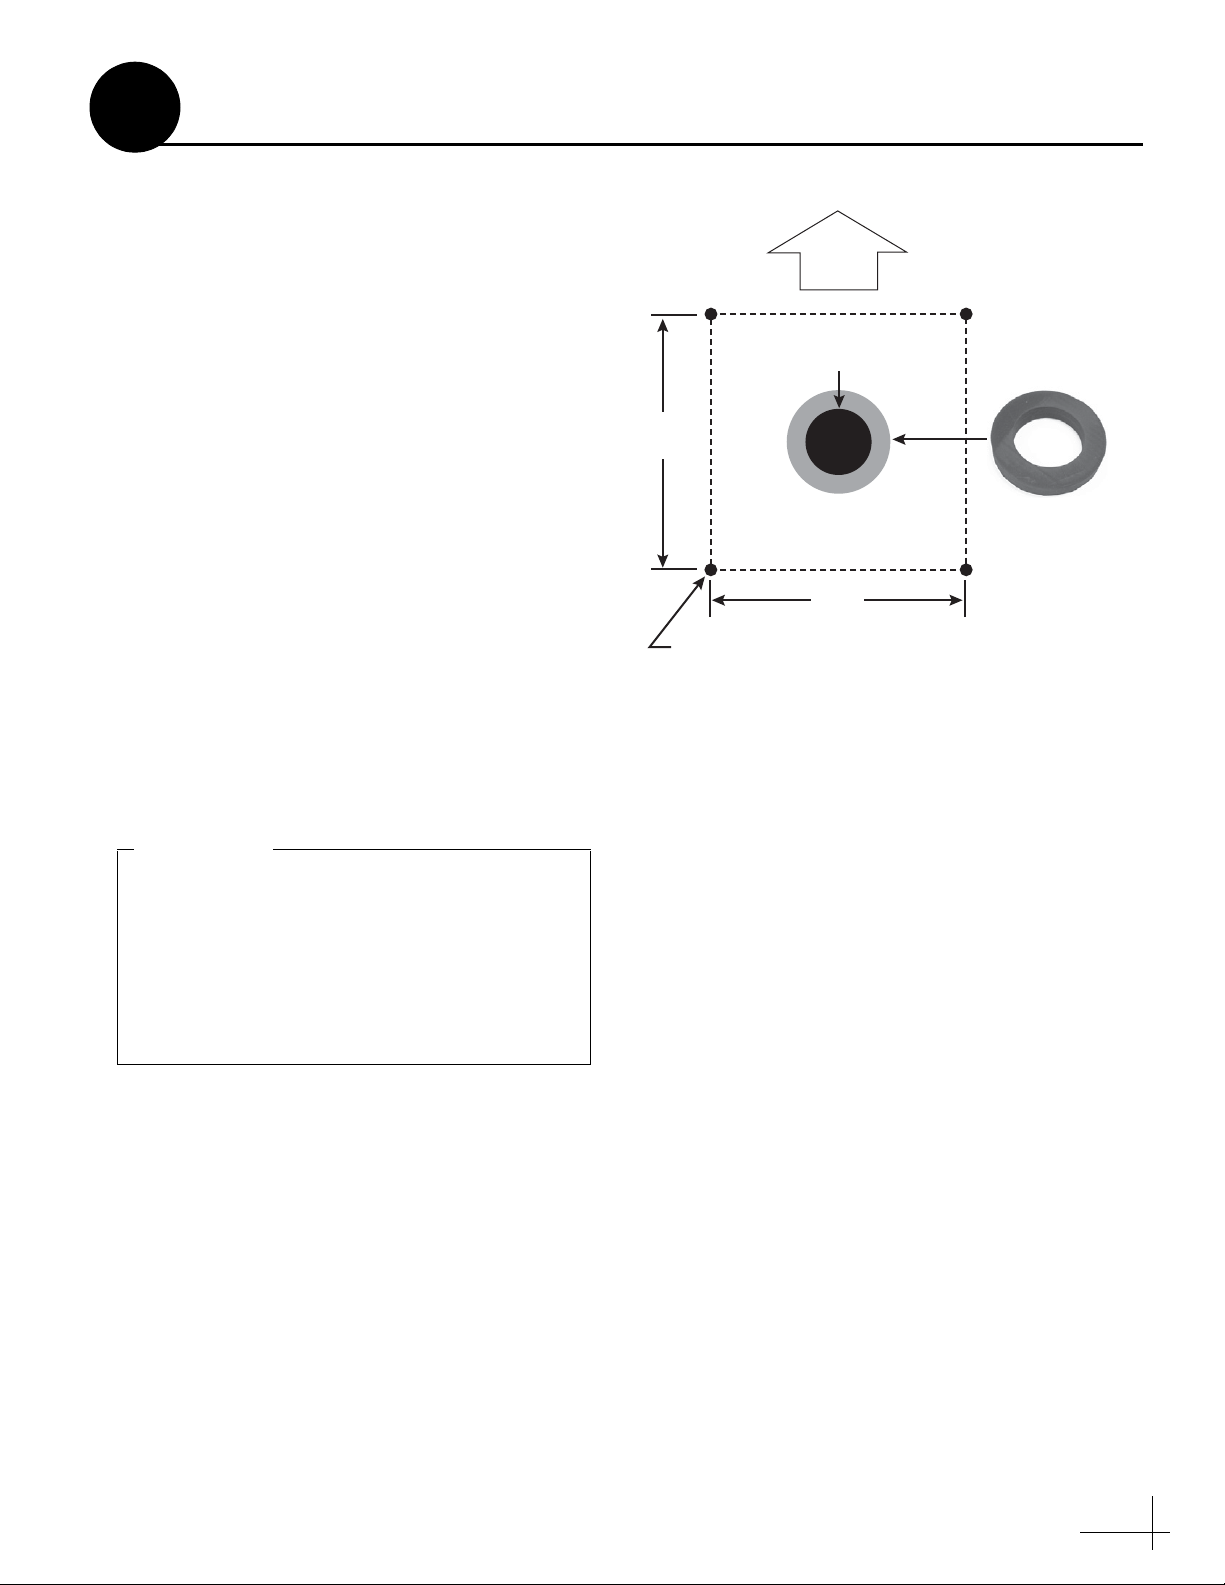
b. Place the antenna baseplate over the holes
drilled in the mounting surface.
c. Ensure the forward arrow inside the
baseplate points toward the bow and is
parallel to the vessel’s centerline (see
Figure 13).
d. Apply a thin layer of the supplied anti-seize
lubricant to the threads of the four 1/2"-13
mounting bolts (see Figure 14).
e. Using a 3/4" socket, secure the antenna to the
mounting surface using four 1/2"-13 bolts,
lock washers, and flat washers from below
(see Figure 14). Tighten all four bolts until the
four rubber feet on the baseplate are
bottomed against the mounting surface and
the foam seal is fully compressed. KVH
recommends that you tighten the bolts to
between 34 and 40 ft-lbs (46.1 and 54.2 N-m)
of torque.
CAUTION
Observe the safety warnings printed on the
tube of Loctite®anti-seize lubricant:
“Contains mineral oil, calcium hydroxide,
and copper. May cause skin, eye, and
respiratory irritation. Wear eye protection
and gloves. First aid: In case of eye or skin
contact, flush with water. Obtain medical
attention for any eye or internal contact.”
Be sure your 1/2"-13 mounting bolts extend
between 1.5" (38 mm) and 1.75" (44 mm) into
the baseplate to ensure sufficient thread
engagement.
IMPORTANT!
Mount the Antenna
Figure 12 Radome Removal
Figure 13 Forward Arrow Location
Figure 14 Antenna Mounting
Baseplate
#10-32
Screw (x6)
Radome
1/2"-13 Bolt (x4)
IMPORTANT!
Apply anti-seize
to threads
Flat Washer (x4)
Mounting Surface
Baseplate
Foam Seal
1.75" max
Lock Washer (x4)
7