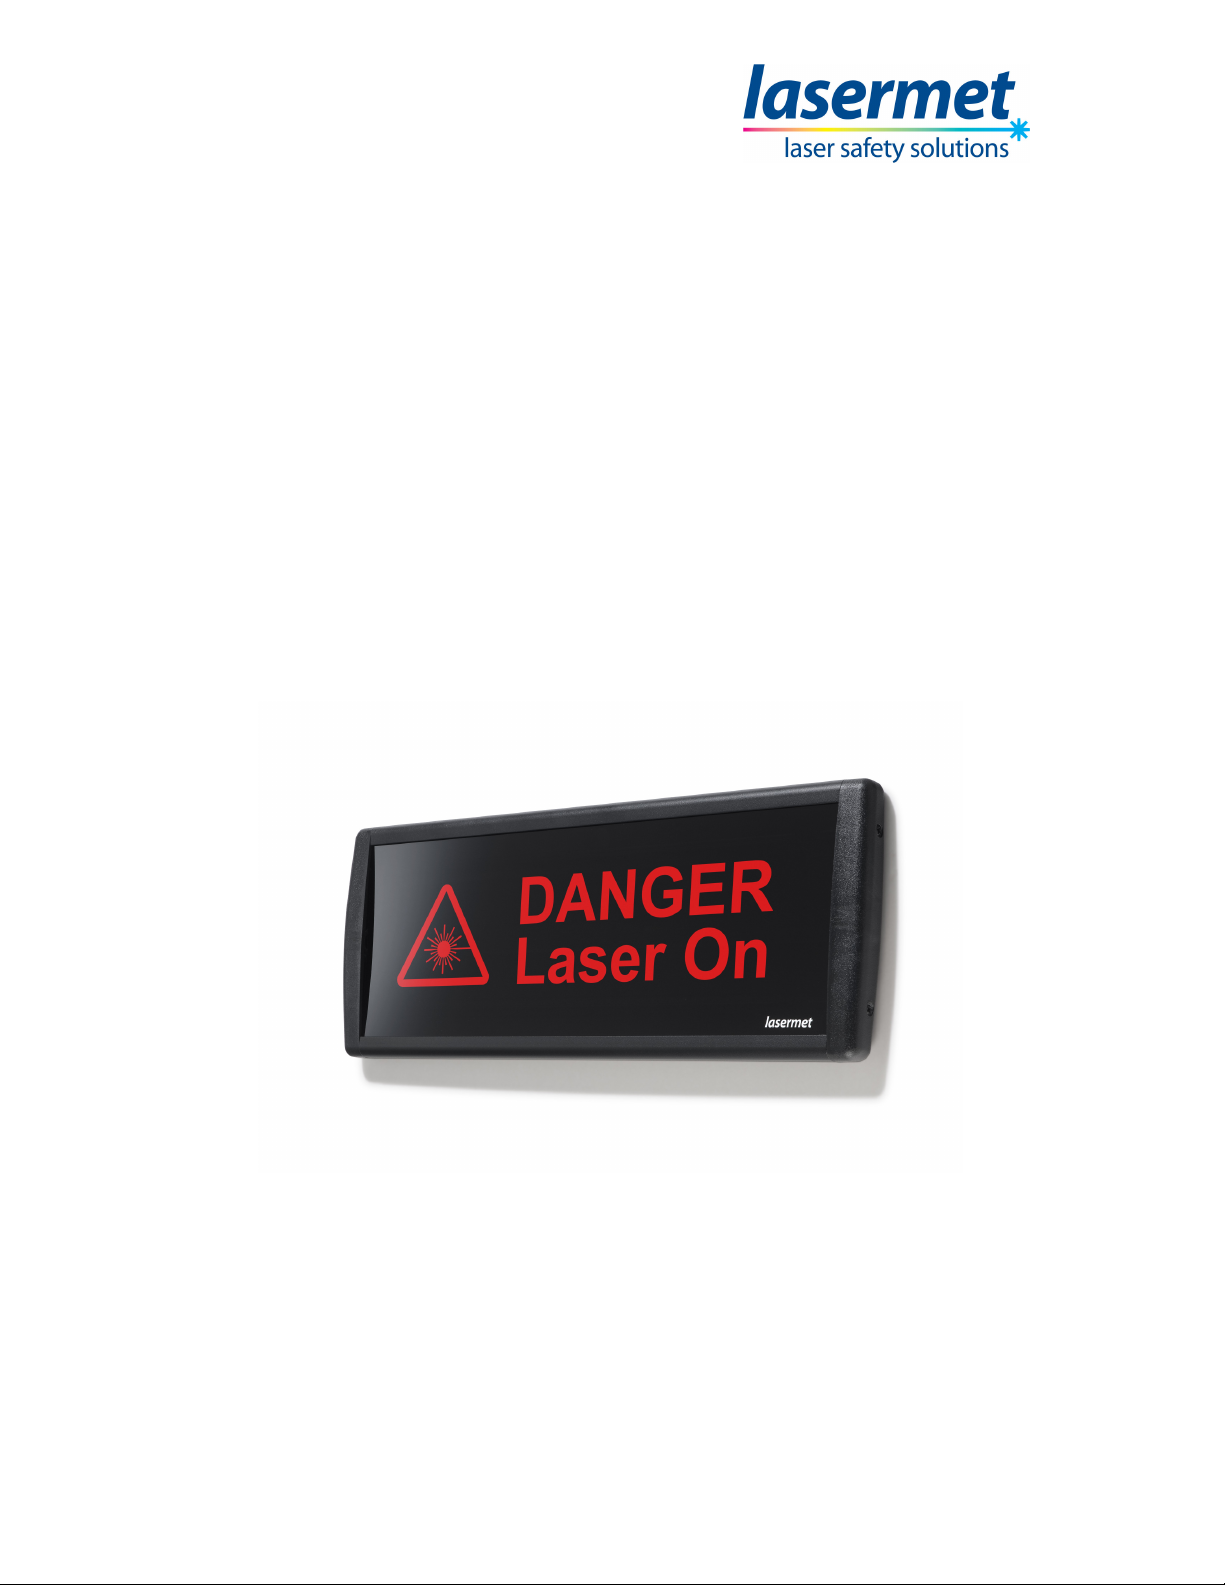
LEDS-ULT-470 Instruction Manual
00625-53-000 Page 8 of 11 Issue 2 16 November 2012
Wiring
The sign is powered by smooth regulated 24VDC. Normal one-way signs have one
Driver circuit board. Two-way signs and one-way signs with enhanced reliability have
two Driver circuit boards, each one operating half of the LED’s in the sign.
With the one-way enhanced reliability type it is possible to operate each driver from a
separate supply/circuit so that in the event of loss of a supply the sign can still
illuminate at a lower brightness on the other supply. For single-supply operation it is
necessary to wire the driver board supply terminals in parallel, see Figure 6.
With two-way signs, either one driver or the other is powered to select the
illumination colour and message. Figure 8 shows a simple scheme to do this with a
switch. Suitable controls are available from Lasermet.
A three-way terminal block is provided on the driver board. Two terminals are used
for the supply connections. The third terminal may be used if desired for a remote
dimming control voltage. The connections are shown in figure 4. Note that standard
signs have just one driver board.
It is preferable for the negative (0V) of the power supply to be connected to earth at
the source. To eliminate the potential for static electrical damage to the sign circuitry
the 0V terminal of each driver board is connected to the casing of the sign through a
100 ohm resistor. The sign contains no hazardous voltages and it is not normally
necessary to provide a dedicated earth connection for the sign casing.
Where there are two driver boards and separate power sources are used for each
driver board, the negative wires of the two power sources should be connected
together as shown in Figure 5.
A selector link is provided on the driver circuit board to choose the dimming method.
If no dimming function is required set the link to the ‘EXT/NONE’ position and make
no connection to the DIM terminal.
If using the internal sensor set the link to ‘SENSOR’.
If using external control set the link to ‘EXT/NONE’ and connect the external control
voltage to the DIM terminal.
The optional dimming control voltage is connected as shown in figure 7. The voltage
should be in the range 0 – 24V where increasing the voltage will increase the
brightness. When using an external dimming control voltage, the 0V of the control
voltage must be connected to the 0V of the power supply.
An external dimming control potentiometer may be used.