LEEAN Vision Drive Instructions for use

LEEAN Global Business & Trading
B-302, Dongkuk Building, 76-284
Gocheok-Dong, Guro-Gu, Seoul, 152-826 Korea
CAR BLACK BOX
Installation & Use Quick Guide

LEEAN Global Business & Trading
B-302, Dongkuk Building, 76-284
Gocheok-Dong, Guro-Gu, Seoul, 152-826 Korea
WARNING
Until the initial boot is up or the upgrade patch is fully installed,
do not turn on or off the power source, for this may disengage
the power source and effect the booting process.
This product only works with the Vision Drive SD cards.
Only use the enclosed cable to connect your product.
Clean any impurities on the area of installation or any other area
where the camera will be positioned.
While the black box is in operation, do not remove the SD card.
Operate the product manually when the vehicle is parked in a safe place.
For disassembling, turn off the power completely before proceeding.
Do not disassemble, remodel or repair the product.
Product Installation
1. Connect the bracket and the unit
Place the bracket into the slot then slide to the left
to click on.
2. Insert SD card
Insert the SD card into the SD card slot on the side of the unit.

LEEAN Global Business & Trading
B-302, Dongkuk Building, 76-284
Gocheok-Dong, Guro-Gu, Seoul, 152-826 Korea
3. Connect the cable to the unit and attach to the windshield
Connect the power cable and then remove the sticker cover.
Place the unit on the area where you have cleaned for any
impurities. Place the unit close to the mid section of the vehicle.
4. Connect to cigar jack
Insert the adaptor into the cigar jack.
5. Turning it on and setting the camera angle
Insert the key in to the ignition and then slightly/fully turn the key
to give power to the cigar jack outlet. A voice notification will
alarm and the LED lights will blink to let you know that the
system is fully on.

LEEAN Global Business & Trading
B-302, Dongkuk Building, 76-284
Gocheok-Dong, Guro-Gu, Seoul, 152-826 Korea
6. Check LED lamps
The REC lamp will blink blue for normal recording.
In a case of an impact, the lamp will change to a red blinking light.
The GPS lamp will be red if not connected and will turn blue
when it is. The connection time differs depending on where the
vehicle is located.
7. Organize the cable line
Use the enclosed cable holders to organize the cable line.

LEEAN Global Business & Trading
B-302, Dongkuk Building, 76-284
Gocheok-Dong, Guro-Gu, Seoul, 152-826 Korea
Product Structure
The manual and/or quick guide maybe provided on a digital file.
Product setting may change anytime without notice.
Vision Drive Unit
Attach Bracket
SD Card (VD Analyzer Software User Manual PDF)
Wire holders
Cigar Jack Power Adaptor

LEEAN Global Business & Trading
B-302, Dongkuk Building, 76-284
Gocheok-Dong, Guro-Gu, Seoul, 152-826 Korea
Part Names
Product Use
1. HD high resolution recording / Smooth VGA recording
- HD : Clear HD high resolution recording (1280x960, up to 15 frames per sec.)
- VGA : Smooth normal recording with more frames (640x480, up to 30 frames per sec.)
Resolution of the recorded video may be configured from VDAnalyzer program.
2. Normal recording / Event recording
- When the power is on, normal recording is always on and files will be recorded to the
(NORMAL) folder.
- In case of impact, sensor will sound an alert sound and will send the recorded data to
the (EVENT) folder.
3. Manual recording
- When the [SHOT] button is pressed, you can save the file into the (EVENT) folder.
4. On screen preview
- Press the [VIEW] button to see what is currently being recorded.
- Press the [VIEW] button again to turn off the LCD screen.

LEEAN Global Business & Trading
B-302, Dongkuk Building, 76-284
Gocheok-Dong, Guro-Gu, Seoul, 152-826 Korea
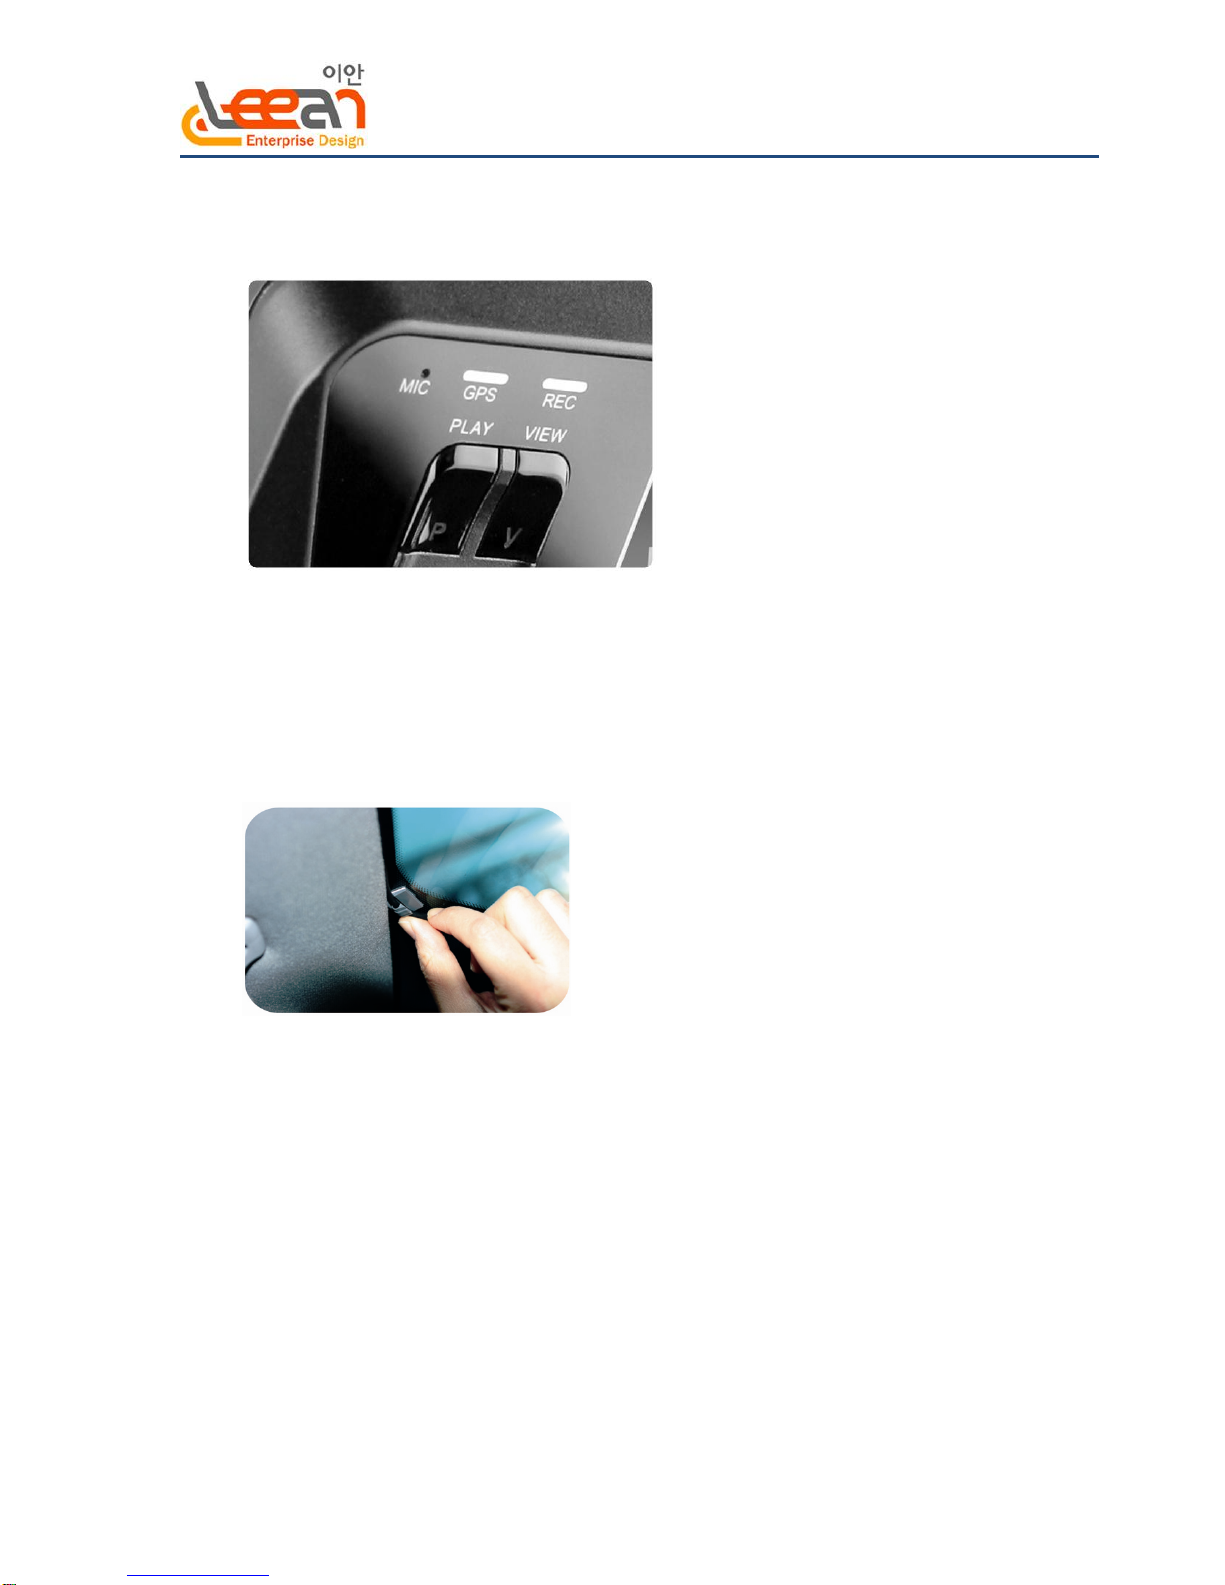
5. Replay of saved event data files
- Press the [PLAY] button to view the last event file saved.
- While viewing, press the [VIEW] button or tilt the main unit to right to
view the data prior to the last saved data. Use either the [VIEW] button
or the tilting feature to find the recorded file you wish to view.
(By tilting the unit to the left, the most recent file will be shown first.)
- Press the [PLAY] button again to revert back to normal recording mode.
6. Voice recording
- Hold the [SHOT] button for more than 3 seconds to turn on the voice recording.
- Hold the [SHOT] button again for more than 3 seconds to turn off the voice recording.
- The settings can be configured on the VDAnalyzer program.
7. Parking Surveillance Mode
- While the vehicle is in park, and the [PLAY] button is held for more than 3 seconds, an
announcement
will notify that the parking surveillance mode has been turned on.
- In the parking surveillance mode, the product is set to receive the smallest impacts.
- No voice recording is available in the parking surveillance mode.
- By holding the [PLAY] button again for more than 3 seconds, the parking surveillance
mode
will turn off and the normal recording mode will begin.
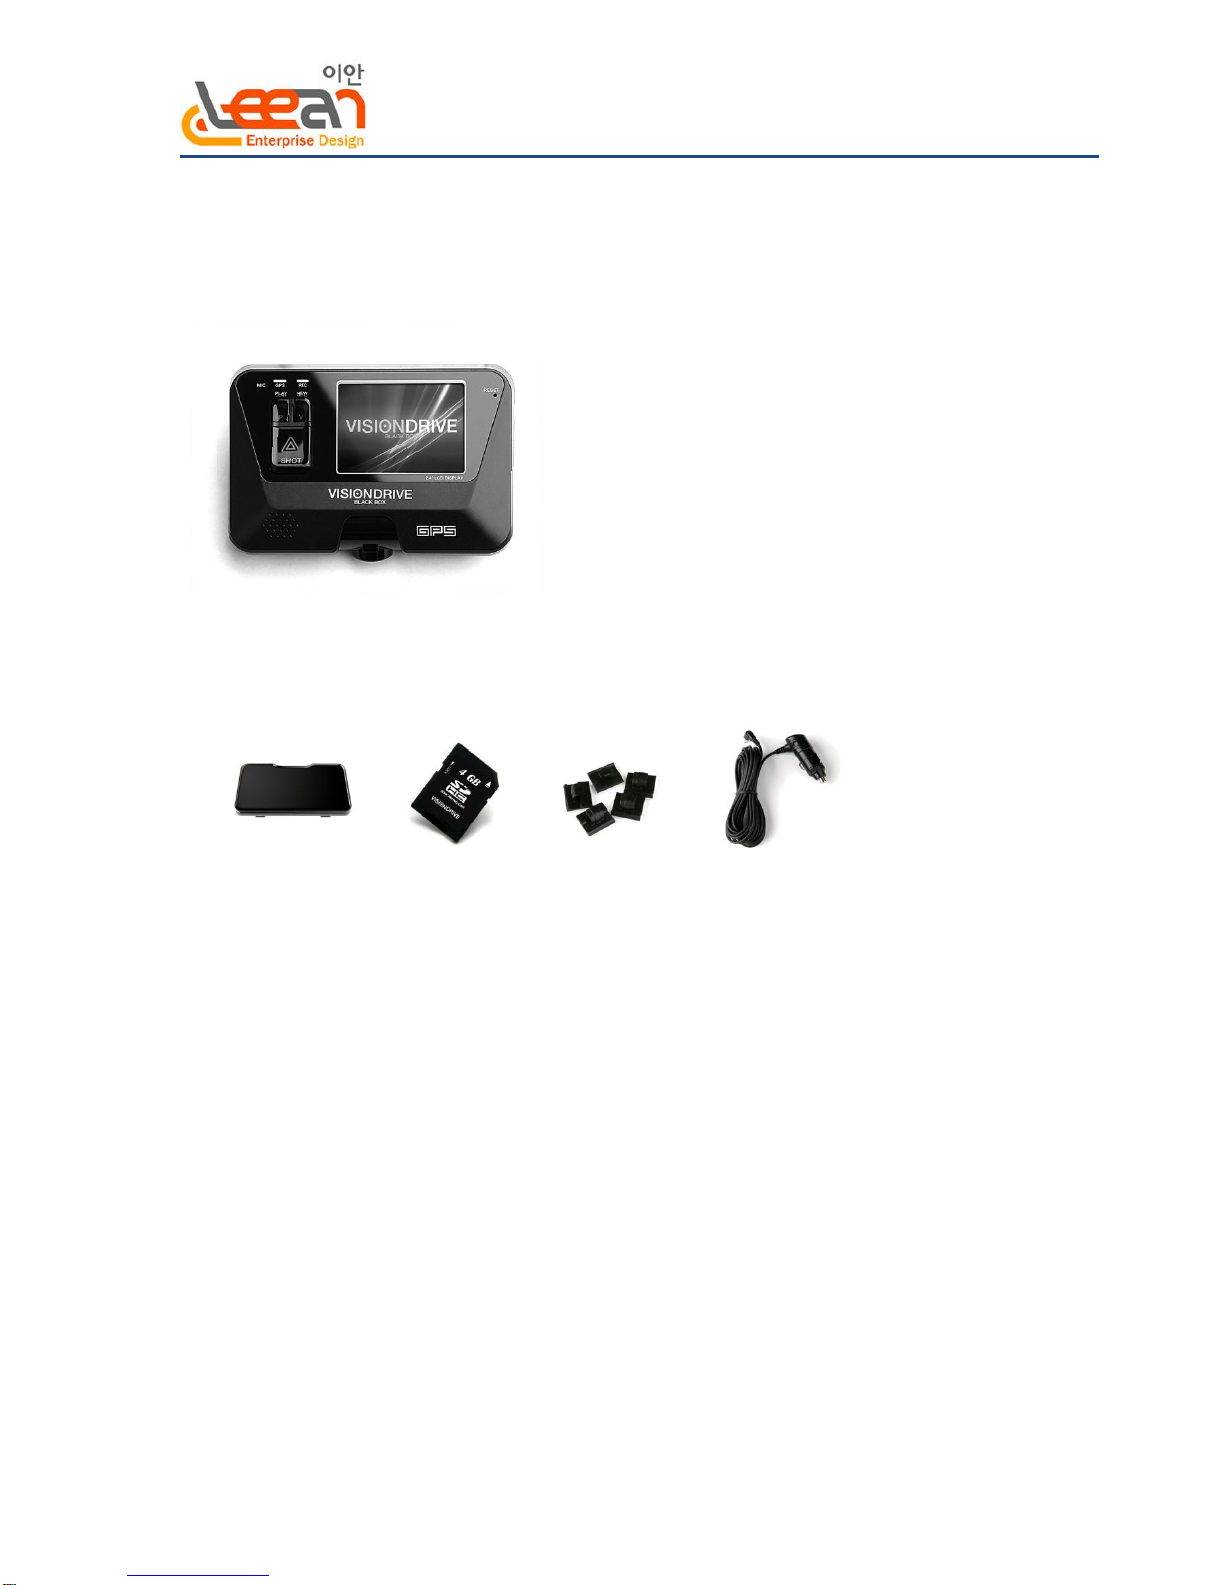
8. Removing SD card
- Completely turn off the power before removing the SD card.
- When the power is shut off by the main power source, the back up battery will
save the latest data on the file to the designated folder. It will then turn off automatically.
- All LED lights should be off before removing the SD card.
9. Analysis program
- Insert the SD card into your PC, then start up VDAnalyzer.exe.
- Use only SDHC card readers for connecting the Vision Drive SD card to your PC.
- The default password for the analysis program is “12345678”
*** VIEW MORE HELPFUL INFORMATION FROM THE USER MANUAL ***
Table of contents
Popular Car Receiver manuals by other brands

Pioneer
Pioneer DEH 2000MP - Radio / CD Operation manual

Pioneer
Pioneer DEH-P9300R installation manual

Teufel
Teufel KB 42 Technical description and user manual

Sony
Sony CDX-GT34W - Fm/am Compact Disc Player Installation/connections

Pioneer
Pioneer Scion quick start guide

Kenwood
Kenwood KDC-MP832U Service manual