manuals.online logo
Brands
  1. Home
  2. •
  3. Brands
  4. •
  5. Lennox
  6. •
  7. Furnace
  8. •
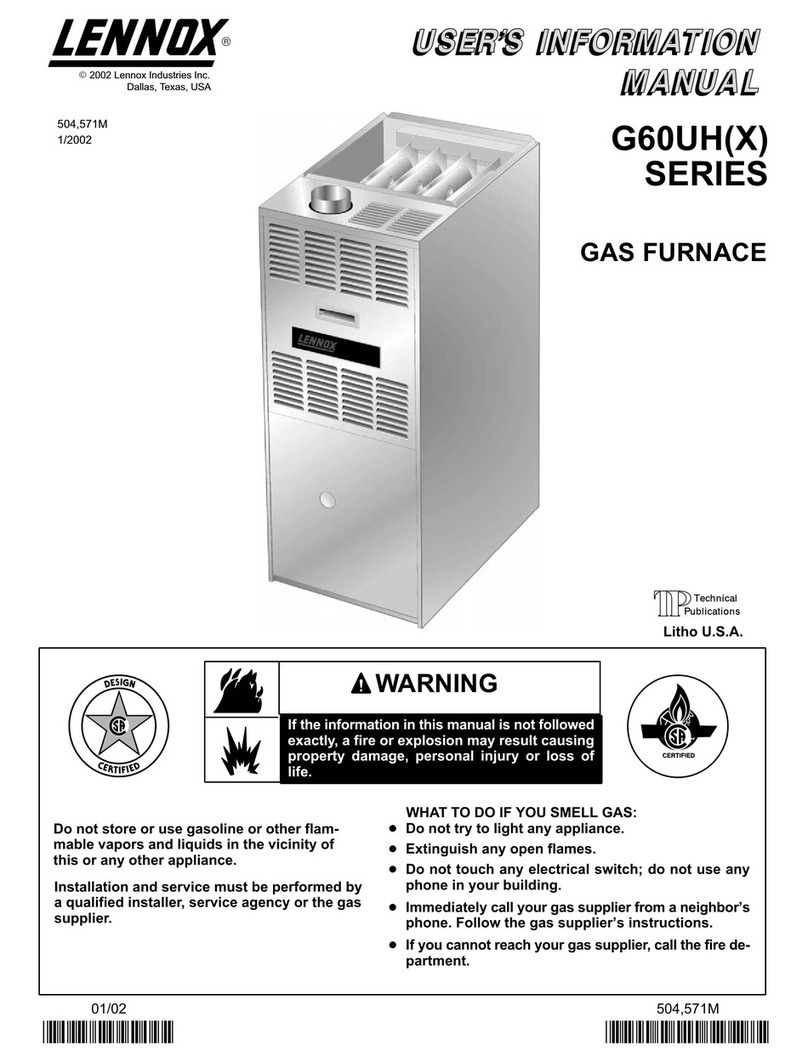
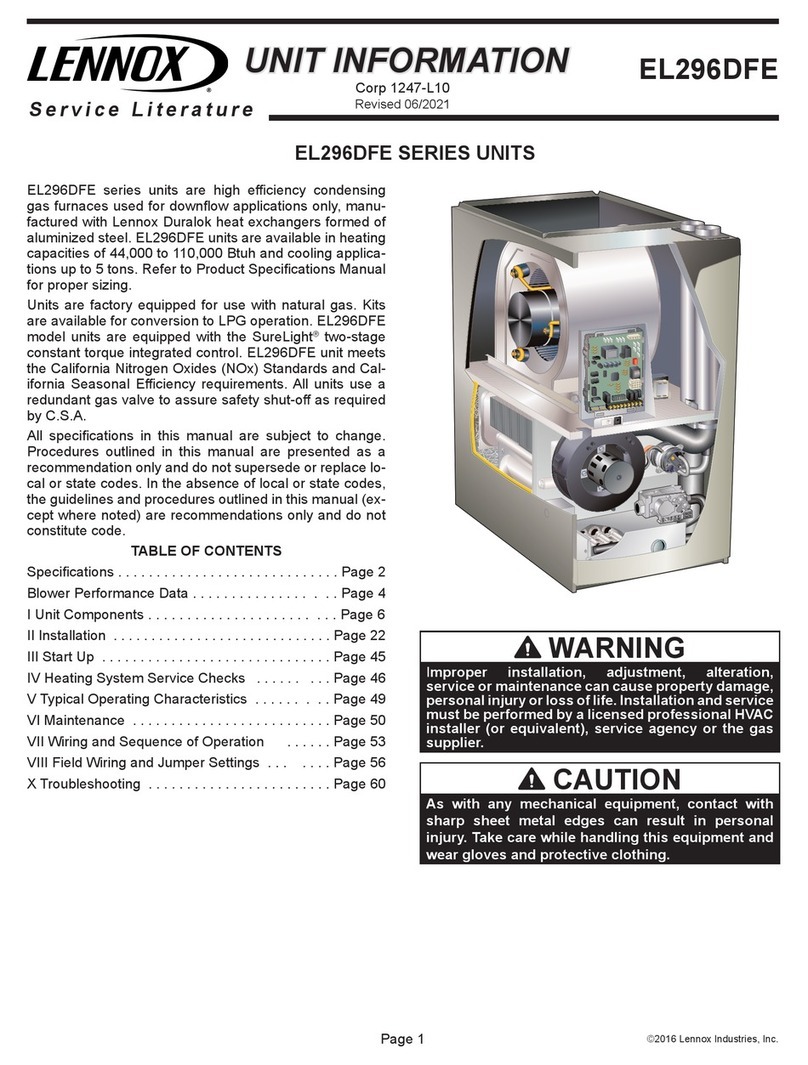
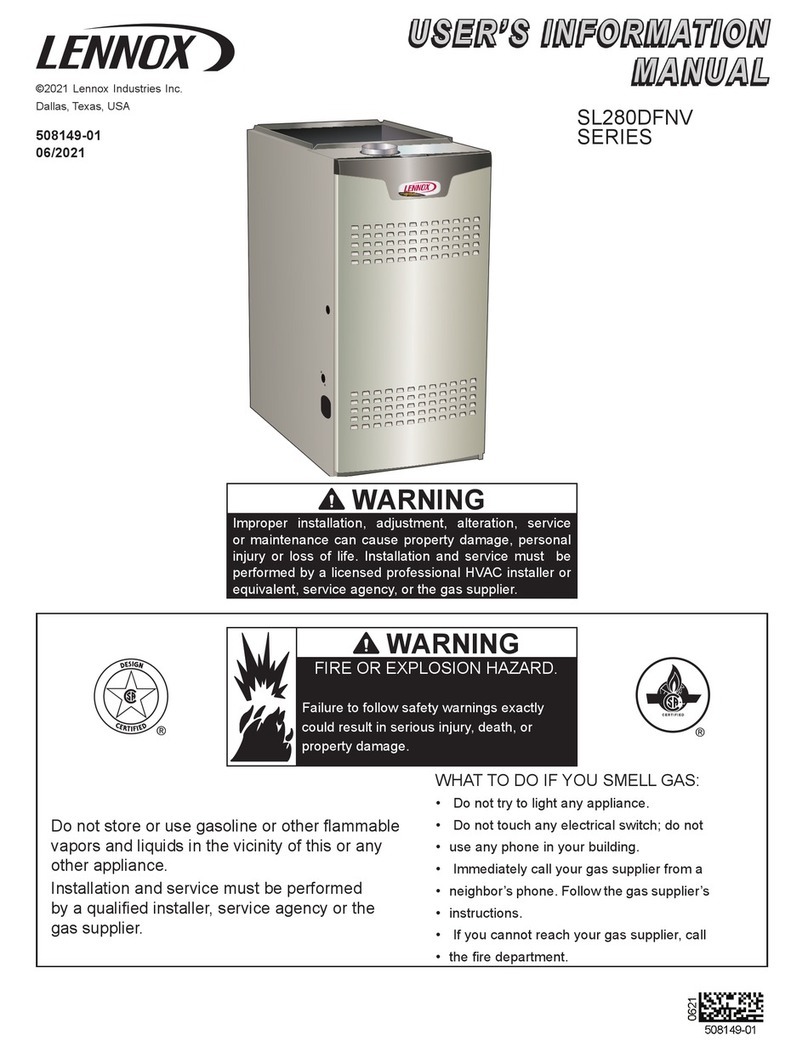
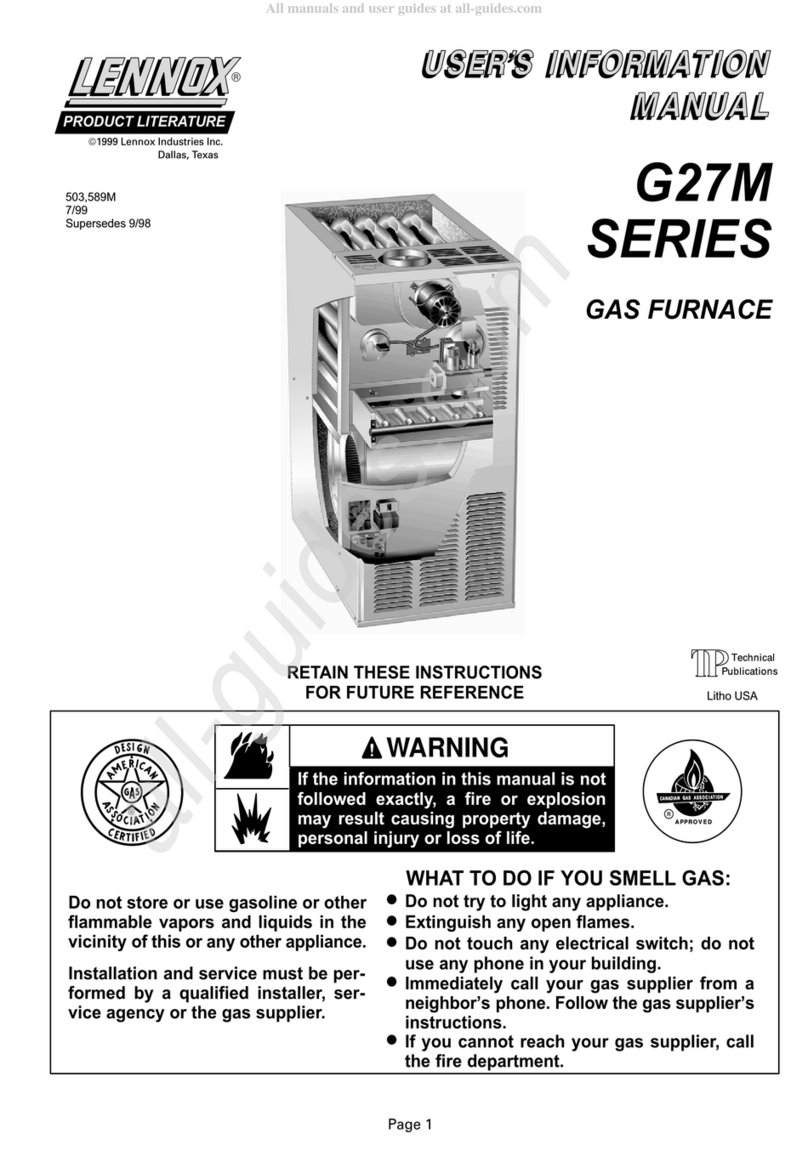
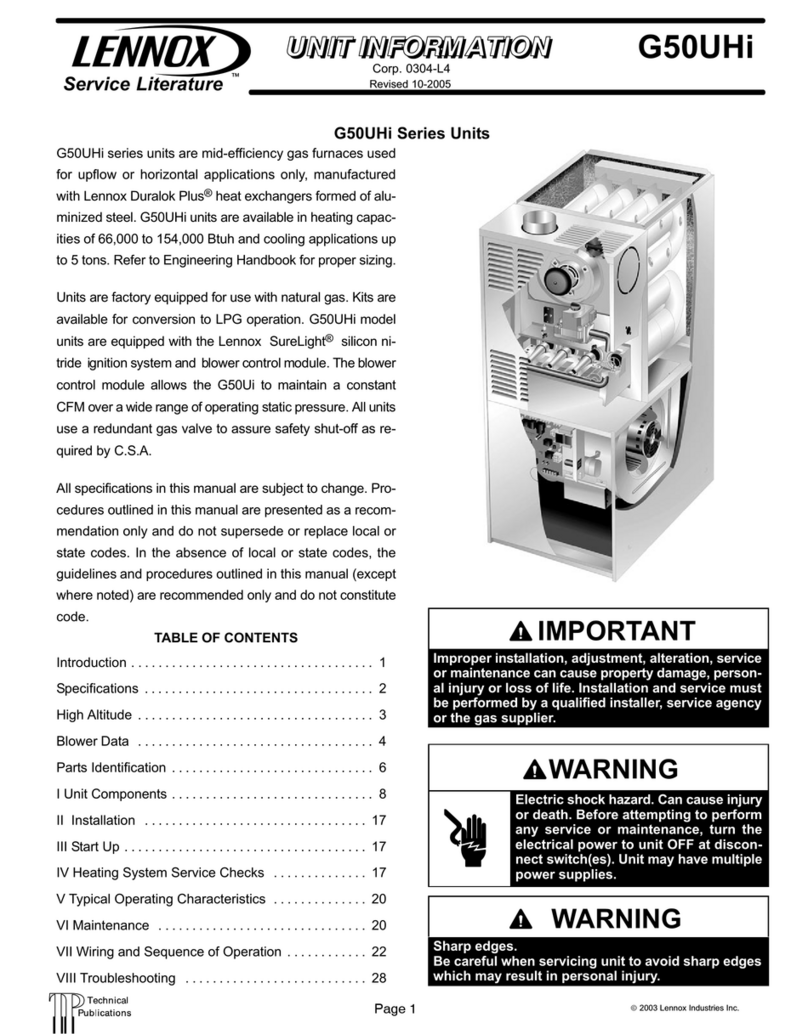
  9. Lennox G60DF series Guide

Lennox G60DF series Guide

06/03
*2P0603*
504,783M
*P504783M*
G60DF(X)
SERIES
Litho U.S.A.
504,783M
6/2003
Supersedes 504,574M
GAS FURNACE
E 2003 Lennox Industries Inc.
Dallas, exas, USA

WHAT TO DO IF YOU SMELL GAS:
Do not tore or u e ga oline or other
flammable vapor and liquid in the
vicinity of thi or any other apĆ
pliance.
In tallation and ervice mu t be
performed by a qualified in taller,
ervice agency or the ga upplier.
DDo not try to light any appliance.
DDo not touch any electrical witch; do not
u e any phone in your building.
DImmediately call your ga upplier from a
neighbor' phone. Follow the ga upplier'
in truction .
DIf you cannot reach your ga upplier, call
the fire department.
FIRE OR EXPLOSION HAZARD.
Failure to follow afety warning exactĆ
ly could re ult in eriou injury, death,
or property damage.
WARNING
DLeave the building immediately.
Page 2
G60DF(X) Part Identification
BLOWER
MOTOR
CABINET
CONTROL BOX
LOWER ACCESS
PANEL
DURALOKTM HEAT
EXCHANGER
ASSEMBLY
BURNERS
GAS
MANIFOLD
GAS
VALVE
COMBUSTION AIR
INDUCER
BLOWER ACCESS
PANEL
FLUE
COLLAR
TWO-STAGE
SURELIGHT®
INTEGRATED
CONTROL BOARD
FIGURE 1
WARNING
Product contain fibergla wool.
Di turbing the in ulation in thi product during
in tallation, maintenance, or repair will expo e you
to fibergla wool. Breathing thi may cau e lung
cancer. (Fibergla wool i known to the State of CalĆ
ifornia to cau e cancer.)
Fibergla wool may al o cau e re piratory, kin,
and eye irritation.
To reduce expo ure to thi ub tance or for further
information, con ult material afety data heet
available from addre hown below, or contact your
upervi or.
Lennox Indu trie Inc.
P.O. Box 799900
Dalla , TX 75379-9900
NOTE - This manual must be left with the equipment
user.
WARNING
Do not et thermo tat below 60°F (16°C) in heating
mode. Setting thermo tat below 60°F (16°C) reduce
the number of heating cycle . Damage to the unit
may occur that i not covered by the warranty.
WARNING
If overheating occur or if ga upply fail to hut off,
hut off the manual ga valve to the appliance before
hutting off electrical upply.
CAUTION
Before attempting to perform any ervice or mainteĆ
nance, turn the electrical power to unit OFF at the
di connect witch.
Page 3
WARNING
Do not u e thi furnace if any part ha been underĆ
water. A flood-damaged furnace i extremely danĆ
gerou . Attempt to u e the furnace can re ult in
fire or explo ion. Immediately call a qualified erĆ
vice technician to in pect the furnace and to replace
all ga control , control y tem part , and electrical
part that have been wet or to replace the furnace,
if deemed nece ary.
IMPORTANT
Any addition , change , or conver ion required in
order for the appliance to ati factorily meet the apĆ
plication need mu t be made by a Lennox ervice
technician u ing factory pecified and approved
part .
WARNING
Improper in tallation, adju tment, alteration, ervice
or maintenance can cau e property damage, per onĆ
al injury or lo of life. In tallation and ervice mu t
be performed by a qualified in taller, ervice agency
or the ga upplier.
Safety In truction
1 - Keep the furnace area clear and free of combustible
material, gasoline, and other flammable vapors and
liquids. If it is installed in an insulated area, the furnace
must be kept free of insulating material. Insulating maĆ
terial may be combustible.
2 - DO NOT obstruct air flow to unit. Unit must receive an
unobstructed flow of combustion and ventilating air.
DO NO block or obstruct air openings on the furnace
or air openings to the area in which the furnace is
installed. ake care to maintain established clearĆ
ances surrounding the furnace.
3 - DO NOT store chlorine or fluorine products near unit
or introduce these products into the combustion air.
hese products can cause furnace corrosion.
4 - DO NOT draw return air from a room where thi furĆ
nace, or any other ga appliance (ie., a water heatĆ
er), i in talled. When return air is drawn from a room,
a negative pressure is created in the room. If a gas apĆ
pliance is operating in a room with negative pressure,
the flue products can be pulled back down the vent
pipe and into the room. his reverse flow of the flue
gas may result in incomplete combustion and the
formation of carbon monoxide gas. his toxic gas
might then be distributed throughout the house by the
furnace duct system.
WARNING
The blower acce panel mu t be ecurely in place
when the blower and burner are operating. Ga
fume , which could contain carbon monoxide, can
be drawn into the living pace re ulting in per onal
injury or death.
Your furnace i a ga appliance. It is critical that the gas
supplied to the unit be completely burned to avoid the proĆ
duction of carbon monoxide gas. Complete combustion of
the gas requires, but is not limited to, correct gas pressure
and gas flow rate, adequate combustion air and proper
venting.
WARNING
Carbon monoxide ga i invi ible, odorle , and
toxic.
Exposure to carbon monoxide gas can cause personal injuĆ
ry and even death to all occupants, including pets. Any item
that is powered by, or gives off heat from, a combustion proĆ
cess (including lawn mowers, automobiles, and fireplaces)
has the potential to produce carbon monoxide gas. Because
of this, Lennox recommend the u e of a carbon monoxĆ
ide detector in your home, even if you do not own ga
appliance . Reliable detectors are available at reasonable
retail prices. Contact your Lennox dealer for more details
about this investment in your safety.
Your furnace is designed to meet standards set by nationĆ
al agencies. It should operate safely when properly
installed and maintained. However, the unit's perforĆ
mance can be greatly impacted by the individual installaĆ
tion and the operating environment. It is your responsibilĆ
ity to ensure that this appliance is maintained. Proper
maintenance is critical for your safety and the satisfactory
operation of the product. Lennox trongly recommend
annual in pection and maintenance of thi appliance.
Contact your Lennox dealer for an inspection by a qualiĆ
fied service technician.
Lighting Information & Operation
WARNING
If you do not follow the e in truction exactly, a fire
or explo ion may re ult cau ing property damage,
per onal injury or death.
BEFORE LIGHTING smell all around the appliance area
for gas. Be sure to smell next to the floor because some gas
is heavier than air and will settle on the floor.
Page 4
he gas valve on the G60DF(X) is equipped with either a
gas control knob or lever. Use only your hand to turn the
gas control knob or push the gas lever. Never use tools. If
the knob or lever will not move by hand, do not try to repair
it. Call a qualified service technician. Force or attempted
repair may result in a fire or explosion.
Placing the G60UH(X) furnace into operation:
G60DF(X) units are equipped with a SureLight® ignition
system. Do not attempt to manually light burners on these
furnaces. Each time the thermostat calls for heat, the burnĆ
ers will automatically light. he ignitor does not get hot
when there is no call for heat on units with the SureLight®
ignition system.
Operating the Ga Valve (Figure 3 and 4)
1 - STOP! Read the safety information at the beginning of
this section.
2 - Set the thermostat to the lowest setting. See figure 2.
3 - urn off all electrical power to the unit.
THERMOSTATS
FIGURE 2
4 - his furnace is equipped with an ignition device which
automatically lights the burners. Do not try to light the
burners by hand.
5 - Remove the upper access panel.
6 - White Rodgers 36E Gas Valve - Switch gas valve leĆ
ver to OFF. See figure 3.
Honeywell VR8205 Gas Valve - urn knob on gas
valve clockwise to OFF. Do not force. See figure
4.
7 - Wait five minutes to clear out any gas. If you then smell
gas, STOP! Immediately call your gas supplier from a
neighbor's phone. Follow the gas supplier's instrucĆ
tions. If you do not smell gas go to next step.
8 - White Rodgers 36E Gas Valve - Switch gas valve lever to
ON. See figure 3.
Honeywell VR8205 Gas Valve - urn knob on gas valve
counterclockwise to ON. Do not force. See figure 4.
WHITE RODGERS 36E SERIES GAS VALVE
GAS VALVE SHOWN IN OFF POSITION
FIGURE 3
HONEYWELL VR8205 SERIES GAS VALVE
GAS VALVE SHOWN IN OFF POSITION
FIGURE 4
9 - Replace the upper access panel.
10 - urn on all electrical power to to the unit.
11 - Set the thermostat to desired setting.
NO E - When unit is initially started, steps 1 through 11
may need to be repeated to purge air from gas line.
12 - If the appliance will not operate, follow the instructions
 urning Off Gas to the Unit" and call your service techĆ
nician or gas supplier.
Turning Off Ga to the Unit
1 - Set the thermostat to the lowest setting.
2 - urn off all electrical power to the unit if service is to be
performed.
3 - Remove the upper access panel.
4 - White Rodgers 36E Gas Valve - Switch gas valve leĆ
ver to OFF.
Honeywell VR8205 Gas Valve - urn knob on gas
valve clockwise to OFF. Do not force.
5 - Replace the upper access panel.
Page 5
Filter
his unit is not equipped with a filter or rack. A field-proĆ
vided, high-velocity filter is required to ensure proper unit
operation.
A filter must be in place any time the unit is operating.
Maintenance
A qualified service technician should inspect the complete
system each season (heating and cooling). he following
maintenance procedures should only be conducted by a
qualified service technician. Do not attempt to ervice
the unit in any way.
WARNING
ELECTRICAL SHOCK, FIRE,
OR EXPLOSION HAZARD.
Failure to follow afety warning exactly could re ult
in dangerou operation, eriou injury, death or
property damage.
Improper ervicing could re ult in dangerou operaĆ
tion, eriou injury, death, or property damage.
Before ervicing, di connect all electrical power to
furnace.
When ervicing control , label all wire prior to di Ć
connecting. Take care to reconnect wire correctly.
Verify proper operation after ervicing.
Venting Sy tem
WARNING
A phyxiation Hazard
The exhau t vent for thi furnace mu t be ecurely
connected to the furnace flue collar at all time .
For your afety and to fulfill the term of the limited
warranty, a qualified ervice technician mu t annualĆ
ly in pect thi furnace and it vent y tem.
Annually (before heating season) inspect furnace venting
system, vent cap, heat exchanger and burners for corroĆ
sion, deterioration, or deposits of debris. Remove any obĆ
structions.
Inspect the furnace venting system to make sure it is in
place, physically sound and without holes, corrosion, or
blockage. he vent connector must be correctly posiĆ
tioned and sloped upward. he vent connector must be
physically sound, without holes or excessive corrosion.
Inspect the furnace return air duct connection. he duct
must be sealed to the furnace and it must terminate outside
the space containing the furnace.
Inspect the physical support of the furnace to guarantee
that it is sound. he support must not sag and must not
have cracks or gaps around the base of the furnace. here
must be a seal between the furnace base and the support.
During a seasonal check, the service technician will inĆ
spect the indoor blower and the burner flames along with
the venting system.
Blower
Check blower wheel for any debris and clean it, if necesĆ
sary. he blower motor is pre-lubricated for extended bearĆ
ing life. No further lubrication is needed.
WARNING
The blower acce panel mu t be ecurely in place
when the blower and burner are operating. Ga
fume , which could contain carbon monoxide, can
be drawn into the living pace re ulting in per onal
injury or death.
Burner Flame
CAUTION
To en ure proper operation, a qualified technician
hould annually check the burner flame.
Service Reminder
Call your Lennox service technician if the unit will not operĆ
ate. Before calling, always check the following to be sure
service is required.
1 - Check that electrical disconnect switches are ON.
2 - Check room thermostat for proper setting.
3 - Replace any blown fuses or reset circuit breakers.
4 - Gas valve should be ON.
5 - Check air filter. Dirty filter limits air flow.
6 - Is gas turned on at meter?
7 - Is manual main shut-off valve open?
Record the model and serial number of the furnace. hese
numbers are on the unit nameplate, which is located below
the burners.
Serial Number ________________________________
Model Number ________________________________
Page 6
Safety Precaution
If you di cover any of the following, hut down your
unit and contact a Lennox dealer for an in pection by a
qualified technician.
DIf you repeatedly hear any new or unfamiliar sounds
while your unit is operating, there may be a problem. For
example, poorly performing burners can produce unfaĆ
miliar noises.
DIf you smell any unusual odors, your unit may be operatĆ
ing improperly. For example, units can give off unfamilĆ
iar odors if components are required to operate in abĆ
normal conditions.
DLook for visible signs of a malfunctioning unit. Examples
include unusual amounts of condensate on windows inĆ
side your house, visibly burnt components or unusual
dirt or rust accumulations on the vent pipe or in the unit.
DIf you experience headache, nausea, fatigue, or dizziĆ
ness, the cause could be exposure to carbon monoxide
gas. his is often misdiagnosed as the flu because
symptoms are similar. If you suffer from flu-like sympĆ
toms that are exaggerated at home, but seem to subĆ
side while you are away from the house, exposure to
carbon monoxide could be the cause.
Your vigilance may pay off in early detection of a problem
before either personal injury or property damage occurs.
Do not hesitate to contact a qualified service technician as
an investment in your well being.
Planned Service
You should expect a service technician to check the followĆ
ing items during an annual inspection. Power to the unit
must be shut off for the service technician's safety.
Fre h air grille and louver (on the unit and in the room
where the furnace is installed) - Must be open and unobĆ
structed to provide combustion air.
Burner - Must be inspected for rust, dirt, or signs of water.
Vent pipe - Must be inspected for signs of water, damaged
or sagging pipe, or disconnected joints.
Unit appearance - Must be inspected for rust, dirt, signs
of water, burnt or damaged wires, or components.
Blower acce door - Must be properly in place and proĆ
vide a seal between the return air and the room where the
furnace is installed.
Return air duct - Must be properly attached and provide
an air seal to the unit.
Operating performance - Unit must be observed during
operation to monitor proper performance of the unit and the
vent system.
Combu tion ga e - Flue products must be analyzed and
compared to the unit specifications.
Problems detected during the inspection may make it necĆ
essary to temporarily shut down the furnace until the items
can be repaired or replaced.
Pay attention to your furnace. Situations can arise beĆ
tween annual furnace inspections that may result in unsafe
operation. For instance, items innocently stored next to the
furnace may obstruct the combustion air supply. his could
cause incomplete combustion and the production of carĆ
bon monoxide gas.
Page 7
Repair Part Li t
he following repair parts are available through Lennox dealers. When ordering parts, include the complete furnace model
number listed on the CSA International nameplate -- Example: G60DF(X)-36A-070-4.
Cabinet Part
Upper access panel
Blower panel
op cap
Control Panel Part
ransformer
wo-stage SureLight® board
Door interlock switch
Circuit breaker
Blower Part
Blower wheel
Blower housing
Motor
Capacitor
Motor mounting frame
Blower housing cutoff plate
Heating Part
Flame Sensor
Heat exchanger assembly
Gas manifold
wo-speed combustion air inducer
wo-stage gas valve
Main burner cluster
Main burner orifices
Pressure switch
Ignitor
Primary limit control
Flame rollout switch
Secondary limit

Other manuals for G60DF series

1

This manual suits for next models

1

Other Lennox Furnace manuals

Lennox Allied Air EFV Series User manual

Lennox

Lennox Allied Air EFV Series User manual

Lennox G24-200 Guide

Lennox

Lennox G24-200 Guide

Lennox SL280DFV User manual

Lennox

Lennox SL280DFV User manual

Lennox O23V-105 User manual

Lennox

Lennox O23V-105 User manual

Lennox SLP99UHV Series Installation and operation manual

Lennox

Lennox SLP99UHV Series Installation and operation manual

Lennox G43UF SERIES Installation and operation manual

Lennox

Lennox G43UF SERIES Installation and operation manual

Lennox G20 Series Guide

Lennox

Lennox G20 Series Guide

Lennox SLP99DF070XV36B Installation and operation manual

Lennox

Lennox SLP99DF070XV36B Installation and operation manual

Lennox ELO183UF Series User manual

Lennox

Lennox ELO183UF Series User manual

Lennox SLP98UHV SERIES User manual

Lennox

Lennox SLP98UHV SERIES User manual

Lennox G71P User manual

Lennox

Lennox G71P User manual

Lennox G60UH Series User manual

Lennox

Lennox G60UH Series User manual

Lennox EL180UHE SERIES User manual

Lennox

Lennox EL180UHE SERIES User manual

Lennox GHR32 Series Guide

Lennox

Lennox GHR32 Series Guide

Lennox ML180UH SERIES Guide

Lennox

Lennox ML180UH SERIES Guide

Lennox EL195UHNE Series Guide

Lennox

Lennox EL195UHNE Series Guide

Lennox SLP98DF090XV60C User manual

Lennox

Lennox SLP98DF090XV60C User manual

Lennox A96DFMV User manual

Lennox

Lennox A96DFMV User manual

Lennox ML180UHA User manual

Lennox

Lennox ML180UHA User manual

Lennox G34M Guide

Lennox

Lennox G34M Guide

Lennox G61MP Series Guide

Lennox

Lennox G61MP Series Guide

Lennox G21 V SERIES User manual

Lennox

Lennox G21 V SERIES User manual

Lennox G26 Series Guide

Lennox

Lennox G26 Series Guide

Lennox Elite series User manual

Lennox

Lennox Elite series User manual

Popular Furnace manuals by other brands

Rheem RGPK Series User's information manual

Rheem

Rheem RGPK Series User's information manual

Carrier 58DXT Service and maintenance instructions

Carrier

Carrier 58DXT Service and maintenance instructions

Modine Manufacturing HFG Series Installation and service manual

Modine Manufacturing

Modine Manufacturing HFG Series Installation and service manual

VERDER TZF 12/75/700 Installation, operation and maintenance instructions

VERDER

VERDER TZF 12/75/700 Installation, operation and maintenance instructions

Empire Comfort Systems DVC-35SPP Installation instructions and owner's manual

Empire Comfort Systems

Empire Comfort Systems DVC-35SPP Installation instructions and owner's manual

Goodman CVC9/95 installation instructions

Goodman

Goodman CVC9/95 installation instructions

Carrier 58TP1A Installation, start-up, operating and service and maintenance instructions

Carrier

Carrier 58TP1A Installation, start-up, operating and service and maintenance instructions

Central Boiler CLASSIC owner's manual

Central Boiler

Central Boiler CLASSIC owner's manual

Vogelzang International 1500 owner's manual

Vogelzang International

Vogelzang International 1500 owner's manual

VERDER Carbolite Gero AAF 12/32 Installation, operation and maintenance instructions

VERDER

VERDER Carbolite Gero AAF 12/32 Installation, operation and maintenance instructions

ComfortNET ACVC9 Technical manual

ComfortNET

ComfortNET ACVC9 Technical manual

Daikin DC96SN installation instructions

Daikin

Daikin DC96SN installation instructions

United States Stove NITED STATES STOV 1602M Installation & operator's manual

United States Stove

United States Stove NITED STATES STOV 1602M Installation & operator's manual

York G8C Series Technical guide

York

York G8C Series Technical guide

Stelpro SFECM2321 installation guide

Stelpro

Stelpro SFECM2321 installation guide

J. A. Roby GRIZZLY owner's manual

J. A. Roby

J. A. Roby GRIZZLY owner's manual

Coleman TG9S040A08MP11 Technical guide

Coleman

Coleman TG9S040A08MP11 Technical guide

Empire Heating Systems FAW-55-1SPP Installation instructions and owner's manual

Empire Heating Systems

Empire Heating Systems FAW-55-1SPP Installation instructions and owner's manual

manuals.online logo
manuals.online logoBrands
  • About & Mission
  • Contact us
  • Privacy Policy
  • Terms and Conditions

Copyright 2025 Manuals.Online. All Rights Reserved.