manuals.online logo
Brands
  1. Home
  2. •
  3. Brands
  4. •
  5. Lennox
  6. •
  7. Furnace
  8. •
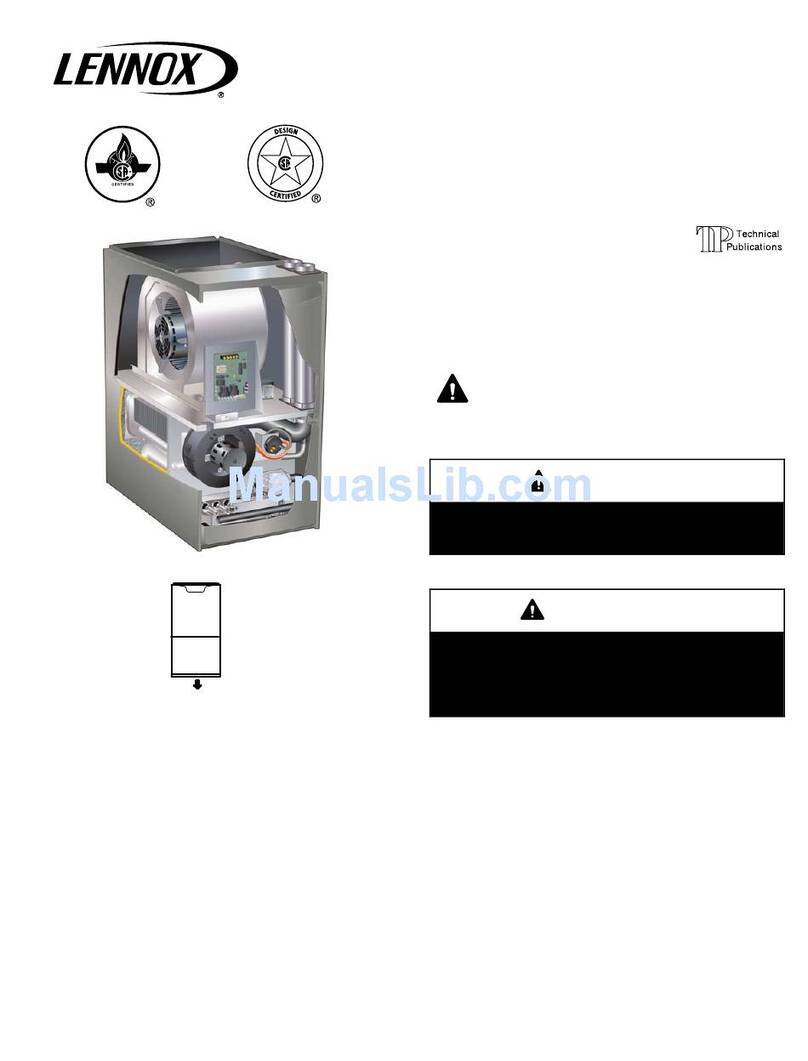
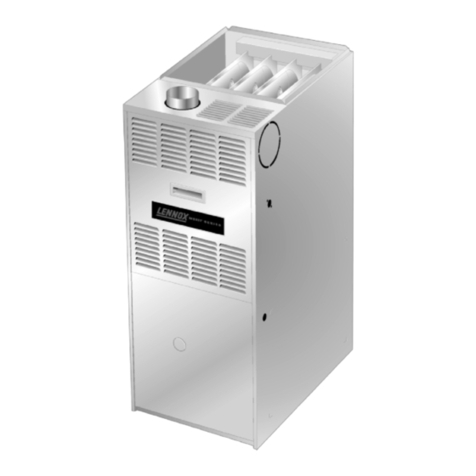
  9. Lennox G61MP Series Guide

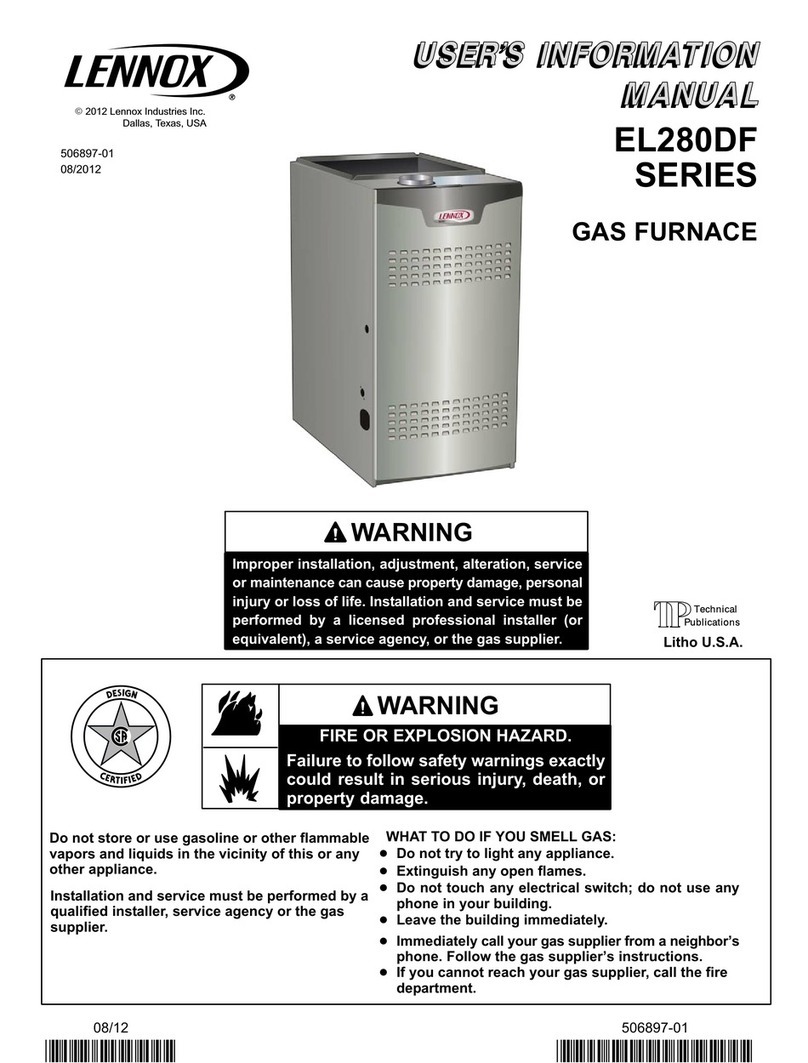
Lennox G61MP Series Guide

LENNDK
,1,_2003 Lennox Industries Inc.
Dallas, Texas, USA
504,741M
6/2003 G61MP
GAS FURNACE
Fj_pu Technical
blications
Litho U.S.A.
AWARNING
Do not store or use gasoline or other
flammable vapors and liquids in the
vicinity of this or any other appliance.
Installation and service must be per-
formed by a qualified installer, ser-
vice agency or the gas supplier.
WHAT TO DO IF YOU SMELL GAS:
• Do not try to light any appliance.
•Do not touch any electrical switch; do not
use any phone in your building.
•Leave the building immediately.
•Immediately call your gas supplier from a
neighbor's phone. Follow the gas supplier's
instructions.
•If you cannot reach your gas supplier, call
the fire department.
06/03
IIIIIIIIIIIIIIIIIIIIIIIIIIIIIIIIIIIIIIII 504,741M
IIIIIIIIIIIIIIIIIIIIIIIIIIIIIIIIIIIIIIIIIIIIIIIIII
TOP CAP
DURALOK TM HEAT
EXCHANGER
ASSEMBLY
UPPER ACCESS
PANEL
COMBUSTION AIR
INDUCER
CABINET
GAS VALVE AND
MANIFOLD
FLUE
COLLAR
SURELIGHT ®
CONTROL BOARD _ ......
BLOWER ACCESS
PANEL
AWARNING
COMBUSTION AIR
PROVING
(PRESSURE)
SWITCHES
NOTE -This manual must be left with the equipment
BLOWER
MOTOR
CONTROLBOX
FIGURE 1
user.
Ak WARNING
Ak WARNING
CAUTION
Page 2
AWARNING
,& IMPORTANT
`& WARNING
Your furnace is a gas appliance. It is critical that the gas
supplied to the unit be completely burned to avoid the pro-
duction of carbon monoxide gas. Complete combustion of
the gas requires, but is not limited to, correct gas pressure
and gas flow rate, adequate combustion, air, and proper
venting.
WARNING
-&WARNING
1-Keep the furnace area clear and free of combustible
material, gasoline, and other flammable vapors and
liquids. If it is installed in an insulated area, the furnace
must be kept free of insulating material. Insulating ma-
terial may be combustible,
2 - DO NOT obstruct airflow to unit. Unit must receive an
unobstructed flow of combustion and ventilating air,
DO NOT block or obstruct air openings on the furnace
or air openings to the area in which the furnace is
installed. Take care to maintain established clear-
ances surrounding the furnace,
3 - DO NOT store chlorine or fluorine products near unit
or introduce these products into the combustion air.
These products can cause furnace corrosion,
4 - DO NOT draw return air from a room where this fur-
nace, or any other gas appliance (ie., a water heat-
er), is installed. When return air is drawn from a room,
a negative pressure is created in the room, If a gas ap-
pliance is operating in a room with negative pressure,
the flue products can be pulled back down the vent
pipe and into the room. This reverse flow of the flue
gas may result in incomplete combustion and the
formation of carbon monoxide gas, This toxic gas
might then be distributed throughout the house by the
furnace duct system.
Exposure to carbon monoxide gas can cause personal inju-
ry and even death to all occupants, including pets. Any item
that is powered by or gives off heat from a combustion pro-
cess (including lawn mowers, automobiles, and fireplaces)
has the potential to produce carbon monoxide gas. Because
of this, Lennox recommends the use of a carbon monox-
ide detector in your home, even if you do not own gas
appliances. Reliable detectors are available at reasonable
retail prices. Contact your Lennox dealer for more details
about this investment in your safety,
Your furnace is designed to meet standards set by nation-
al agencies, and to operate safely when properly installed
and maintained, However, the unit's performance can be
greatly impacted by the individual installation and the op-
erating environment, It is your responsibility to ensure that
this appliance is maintained, Proper maintenance is criti-
cal for your safety and the satisfactory operation of the
product. Lennox strongly recommends annual in-
spection and maintenance of this appliance. Contact
your Lennox dealer for an inspection by a qualified service
technician.
,&WARNING
BEFORE LIGHTING the unit, smell all around the ap-
pliance area for gas, Be sure to smell next to the floor be-
cause some gas is heavier than air and will settle on the
floor.
Page 3
ThegasvalveontheG61MPmaybeequippedwithei-
theragascontrolknoborgascontrollever,Useonlyyour
handtopushtheleverorturnthegascontrolknob.Never
usetools,Ifthetheleverwillnotmoveortheknobwillnot
pushinorturnbyhand,donottrytorepairit,Callaquali-
fiedservicetechnician.Forceorattemptedrepairmay
resultinafireorexplosion,
Placing the G61MP furnace into operation:
G61MP units are equipped with a SureLight ¢ ignition
system, Do not attempt to manually light burners on this
furnace, Each time the thermostat calls for heat, the
burners will automatically light, The ignitor does not get
hot when there is no call for heat on units with SureLight ¢
ignition system,
Operating the Gas Valve (Figures 3 and 4)
1 - STOP! Read the safety information at the beginning of
this section.
2 - Set the thermostat to the lowest setting, See figure 2.
3 - Turn off all electrical power to the unit,
THERMOSTATS
o15 m
FIGURE 2
4 - This furnace is equipped with an ignition device which
automatically lights the burners. Do not try to light the
burners by hand,
5 - Remove the upper access panel,
6 - White Rodgers 36E Gas Valve - Switch gas valve le-
ver to OFF.
Honeywell VR8205 Gas Valve - Turn knob on gas
valve clockwise _ to OFF, Do not force. See figure
4.
7 - Wait five minutes to clear out any gas. If you then smell
gas, STOP! Immediately call your gas supplier from a
neighbor's phone, Follow the gas supplier's instruc-
tions, If you do not smell gas go to next step.
8 - White Rodgers 36E Gas Valve- Switch gas valve lever to
ON. See figure 3 for the White Rodgers 36E valve,
Honeywell VR8205 Gas Valve - Turn knob on gas valve
counterclockwise _ to ON. Do not force.
WHITE RODGERS 36E SERIES GAS VALVE
c[]
GAS VALVE SHOWN IN OFF POSITION
FIGURE 3
HONEYWELL VR8205 SERIES GAS VALVE
GAS VALVE SHOWN IN OFF POSITION
FIGURE 4
9 - Replace the upper access panel.
10 -Turn on all electrical power to to the unit.
11 - Set the thermostat to desired setting.
NOTE -When unit is initially started, steps I through 11
may need to be repeated to purge air from gas line.
12- If the appliance will not operate, follow the section
"Turning Off Gas to the Unit" and call your service tech-
nician or gas supplier.
Turning Off Gas to the Unit
1 - Set the thermostat to the lowest setting.
2 - Turn off all electrical power to the unit if service is to be
performed,
3 - Remove the upper access panel,
4 - White Rodgers 36E Gas Valve - Switch gas valve le-
ver to OFF.
Honeywell VR8205 Gas Valve - Turn knob on gas
valve clockwise _ to OFF, Do not force.
5 - Replace the upper access panel.
Page 4
AllG61MPfiltersareinstalledexternaltotheunit.Filters
shouldbeinspectedmonthly.Cleanorreplacethefilters
whennecessarytoensureproperfurnaceoperation,Re-
placementfiltersmustberatedforhighvelocityairflow,
Table1listsrecommendedfiltersizes.
Afiltermustbeinplacewhenevertheunitisoperating,
TABLE1
Furnace
Cabinet Size
17-1/2"
21"
24-1/2"
Filter Size
Side Return Bottom Return
16X25X1(1) 16X25X 1(1)
16X25X1(1) 20X25Xl(1)
16X25X1 (2) 24X25Xl(1)
A qualified service technician should inspect the complete
system each season (heating and cooling), The following
maintenance procedures should only be conducted by a
qualified service technician, Do not attempt to service
the unit in any way.
,WARNING
Venting System
WARNING
Annually (before heating season) inspect furnace venting
system, vent cap, heat exchanger, and burners for corro-
sion, deterioration, or deposits of debris. Remove any ob-
structions.
Inspect the furnace for obvious signs of deterioration.
Inspect the furnace venting system to make sure it is in
place, physically sound, and without holes, corrosion, or
blockage.
Vent pipe must be clear and free of obstructions and must
slope upward away from the furnace.
Inspect the furnace return air duct connection to ensure
duct is sealed to the furnace and terminates outside the
space containing the furnace.
Inspect the physical support of the furnace to guarantee
that it is sound without sagging, cracks or gaps around
base and it maintains seal between base and support.
Inspect and clean the condensate trap and drain.
During a seasonal check the service technician will inspect
the indoor blower, burner flames and electrical connections
along with the venting system.
Blower
Check the blower wheel for debris and clean if necessary.
The blower motors are prelubricated for extended bearing
life. No further lubrication is needed.
A,WARNING
Burner Flame
Ak CAUTION
Electrical
1 - Check all wiring for loose connections.
2 - Check for the correct voltage at the furnace (furnace
operating),
3 - Check amp-draw on the blower motor.
Motor Nameplate Actual
Page 5
CallyourLennoxservicetechnicianiftheunitwillnotoper-
ate.Beforecalling,alwayscheckthefollowingtobesure
serviceisrequired:
1- CheckthatelectricaldisconnectswitchesareON.
2- Checkroomthermostatforpropersetting.
3- Replaceanyblownfusesorresetcircuitbreakers.
4- GasvalveshouldbeON.
5- Airfiltershouldnotbeplugged,whichwilllimitairflow.
6- Isgasturnedonatmeter?
7- Ismanualmainshut-offvalveopen?
Recordthemodelandserialnumberofthefurnace.These
numbersareontheunitnameplate,whichislocatedonthe
blowerdeckbelowthecombustionairinducer.
SerialNumber
ModelNumber
If you discover any of the following, shut down your
unit, and contact a Lennox dealer for an inspection by
a qualified technician.
• If you repeatedly hear any new or unfamiliar sounds
while your unit is operating, there may be a problem. For
example, poorly performing burners can produce unfa-
miliar noises.
• If you smell any unusual odors, your unit may be operat-
ing improperly. For example, units can give off unfamil-
iar odors if components are required to operate in ab-
normal conditions.
• Look for visible signs of a malfunctioning unit. Examples
include unusual amounts of condensate on windows in-
side your house, visibly burnt components or unusual
dirt or rust accumulations on the vent pipe or in the unit.
• If you experience headache, nausea, fatigue, or dizzi-
ness, the cause could be exposure to carbon monoxide
gas. This is often misdiagnosed as the flu because
symptoms are similar. If you suffer from flu-like symp-
toms that are exaggerated at home, but seem to sub-
side while you are away from the house, exposure to
carbon monoxide could be the cause.
Your vigilance may pay off in early detection of a problem
before either personal injury or property damage occurs.
Do not hesitate to contact a qualified service technician as
an investment in your well being.
You should expect a service technician to check the follow-
ing items during an annual inspection. Power to the unit
must be shut off for the service technician's safety,
Fresh air grilles and louvers (on the unit and in the room
where the furnace is installed) - Must be open and unob-
structed to provide combustion air,
Burners - Must be inspected for rust, dirt, or signs of water`
Vent pipe - Must be inspected for signs of water, damaged
or sagging pipe, or disconnected joints,
Unit appearance - Must be inspected for rust, dirt, signs
of water, burnt or damaged wires, or components,
Blower access door - Must be properly in place and pro-
vide a seal between the return air and the room where the
furnace is installed,
Return air duct - Must be properly attached and provide
an air seal to the unit.
Operating performance - Unit must be observed during
operation to monitor proper performance of the unit and the
vent system,
Combustion gases - Flue products must be analyzed and
compared to the unit specifications,
Problems detected during the inspection may make it nec-
essary to temporarily shut down the furnace until the items
can be repaired or replaced,
Pay attention to your furnace. Situations can arise be-
tween annual furnace inspections that may result in unsafe
operation. For instance, items innocently stored next to the
furnace may obstruct the combustion air supply. This could
cause incomplete combustion and the production of car-
bon monoxide gas,
Page 6
ThefollowingrepairpartsareavailablethroughLennoxdealers.Whenorderingparts,includethecompletefurnacemodel
numberlistedontheCSAInternationalnameplate--Example:G61MP-36B-045-1,
CabinetParts
Upperaccesspanel
Bloweraccesspanel
TopCap
ControlPanelParts
Transformer
SureLight¢integratedcontrolboard
Doorinterlockswitch
CircuitBreaker
BlowerParts
Blowerwheel
Motor
Motormountingframe
Motorcapacitor
Blowerhousingcutoffplate
HeatingParts
FlameSensor
Heatexchangerassembly
Gasmanifold
Combustionairinducer
Gasvalve
Mainburnercluster
Mainburnerorifices
Pressureswitches
Ignitor
Primarylimitcontrol
Secondarylimit
Flamerolloutswitches
Combustionairinducerauxiliarylimit
Page7

Other manuals for G61MP Series

2

Other Lennox Furnace manuals

Lennox Elite series User manual

Lennox

Lennox Elite series User manual
Lennox SL280UHV Guide

Lennox

Lennox SL280UHV Guide

Lennox G61MPV Series Guide

Lennox

Lennox G61MPV Series Guide

Lennox G40UH Series User manual

Lennox

Lennox G40UH Series User manual

Lennox 78RGF Series User manual

Lennox

Lennox 78RGF Series User manual

Lennox EL195E Guide

Lennox

Lennox EL195E Guide

Lennox ML196UH030XE36B Installation and operation manual

Lennox

Lennox ML196UH030XE36B Installation and operation manual

Lennox O23Q2-70 User manual

Lennox

Lennox O23Q2-70 User manual

Lennox SLP98DFV SERIES User manual

Lennox

Lennox SLP98DFV SERIES User manual

Lennox EL297DFV Series Installation and operation manual

Lennox

Lennox EL297DFV Series Installation and operation manual

Lennox G43UF SERIES Guide

Lennox

Lennox G43UF SERIES Guide

Lennox SLP99DFV Series User manual

Lennox

Lennox SLP99DFV Series User manual

Lennox SLP98UH SERIES Guide

Lennox

Lennox SLP98UH SERIES Guide

Lennox G61MPVT-36B-070 User manual

Lennox

Lennox G61MPVT-36B-070 User manual

Lennox G61MPV Series User manual

Lennox

Lennox G61MPV Series User manual

Lennox ML193DFE Guide

Lennox

Lennox ML193DFE Guide

Lennox G40UHX Series Guide

Lennox

Lennox G40UHX Series Guide

Lennox G23Q2-50 Installation and operation manual

Lennox

Lennox G23Q2-50 Installation and operation manual

Lennox G32 SERIES Installation and operation manual

Lennox

Lennox G32 SERIES Installation and operation manual

Lennox G43UF SERIES Installation and operation manual

Lennox

Lennox G43UF SERIES Installation and operation manual

Lennox EL180UHN User manual

Lennox

Lennox EL180UHN User manual

Lennox EL296DFV SERIES Guide

Lennox

Lennox EL296DFV SERIES Guide

Lennox ML193UH User manual

Lennox

Lennox ML193UH User manual

Lennox EL296UHE User manual

Lennox

Lennox EL296UHE User manual

Popular Furnace manuals by other brands

Armstrong A95DF1E installation instructions

Armstrong

Armstrong A95DF1E installation instructions

Carrier 59SU5A manual

Carrier

Carrier 59SU5A manual

Carrier 59SC6A installation instructions

Carrier

Carrier 59SC6A installation instructions

Bryant 349F installation instructions

Bryant

Bryant 349F installation instructions

VERDER CARBOLITE GERO E Series manual

VERDER

VERDER CARBOLITE GERO E Series manual

Goodman GMV9 installation instructions

Goodman

Goodman GMV9 installation instructions

Harman PF-120 owner's manual

Harman

Harman PF-120 owner's manual

Bryant 912SC Installation, start-up, operating and service and maintenance instructions

Bryant

Bryant 912SC Installation, start-up, operating and service and maintenance instructions

Thermo Pride OME Series installation instructions

Thermo Pride

Thermo Pride OME Series installation instructions

VERDER Carbolite Gero SCF 24 Installation, operation and maintenance instructions

VERDER

VERDER Carbolite Gero SCF 24 Installation, operation and maintenance instructions

Bryant 66120 Installation, start-up, operating and service and maintenance instructions

Bryant

Bryant 66120 Installation, start-up, operating and service and maintenance instructions

Ashley 1440E Owner's installation and operation manual

Ashley

Ashley 1440E Owner's installation and operation manual

Bryant 334 installation instructions

Bryant

Bryant 334 installation instructions

Carrier KGBNP50011SP installation instructions

Carrier

Carrier KGBNP50011SP installation instructions

Bryant OBM098 installation instructions

Bryant

Bryant OBM098 installation instructions

Sears 867.736349 owner's manual

Sears

Sears 867.736349 owner's manual

VERDER HZS 12/900 Installation, operation and maintenance instructions

VERDER

VERDER HZS 12/900 Installation, operation and maintenance instructions

Clayton 1600EF Installation & operator's manual

Clayton

Clayton 1600EF Installation & operator's manual

manuals.online logo
manuals.online logoBrands
  • About & Mission
  • Contact us
  • Privacy Policy
  • Terms and Conditions

Copyright 2025 Manuals.Online. All Rights Reserved.