2
ENGLISH
TABLE OF CONTENTS
CONTENTS
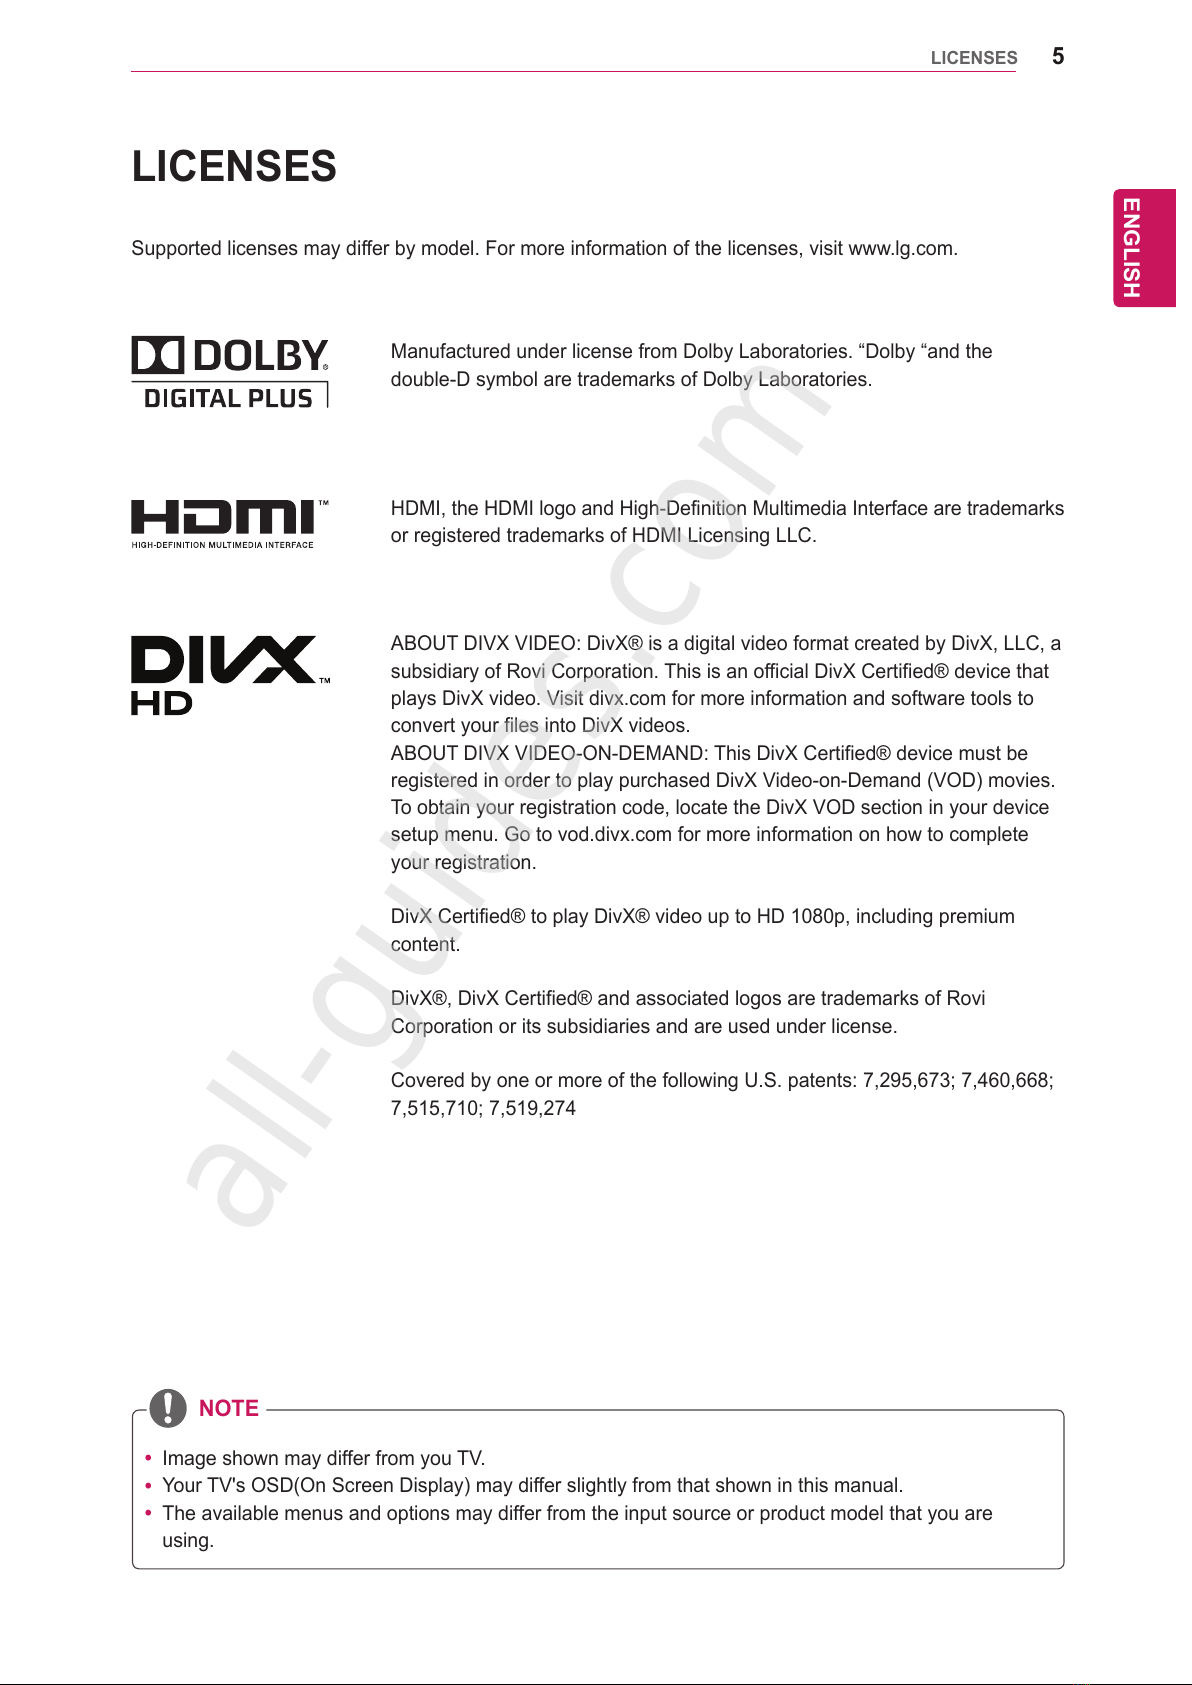
5 LICENSES
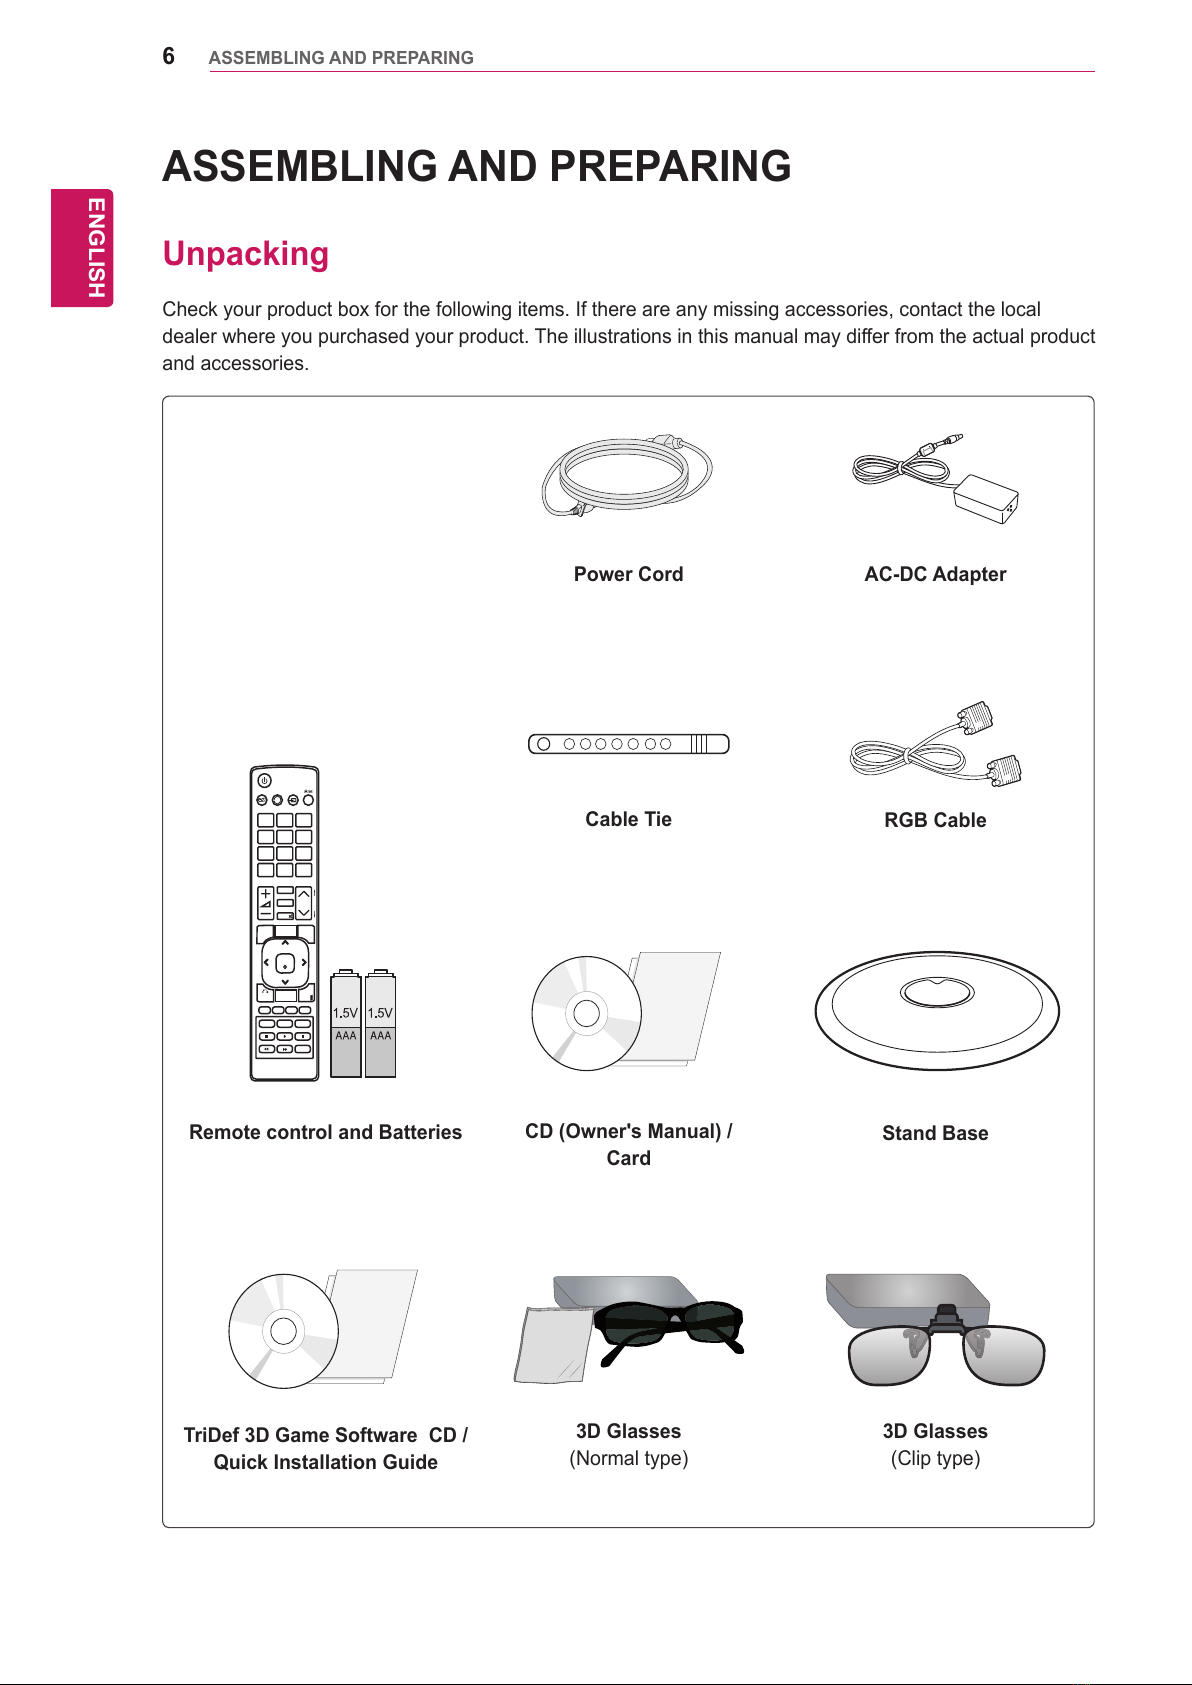
6 ASSEMBLING AND
PREPARING
6 Unpacking
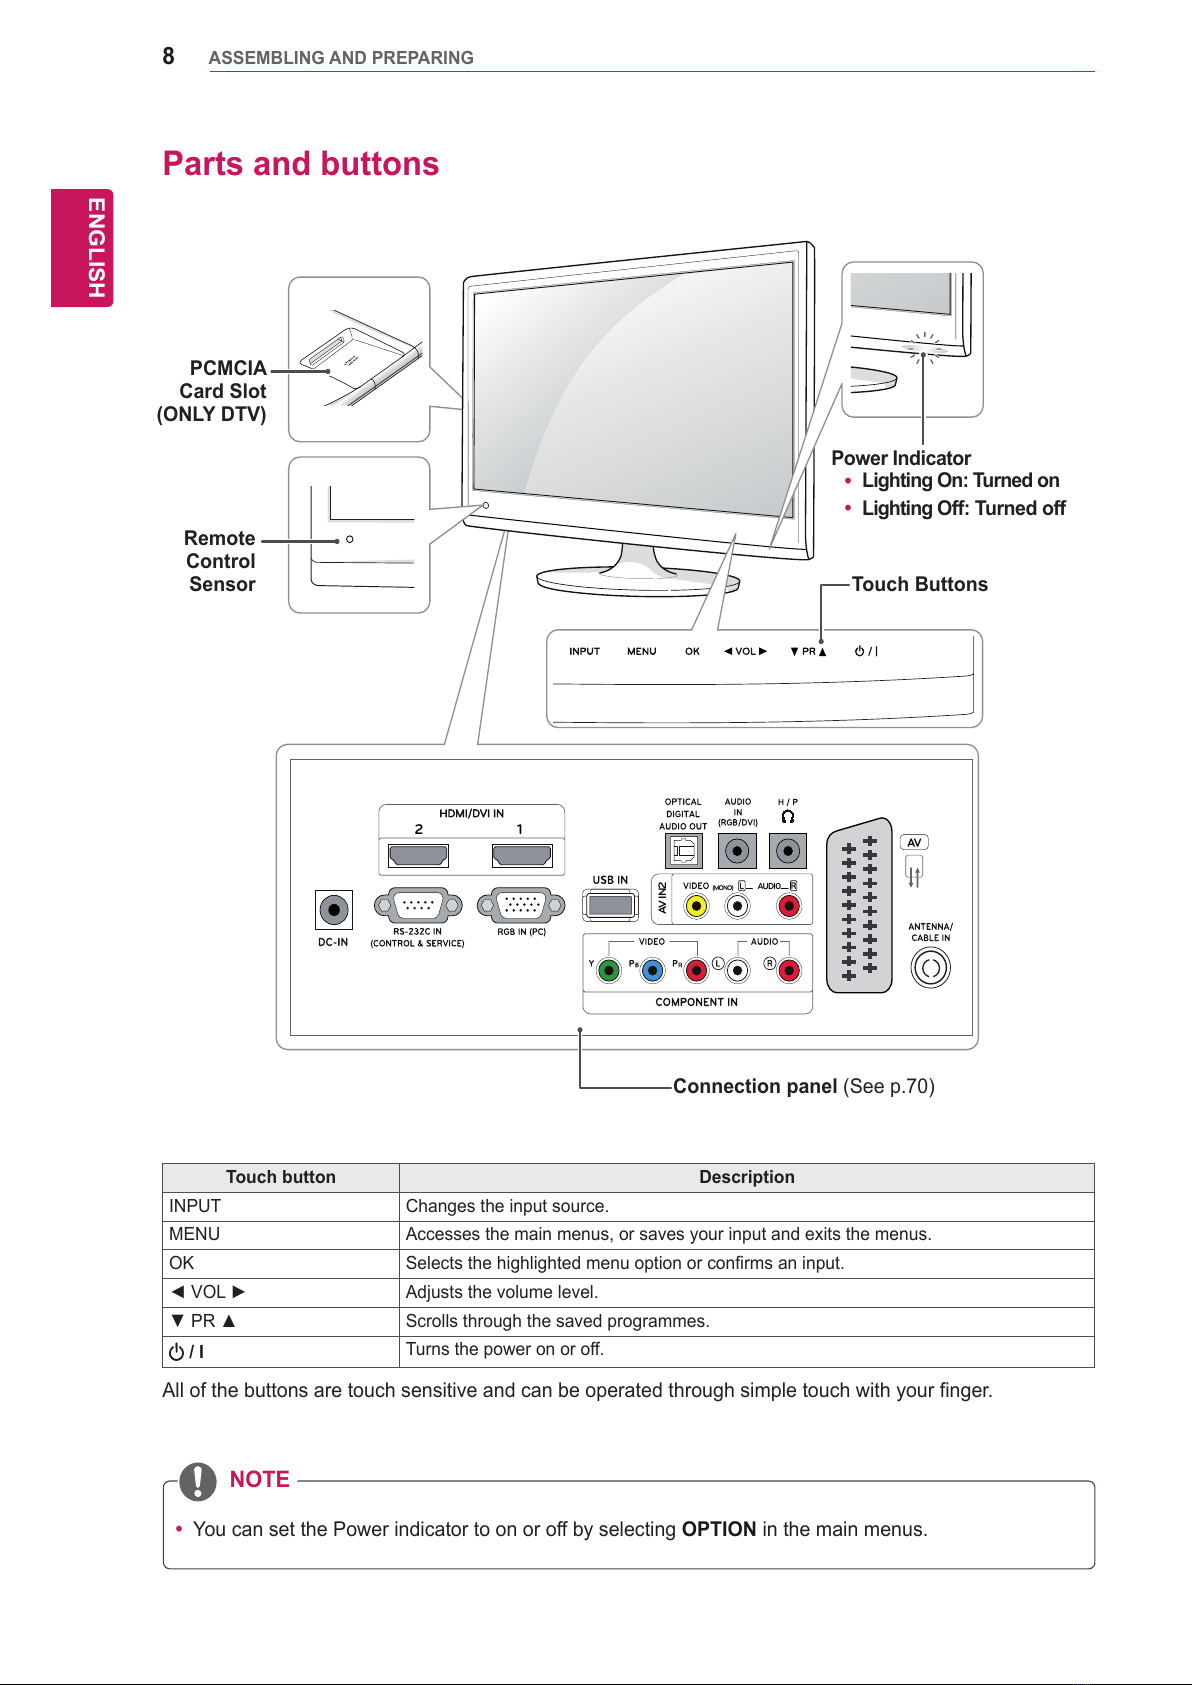
8 Partsandbuttons
9 LiftingandmovingtheTV
9 SettinguptheTV
9 - AttachingtheStandBase
10 - DetachingtheStandBaseandBody
10 - Mountingonatable
12 - Tidyingcables
12 - Swivelstand
12 - Mountingonawall
14 REMOTE CONTROL
16 WATCHING TV
16 Connectinganantennaorcable
16 - Connectinganantennaorbasiccable
16 - Connectingwithacablebox
17 AccessingtheTVforthefirsttime
18 WatchingTV
18 Managingprogrammes
18 - Automaticallysettingupprogrammes
21 - Manuallysettingupprogrammes(In
digitalmode)(OnlyDTV)
22 - Manuallysettingupprogrammes(In
analoguemode)
23 - CableDTVSetting(InCablemode
only)(OnlyDTV)
23 - Editingyourprogrammelist
24 - InDTV/RADIOmode(OnlyDTV)
24 - InTVmode(OnlyDTV)
25 - SoftwareUpdate(OnlyDTV)
26 - Diagnostics(OnlyDTV)
26 - CI[Commoninterface]Information
(OnlyDTV)
27 - Selectingtheprogrammelist
27 - Favouriteprogrammesetup
28 Usingadditionaloptions
28 - Adjustingaspectratio
30 - Usingtheinputlist
31 - On-screenmenulanguage/Country
selection(OnlyDTV)
32 - Languageselection(Indigitalmode
only)(OnlyDTV)
33 UsingtheLockoptions
33 - LockingthebuttonsontheTV.
34 - Parentalcontrol(Indigitalmodeonly)
(OnlyDTV)
34 UsingtheQuickmenu
35 EPG (ELECTRONIC
PROGRAMME GUIDE) (IN
DIGITAL MODE) (ONLY DTV)
35 UsingElectronicProgrammeGuide
35 - Switchon/offEPG
35 - Selectaprogramme
36 - ButtonFunctioninNOW/NEXTGuide
Mode
36 - ButtonFunctionin8DayGuideMode
36 - ButtonFunctioninDateChangeMode
37 - ButtonFunctioninExtended
DescriptionBox
37 - ButtonFunctioninRecord/Remind
SettingMode
37 - ButtonFunctioninScheduleListMode
38 CONNECTING TO A PC
38 HDMIconnection
39 DVItoHDMIconnection
39 RGBconnection
40 Adjustingthescreen
40 - Selectinganimagemode
40 - Customizingimageoptions
41 - CustomizingPCdisplayoptions