4
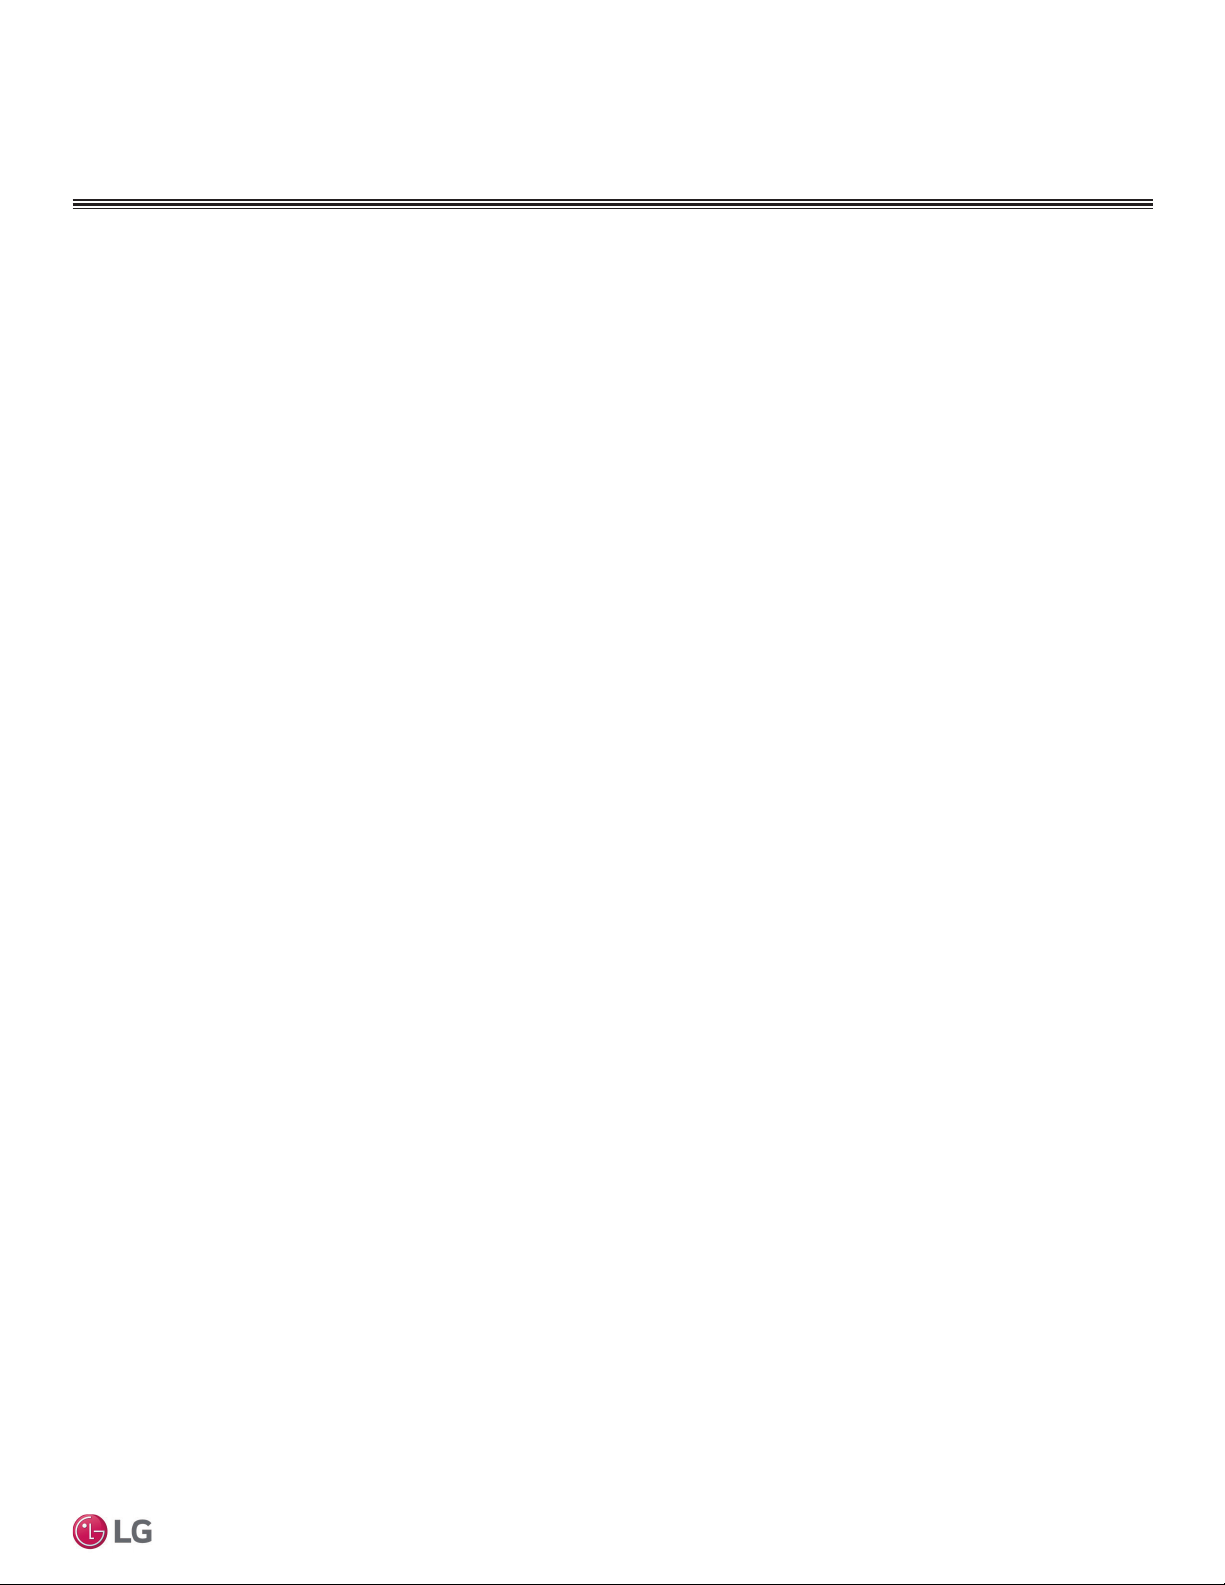
Split Compact Dedicated Outdoor Air System Installation Manual
Due to our policy of continuous product innovation, some specifications may change without notification.
©LG Electronics U.S.A., Inc., Englewood Cliffs, NJ. All rights reserved. “LG” is a registered trademark of LG Corp.
The instructions below must be followed to prevent product malfunction, property damage, injury or death to the user or other people. Incor-
rect operation due to ignoring any instructions will cause harm or damage. The level of seriousness is classified by the symbols below.
WARNING
Do not install or remove the unit by yourself
(end-user). Ask the dealer or an LG trained technician to
install the unit.
,PSURSHULQVWDOODWLRQE\WKHXVHUPD\UHVXOWLQZDWHUOHDNDJH¿UH
explosion, electric shock, physical injury or death.
Installation, startup, and service must be performed by a
TXDOL¿HGLQVWDOOHUVHUYLFHDJHQF\RUJDVVXSSOLHU
Improper installation, adjustment, service, maintenance, or alteration
can cause personal injury or loss of life.
For replacement of an installed unit, always contact a
trained service provider.
7KHUHLVULVNRI¿UHHOHFWULFVKRFNH[SORVLRQDQGSK\VLFDOLQMXU\RU
death.
Periodically check that the unit is not damaged.
There is risk of explosion, physical injury, or death.
Replace all control box and panel covers.
If cover panels are not installed securely, dust, water and animals may
HQWHUWKHXQLWFDXVLQJ¿UHHOHFWULFVKRFNDQGSK\VLFDOLQMXU\RUGHDWK
Always check for system refrigerant leaks after the unit has
been installed or serviced.
Exposure to high concentration levels of refrigerant gas may lead to
illness or death.
Do not install the unit using defective hanging, attaching,
or mounting hardware.
There is risk of physical injury or death.
Wear protective gloves when handling equipment.
Sharp edges may cause personal injury.
Dispose of the packing materials safely.
• Packing materials, such as nails and other metal or wooden parts
may cause puncture wounds or other injuries.
• Tear apart and throw away plastic packaging bags so that children
may not play with them and risk suffocation and death.
Do not install the unit in any location exposed to open
ÀDPHRUH[WUHPHKHDW Do not touch the unit with wet
hands.
7KHUHLVULVNRI¿UHHOHFWULFVKRFNH[SORVLRQDQGSK\VLFDOLQMXU\RU
death.
Install the unit considering the potential for earthquakes.
Improper installation may cause the unit to fall, resulting in physical
injury or death.
Do not change the settings of the protection devices.
If the pressure switch, thermal switch, or other protection device is
shorted and forced to operate improperly, or parts other than those spec-
L¿HGE\/*DUHXVHGWKHUHLVULVNRI¿UHHOHFWULFVKRFNH[SORVLRQDQG
physical injury or death.
If the unit is installed in a small space, take measures to
prevent the refrigerant concentration from exceeding safety
limits in the event of a refrigerant leak.
Consult the latest edition of ASHRAE (American Society of Heating,
Refrigerating, and Air Conditioning Engineers) Standard 15. If the re-
frigerant leaks and safety limits are exceeded, it could result in personal
injuries or death from oxygen depletion.
INSTALLATION
DANGER
'RQRWXVHRUVWRUHÀDPPDEOHJDVRUFRPEXVWLEOHVQHDUWKHXQLW
7KHUHLVULVNRI¿UHH[SORVLRQDQGSK\VLFDOLQMXU\RUGHDWK
TABLE OF SYMBOLS
DANGER This symbol indicates an imminently hazardous situation which, if not avoided, will result in death or serious injury.
WARNING This symbol indicates a potentially hazardous situation which, if not avoided, could result in death or serious injury.
CAUTION This symbol indicates a potentially hazardous situation which, if not avoided, may result in minor or moderate injury.
This symbol indicates situations that may result in equipment or property damage accidents only.
This symbol indicates an action that should not be performed.
SAFETY PRECAUTIONS


 null")