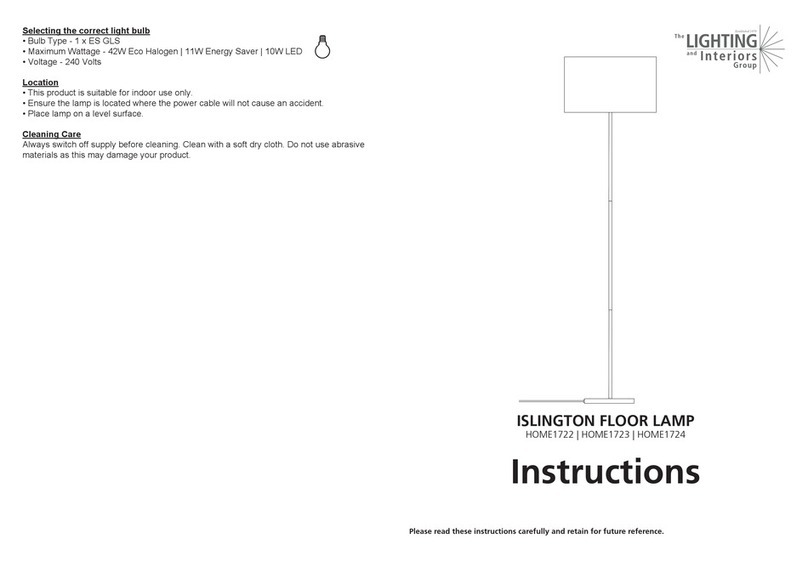
Diagrams are representative and
may not fully match yourproduct.
All our products are thoughtfully designed and expertly manufactured. So that you get the
most out of your new light we offer the following guidelines to assist you.
Contents
1 x Base
1 x Shade
Important Information
• To prevent electrocution switch off at the mains supply before assembling or maintaining.
• Always be sure to use the correct type and wattage of bulbs as indicated on the fitting. Never
exceed the wattage stated, this may cause your light fitting to overheat.
• When changing the bulb, always switch off the supply and allow the old bulb to cool down
before handling. Dispose of bulbs carefully.
• The external flexible cable or cord of this luminaire cannot be replaced. If the cord is damaged
the luminaire shall be destroyed.
• Ensure you have enough space for assembling your floor lamp safely.
Before Starting
Please read through these instructions before assembling product and retain for future
reference. Keep all packaging until after successful installation.
Assembly Instructions
Step 1
Once unpacked, remove all packaging including plastic ‘t’ pieces supplied between columns
(keep until successful installation).
Step 2
Screw lamp stem into base at point A in a clockwise direction and tighten to secure.
Step 3
Assemble the floor lamp column by screwing together the threaded sections at points B in a
clockwise direction. Repeat for point C. While assembling pull excess flex carefully through the
base of the floor lamp (use only the minimum force required to draw the cable through).
Step 4
Finish assembling the floor lamp column by screwing the top section in place at point D. Take
caution with this step as you need to spin the top section around the rest of the column. While
assembling pull excess flex carefully through the base of the floor lamp (use only the minimum
force required to draw the cable through).
Step 5
If required, carefully tighten the cord restraint at point E using a flat head screwdriver.
Step 6
At point F unscrew shade ring then attach & secure shade with shade ring.
Step 7
Fit light bulbs (not supplied)
Plug lamp into power socket with power off. Adjust to desired position before switching lamp on.
A)
B)
C)
D)
E)
F)
Please read these instructions carefully and retain for future reference.


