LLD AURA ROUND M User manual

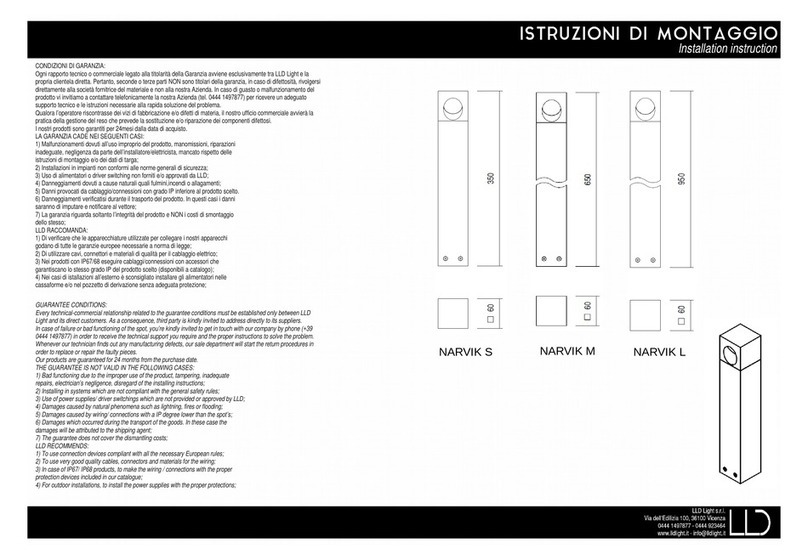
CONDIZIONI DI GARANZIA:
Ogni rapporto tecnico o commerciale legato alla titolarità della Garanzia avviene esclusivamente tra LLD Light e la propria clientela diretta
Pertanto, seconde o terze parti NON sono titolari della garanzia, in caso di difettosità, rivolgersi direttamente alla società fornitrice del materiale e
non alla nostra Azienda In caso di guasto o malfunzionamento del prodotto vi invitiamo a contattare telefonicamente la nostra Azienda (tel 0444
1497877) per ricevere un adeguato supporto tecnico e le istruzioni necessarie alla rapida soluzione del problema
Qualora l’operatore riscontrasse dei vizi di fabbricazione e/o difetti di materia, il nostro ufficio commerciale avvierà la pratica della gestione del
reso che prevede la sostituzione e/o riparazione dei componenti difettosi
I nostri prodotti sono garantiti per 24mesi dalla data di acquisto
LA GARANZIA CADE NEI SEGUENTI CASI:
1) Malfunzionamenti dovuti all’uso improprio del prodotto, manomissioni, riparazioni
inadeguate, negligenza da parte dell’installatore/elettricista, mancato rispetto delle
istruzioni di montaggio e/o dei dati di targa;
2) Installazioni in impianti non conformi alle norme generali di sicurezza;
3) Uso di alimentatori o driver switching non forniti e/o approvati da LLD Light;
4) Danneggiamenti dovuti a cause naturali quali fulmini,incendi o allagamenti;
5) Danni provocati da cablaggio/connessioni con grado IP inferiore al prodotto scelto
6) Danneggiamenti verificatisi durante il trasporto del prodotto In questi casi i danni
saranno di imputare e notificare al vettore;
7) La garanzia riguarda soltanto l’integrità del prodotto e NON i costi di smontaggio
dello stesso;
LLD LIGHT RACCOMANDA:
1) Di verificare che le apparecchiature utilizzate per collegare i nostri apparecchi
godano di tutte le garanzie europee necessarie a norma di legge;
2) Di utilizzare cavi, connettori e materiali di qualità per il cablaggio elettrico;
3) Nei prodotti con IP67/68 eseguire cablaggi/connessioni con accessori che
garantiscano lo stesso grado IP del prodotto scelto (disponibili a catalogo);
4) Nei casi di istallazioni all’esterno è sconsigliato installare gli alimentatori nelle
cassaforme e/o nel pozzetto di derivazione senza adeguata protezione;
GUARANTEE CONDITIONS:
Every technical-commercial relationship related to the uarantee conditions must be established only between LLD Li ht and its direct customers.
As a consequence, third party is kindly invited to address directly to its suppliers.
In case of failure or bad functionin of the spot, you’re kindly invited to et in touch with our company by phone (+39 0444 1497877) in order to
receive the technical support you require and the proper instructions to solve the problem.
Whenever our technician finds out any manufacturin defects, our sale department will start the return procedures in order to replace or repair the
faulty pieces.
Our products are uaranteed for 24 months from the purchase date.
THE GUARANTEE IS NOT VALID IN THE FOLLOWING CASES:
1) Bad functionin due to the improper use of the product, tamperin , inadequate
repairs, electrician’s ne li ence, disre ard of the installin instructions;
2) Installin in systems which are not compliant with the eneral safety rules;
3) Use of power supplies/ driver switchin s which are not provided or approved by LLD Li ht;
4) Dama es caused by natural phenomena such as li htnin , fires or floodin ;
5) Dama es caused by wirin / connections with a IP de ree lower than the spot’s;
6) Dama es which occurred durin the transport of the oods. In these case the
dama es will be attributed to the shippin a ent;
7) The uarantee does not cover the dismantlin costs;
LLD LIGHT RECOMMENDS:
1) To use connection devices compliant with all the necessary European rules;
2) To use very ood quality cables, connectors and materials for the wirin ;
3) In case of IP67/ IP68 products, to make the wirin / connections with the proper
protection devices included in our catalo ue;
4) For outdoor installations, to install the power supplies with the proper protections;
AURA ROUND M
AURA ROUND L
AURA SQUARE M
AURA SQUARE L


CABLAGGIO
Prima di effettuare qualsiasi operazione di manutenzione e/o installazione, assicurarsi che la tensione di rete sia disinserita Effettuare il collegamento alla rete elettrica
solamente dopo aver completato il cablaggio di tutti i componenti, pena la distruzione dell'elettronica interna Per la scelta dell'alimentatore corretto, sommare i consumi
dei singoli profili e aggiungere un margine del 30% al totale
COLLEGAMENTO A TENSIONE DI RETE (versione 230Vac)
Collegare direttamente l'apparecchio alla rete elettrica
COLLEGAMENTO IN PARALLELO
Utilizzare esclusivamente alimentatori a tensione costante 24V NON alimentare con alimentatori a corrente costante E' possibile inserire dispositivi di comando sulla
linea secondaria
WIRING
Before any installation and/or maintenance operation, always make sure the electrical power is off. Make the connection to the electric system only after completin the
wirin of all the components. In order to choose the correct power supply, sum the power consumption of each spot and add a 30% tolerance mar in.
CONNECTIONS TO MAINS (230Vac version)
Connect the lamp to the mains network
PARALLEL CONNECTION
To be made respectin the polarities (see the polarity label on the cable). Use only constant volta e power supply with 24Vdc output. DO NOT power with constant
current driver. It is allowed to put control
devices on the power supply output line. The maximum cable len th should be calculated condiderin the
cable section and the total power absorption of the lamps.
Rosso
Red
Nero
Black
INSTALLAZIONE SU MURATURA
1) Murare la cassaforma a filo del pavimento, prevedendo un opportuno drenaggio per evitare
ristagni d'acqua;
2) Eseguire il cablaggio elettrico avendo cura di sigillare i cavi con mezzi adeguati
a garantire una tenuta IP68;
3) Inserire a pressione il faretto nella cassaforma
INSTALLATION O BRICKWORK
1) Brick in the housin box at level with the finished floor, foreseein a suitable
draina e to avoid water sta nations;
2) Make the electrical wirin takin care to seal the cables with devices suitable for
an IP68 ratin protection;
3) Insert the spot into the housin box applyin pressure.
13
INSTALLAZIONE SU CARTONGESSO/LEGNO
1) Eseguire un foro del diametro indicato;
2) Eseguire il cablaggio elettrico avendo cura di sigillare i cavi con mezzi
adeguati a garantire una tenuta IP68;
3) Piegare le estremità della molla, quindi inserire il faretto nel foro
INSTALLATIONE ON FALSE CEILING/WOOD
1) Make a hole with the su ested dimensions;
2) Make the electrical wirin takin care to seal the cables with devices
suitable for
an IP68 ratin protection;
3) Bend the sprin ends, then insert the spot into the hole.
AURA ROUND M: Ø81mm
AURA ROUND L: Ø107mm

INSTALLAZIONE SU MURATURA
1) Murare la cassaforma a filo del pavimento, prevedendo un opportuno drenaggio per evitare
ristagni d'acqua;
2) Eseguire il cablaggio elettrico avendo cura di sigillare i cavi con mezzi adeguati
a garantire una tenuta IP68;
3) Inserire a pressione il faretto nella cassaforma
INSTALLATION O BRICKWORK
1) Brick in the housin box at level with the finished floor, foreseein a suitable
draina e to avoid water sta nations;
2) Make the electrical wirin takin care to seal the cables with devices suitable for
an IP68 ratin protection;
3) Insert the spot into the housin box applyin pressure.
INSTALLAZIONE SU CARTONGESSO/LEGNO
1) Eseguire un foro del diametro indicato;
2) Eseguire il cablaggio elettrico avendo cura di sigillare i cavi con mezzi
adeguati a garantire una tenuta IP68;
3) Piegare le estremità della molla, quindi inserire il faretto nel foro
INSTALLATIONE ON FALSE CEILING/WOOD
1) Make a hole with the su ested dimensions;
2) Make the electrical wirin takin care to seal the cables with devices
suitable for
an IP68 ratin protection;
3) Bend the sprin ends, then insert the spot into the hole.
AURA SQUARE M: 74x74mm
AURA SQUARE L: 94x94mm
This manual suits for next models
3
Table of contents
Other LLD Outdoor Light manuals
Popular Outdoor Light manuals by other brands

MOOD
MOOD COGOLIN Installation and operating instructions

Hess
Hess CITY ELEMENTS 180-2 Installation and operating instructions

Quoizel
Quoizel GRD8405W installation guide

Gainsborough
Gainsborough K341 Instructions for use

Allen + Roth
Allen + Roth LB4466 Quick reference guide

Weelko
Weelko 1001T instruction manual