Contents
.......................................................................
Adjusting the Stitch (Thread Tension)
................................................
Troubleshooting
.................................................................
Specifications
...................................................................
1
Contents
1
Cleaning Instructions
........................................................
Thank you for purchasing the JG-1803 sewing machine .
Light and compact ,the JG-1803 can be used in your kitchen , Living room , or anywhere else
that is convenient .
It’s simple and easy-to -use, even for beginners .
Read the user manual (this book )carefully before using the machine to make sure you know how
to use it correctly .
Names of parts and accessories
Preparations for Sewing
...................................................
When using the AC adapter
When using the foot pedal
.............................................................
Sewing Basics
................................................................
Various type of sewing
...........................................................
• Changing the stitch while sewing
........................................................
• Sewing tubular items
..................................................................
•buttonholes sewing
....................................................................
Replacing the Needle and Thread
..................................................
• Threading the upper thread ...........................................................
• Threading bobbin thread ..............................................................
• Winding on the bobbin
...................................................................
• Replacing the needle .................................................................
•
•
•Installing the battery
...............................................................
.........................................................
.............................................................
15
16
2
4
4
4
4
5
7
7
7
8
10
10
11
12
13
14
16
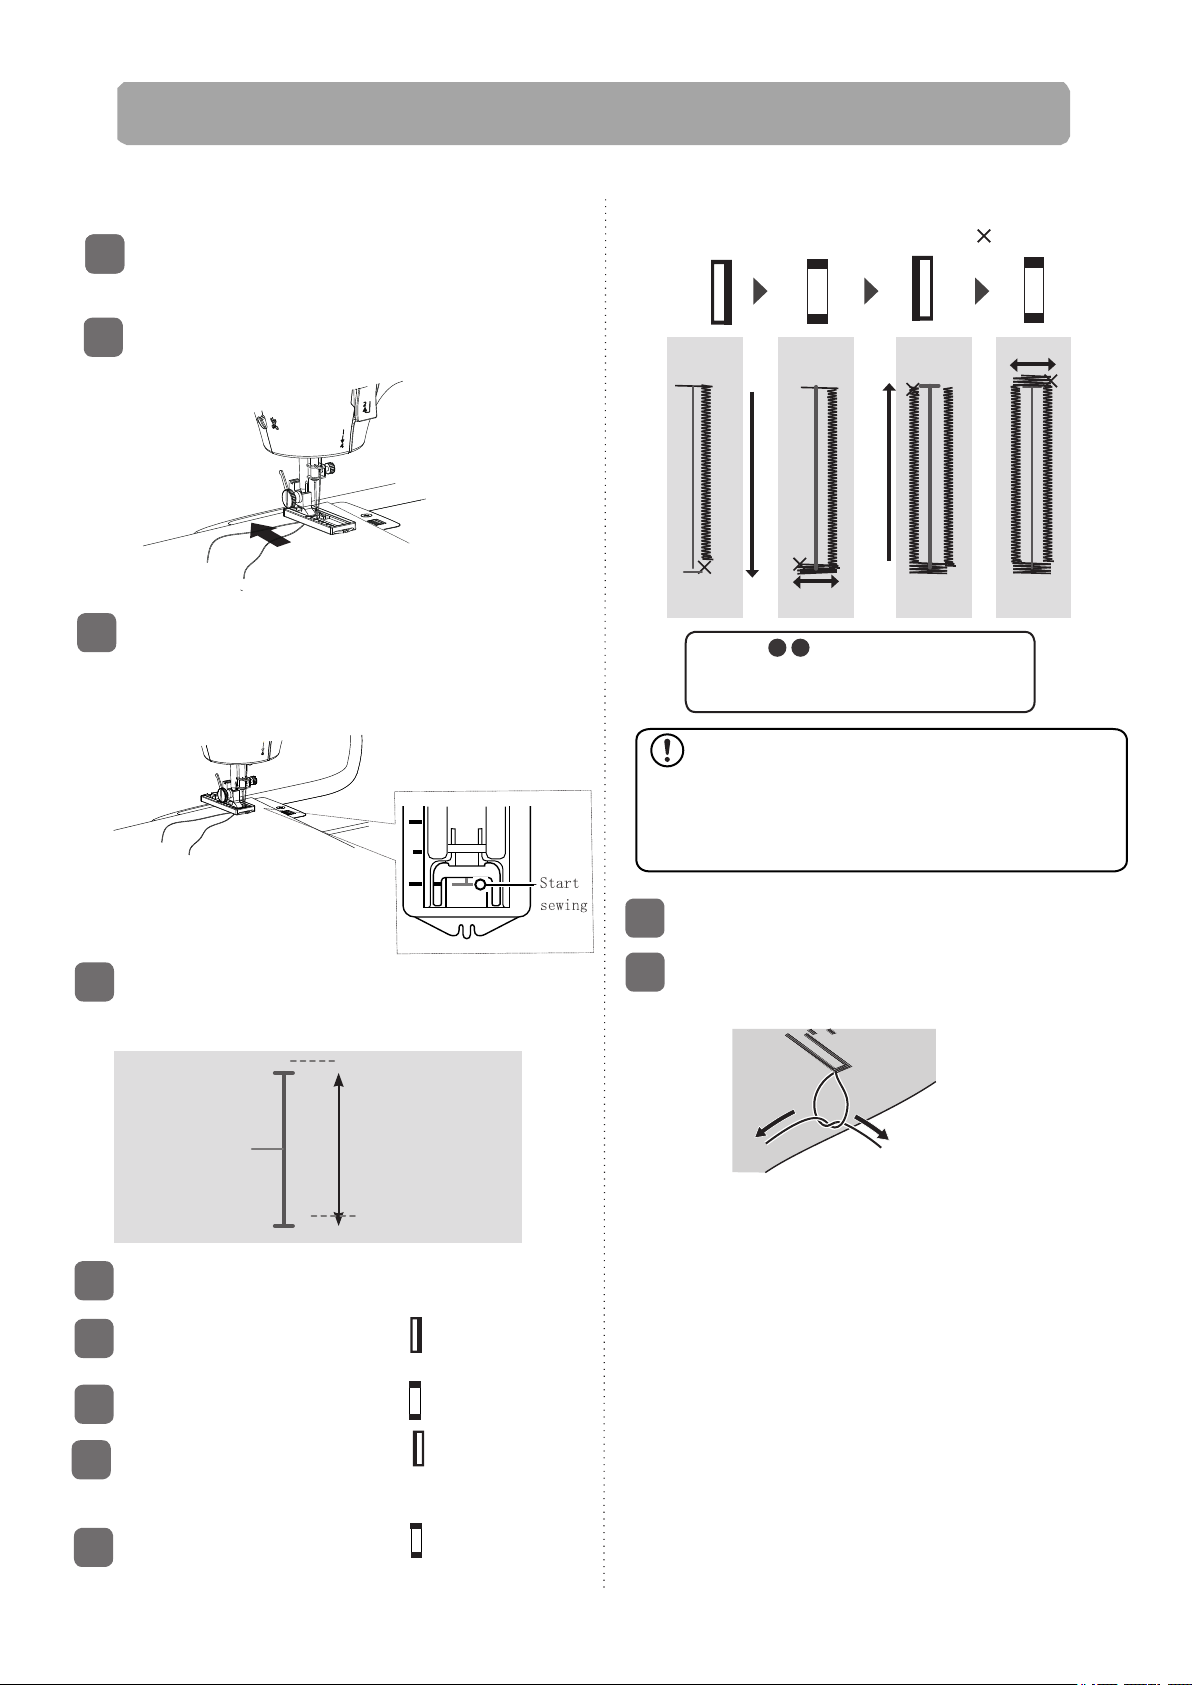
Sewing tips:
Turning the handwheel to make sewing more
smoothly.
1.Turn the handwheel one round before each
2.After changing the stitches,turn the
3.After sewing,turn the handwheel one
sewing starts.
handwheel one round.
round,and lift the needle,then take the
fabric out.