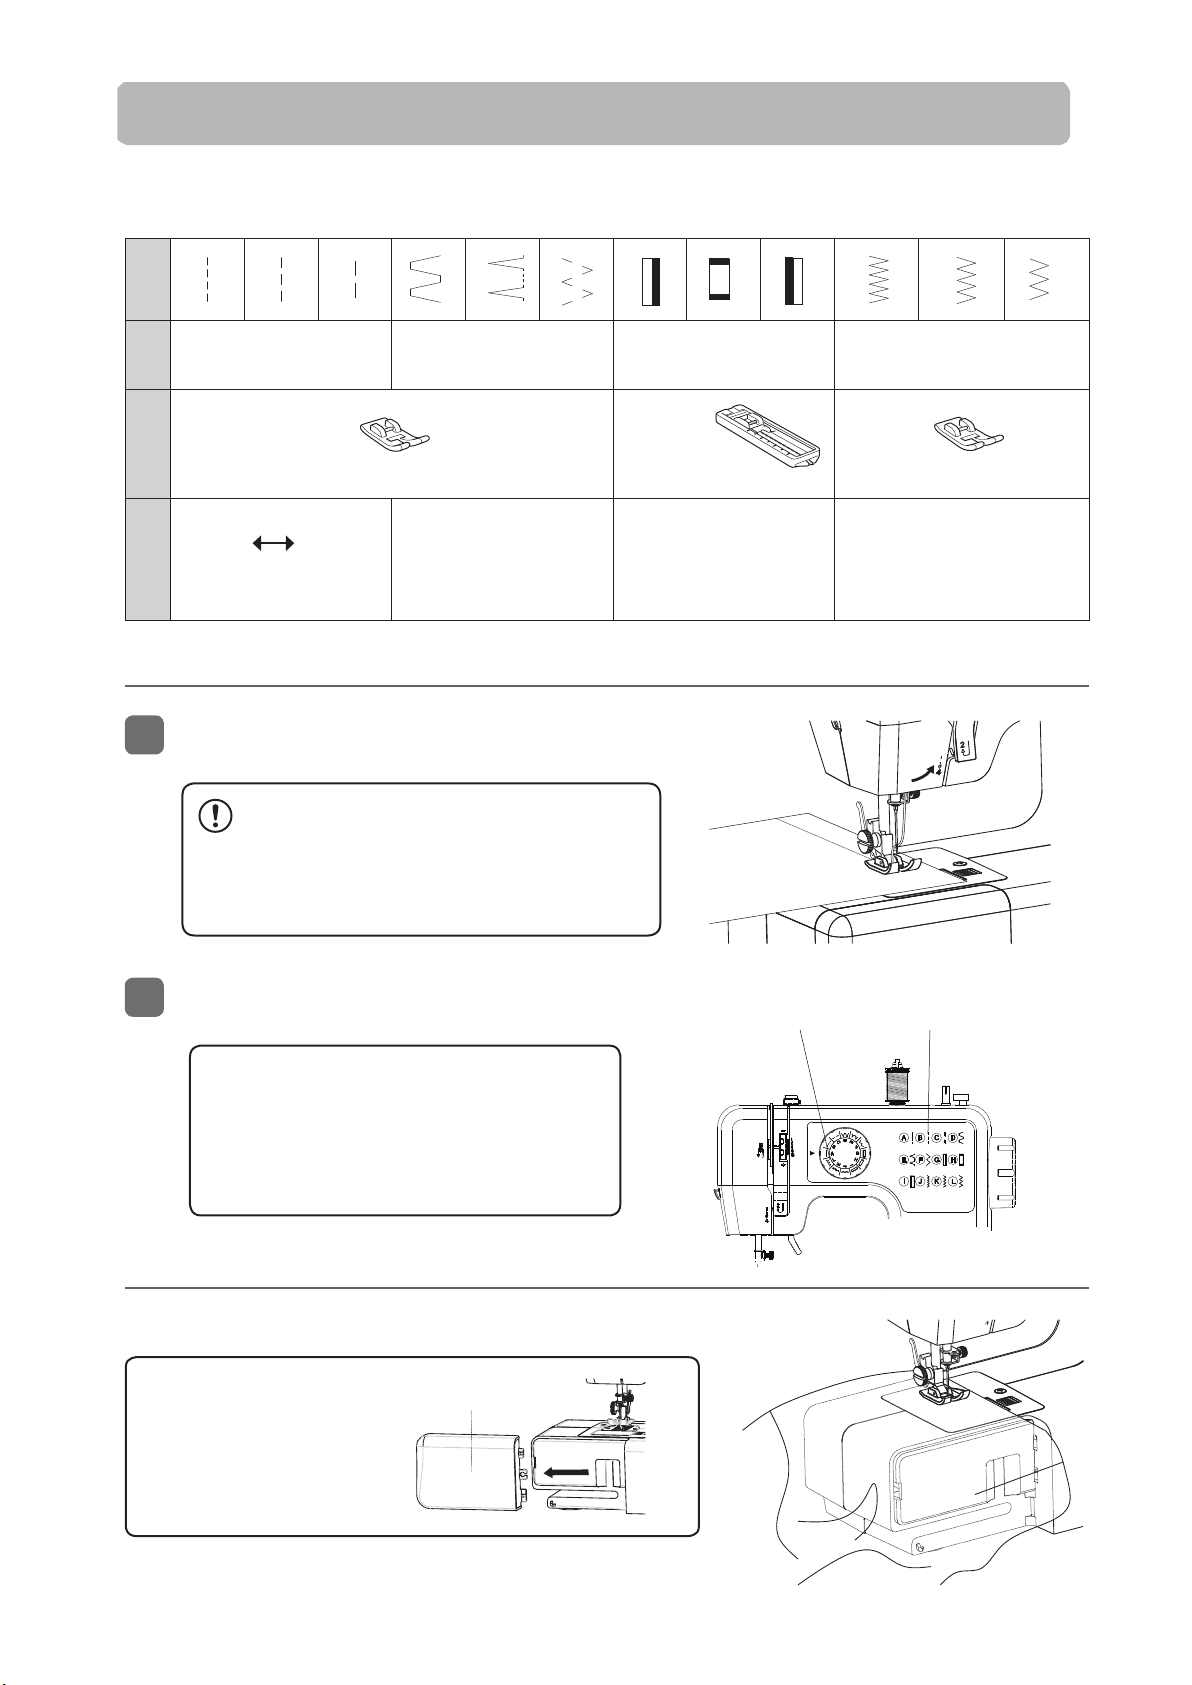
Various types of sewing
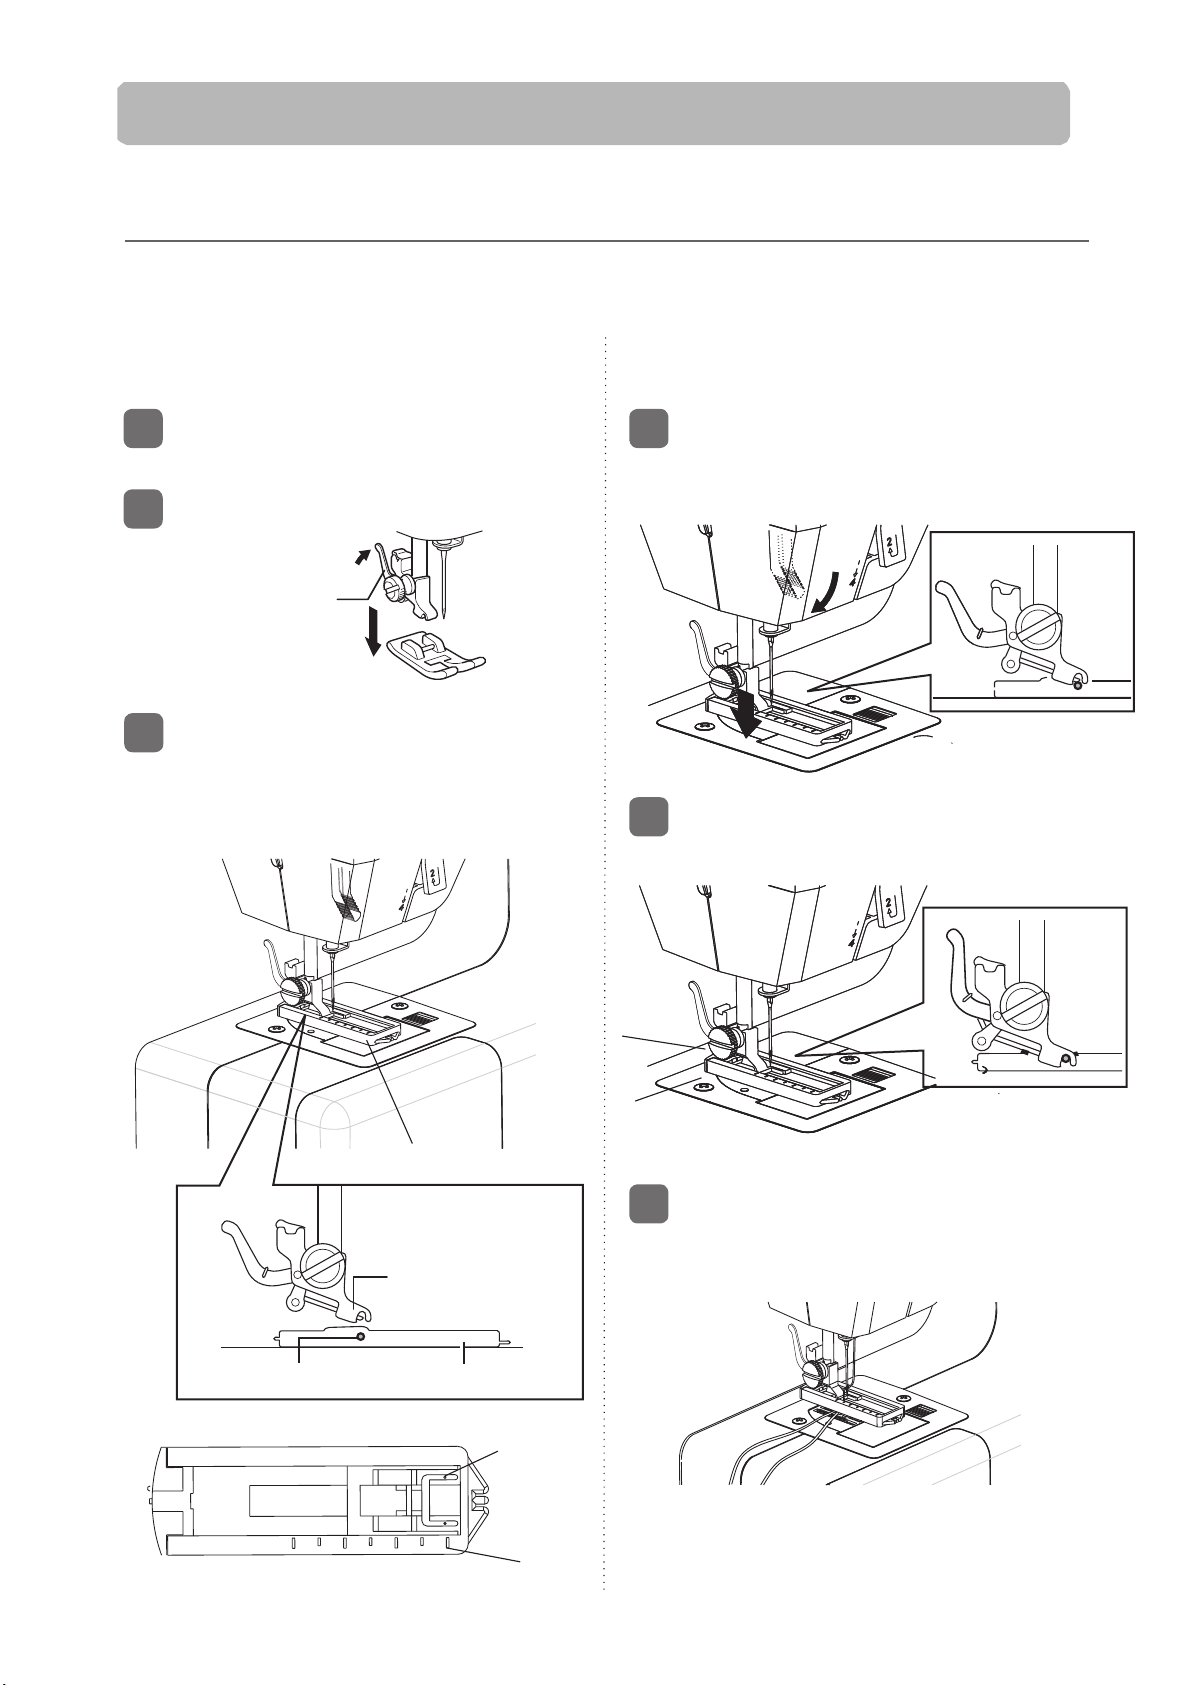
Sewing buttonhole
11
2 the fabric beneath the presser foot.
the left .
removable . Move the slider frame toward
3
9
needle thread
bobbin thread
4
5
6
7
8
9
needle is in its high position.
Select Pattern selection dial to “G” to sew right
side bar tack.
Select Pattern selection dial to “H” to sew back
bar tack for 4 or 5 stitches.
Select Pattern selection dial to “I” to sew left side
bar tack until the needle reaches the stitches sew
in step 6.
Select Pattern selection dial to “H” to sew front bar
tack for 4 or 5 stitches.
Pattern
selector
dial
2
4
Your sewing will be neater if
you guide the fabric as it passes
through the machine.
Hints
Caution
Stop the sewing machine and raise the needle and the thread
tension lever to their highest positions when you rotate the pattern
selection dial. Turning the dial while the machine is running
can damage the machine.
Caution
Be careful not to put your hand in front of the seam
ripper. Doing so can result in injury.
Insert a dress pin in front of the bar tacking
and use a standard seam ripper to cut the
buttonhole open.
When you have finished sewing, pull the fabric,
and cut the thread.
To keep the thread from unraveling, pull out the
upper thread from the rear of the fabric and tie
it off with the bobbin thread.
then follow the
steps below in
order indicated
while changing
the stitch
selection dial.
Buttonhole length
( Button diameter +
button thickness)
10
11
2
1
you so that the top mark on the slider meets
the start mark.
Using tailor’s chalk, mark the position
of the buttonhole on the fabric.
Attach the buttonhole presser foot and place
Slider frame of buttonhole is
Draw both of needle and bobbin thread to
Choose the buttonhole length as per your
requirement by stopping slider frame movement.
Please see the following picture.
Lower presser foot lifter and make sure the
7
: end of sewing
78
9
6