2
SETTING UP FOR THE FIRST TIME
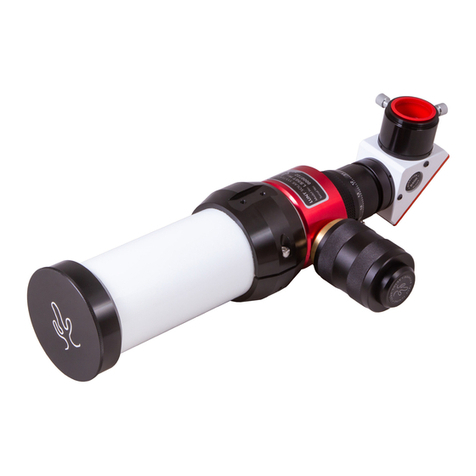
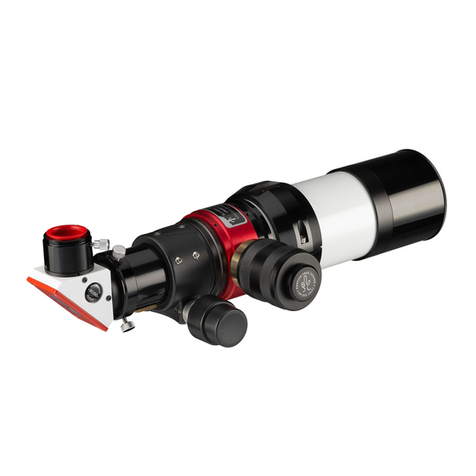
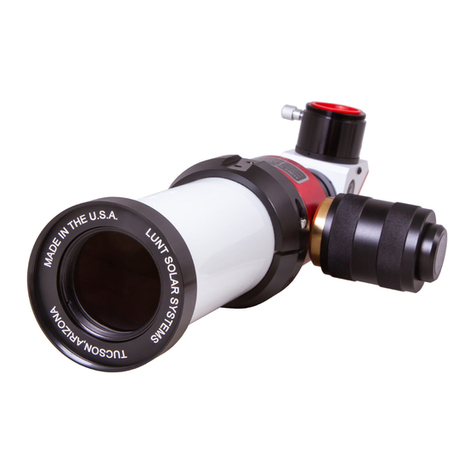
1. In order to protect it during shipment, we removed the focuser locking screw from the base of the focuser. Turn
the telescope over and take a look at the underside of the focuser assembly. You will see an empty hole nearest
the OTA. Install the focuser locking screw. Once installed, it need not be removed again.
2. Next, check the tension screw, located near the focusing locking screw. Sometimes this screw works its way
loose in shipment. If this is the case, use the allen wrench to tighten it. Keep your allen wrench in your case
should you need to adjust the focuser tension at any time.
3. Attach the telescope and clamshell to your mount of choice. There is a ¼-20 threaded hole on the underside of
the clamshell. Attach the scope directly to a photographic tripod or attach a Vixen-style or Losmandy-style
dovetail plate (whichever your mount requires) to the clamshell.
4. Slide the Blocking Filter into the focuser and lock it down with the thumb screw. Insert a low power eyepiece (sold
separately) into the blocking filter. A 25 mm is a good choice for a large field of view.
5. Slide the Sol-Searcher (sold separately) into the slot provided on the clamshell. The Sol-Searcher label will be
facing outward, towards the Sun. See the instruction sheet that came with the Sol-Searcher for complete
installation & alignment instructions. If you do not have a Sol-Searcher, you can use the shadow cast by the Sun
on the front objective cell against the clamshell. Center the shadow and you should be pretty close. Look
through the eyepiece to tweak your alignment.
6. Now it’s time to focus. Your goal is to get the edge of the Sun as sharp as possible. Course focus is achieved by
moving the diagonal draw tube in and out. Medium focus is achieved using the larger silver knobs on either side
of the focuser assembly. Fine focus is achieved with the 10:1 reduction (smaller black knob). The fine focus is
often too fine for visual use, but comes in very handy if you are imaging.
a. Pull the diagonal slide tube out about 25 mm (1”).
b. Put the focus tube at about 50% of travel.
7. Look through the eyepiece. Do you see a fuzzy red ball? If not, make sure you have removed the dust cap from
the front and check your alignment to the Sun. If the Sun is still not in the field of view of your eyepiece, move the
telescope around a little while you are looking through it. Be patient, you will find it! Once you do, center the Sun
and, if you have one, adjust the Sol-Searcher.
8. Tune That Sun! Here is where the magic begins. On the top middle of the scope is a small black wheel recessed
into the telescope housing. Stand behind the eyepiece and move the knob all the way to the right. Do NOT force
the wheel. While looking through the instrument, slowly move the wheel to the left. After about 4-5 turns you
should have seen the edge detail of the Sun come into view and then fade away again. Move the wheel back in
the other direction until the prominences are most vivid. Moving the wheel from here in either direction should
have little visual effect on the image but more or less surface detail may become apparent. Personal preference
will specify where the tuning point is dependent upon what you like to observe. Once tuned, there should be no
reason to retune during an observing session.
9. When you feel you have tuned effectively, refocus the telescope. The finer details should come into view. Try to
relax the eye while observing and let the details come to you.
10. Once you are comfortable observing with the lower power eyepiece, change it out for a 12 mm or other higher
power ocular. Remember, the image will dim a little because of higher magnification, and you may have to move
your scope a little bit to make up for the narrower field of view, but you should be able to see details easier. On
days of good seeing, you can push the magnification higher than on days of poor seeing, so remember, if the
image cannot be brought into sharp focus, use a lower power eyepiece.
TO LEARN MORE…
Join the solar community at http://www.solarastronomy.org. You’ll find a very active forum, as well as articles on many
aspects of solar observing and imaging.
Visit the Lunt Solar Systems blog at http://luntsolarsystems.com/blog/. Search the archives for posts on your favorite
topics.
Lunt Solar Systems * 2520 N. Coyote Dr. #111 Tucson, AZ 85745 * (520) 344-7348
www.luntsolarsystems.com
