M-Elec stitchy User manual

ConnectYour Smart Lighting
THE MANUALTOTHEWORLD OF STITCHYSMARTLIGHTING

Contents
Congratulations
Stitchy connection options
What you will need
STEP - Phillips Hue Bridge
STEP - Connecting Stitchy units to the Philips Hue Bridge
STEP - Required extra seings within Philips Hue Bridge
STEP Which home automation device do you want to connect Stitchy to?
Connecting Stitchy to Alexa Echo/Dot/Show (+ Philips Hue Bridge)
Connecting Stitchy to Google Home/Nest (+ Philips Hue Bridge)
Connecting Stitchy to Apple Home Pod (+ Philips Hue Bridge)
Connecting Stitchy to Alexa Echo Plus/Show (No Philips Hue Bridge)
FAQ & Extra help
STITCHY CONNECTION MANUAL |
Congratulations your home has alreday been prewired wired with Stitchy
smart lighting!
To allow you to access the world of Stitchy smart lighting and other smart home products M-Elec have created this easy to
understand manual. Follow this simple step by step process and you will be able to enjoy your smart home. Control your lights
your way, choose from voice control, app control or switch contol.
You might be scared, or not that good with new technology but don’t worry, we can do as lile or as much as you want each time.
Checking off and geing each part right makes the next part so much easier. Look out for the lile icons that appear throughout
which will help you as you go or visit the youtube url's provided to take you to our step by step videos.
Ready to go, lets make your lights smart...
Quick watch:
bit.ly/stichyhowto
Icons
These guys are quick reminders you have either to do something, check something or you have completed a task.
Charlie CHECK Larry LIGHTBULB
Wendy WARNING Danny DONE
!
Youtube videos
If you're not much of a reader look out for the url links to each step on the M-Elec youtube chanel, all under the
"Stitchy - How to" playlist.
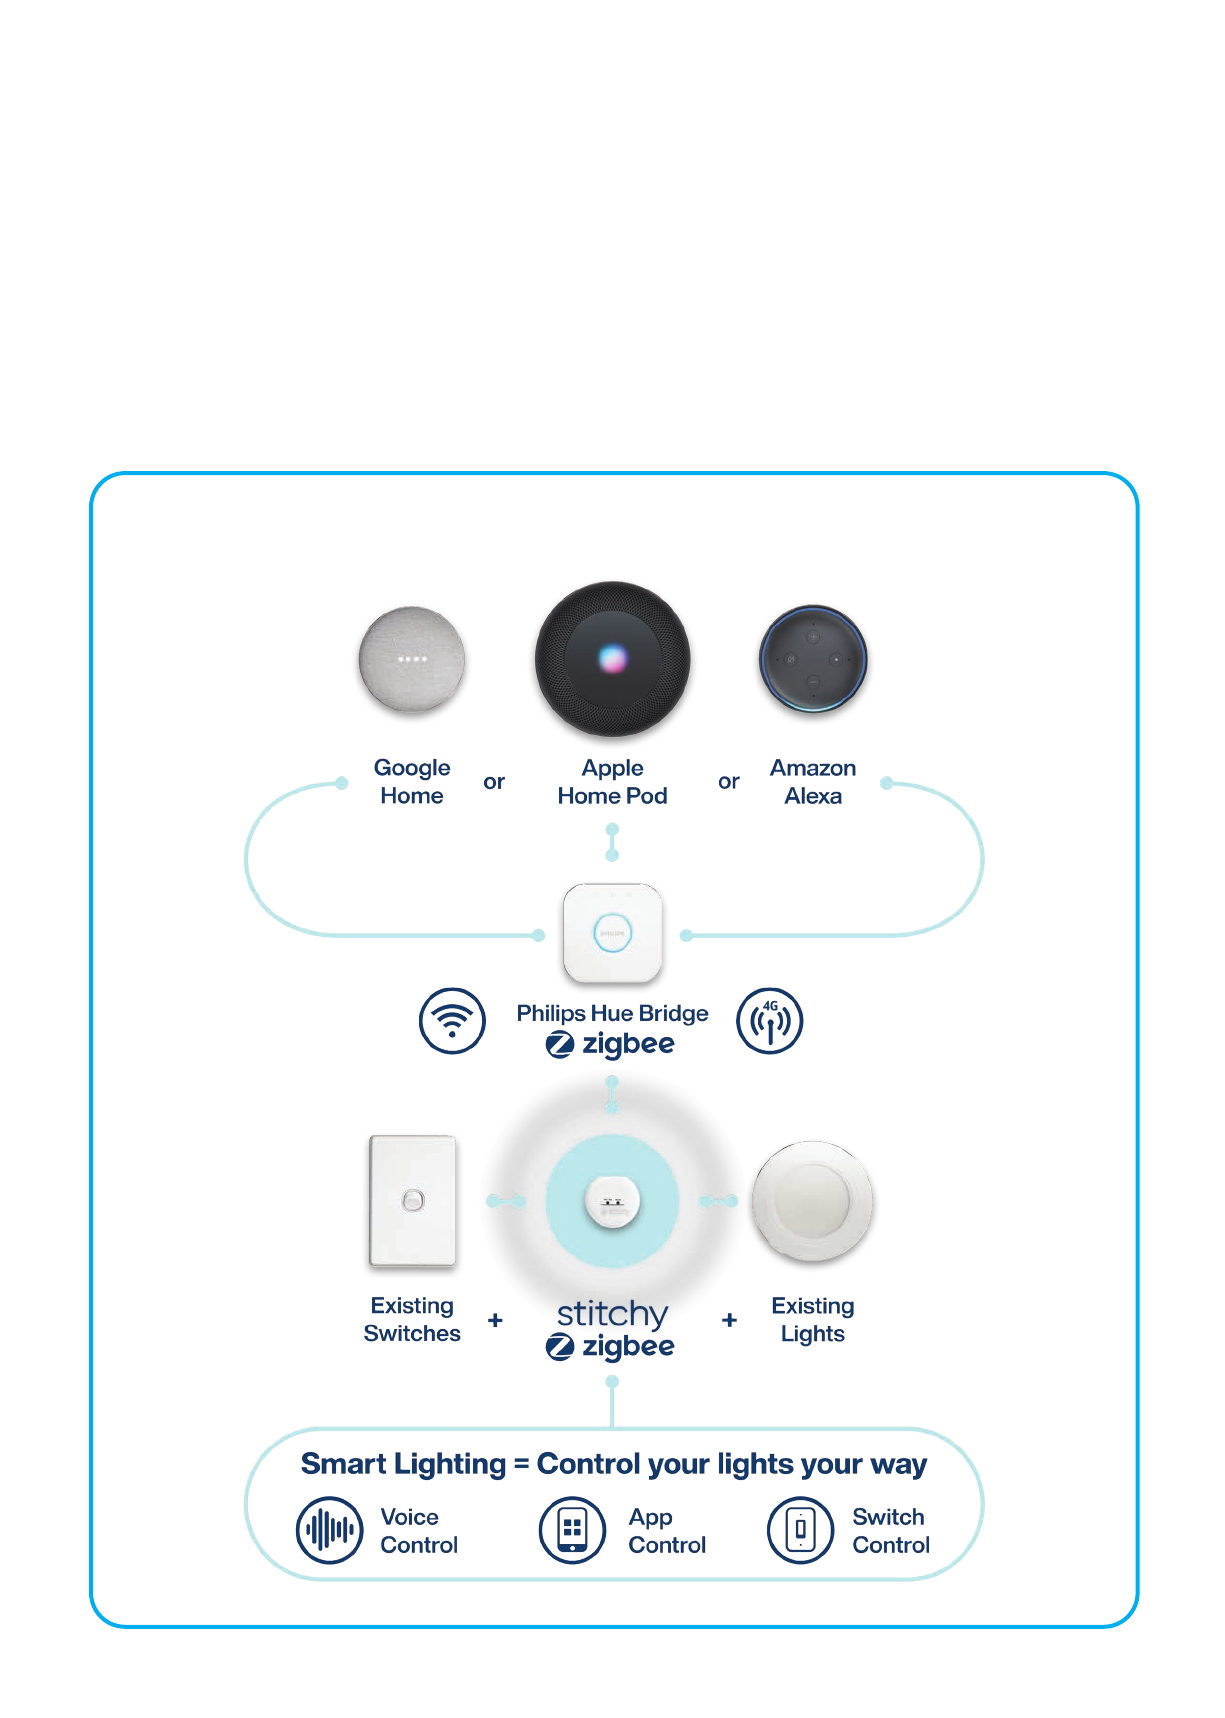
. Philips Hue Bridge + Your Home Automation Device
Stitchy connection options:
You will need to purchase a Zigbee enabled hub or a voice control device with Zigbee built in (Zigbee operates as a mesh
network and rather than each Zigbee-enabled device needing to connect to your homeWiFi network, they communicate with
a central hub instead. Zigbee is considered an alternative to Wi-Fi and Bluetooth for some applications including low-powered
devices that don't require a lot of bandwidth)
. Philips Hue Bridge (Zigbee enabled hub) - which allows connection of all Hue products and various home automation
voice platforms.
or
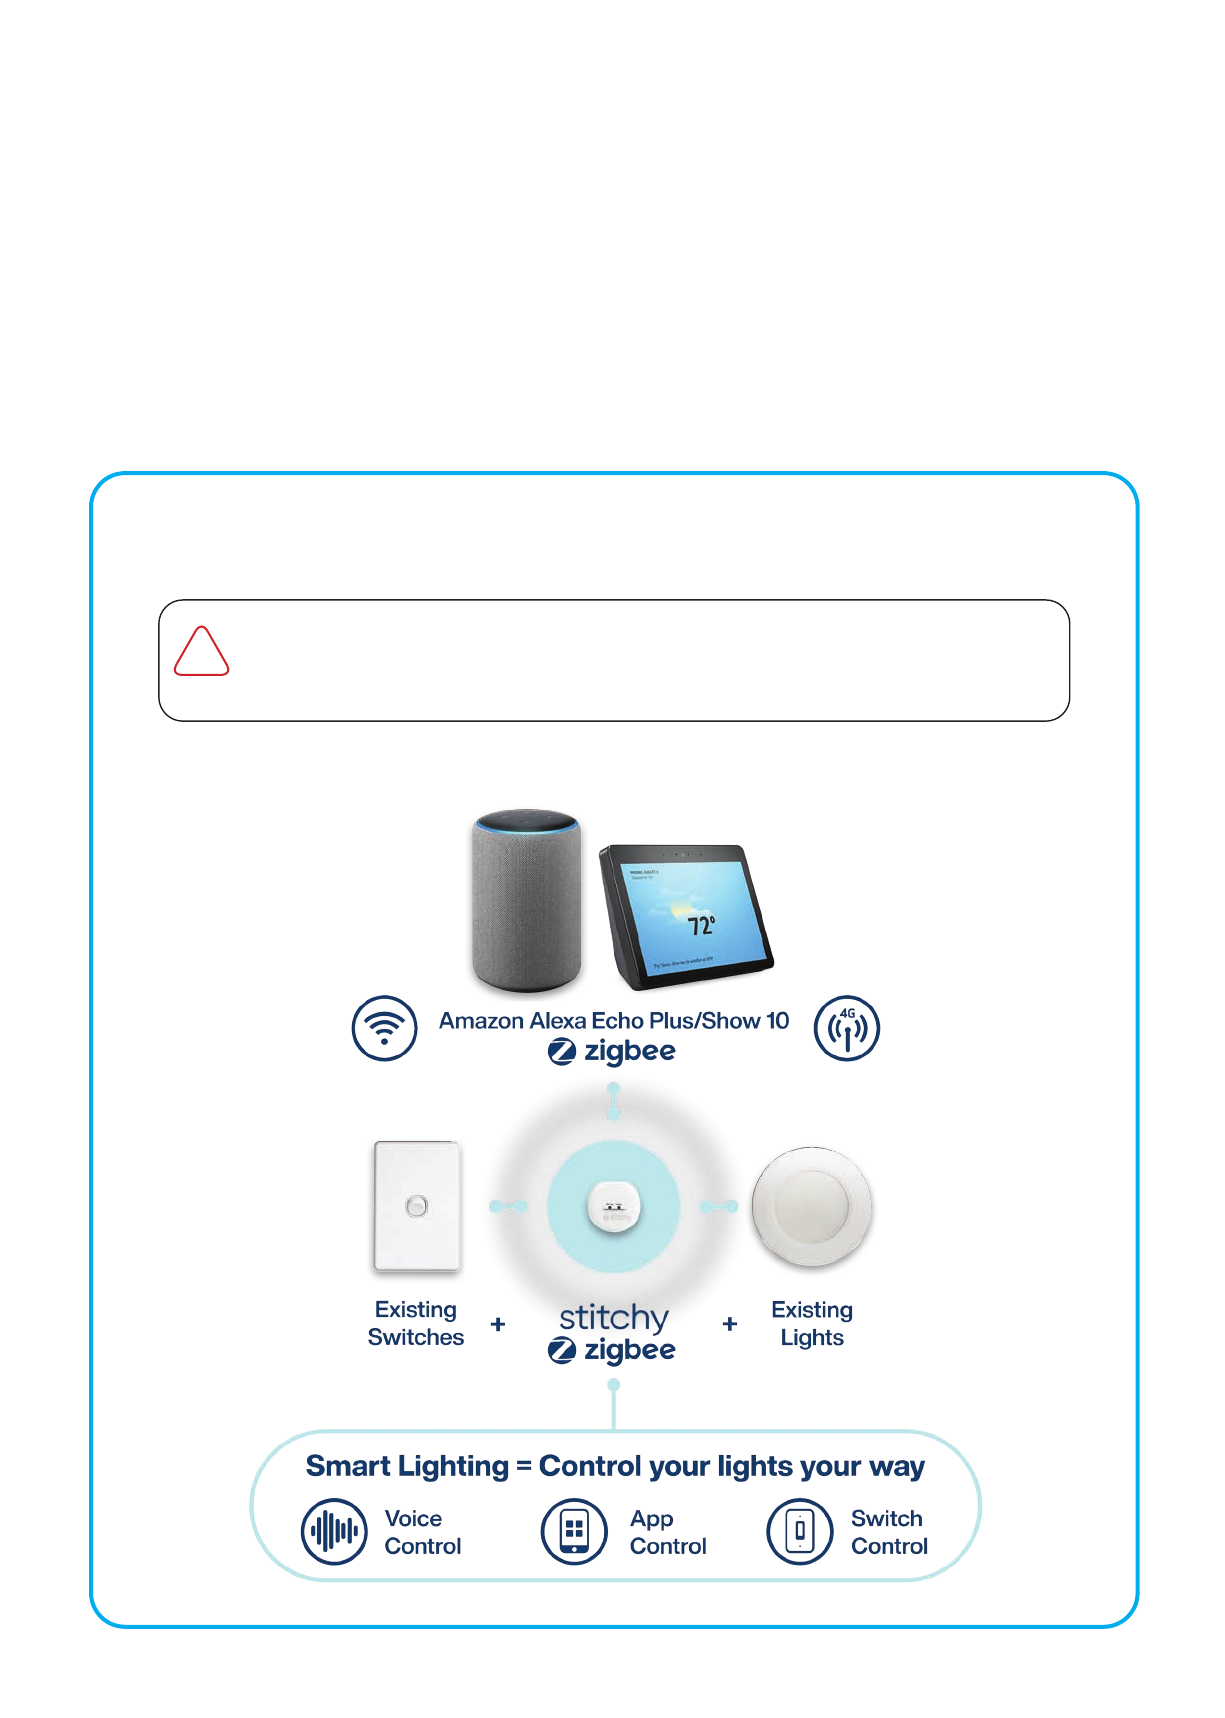
. Amazon Alexa Echo Plus/Show (Zigbee built in ) - allows diret connection to but is limited to only Alexa products
STITCHY CONNECTION MANUAL |
. Amazon Alexa Echo Plus/Show nd Gen) ONLY
You will need the following:
. Internet modem or hub which has a vacant ethernet port
. Philips Hue Bridge & a home automation device of your choice (Voice control)
or an Amazon Alexa Echo Plus/Show ONLY (Voice control)
You can purchase these from multiple retail outlets or via the internet
. V power to operate the Philips Hue & the home automation device of your choice
. A tablet or phone for app control that you intend operating you Smart Home with (App control)
You may wish to purchase a cheep tablet to mount on a wall in central location to operate your home)
. Time…. don’t be rushed, give yourself time to think especially when it comes to naming rooms and lights
While this is the most direct method & the quickest way to connect up Stitchy, it does not allow for
any Apple siri or Google home control and is ONLY available by using the Amazon Alexa Echo Plus
or Show (nd generation) units which has Zigbee built in. We suggest this is not the best method.
!

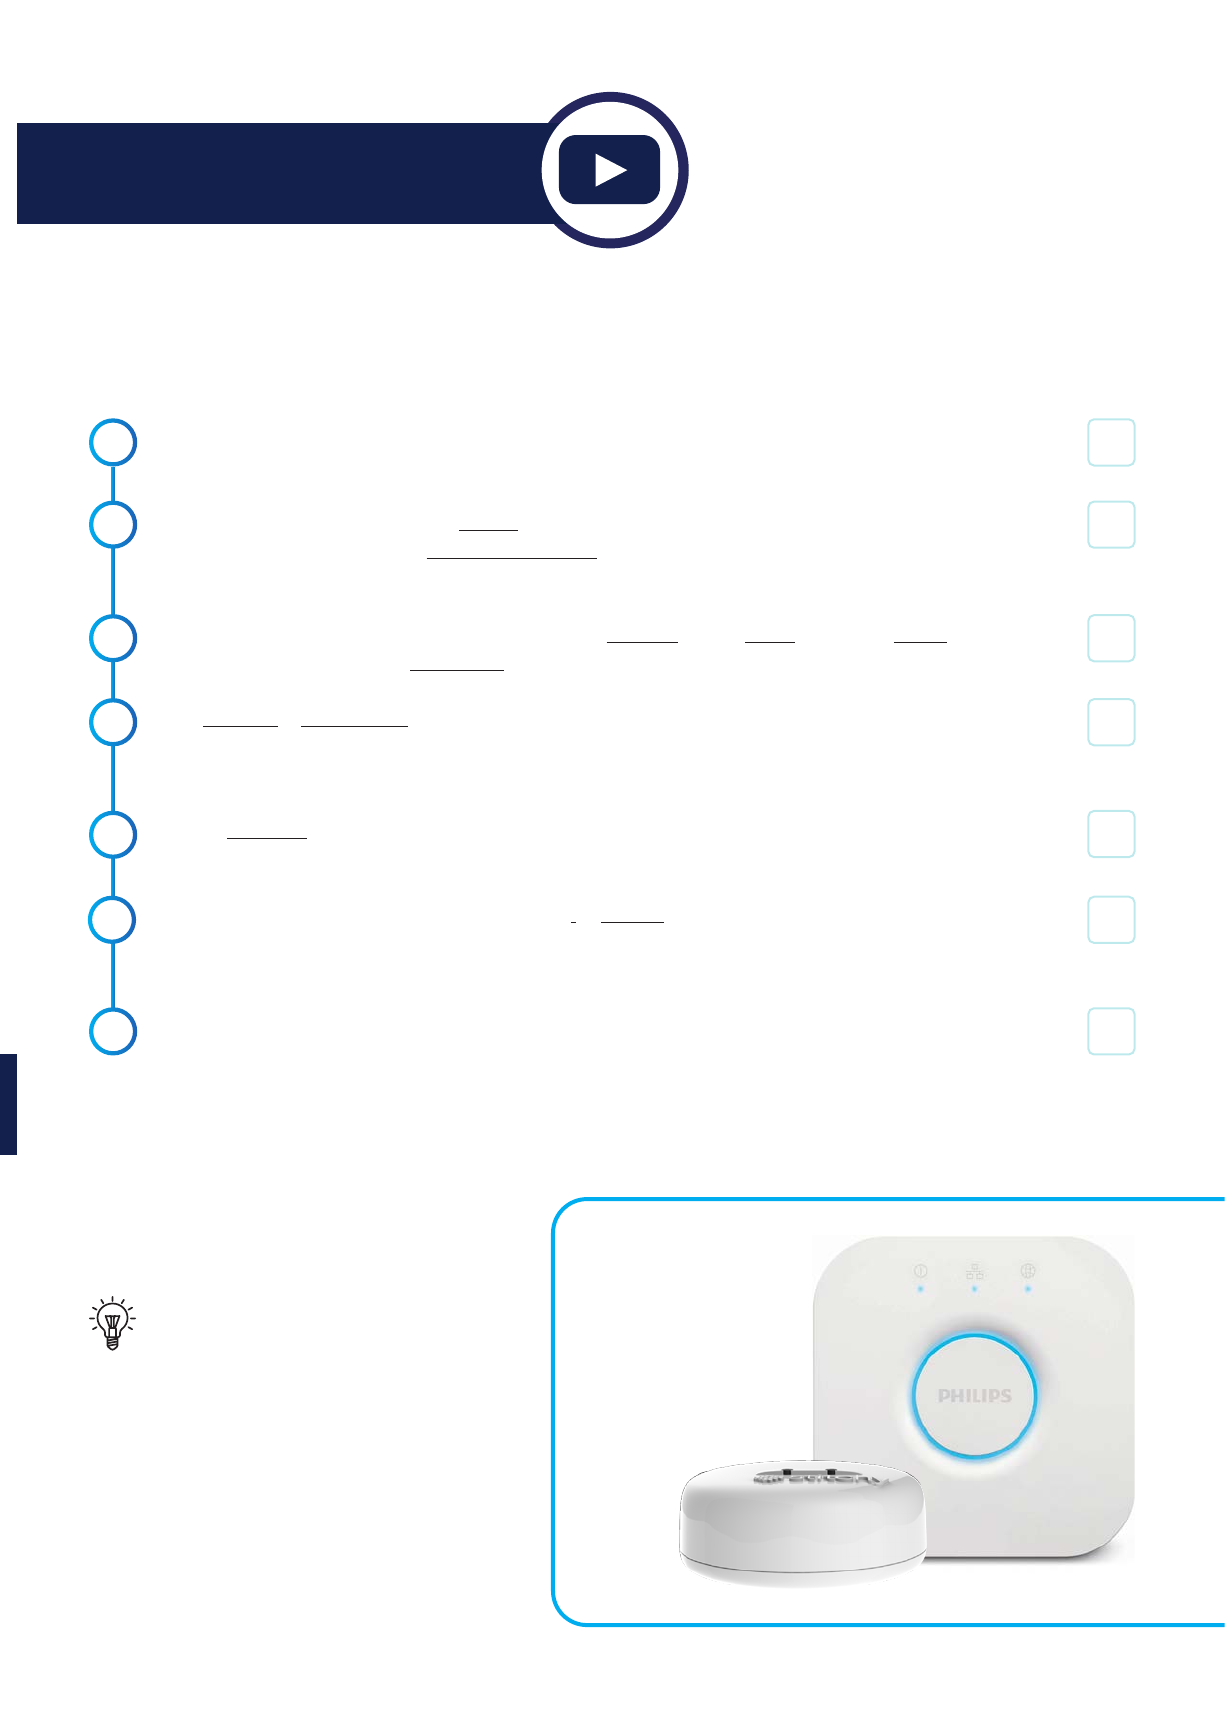
STEP - Philips Hue Bridge
Let’s connect the brain of your home automation system up.
.
.
Charlie
Check
.
Take it out of the packaging, plug it into power and your network. Philips Hue Hubs do not operate off
Wi-Fi, they require to be connected directly to the network using an ethernet cable
Ensure your connected to the same networkWi-Fi so you can complete the next steps
(Ok so we said Philips Hue doesn’t operate of Wi-Fi that’s right it doesn’t, but we did say it plugs into a
port on the back of your Modem which connects it directly to yourWi-Fi, clever aren’t we)
Open the Hue App on your phone/tablet
Please note, the first time you open the Hue App you will automatically put into a process to find and
add the Hue Hub. Use this default setup for easy connection and skip to Step but if this is not the first
time you have opened the Hue App please follow the below steps...
Go to Seings > Click Hue Bridges > Click > Add Hue Bridge
The local bridge should be found on the network, if it’s not found search again and make sure you’re on
the same Wi-Fi as the device is plugged into
Once found, Click Connect > Push the buon on the Philips Hue Bridge
.
.
.
.
Quick watch:
bit.ly/stitchystep1
We suggest you follow the connection method as laid out below. You must connect to the Philips
Hue Hub first before trying to connect to Apple HomeKit, Google Home or Alexa UNLESS you
have an alternate Hub or Zigbee device (such as a Alexa Echo Plus). You do not have to connect to
all platforms, pick which is applicable for you and/or the client
!
If you are already showing “Add Lights” go to straight to
. on the next page >>>
STITCHY CONNECTION MANUAL |
STEP - Connecting Stitchy to the Philips Hue Bridge
This is the fun bit, we will make things happen.
.
.
.
The below process assumes that all your lighting and Stitchy units have been electrically connected
and the power is on
Ensure all units or at least unit is in ‘Search’ mode by either turning the light switch in the opposite
direction times or pushing the ‘Reset/Programming’ buon on the front of the unit times if Stitchy
is accessible behind the light switch.
This step is only if the hue app is not open. Open the Hue App > Click Home > Click the dots in the
top right-hand corner > Click Light setup
Click Add light > Click Search > Once the search has been conducted a full list of all the lights
available should now be shown. If you do not have all the lights, you can search again or go back to step
and repeat at a later point
Click on each light to identify which room or area they are in.When you click on the light you will notice
that the actual light in the room will flash for easy identification.
Once you know which room they are in click on the i to rename it to a something more suitable.
Remember:This will be the identification when you use voice control so keep names simple.
Eg: “Josh’s light” is much beer than “Default back corner bedroom light.”
Click “Next” Test control by clicking “Home” and turning lights on/off
.
.
.
Charlie
Check
Keep all names simple and try to avoid
plurals as you have to remember
it may be someone else using the
system, and you will want it to be so
easy they are envious of your smart
home system.
Quick watch:
bit.ly/stitchystep2
.

STEP - Required extra seings within Philips Hue Bridge
Okay now there is some housekeeping to do...
.
.
.
Renaming your Philips Hue Bridge
1. Go to Seings
2. Click Hue Bridges
3. Click the i and rename your Philips Hue Hub to the location or an easy to recognise name such
as Mobbs home
Seing up “Out of home control” for your Philips Hue Bridge
1. Go to Seings
2. Make sure your Hue Bridge is showing green Connected > Click on Out of home control
3. Click Log in
Create an account
1. Verify your email address by going to your emails, opening the email from Philips Hue
2. Click Verify my account
3. Click I have verified my email
4. Input your details > Click Continue
5. Push the buon on the Philips Hue Hub you want to connect to
6. Click Continue
7. Click Yes
Seing up automatic soware updates for your Philips Hue Bridge
1. Click Seings
2. Check for any updates by clicking Soware update under Seings
3. If updates are available, install them immediately. If no updates are available, setup automatic
updates by clicking Automatic update
4. Select a suitable time (such as am when the Hue Hub will not be required)
5. Once complete > Click Close
Seing up the home location for your Philips Hue Bridge
1. Click Seings
2. Click Advanced
3. Click Home location
4. Click Got it (a pop-up askes, you to allow Hue to access your location > Always)
5. Click Save when you have found the right location (Note: it will not allow adjustment of your
location as it is based on your devices location)
.
.
Charlie
Check
Quick watch:
bit.ly/stitchystep3
The next steps are based around the successful connection of Philips Hue to work with your
chosen home automation device.If you have chosen not to use a Philips Hue we have directions on
the direct connection usuing an Amazon Alexa Echo Plus/Show .
!

STITCHY CONNECTION MANUAL |
STEP - Which home automation device do you want to connect Stitchy to?
Alexa Echo/Dot/Show
+ Philips Hue Bridge
Go to pages ...
Google Home/Nest
+ Philips Hue Bridge
Go to pages ...
Alexa Echo Plus/ Show
nd Generation
NO Philips Hue Bridge
Go to page ...
Apple Home Pod
+ Philips Hue Bridge
Go to pages ...
Amazon invested over Billion dollars into R/D last year.They are driven to lead the voice-controlled
market and therefore we believe the best products to voice control Stitchy are Alexa units.
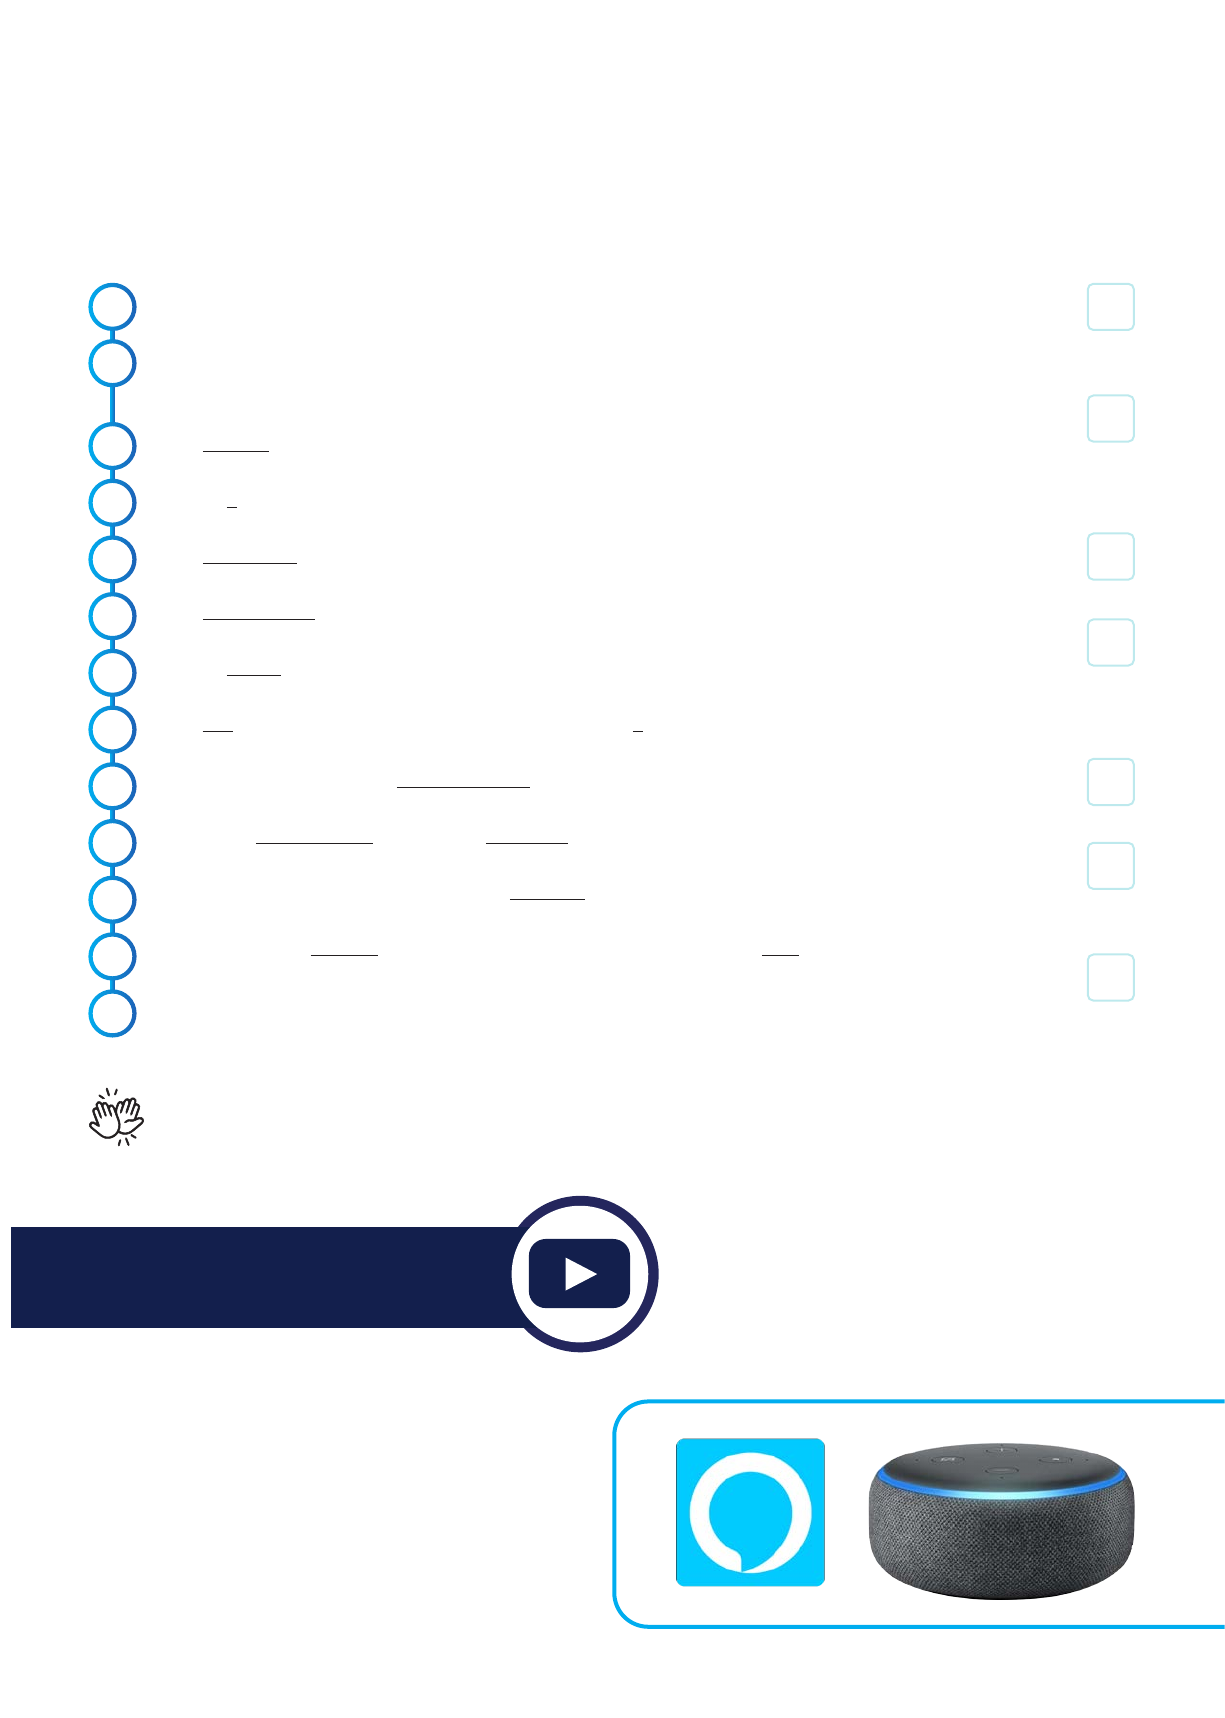
Connecting Stitchy to Alexa Echo/Dot/Show (+ Philips Hue
Bridge)
These steps are for connection of Alexa by the Philips Hue Hub and should not be confused with the steps to
connect directly to the Alexa Echo Plus/Show which already has Zigbee built in (shown later).
.
.
.
With your phone/tablet on the same wifi network as the Philips Hue Bridge open the Alexa App
Either create an account or input your Amazon account details. Aer put your user details into login
(such as address and locations)
Click I’m someone else or click on your name > Input your first and last name (main user)
Remember if you are doing this for someone else make sure you use "their" Amazon login and you
set the system up as “Someone Else” “DO NOT USE YOUR LOGIN DETAILS/NAME”
Click Continue > Either input your clients phone number for messaging > Click Continue or Skip
Skip through the general information until you arrive at the home screen > Click the bars (top le
corner)
Click on Skills & Games > Click Search (magnifying glass in the top right corner)
Type in Philips Hue and Search > Select Hue > Click Enable to use
Fill in your Philips Hue account details > Click Yes to trust this application > Click Done
Devices were added together with Hue
Click Devices (boom right) > Click + (top right) > Click Add group
Select room or name > Click Next > Chose Light and Save
Follow steps until you have finished or click on Devices at the boom of the screen
Test the lights operation by clicking on the light and checking its turning on/off
.
.
.
Charlie
Check
Quick watch:
bit.ly/stitchyalexa
.
.
.
.
.
.
.
STITCHY CONNECTION MANUAL |
Adding Alexa Echo Devices to the Alexa App
This process is for seing up devices when you have opened the App previously. If you are opening the App for
the first time you can follow the automatic procedure to connect your Echo devices.
.
.
Charlie
Check
.
Plug Alexa into a power outlet
Ensure it shows setup mode enabled (orange ring should be rotating). If this is not happening, hold the
‘dot’ buon down until you hear the reset sound
Click Devices (boom right corner)
Click on + (top right corner)
Click Add Device
Click Amazon Echo
Click on device you are trying to connect and select from the different versions
Click Yes to confirm you see an orange ring (Step ) Press + and hold until orange light appears
Select your device under the Available devices list
Select your Wi-Fi network and add your Password
Once connected to the Wi-Fi network click Continue
Add in your Echo’s location (if you want to have it part of a “room”) or click Skip
Test your devices operation by asking alexa to turn your lights on and off
.
.
.
.
You're all done, now go and enjoy the convinience of your smart lighting controlled with your voice via the
alexa echo device or your phone via the alexa app...
.
.
.
.
.
.
Quick watch:
bit.ly/stitchyalexaapp

Connecting Stitchy to Google Home (+ Philips Hue Bridge)
This method utilizes the Philips Hue hub to connect Stitchy to the Google Home App. For connection of Google
devices such as the Nest Mini see the next section..
.
.
.
With your phone/tablet on the same wifi network as the Philips Hue Hub open the Google Home App
Click Get Started
If the App asks you for permission to use Google, Click Continue
If the App asks you to use google.com to sign in, click Continue
Either create an account or input your Google account details. Remember if you are doing this for
someone else ensure you use login details that are not associated with other personal accounts, so
you can easily swap/move your account to someone else. Aer puing your user details into login, all
other data (such as address and locations) should be that of someone else.
Confirm your account by selecting your name/account > Click Ok
Choose a home or create a new one > Click Next
Google will search for devices > Click Exit (X) and confirm by clicking Exit
From the Home screen click Get Started or Add (+) > Click Set up device
Click Have something already setup?
Click Search (magnifying glass in the top right corner)
Search for Philips Hue
Click Philips Hue
This will link you to Philips Hue’s Sign in page. Fill out your Philips Hue login details > Click Sign in
Click Yes to grant permission for Google to access control from your Philips Hue Hub
Allow the screen to load back to the Home page. Your lights should now be showing on the Home
screen (exit any other options to follow these instructions until you end up on the Home screen)
.
.
.
Charlie
Check
.
.
.
.
.
.
.
.
.
.

STITCHY CONNECTION MANUAL |
Adding your Google Home smart devices
Plug your Google Home or nest into the power and allow it to load. Once it has loaded it will announce its ready
.
.
.
On your Google Home App Home screen > Click Add
Click Set up device > Click Set up new devices
Choose your home or create another home in which you want to install the device.
Remember if you are seing this up for someone else we suggest you use the default Home > Click
Next
Your device should automatically be found > Click Next and allow the connection to take place
Confirm if you heard the sound by clicking Ye s
Allow or not allow sharing information by clicking No thanks or Yes I'm in
If you know where the device will be located, select the location > Click Next
Choose your Wi-Fi that the device will be connected to > Click Next
If prompted for your Wi-Fi password, input the information > Click Next
Once you are comfortable with details listed > Click Next
Review data/details listed for the assistant experience and select either No thanks or Turn on
Select either to teach your assistant your voice or not by selecting No thanks or I agree
Note: if you select "I Agree" you will need to follow the on-screen prompts
Enter the home address where this device will be installed > Click Next
Add your media services by clicking the Plus (+) and following the prompts > Click Next once finished
Choose to get information from Google or not by selecting No thanks or Sign up
Review the information > Click Next > Click the finishing information until you return to the home
screen
Your first speaker should be ready now.Test her out by asking her to turn one of your installed devices
on or off
.
.
.
Charlie
Check
.
.
.
.
.
.
.
.
.
.
.
Quick watch:
bit.ly/stitchygoogle
You're all done, now go and enjoy the convinience of your smart lighting controlled with your voice via the
google home device or or your phone via the google home app...

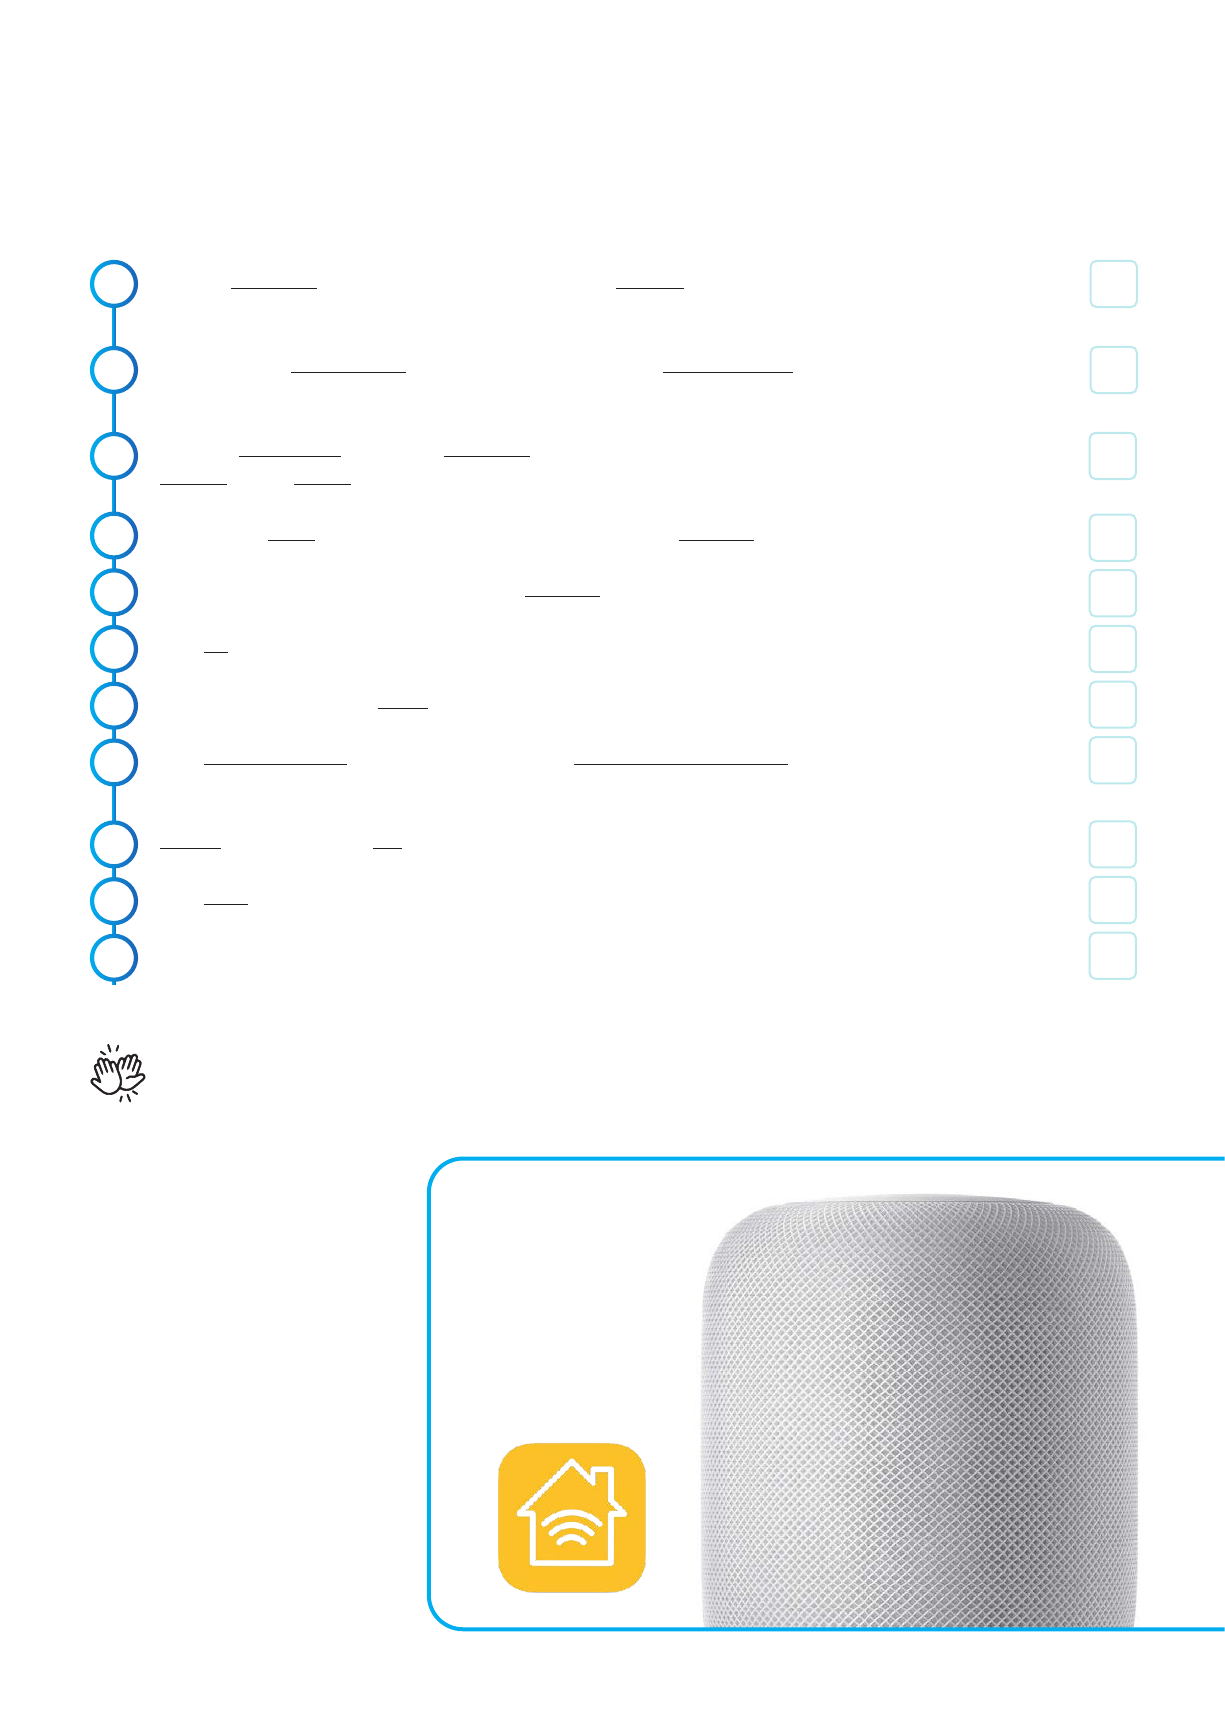
Connecting Stitchy to Apple Home Kit (+ Philips Hue Bridge)
Apple HomeKit is what Siri will use to control your lights and other devices. Apple has the most stringent rules
when it comes to integration and therefore is the most limited to other devices that works with it.
.
.
Charlie
Check
.
With your iPhone/iPad on the same wifi network as the Philips Hue Hub open the Hue App
Click Seings and ensure your Hue bridge is connected (a green “Connected” word should show under
your Hue Bridges
Scroll down > Click Apple Home Kit & Siri
Click Pair bridge and either create a new home or use an existing home
Click on the home you wish to synchronise the Philips Hue Bridge with
Using the iPad/iPhone camera show the back of the Philips Hue Hub which will find the code
Click Done
Open the Apple Home Kit App
If this is the first time you have opened the Home Kit App you will be automatically prompted to follow
an easy to use setup. If you have not opened the App before you should follow the below steps
Select which accessories you want to be your favourite (will show on the Apple Home Kit home screen)
Test by asking a Siri enabled device (iPhone/iPad) to control the lights "Hey Siri, turn on the lights in the
kitchen”
.
.
.
.
!The Apple HomeKit App is only available on Apple devices and is usually pre-installed from factory.
.
.
.
.
Quick watch:
bit.ly/stitchyapple
STITCHY CONNECTION MANUAL |
Adding Apple Home Pod to Apple Home Kit
This process follows only aer you have setup your home in Apple HomeKit through the Philips Hue App
.
.
Charlie
Check
.
Plug the Home Pod into the power outlet and allow it to start-up. Siri will announce when she is ready
for the next step
Open the Apple Home Kit App on your iPad/iPhone which has Philips Hue App already connected and
operating (see "Connecting Stitchy to Apple Home Kit" if you have not already done so)
Bring the iPad/iPhone close to the Home Pod and a message should appear asking if you want to
connect > Click Set Up
Select which home you would like to add the Home Pod > Click Continue
Select the location of the Home Pod > Click Continue
Click Ok
Read the T&C’s and select Agree
Click Transfer Seings and allow the Home Pod to connect and transfer data. (Note: If synchronisation
doesn’t work you will be requested to input a code manually)
Repeat the phase back to Siri
Click Done
Test Home Pod out by asking Siri to turn a light on/off
.
.
.
.
You're all done, now go and enjoy the convinience of your smart lighting controlled with your voice via the
apple home pod or your phone (APPLE ONLY). via the apple home kit app...
.
.
.
.
Connecting Stitchy DIRECTLY to Alexa Echo Plus/Show nd Gen
(No Philips Hue Bridge)
.
.
Charlie
Check
.
With your phone/tablet on the same wifi network as the Philips Hue Bridge open the Alexa App
Either create an account or input your Amazon account details. Aer put your user details into login
(such as address and locations)
Click I’m someone else or click on your name > Input your first and last name (main user)
Remember if you are doing this for someone else make sure you use "their" Amazon login and you
set the system up as “Someone Else” “DO NOT USE YOUR LOGIN DETAILS/NAME”
Click Continue > Either input your clients phone number for messaging > Click Continue or Skip
Skip through the general information until you arrive at the home screen
Click Devices (boom right corner) > Click on “+” in the top right corner
Click on “Add Device” > Click Amazon Echo > Click Echo Plus > Click ND GENERATION
Click on the device you are trying to connect and select from the different versions
Ensure your device is in setup mode. If not hold the dot down until you see the orange light rotating on
the top of the Echo > Select Ye s
Select your device under Available Devices list
Select your wi-fi network > Add your Password > Once connected to the wi-fi > Click Continue
Add in your Echo’s location (if you want to have it part of a “room”) or Click Skip
Test your devices operation
.
.
.
.
This method of connection is the most direct way to connect to Stitchy because the Alexa Echo
PLUS alreday hasZigbee built in. However it is limiited and does not allow for any Siri or Google
home control and therefore is not a suggested method.
.
.
.
.
You're all done, now go and enjoy the
convinienceofyoursmartlighting controlled
with your voice via the alexa echo PLUS or
your phone via the alexa app...
.
.
!

STITCHY CONNECTION MANUAL |
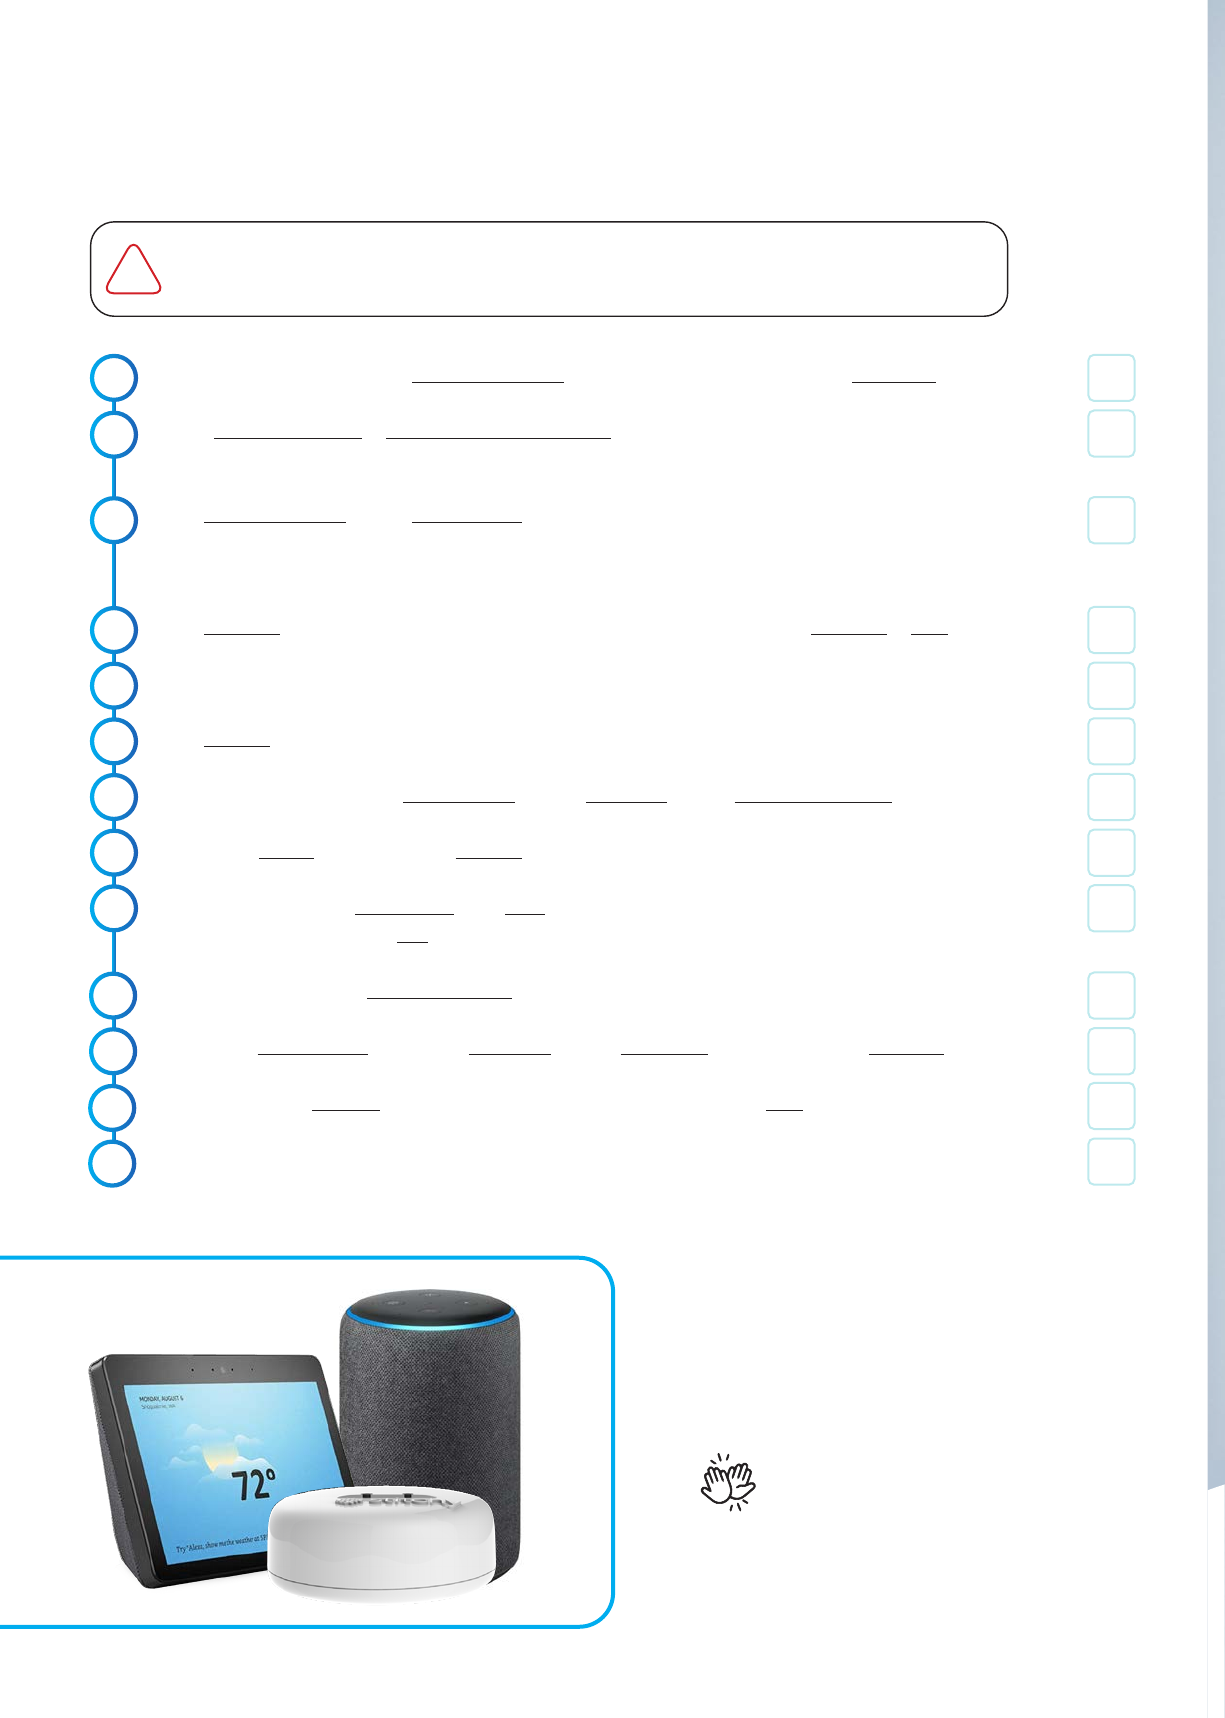
"Alexa turn the
kitchen lights on"
Frequently Asked Questions
Q. Will my lights still work if my wifi connection isn't working?
A. The wall switch will still work and you can also use your phone or table
if they are on the same WiFi.
Q. Can I still operate the lights via voice/app control if the wall switch is
off?
A. Unlike Philipps hue, Stitchy enables you to still operate your smart
lights even if the switch is off on the wall.
Q. Any smart light seing ideas?
A. Set a wake-up alarm | Mimic lighting as if you were home for
security | Set the mood - yoga time, movie time, bed time | Recreate
thunderstorms... the possibilities are endless...
Extra Help
Please visit melec.com.au/stitchy or call our head office:
"Siri its movie
time"
"Google dim the
lights to "
Enjoy your Stitchy smart lighting...
STITCHY CONNECTION MANUAL |

A lile space to scribble your notes...

STITCHY CONNECTION MANUAL |

melec.com.au/stitchy |
Table of contents
Popular Home Lighting manuals by other brands

urban ambiance
urban ambiance UHP3923 installation instructions

Royal Sovereign
Royal Sovereign RDL-40-C owner's manual

Dale Tiffany
Dale Tiffany PG10354 Assembly instructions

Silux Control
Silux Control Spektra Globe Operation manual

Eurolux
Eurolux H29W instructions

Philips
Philips 69066-87-16 Specifications


