Magapor Z-100 User manual

Ver. 04
Febrero 2018
CÁMARA DE CONSERVACIÓN
PRESERVATION UNIT
Z-100
MANUAL DE INSTRUCCIONES
INSTRUCTION MANUAL


1
Instrucciones importantes de seguridad
Precauciones generales de seguridad
•Mantener estas instrucciones siempre a mano. Deben permanecer con el
aparato si se traslada a otro lugar o cambia de usuario habitual.
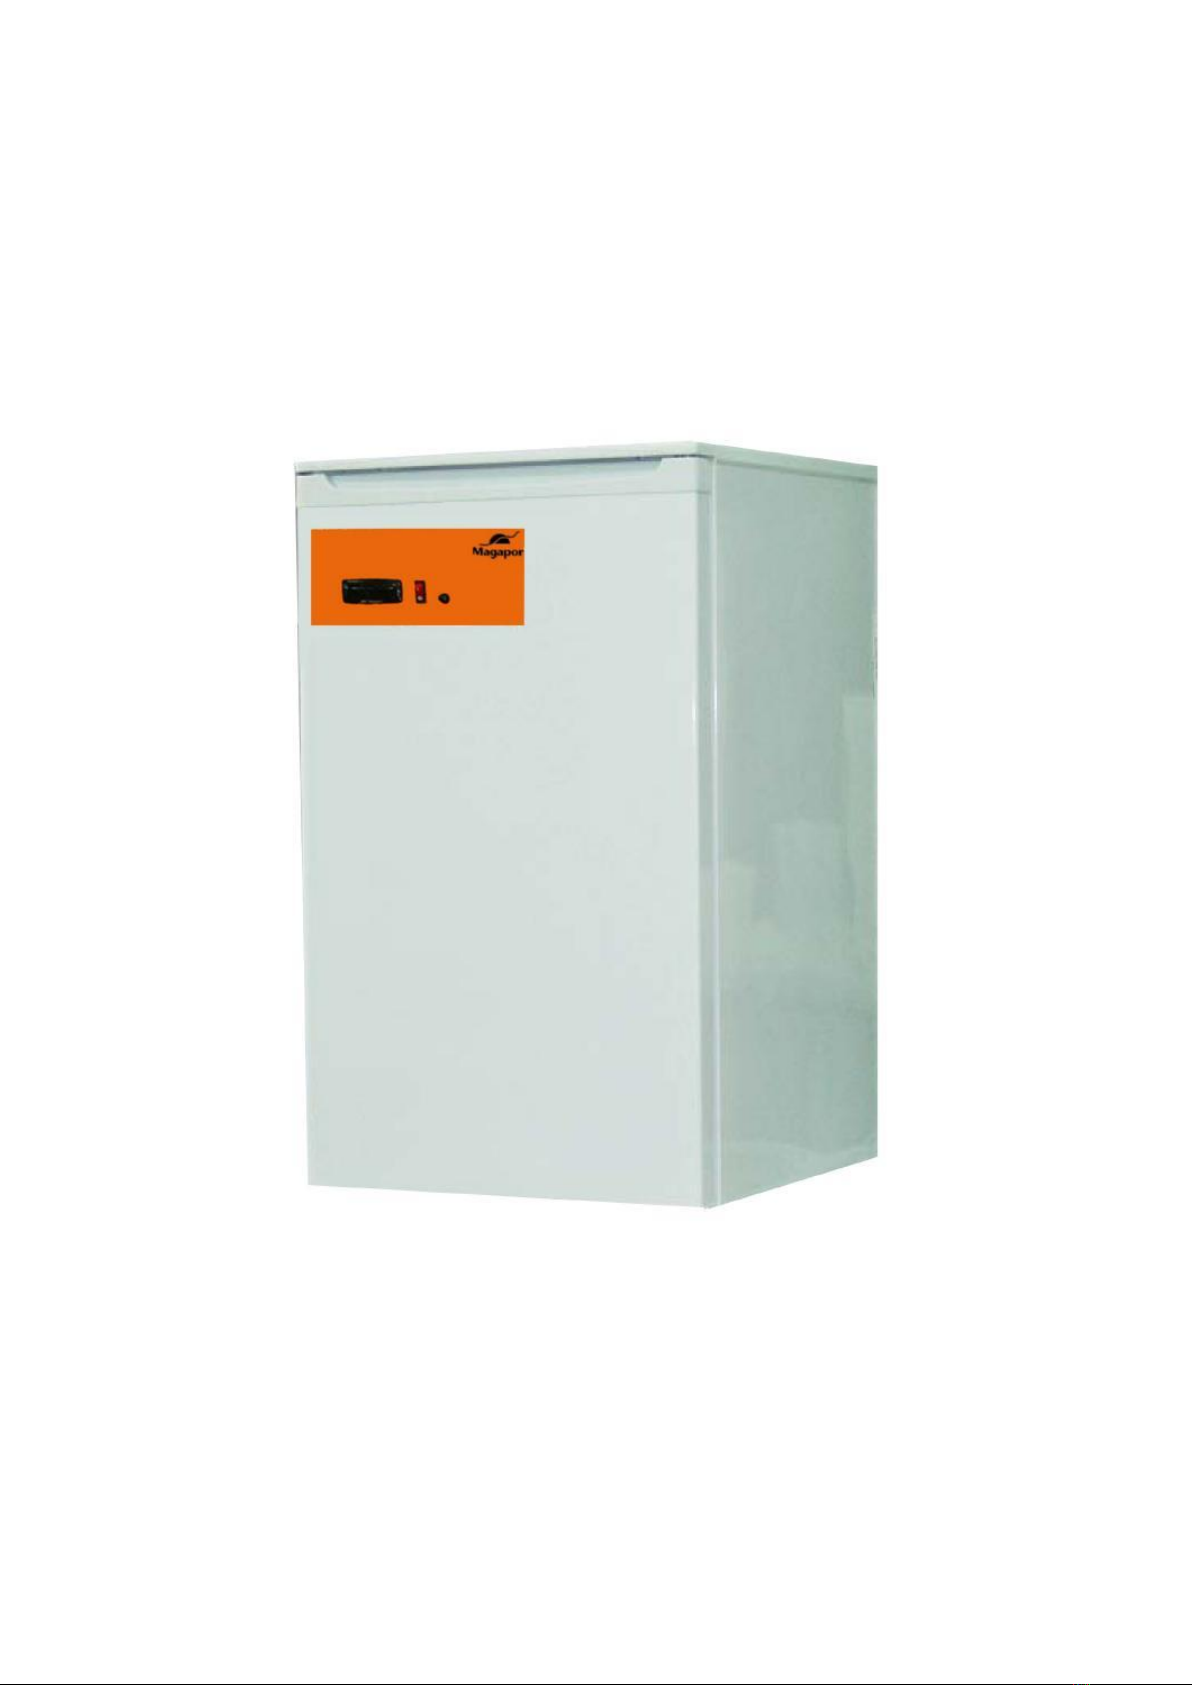
•Este aparato está diseñado para almacenar dosis biológicas y sólo para uso
profesional en granjas o laboratorios. Sólo se debe utilizar de acuerdo con
estas instrucciones y no adaptar o transformar su diseño para otras
aplicaciones como la conservación de alimentos.
•Las reparaciones de este aparato deben realizarse sólo por personal
autorizado por el fabricante. Las piezas y accesorios suministrados
eventualmente por el fabricante sólo se deben utilizar para reparaciones. De
otro modo se puede dañar el aparato o pueden provocar otros daños o
lesiones.
•El aparato se encuentra sin alimentación eléctrica sólo cuando ha sido
desconectado desde la clavija.
Desenchufar el aparato antes de realizar trabajos de limpieza y
mantenimiento (no tirar del cable para desenchufarlo). Si el acceso al
enchufe es difícil, desconectar la corriente eléctrica del cuadro de protección
y mando.
•Asegurarse que el cable de corriente no se encuentra atrapado, aplastado o
dañado por la parte trasera del aparato, podría producir peligro de
electrocución.
Si se observa que el cable de alimentación se encuentra dañado, se debe
sustituir inmediatamente por otro nuevo, siempre por un técnico cualificado.
•Equipo pesado. Se recomiendan dos personas para elevar y transportar el
equipo.
•Se recomienda mantener una adecuada ventilación en el emplazamiento que
se destine para el equipo.
El rendimiento mejorará y el riesgo de fuga de gas refrigerante no se
convertirá en un peligro para la salud.
•Mantener el equipo lejos de fuentes de calor ó frío externas, así como de
posibles salpicaduras ó derrames de líquido.
•Asegurarse de que el equipo queda perfectamente nivelado y no existe
riesgo de vuelco o caída.

2
Información general
MAGAPOR pone a su disposición un conjunto de cámaras de conservación de semen
compuesto por los siguientes modelos:
Z-100
Z-300
ZG-500
ZG-1400
Su elección
La cámara de conservación que ha elegido está diseñada y construida
específicamente para mantener dosis seminales a una temperatura constante
comprendida entre 15 y 40ºC.
El equipo está equipado con un regulador digital que controla la temperatura en el
interior. Posee un sistema de alarma que permite advertir al usuario de cualquier
deviación peligrosa que pueda alterar la perfecta conservación del semen.
Para conseguir la máxima homogeneidad de temperatura en su interior, se dispone
de ventilación forzada que asegura una recirculación de aire continua.
El interior de la cámara posee un diseño que permite la recogida y evaporación de
condensados de manera automática.
Descripción de las partes principales del aparato
Termostato
Interruptor
Porta-fusible
Ventilador
Sonda

3
Instalación y manejo
Mando y señalización
Como puede verse, en la puerta de la cámara se encuentran los mandos de control
y visualización:
-Un regulador digital, que permite conocer y regular en todo momento la
temperatura de funcionamiento.
-Un interruptor general luminoso, que permite el encendido o apagado del
equipo.
-Un porta-fusible de protección extraíble.
Ubicación
Situar la cámara lejos de fuentes agresivas de calor y/o frío, y a la sombra de la
acción de los rayos de sol. El lugar elegido debe ser aireado para que exista buena
circulación de aire detrás del equipo, necesario para una correcta refrigeración del
circuito condensador.
Para evitar vibraciones y ruidos molestos, asegurar que el equipo se encuentre
perfectamente nivelado.
Atención: Equipo pesado, manejar con cuidado.
Conexión eléctrica
El equipo dispone de un cable para la conexión eléctrica, situado junto al
compresor, en la parte trasera.
Importante: Verifique que la tensión de su instalación corresponde con la
tensión de la placa de identificación de su equipo. Es importante, para la
seguridad de los usuarios y del propio equipo, que esté conectada a una
toma de tierra eficaz acorde al Reglamento Electrotécnico para Baja Tensión.
El fabricante declina toda responsabilidad en el caso de que esas medidas
de seguridad no sean respetadas.
En caso de sobre-intensidad, por cortocircuito o exceso de consumo, el
fusible de protección del equipo se fundirá. Es necesario sustituirlo por
otro equivalente una vez se haya averiguado y solucionado el problema.
Para sustituir el fusible, siempre con el equipo desconectado, roscar el
tapón del porta-fusible en sentido contrario a las agujas del reloj. Extraer
la vaina con el fusible, sustituirlo por uno nuevo y volver a introducir la
vaina, roscando el tapón en sentido contrario. El repuesto para el fusible se
incluye junto al manual de instrucciones.

4
Puesta en marcha
1. Una vez instalada la cámara en su sitio de trabajo, dejar pasar un tiempo
estimado de 24 horas antes de conectarla, este tiempo es necesario para
que se pose el aceite del compresor y se evite la contaminación del fluido
refrigerante.
2. Conectar la cámara a la red eléctrica.
3. Encender el interruptor general. El equipo en estas condiciones comenzará a
trabajar para alcanzar la temperatura de trabajo por defecto de 16ºC,
preestablecida. El sistema de ventilación comenzará a funcionar de manera
ininterrumpida y se alternarán ciclos de refrigeración y calefacción.
Visualización y cambio de temperatura de trabajo.
Mediante el regulador digital que incorpora el equipo, es posible visualizar la
temperatura actual y modificar la temperatura de consigna.
Una vez que se conecta la cámara, el regulador muestra constantemente la
temperatura medida por la sonda ubicada en el interior.
De fábrica, el equipo viene programado y calibrado para trabajar a 16ºC. En caso
de tener que modificar la temperatura de consigna se procede de la siguiente
manera:
1.- Pulsar y soltar la tecla 'SET'. El display visualizará SP alternado el valor
de regulación.
2.- Con las teclas de flecha modificar el valor.
3.- Pulsar y soltar 'SET' para confirmar el valor. El valor quedará
programado y el display volverá a mostrar la temperatura actual.
Una vez introducida la temperatura de consigna, el regulador comenzará a regular
los ciclos de calor y frío. El estado en el que se encuentra el regulador (calentando,
enfriando o en zona neutra) puede comprobarse mediante los respectivos leds en la
parte izquierda del display. Al enfriar se enciende el símbolo de copo de nieve. Al
calentar, se enciende el símbolo del sol.
Tecla SET
Flechas

5
El termostato viene equipado con un zumbador que alerta al usuario de cualquier
anomalía en el control de la temperatura, bien provocada por un fallo técnico, por
dejar la puerta abierta, por corte de luz, etc.
-Si la temperatura aumenta o desciende en un valor superior a 1,5 ºC respecto de
la temperatura de consigna durante un tiempo mayor a 10 minutos, se dispara el
zumbador.
Por ejemplo si se tiene el equipo programado para mantener 16ºC, subir por
encima de 17,5ªC o bajar por debajo de 14,5ºC durante más de 10 minutos
disparará la alarma.
En caso de disparo de la alarma, se muestra un mensaje "Hi" o "Lo" indicando que
se ha producido, bien un exceso o bien un defecto de temperatura.
Una vez que la temperatura vuelve a la normalidad, el sonido se desconecta
automáticamente, así como el mensaje de la pantalla. El sonido puede
desconectarse en cualquier momento pulsando cualquier tecla.

6
Características técnicas
Tensión de alimentación y frecuencia:
230V 50Hz
Fluido refrigerante:
R-600a / 16 grs
Potencia nominal:
65 W
Intensidad máxima arranque
compresor:
4 A
Volumen nominal útil:
130 L
Nº de dosis máximo:
200 blister /170 tubos/ 200 botes
Resolución medida de temperatura:
0.1º C
Rango de temperatura:
Desde 15ºC a 40ºC +/-0.5ºC
Dimensiones exteriores:
896x576x665 mm
Peso en vacío:
29 Kg
Condiciones funcionamiento:
Uso interior en laboratorios
Temperatura ambiente 5-40ºC
Altitud máxima 2000m
Humedad relativa desde 80% a
31ºC hasta 50% 40ºC
Fluctuaciones de tensión de red
máximas +/- 10%
Sobretensiones transitorias
categoría II.

7
Mantenimiento y conservación
Consejos de limpieza
Para realizar las tareas de limpieza de su cámara no utilizar detergentes agresivos,
se recomienda usar un estropajo suave y lava-vajillas.
Para una completa desinfección del interior, emplear alcohol etílico al 70º sin frotar
con demasiada fuerza sobre las etiquetas adhesivas.
En caso de no utilizar la cámara durante un largo periodo de tiempo, mantenerla
limpia, seca y con la puerta entreabierta, con el fin de evitar la formación de moho.
Mantener limpia la rejilla trasera del equipo, facilitando así la evacuación de calor
necesaria para una correcta producción de frío en el interior.
Normalmente a la temperatura de trabajo de 16º no se formará un exceso de
escarcha en la pared fría del interior, sólo aparecerán gotas de agua que son
automáticamente evacuadas y evaporadas en el exterior.
Las maniobras de conexión del cable de alimentación no deben ser nunca bruscas
ni forzadas. Se debe mantener limpia la toma de corriente en sus dos polos
metálicos para asegurar el buen contacto eléctrico.
Atención peligro: Antes de realizar cualquier tipo de maniobra o
mantenimiento autorizado, cerciórese de que la zona o elementos a
manipular no están sometidos a tensión eléctrica: desconecte el
enchufe de la toma eléctrica.

8
Posibles averías y soluciones
Problema
Posibles causas
Soluciones
La cámara no se enciende.
A. Falta de tensión ó fusible
fundido.
B. Cable defectuoso.
C. Regulador averiado.
A. Revise la tensión
y el estado del
fusible.
B y C. Póngase en
contacto con el
Servicio Técnico.
La cámara de conservación no
enfría.
A. Set Point alto.
B. Fallo en parámetros del
regulador.
C. Avería circuito
refrigeración.
A. Revise el Set
Point.
B. y C. Póngase en
contacto con el
Servicio Técnico.
La cámara de conservación no
calienta.
A. Set Point bajo.
B. Fallo en parámetros del
regulador.
C. Avería circuito calefactor.
A. Revise el Set
Point.
B. y C. Póngase en
contacto con el
Servicio Técnico.
La carcasa ó compresor de la
cámara se calienta
excesivamente.
Cámara mal ventilada o
expuesta al sol u otro foco
de calor.
Cambie la ubicación
de la cámara.
La temperatura del interior de
la cámara y la marcada por el
regulador no se corresponde.
Posible fallo en la
calibración de la
temperatura interior de la
cámara de conservación.
Póngase en
contacto con el
Servicio Técnico.

9
Más información y consejos útiles
Para asegurar una perfecta conservación de las dosis, seguir estos consejos:
-Es preferible escoger un modelo de cámara que permita el espacio suficiente para
almacenar dosis en producción normal y también en picos de producción.
-Empaquetar las dosis en bolsas o cajas separadoras, antes de introducirlas en la
cámara.
-Evitar llenar demasiado una bandeja si se tienen otras vacías. Distribuir la carga
de manera apropiada para que el aire pueda recircular libremente.
-Emplear siempre bandejas originales de alambre que permiten la recirculación del
aire con total libertad.
-Evitar colocar las dosis en contacto directo con la pared fría (fondo) pues existe
riesgo de congelación.
-Debe evitarse que la sonda de temperatura o el ventilador se encuentren muy
próximos o en contacto con las dosis.
-Dejar atemperar las dosis antes de introducirlas en la cámara, se consigue un
ahorro de energía y se alarga la vida del equipo.
-Abrir y cerrar la puerta lo imprescindible.

10
Important Safety Instructions
General Safety Precautions
•Always keep these instructions to hand. They should remain with the
machine in the event it is moved or the regular operator is replaced.
•This machine is designed for storing and transporting biological products,
and is intended exclusively for professional use in farms and laboratories. It
must only be used in accordance with these instructions and its design
should not be adapted or modified to fit other applications, such as the
storage of foodstuffs.
•Any repairs made to this machine must only be carried out by persons
authorised by the manufacturer. Any parts or accessories that may be
provided by the manufacturer must be used for repair purposes only. Failure
to comply with these instructions may damage the machine or cause bodily
injury.
•The electricity supply to the machine is only cut off when it has been
unplugged at the socket.
Unplug the machine before cleaning it or carrying out any maintenance
work. Do not unplug it by pulling on the power cable. If the plug is difficult
to access, cut off the power supply from the distribution board or fuse box.
•Make sure the power cable is not damaged or stripped and that the copper
conductors have not been exposed, as this could lead to a risk of
electrocution. If the cable is suffering from any of the above defects, replace
it with a new one.
•This machine is heavy. Two people are required in order to move it.
•Keep the machine in a well-ventilated location. This will improve its
performance and ensure any leaks of refrigerant gas will not pose a health
hazard.
•Keep the machine away from external sources of heat or cold, and ensure
there is no risk of liquids being splashed or spilled onto it.
•Make sure the machine sits perfectly flat and there is no risk of it falling or
being knocked over.

11
General Information
The MAGAPOR range of containers for the preservation of semen is made up of the
following models:
Z-100
Z-300
ZG-500
ZG-1400
Your Machine
The preservation unit you have chosen is specially designed and built to keep
semen doses at a constant temperature. Temperatures ranging from 15 to 40ºC
can be assigned.
The Z-100 is equipped with a based digital regulator, which controls the
temperature inside the container. It also has an alarm system which allows the
operator to check whether a serious deviation in temperature has occurred at any
time that would affect the preservation of the semen.
To ensure the temperature is an even as possible inside the container, the machine
has a forced-ventilation system that guarantees constant recirculation of air.
The container’s interior is designed to enable the automatic collection and
evaporation of condensates.
Description of the main parts of the machine
Thermostat
Switch
Fuse-holder
Fan
Thermometer

12
Installation and Operation
Controls and Indicators
As shown above, the container’s controls are located on the door. They include:
- A digital regulator, which enables the working temperature to be displayed
and regulated at all times.
- An illuminated On/Off switch.
- A removable fuse-holder.
Placement
Site the Z-100 away from sources of strong heat or cold, and out of direct sunlight.
There should be sufficient space around the container to allow for good circulation
of air behind the machine, as this is necessary to ensure adequate refrigeration of
the condenser circuit.
To prevent vibrations and intrusive noise, make sure the machine is sitting perfectly
flat on the floor or work surface.
Warning: Heavy machine; handle with care.
Connection to the Electricity Supply
The machine is fitted with a cable for connection to the power supply, located at the
rear next to the compressor.
Important: Make sure the voltage of the electricity supply matches that
indicated on the container’s specification plate. For the safety of the device
and its operators, it is vital that it be earthed correctly in accordance with
the Regulations for Low-Voltage Electrical Equipment.
The manufacturer shall not be held liable for any claims in the event that
these safety measures are not adopted.
In the event of a power surge, short-circuit or excess consumption the Z-
100’s fuse will blow. It must be replaced with an equivalent item once you
have identified and solved the problem.
To replace the fuse (the Z-100 is supplied with an instruction manual and
replacement fuse), switch the machine off and unscrew the fuse-holder
cap anticlockwise. Remove the sheath (with the fuse inside), replace the
blown fuse with the new one, then insert the sheath back into the holder
and screw the cap back on clockwise. A replacement fuse is included, along
with the instruction manual.

13
Setting Up
1. Once the Z-100 has been installed in its place of operation, wait
approximately 24 hours before switching it on. This will allow the oil in the
compressor to settle and prevent contamination of the refrigerant fluid.
2. Connect the machine to the power supply.
3. Switch it on. The machine will then commence operations to reach its default
working temperature of 16ºC. The ventilation system will start up and run
constantly, alternating between refrigeration and heating cycles.
Viewing and Changing the Working Temperature.
The Z-100’s built-in digital regulator allows you to view the current temperature
and modify the assigned temperature.
Once the machine is switched on, the regulator takes temperature measurements
using the internal thermometer and displays these continuously on the screen.
The machine is programmed and calibrated at the factory to operate at a default
temperature of 16ºC. However, if you wish to assign a different temperature, follow
the steps below:
1. Press and release the key 'SET'. The screen will show SP alternating the
set point value.
2. Use the arrow keys to adjust the value.
3. Press and release 'SET' to confirm the value. The value will save in the
memory of the device and the screen will show the current value of the
temperature.
Once you have assigned the new temperature, the thermostat will begin to adjust
the heating and cooling cycles as required. You can consult the status of the
machine (i.e. whether it is heating, cooling or in neutral mode) by checking the
corresponding LED indicators displayed on the left side of the thermostat screen.
The indicator for the cooling cycle is the snowflake and for the heating cycle is the
sun indicator.
SET button
Arrows

14
The thermostat is equipped with a buzzer that alerts the operator of any
temperature-related anomalies, whether caused by a technical failure, leaving the
door open, a power cut, etc.
- If the temperature differs by more than 1,5ºC (in any direction) from the assigned
temperature, and for longer than ten minutes, the buzzer will sound.
For example, if you have set the device to maintain a temperature of 16ºC, and the
temperature either rises above 17,5ºC or falls below 14,5ºC for longer than ten
minutes, the buzzer will sound.
If the buzzer sounds, it will be accompanied by the words "Hi" or "Lo" on the screen
to indicate whether the temperature has risen too high or fallen too low.
Once the temperature returns to normal, the buzzer will stop automatically and the
warning message will be removed from the screen. You can also turn off the buzzer
at any moment by pressing any key.

15
Technical Specifications
Maintenance and Upkeep
Supply voltage and frequency:
230 V 50 Hz
Refrigerant fluid:
R-600a / 16 g
Nominal power:
65 W
Maximum current at compressor start-
up:
4 A
Nominal useable volume:
97 L
Maximum no. of doses:
200 blisters /170 tubes/ 200 jars
Temperature measurement resolution:
0.1ºC
Temperature range:
15ºC to 40ºC, +/-0.5ºC
External dimensions:
896x576x665 mm
Unladen weight:
29 kg
Operating conditions:
For use within laboratories
Ambient temperature: 5-40ºC
Maximum altitude: 2000 m
Relative humidity: 80% at 31ºC
up to 50% at 40ºC
Maximum voltage fluctuations in
electricity supply: +/- 10%
Category II transient overvoltage

16
Cleaning Advice
To clean the Z-100 it is recommended that you use a soft cloth and washing-up
liquid. Do not use strong detergents.
To completely disinfect the inside of the machine use 70-proof ethyl alcohol, taking
care not to rub the adhesive stickers too forcefully.
If you are not going to use the machine for an extended period of time, keep it
clean and dry and leave the door open, as this will help prevent mould forming.
Keep the grille at the back of the machine clean, as this will aid with heat
evacuation (which is necessary to ensure the interior of the machine can be kept
suitably cool).
Normally, at a working temperature of 16ºC excessive amounts of frost will not
form on the machine’s cooling wall. Water droplets may appear, but these will be
automatically expelled and evaporate outside the machine.
The power cable must be connected gently. Do not force it. The two metal poles in
the connector must be kept clean in order to ensure good electrical contact.
Hazard warning: Before carrying out any form of authorised
maintenance or procedure, make sure the area or parts in question are
not connected to the electricity supply. Unplug the device at the
socket.
Troubleshooting

17
Problem
Potential cause
Solution
The machine will not
switch on
A. Inadequate voltage or
blown fuse
B. Defective cable
C. Regulator fault
A. Check voltage and fuse
B and C. Contact the
Technical Services
Department
The machine will not
commence cooling
operations
A. Set Point too high
B. Fault in regulator
parameters
C. Refrigeration-circuit
fault
A. Lower Set Point
B and C. Contact the
Technical Services
Department
The machine will not
commence heating
operations
A. Set Point too low
B. Fault in regulator
parameters
C. Heating-circuit fault
A. Raise Set Point
B and C. Contact the
Technical Services
Department
The machine’s
compressor or external
casing are too hot
Machine inadequately
ventilated, or exposed to
sunlight or other heat
source
Move machine to another
location
Internal temperature of
the machine and the
temperature displayed
on the regulator do not
match
Internal temperature of
the machine calibrated
incorrectly
Contact the Technical
Services Department

18
Further Information and Useful Advice
To ensure optimum preservation of the doses, follow these recommendations:
- Choose a container model that provides sufficient space for storing the quantity of
doses produced under both normal conditions and during production peaks.
- Package the doses in separate bags or boxes before placing them in the
container.
- Avoid overfilling one shelf when there are others that are empty. Distribute the
doses inside the machine in such a way that the air can circulate freely.
- Always use the wire shelves that are supplied with the machine, as these allow
the air to circulate without obstruction.
- Avoid placing the doses in direct contact with the cooling wall (the bottom of the
container), as there is a risk they could become frozen.
- Do not position the doses very near to, or in direct contact with, the thermometer
or the fan.
- Allow the doses to cool before placing them in the container: this will save energy
and prolong the working life of the device.
- Open and close the door as little as possible.
Table of contents
Languages: