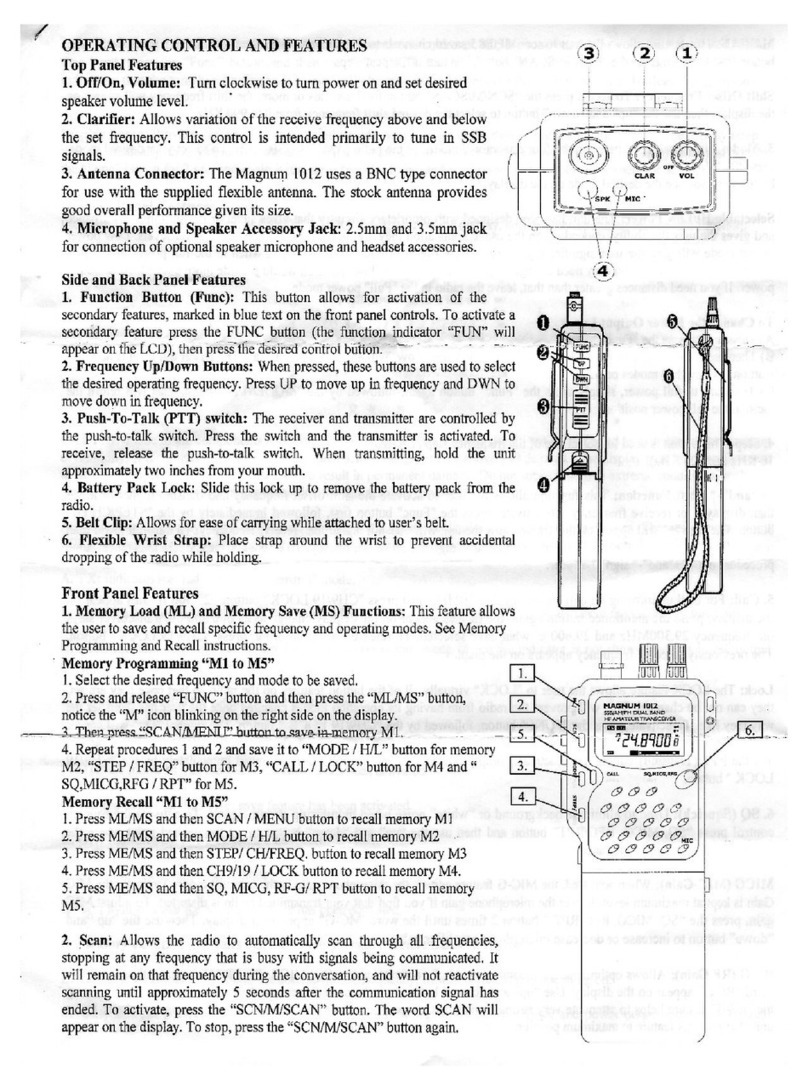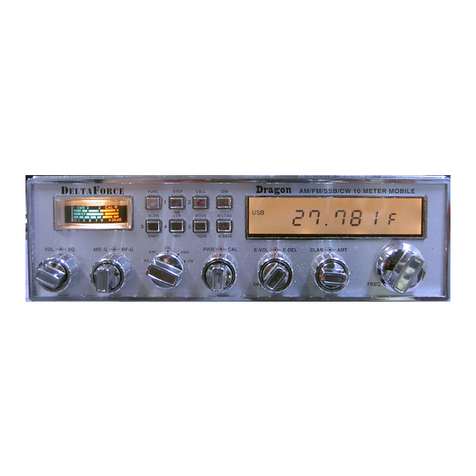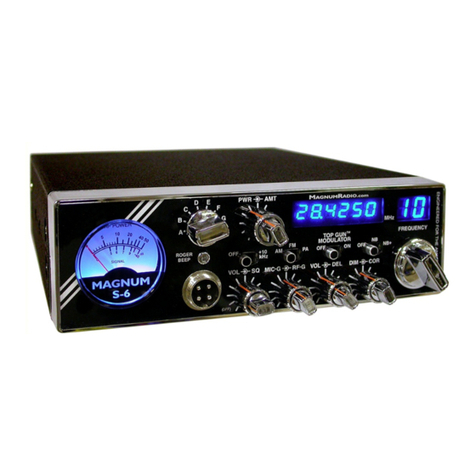
In the Expanded mode, the frequency range is divided into 10 Bands of 40 Channels each.
The Bands are shown on LCD display by letters (A through J) - Band E is regular 40 channel CB. To switch
bands, press the CALL button (do not hold down for 3 seconds).
In the Expanded mode, either the frequency or channel can be displayed on the LCD. To switch between
frequency display and channel display, press the FUNC button and then press the CALL button (do not
hold down for 3 seconds).
On the channel display, the small number (0 - 9) to the right of the Band letter is the 1 kHz frequency
display.
Example: If the frequency is 27.405, then the channel display will indicate 40 E5. (40) being the channel,
(E) being the Band, and (5) being the 1 kHz position of 27.405.
Note!
In the Expanded mode, the RPT and SHIFT functions Will Not Operate.
CON4: ~ 40 Channel CB Only (26.965 - 27.405 MHz) (Only operates on the regular 40 CB channels.)
Step #5 After selecting the desired frequency range and configuration, press the CPU Reset Switch (SW1)
for 5 - 10 seconds.
Step #6 Reassemble the radio, turn on and test.
TUNE – UP / POWER TWEAKS
#1 ~ Remove bottom cover
#2 ~ Locate RV16. (AM Power)
#3 ~ Adjust RV16 for a carrier of 10 watts on AM mode with the RF Power knob turned fully clockwise.
With the RF Power knob turned fully counter-clockwise, the AM carrier should be 1 watt.
#4 ~ Locate RV4. (Modulation)
Adjust RV4 for maximum modulation.
#5 ~ Locate RV9. (SSB Power)
Adjust RV9 for maximum forward power in SSB mode.
#6 ~ Locate RV8. (RF Meter)
With RF Output power knob adjusted to show a 5 watt carrier, adjust RV8 just until the 3rd RF power bar
lights up.
You should now see a PEP output of around 25 Watts on AM and around 35 Watts on SSB.


