1
.Changeengine oil
+Drain
the
oil
while
the engine
is
still warm to
assure
rapid
and complete drain.
*Remove the filler
cap
and drain plug, and drain the
oil.
Retighten
the
plug securely.Refill with the recommended
oil
and
check
the
level.
2.Air cleaner
service
When the
foam
air filter element
is
dirty:
+Unsnap the clips, remove the
air
cleaner cover
and
remove
the
element.
+Clean
the
element
in
nonflammable or
high
flash
point
solvent and dry
it
thoroughly.
+Soak the element in clean engine oil
and
squeeze out
excess
oil.
+Reinstall the air leaner element and the cover.
*
Service more frequently
when
used in
dusty
areas.
3.Fuel filter
service
4
Turn
the fuel
valve
OFF
Remove
the
filter
cup.
+
Clean
the cup thoroughly.
Y
u
*Y,
+
Reassemble.
Do
not damage the
rubber
gasket.
4.Spark
plug service
1)
Remove the
spark
plug cap.
4
Use
the wrench supplied
in
the tool kit to
remove
the
spark plug.
4
Visually inspect the
spark
plug. Clean the plug
gap.
Discard it
if
the insulator
is
cracked
or
chipped.
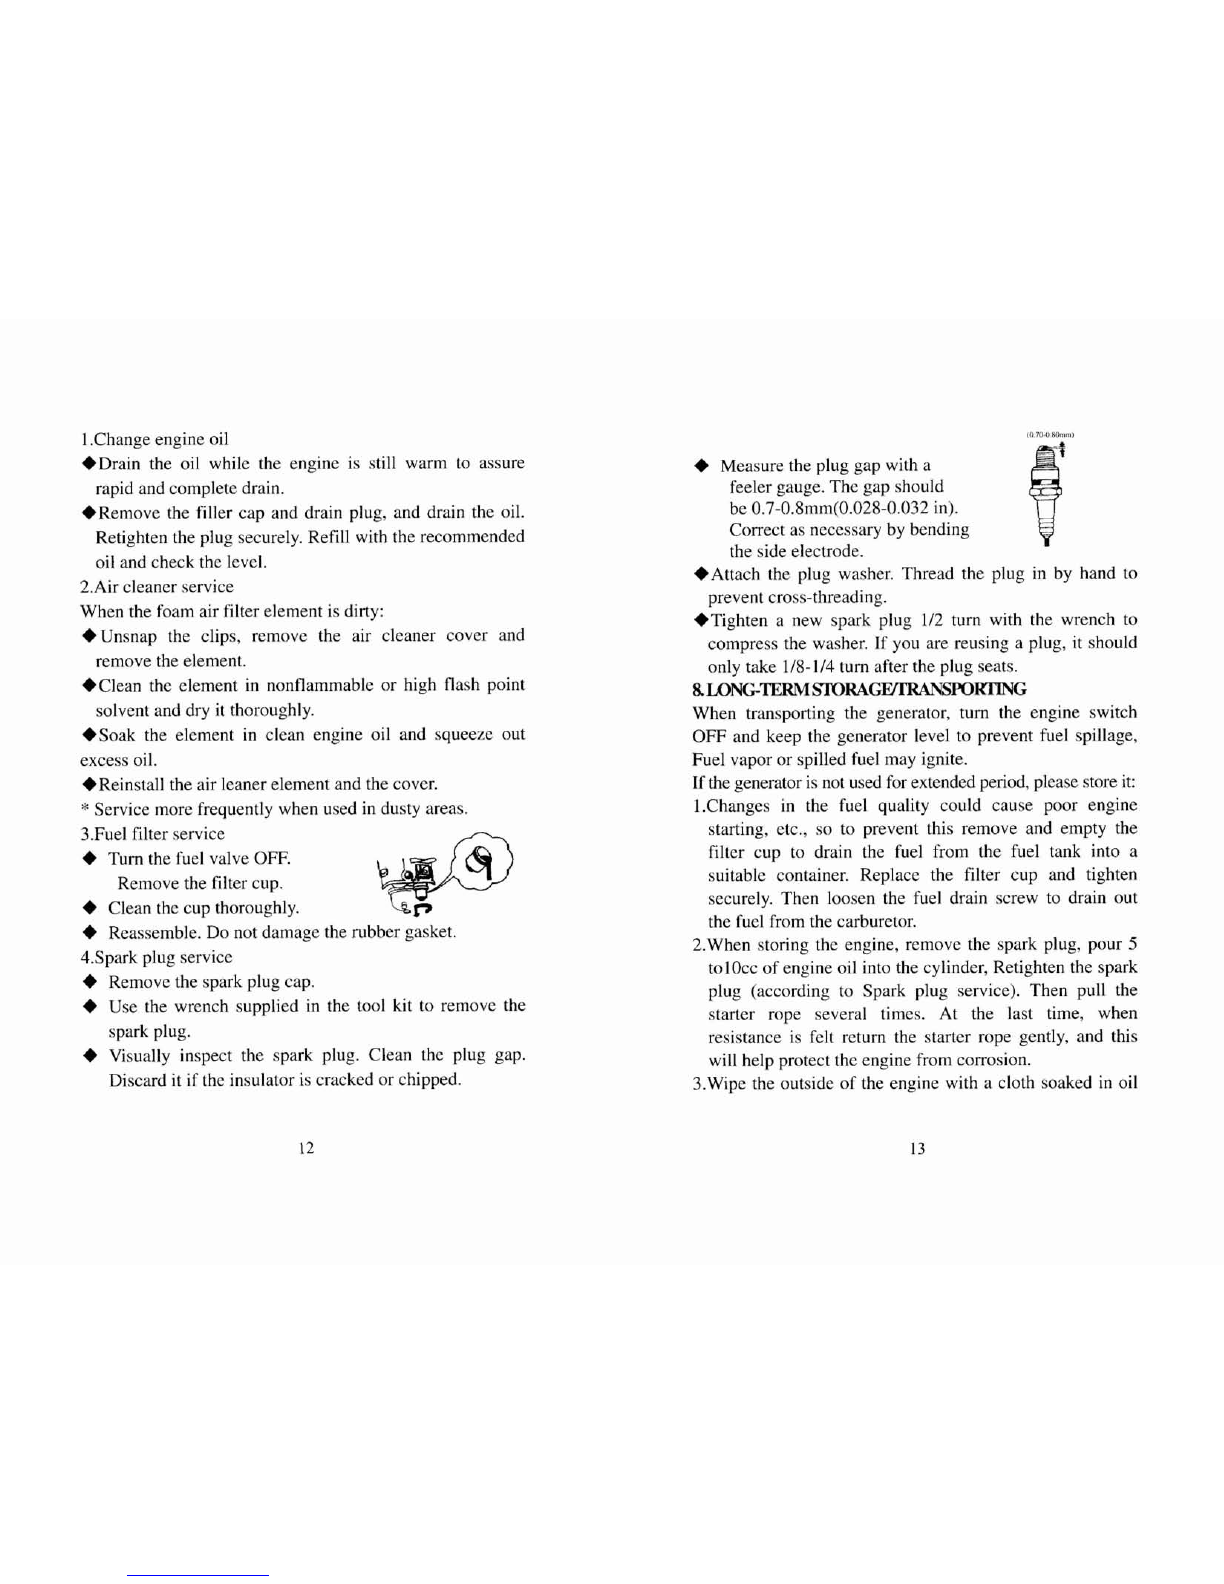
+
Measure
the
plug
gap
with
a
feelergauge.
The
gap
should
be
0.7-0.8mm(0.028-0.032
in).
Correct
as
necessary
by
bending
the side electrode.
+Attach
the plug washer. Thread
the
plug
in
by
hand
to
prevent cross-threading.
+Tighten
a
new
spark
plug
1/2
turn with the wrench to
compress
the washer.
If
you are reusing a plug, it should
only take
1
J8-
114
turn after
the
plug seats.
~LUNGTERMSTORAGFJTMNSQKI~NG
When transporting
the
generator, turn
the
engine switch
OFF
and keep
the
generator
level
to prevent fuel spillage,
Fuel
vapor
or spilled fuel
may
ignite.
If
the
generator
is not used
for
extended
period,
please
store it:
1.Changes in the
fuel
quality
could
cause poor
engine
starting, etc., so to prevent this remove and
empty
the
filter
cup
to
drain
the
fuel
fmm
the
fuel tank into
a
suitable container. Replace
the
filter
cup
and tighten
securely.
Then
loosen the fuel drain screw to drain out
the
fuel
from
the
carburetor.
2.When storing
the
engine, remove the
spark
plug, pour
5
tolOcc
of
engine oil into the cylinder, Retighten the
spark
plug
(according
to
Spark plug
service).
Then pull the
starter rope several times.
At
the last time,
when
resistance is felt return the starter rope gently,
and
this
will help protect the engine from corrosion.
3.Wipe the outside of
the
engine with
a
cloth
soaked in oil