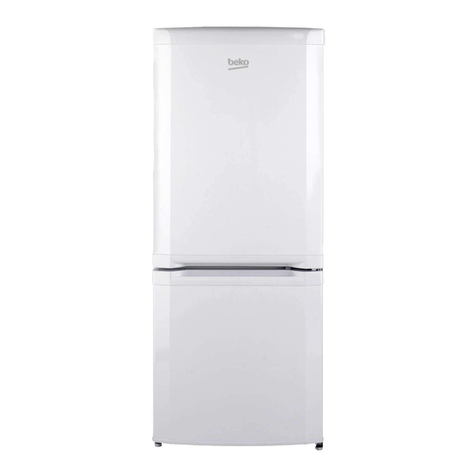
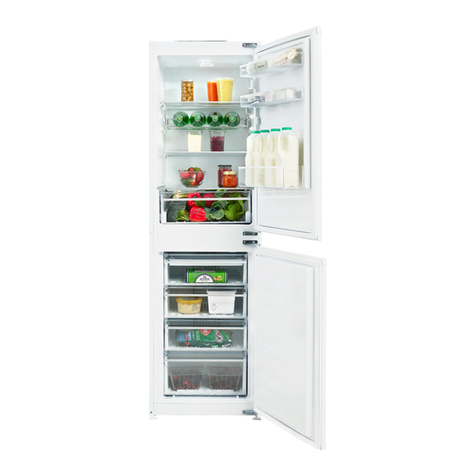
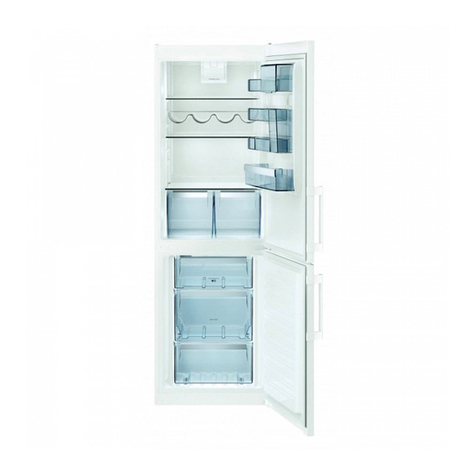
Matsui M170SF09 User manual

2-DOOR FROST FREE
FRIDGE FREEZER
M170SF09
DOMESTIC USE
INSTRUCTION MANUAL
M170SF09_IB_GB_FINAL_090806.indd1 1 06/08/09 3:41:03 PM

Satety Warnings Operation Cleaning and
Maintenance
SpecificationBefore Use
GB-2
Safety
WARNING!
It is hazardous for anyone other than authorised service personnel to carry out servicing or repairs which involves
the removal of covers.
To avoid the risk of an electric shock do not attempt to repair this appliance yourself.
If the supply cord is damaged it must be replaced by the manufacturer, its service agent , or similarly qualied
persons in order to avoid a hazard.
This appliance is not intended for use by persons (including children) with reduced sensory or mental capabilities, or
lack of experience and knowledge unless they have been given supervision or instruction concerning the use of the
appliance by a person responsible for their safety.
Children should be supervised to ensure that they do not play with the appliance.
Disposal
Old appliances still have some residual value. An environmentally friendly method of disposal will ensure that valu-
able raw materials can be recovered and used again. The refrigerant used in your appliance and insulation materials
require special disposal procedures. Ensure that none of the pipes on the back of the appliance are damaged prior
to disposal. Up to date information concerning options for disposing of your old appliance and packaging from the
new one can be obtained from your local council oce.
Locks
If your appliance is tted with a lock, to prevent children being entrapped keep the key out of reach and not in the
vicinity of the appliance.
If disposing of an old appliance break o any old locks or latches as a safeguard.
M170SF09_IB_GB_FINAL_090806.indd2 2 06/08/09 3:41:03 PM

Satety WarningsOperationCleaning and
Maintenance
Specification Before Use
GB-3
Introducing Your New Fridge Freezer
Before use
Please read these instructions carefully before using your new Matsui appliance.
The appliance is for indoor, domestic use only.
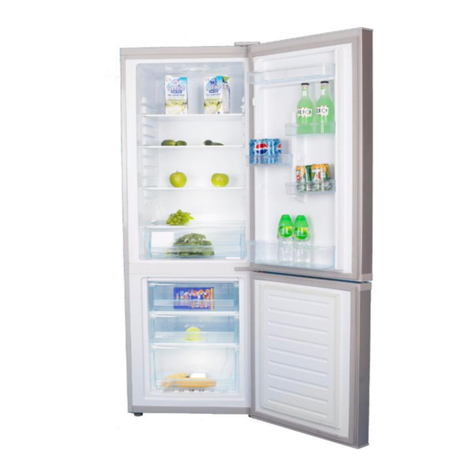
1) Thermostat control knob 7) Ice cube tray (inside of drawer)
2) Light 8) Levelling feet
3) Refrigerator shelf 9) Egg tray
4) Salad crisper 10) Upper door shelf
5) Upper and middle freezer drawers 11) Middle door shelf
6) Lower freezer drawers 12) Bottle rack
1
2
3
4
6
8
9
10
11
12
7
M170SF09_IB_GB_FINAL_090806.indd3 3 06/08/09 3:41:08 PM

Satety Warnings Operation Cleaning and
Maintenance
SpecificationBefore Use
GB-4
Install Your New Fridge Freezer
Location
When selecting a position to place your appliance you should make sure that the oor is at and rm, and the room
well ventilated. Avoid localing your appliance near a heat source, e.g. Cooker, boiler or radiator. Also avoid direct
sunlight in outbuildings or sun lounges. It must therefore be installed so that the appliance has at least 10cm
(2 1/2” )of free space and the sides have 2cm (3/4”). The appliance door can either open to the right or the left,
depending on whichever suits you. See page 5 if you want to reverse the door swing. Do not drape your appliance
with any covering.
Moving the Appliance
Your Fridge Freezer has two wheels at the rear. The easiest way to move the Fridge Freezer is to tip it backwards just
far enough to lift the front feet o the ground and roll it into position.
Levelling the Fridge Freezer
Remove the packaging support from the base of the appliance and replace with
the 2 Levelling Feet. Make sure the appliance is level. Use the Levelling Feet
at the front. If the appliance is not level, the doors and magnetic seal
alignments will be aected.
Cleaning before use
Wipe the inside of the appliance with a weak solution of bicarbonate soda. Then rinse with warm water using a
damp sponge or cloth. Wash the baskets and shelves in warm soapy water and dry completely before replacing in
the Fridge. The external parts of the Fridge can be cleaned with wax polish. If you require more information refer to
Cleaning on page 9.
Before plugging in YOU MUST
Check that you have a socket which is compatible with the plug supplied with the appliance.
Before switching on!
DO NOT SWITCH ON UNTIL TWO HOURS AFTER MOVING THE APPLIANCE.
The coolant uid needs time to settle.
Please Note: The Ice cube tray is for ice only and not for freezing food.
M170SF09_IB_GB_FINAL_090806.indd4 4 06/08/09 3:41:09 PM

Satety WarningsOperationCleaning and
Maintenance
Specification Before Use
GB-5
Reverse the door swing
• Ensure the appliance is unplugged and empty. Adjust the two levelling feet to their highest position.
• We recommend you have someone to assist you.
Tools required
• Phillips style screwdriver
• Flat bladed screwdriver
Note: To take the door o, it is necessary to tilt the appliance backward. You should rest the Freezer on something
solid and place something under the rollers so that it will not slip during the door change process.
DO NOT lay the appliance completely at as this may damage the coolant system.
Important: Double check that door is aligned
correctly and all the seals are closed on all sides.
If necessary, re-adjust the leveling feet.
Remove the hinge cover.
Undo the screws and
remove the hinge bracket.
Remove
1
Slide the fridge door up and
lift away from the appliance.
Pull
up
2
Undo the screws
of the middle hinge.
Slide the freezer
door up and lift
away from the
appliance.
Dismantle Pull
up
3
Swap over
Undo the screws and remove
the bottom hinge. Screw it into
place on the new side and
replace the adjustable feet.
4
Remove the pin from
the fridge and freezer
doors. On the
opposite bracket,
insert the replacement
hinge pin. Ensure the
pin is secure.
Fridge
door
Freezer
door
Remove
Insert
Remove
Insert
5
Insert
middle
hinge
Replace
door
Place the freezer door
rst and screw the
middle hinge on the
opposite side.
Note: Ensure the door
is aligned horizontally
and vertically and that
the seals are closed
on all side before
nally tightening the
middle hinge.
6
Place the fridge door rst and
screw the top hinge on the
opposite side.
Note: Ensure the door is
aligned horizontally and
vertically and that the seals
are closed on all side before
nally tightening the top hinge.
7
M170SF09_IB_GB_FINAL_090806.indd5 5 06/08/09 3:41:11 PM
Table of contents