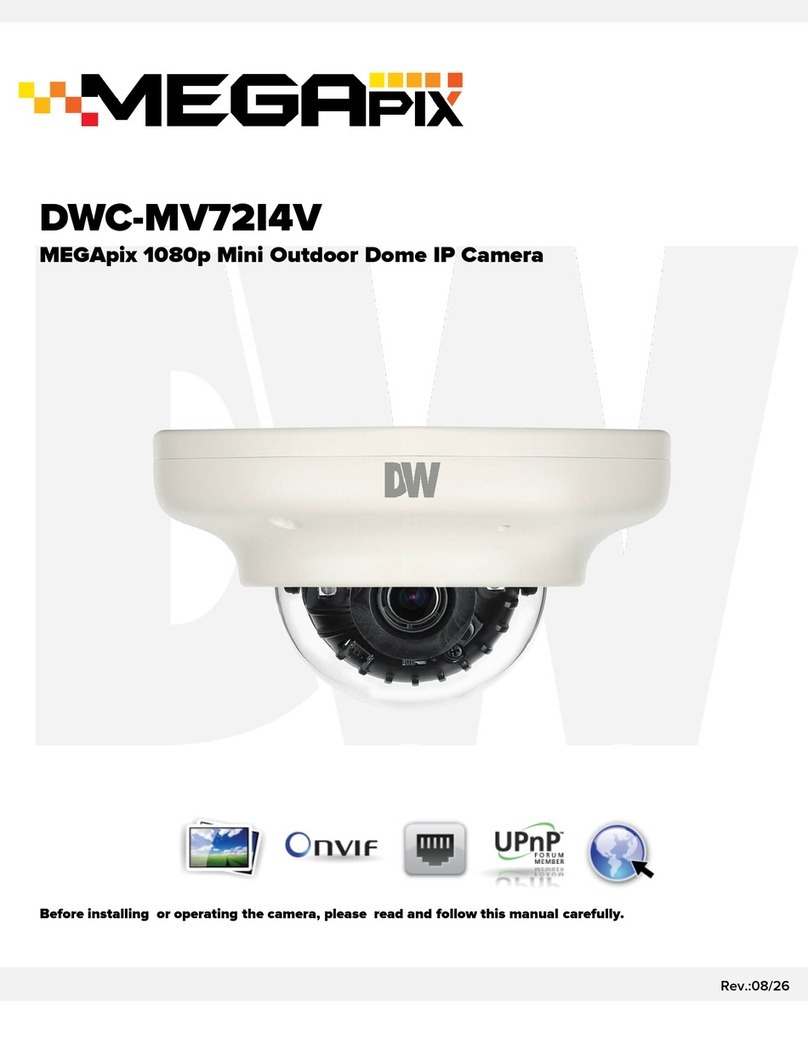
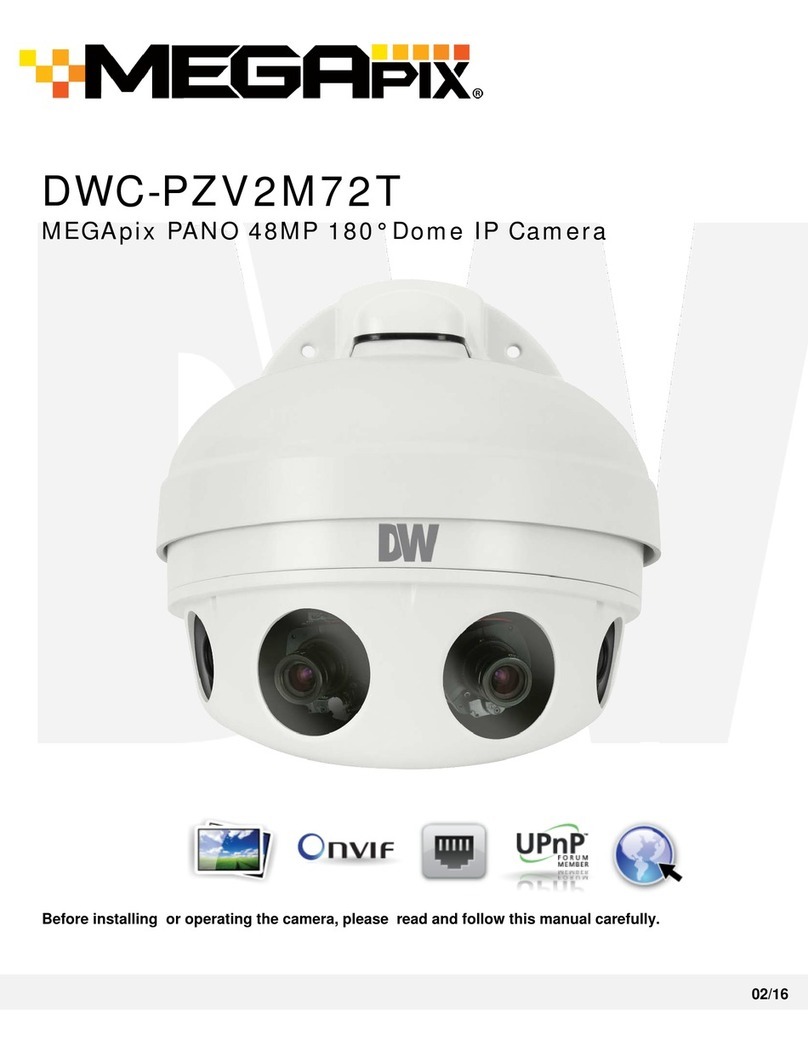
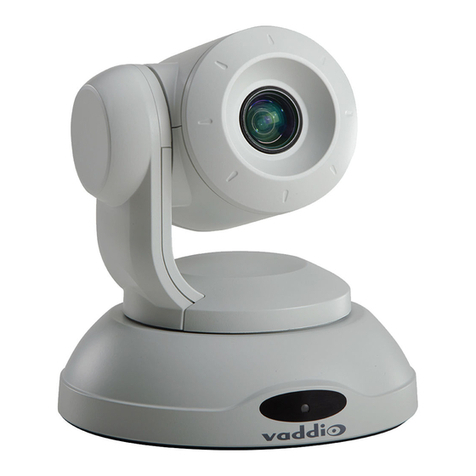
Megapix PANO DWC-PF5M1TIR User manual

Before installing or operating the camera, please read and follow this manual carefully.
04/16
operating the
camera please read and follow this manual carefully
DWC-PF5M1TIR
MEGApix PANO 5MP 180° and 360° Fisheye IP Camera

PRECAUTIONS
Do not open or modify.
Do not open the case except during maintenance and installation, for it may be dangerous and can cause
damages.
Do not put objects into the unit.
Keep metal objects and flammable substances from entering the camera. It can cause fire, short-circuits, or
other damages.
Be careful when handling the unit.
To prevent damages, do not drop the camera or subject it to shock or vibration.
Do not install near electric or magnetic fields.
Protect the camera from humidity and dust.
Protect the camera from high temperature.
Be careful when installing near the ceiling of a kitchen or a boiler room, as the temperature may rise to high
levels.
Cleaning: To remove dirt from the case, moisten a soft cloth with a soft detergent solution and wipe.
Mounting Surface: The material of the mounting surface must be strong enough to support the camera. Q
This equipment has been tested and found to comply with the limits for a Class B digital device, pursuant to Part 15 of
the FCC rules. These limits are designed to provide reasonable protection against harmful interference, when the
equipment is operated in a residential environment. This equipment generates, uses, and radiates radio frequency
energy, and if it is not installed and used in accordance with the instruction manual, it may cause harmful interference
to radio communications.
WARNING: Changes or modifications are not expressly approved by the manufacturer.
FCC COMPLIANCE
2

TABLE OF CONTENTS*
Introduction.......................................................................................................................................................................4
Features.......................................................................................................................................................................4
Parts & Description.......................................................................................................................................................5
Dimensions..................................................................................................................................................................6
Inside the Box .............................................................................................................................................................7
Network Connection ...................................................................................................................................................8
Installation...............................................................................................................................................................9-12
MEGApix® PANO™ Camera Setup...............................................................................................................................13
DW IP Finder™.....................................................................................................................................................13-15
Network Options.........................................................................................................................................................16
Camera Reboot..........................................................................................................................................................17
MEGApix® PANO™ Camera Web Viewer....................................................................................................................18
Web Viewer...........................................................................................................................................................18-21
MEGApix® PANO™ Camera Setup...............................................................................................................................22
Status.........................................................................................................................................................................22
Network.................................................................................................................................................................23-24
Video Source .............................................................................................................................................................25
Camera Setup.......................................................................................................................................................26-29
Motion Detection........................................................................................................................................................30
ROI Encoding.............................................................................................................................................................31
OSD...........................................................................................................................................................................32
Video Profile..........................................................................................................................................................33-34
Streaming Setting.................................................................................................................................................35-36
Local Storage........................................................................................................................................................37-39
Services > Date/ Time................................................................................................................................................40
Services > UPnP™....................................................................................................................................................41
Services > Bonjour.....................................................................................................................................................42
Services > SNMP.......................................................................................................................................................43
Services > Port..........................................................................................................................................................44
Services > Security....................................................................................................................................................45
Services >DDNS .......................................................................................................................................................46
Account......................................................................................................................................................................47
Maintenance > Firmware Update..............................................................................................................................48
Maintenance > Factory Default.................................................................................................................................49
Maintenance > Report................................................................................................................................................50
Maintenance > Open Source Info..............................................................................................................................51
Maintenance > Reboot & Logout...............................................................................................................................51
Specifications ................................................................................................................................................................52
Troubleshooting .......................................................................................................................................................53-57
Warranty..........................................................................................................................................................................58
Limits & Exclusions........................................................................................................................................................59
3

1/1.8" Sony® IMX178 sensor (ExmorR, STARVIS)
5MP 360° Hemispheric Fisheye Camera
Support 360° Hemispheric Fisheye view and 180° Panoramic view
Multi Codecs (H.264, MJPEG, H.265) with Simultaneous Dual-Stream
1.55mm Fisheye Lens
Edge-to-Edge Image Clarity
Smart IR™ with Intelligent Camera Sync. 32ft Range
True Wide Dynamic Range (WDR)
ONVIF Conformant, Profile S
Smart DNR™ 3D Digital Noise Reduction
True Day/Night with Mechanical IR Cut Filter
Web Server Built-in
Auto Gain Control (AGC)
Auto White Balance (AWB)
Motion Detection
Micro SD/SDHC Class 10 Card Slot [card not included]
PoE and DC12V
5 Year Warranty
FEATURES*
4

PARTS & DESCRIPTIONS*
5

DIMENSIONS (MM)*
6
43.8
(1.72”)

INCLUDED IN THE BOX*
7

NETWORK CONNECTION*
8
There are two way to power a MEGApix®PANO™
camera.
Use a PoE switch to connect data and power through a single cable and
begin viewing and recording images instantly. A non-PoE switch will
require an adaptor for power transmission.
1. Using a PoE+ Switch / PoE+ Injector
The MEGApix® PANO™ Camera is PoE-Compliant, allowing transmission of power and data
via a single Ethernet cable. PoE eliminates the need for the different cables used to power,
record, or control the camera. Follow the illustration below to connect the camera to a PoE-
enabled switch using an Ethernet cable. Please note that the camera requires a Class 3 PoE
Switch.
2. Using 12VDC
If a PoE switch is not available, use a power adaptor for power transmission and a non-PoE
switch for data transmission. Follow the illustrations below to connect the camera without a PoE
Injector.

1. Detach the camera’s cover dome from the
camera’s module by unscrewing the three cover
dome screws using the L-Wrench.
2. Use the camera or mounting template to mark and
drill the necessary holes in the wall or ceiling.
3. Pull wires through and make connections.
4. Using two (2) included screws, mount and secure
the camera to the mounting surface.
5. Secure the camera’s cover dome onto the camera
base to complete the installation. See page 11 for
assembly note.
INSTALLATION*
9
E
Ea s y C a m e r a I n s t a l l a t i o n
r
a
nd
r
e
e
r
a
f
or

1. Detach the camera’s cover dome from the camera’s
module by unscrewing the three cover dome screws.
2. Using the metal mount plate, mark and drill the
necessary holes in the wall or ceiling.
3. Pull wires through and make connections.
4. Using the three (3) included screws, mount and secure
the camera to the wall or ceiling.
5. Attach the camera base to the metal mount by
snapping it into place using the two metal handles.
6. Secure the camera’s cover dome onto the camera
base to complete the installation. See page 11 for
assembly note.
INSTALLATION USING MOUNT PLATE*
10
e
r
a
’
s
r
ews.
secure
e
s.
e
r
a
o
r

ASSEMBLING THE CAMERA*
1. Using the template sheet, make and drill the cabling holes
on the wall/ceiling.
2. Secure the two long mounting screws to the camera’s
base.
3. Pass the wires through the mount bracket and make all
necessary connections.
4. Mount the camera to the mounting surface by using the 2
mounting nuts. Rotate the locking discs over the screws
until the camera is held tightly from the mounting surface
5. Secure the camera’s cover dome onto the camera base to
complete the installation.
INSTALLATION USING MOUNT BOLT & NUT*
11
1. The camera includes a sensor at the
camera’s module. For the sensor to
function properly, the camera’s
dome includes a special hole for the
sensor.
2. When assembling the camera
together, please make sure the
sensor hole in the camera’s dome is
positioned right on top of the sensor
on the camera’s module.

1. Detach the camera’s cover dome from the camera’s module by unscrewing the cover
dome screws.
2. The SD Card slot is located next to the rest button.
3. Insert a Micro SD/SDHC Class 10 card according to the diagram.
4. To remove the SD card, press the card gently into the card slot to release it. The card will
pop out automatically.
INSTALLATION*
12
Installing the SD Card

Installing DW IP Finder™ Software
DW IP Finder™ searches for all available Digital Watchdog devices
currently connected to your network.
1. Install DW IP Finder to find the MEGApix® PANO™ camera on your local network. The
software can be found on the included User Manual CD. Run DW IP Finder and install onto
your PC.
2. When setup is complete, launch DW IP Finder.
3. The software will automatically search your network for all Digital Watchdog® supported
devices. Your camera will appear as ” DWC-PF5M1TIR.”
4. Double-click on the camera name and select ‘View Camera Website’ to launch the camera’
web viewer.
*Install the DW IP Finder to a computer located on the same Subnet Mask as the MEGApix®
PANO™ camera.
13
DW IP Finder™ *

Using DW IP Finder™ Software
Use DW IP Finder™ to change the basic settings of your MEGApix®
camera or to connect to your MEGApix® camera.
14
DW IP Finder™ *

*If you change the camera’s IP, write down the camera’s MAC Address for identification in the future.
15
Using DW IP Finder™ Software
Use IP Finder to set the connection type and the IP address information
for your MEGApix® PANO™ camera.
1. DHCP: Select DHCP to access the camera within the same internal network. For further
explanation on DHCP, please see page 16.
2. Static IP: Select Static to connect to the camera from an external network. For further
explanation on Static, please see page 16.
DW IP Finder™ *

DHCP
The Dynamic Host Configuration Protocol (DHCP) is a network configuration protocol that allows a
device to configure automatically according to the network it is connected to.
If your network supports DHCP and your MEGApix® PANO™ camera is set to DHCP, IP Finder
will automatically find and set your MEGApix® PANO™ camera to correspond with your network
requirements.
Static
Static IP addresses are recommended when using a network that does not support DHCP or when
setting your device to be accessed externally via the internet. If Static is selected, you must
manually enter the correct network settings for your MEGApix® PANO™ camera. The settings will
correspond with your network. To set your camera to a static IP address, we recommend that you
(1) setup the camera to DHCP, (2) allow it to configure itself according to your network, and (3)
change the settings to a static IP address.
1. To set your MEGApix® PANO™ camera to Static, highlight the desired device from the
search results list, and click on Configuration. In the “Network Configuration” window, make
sure Static is selected.
2. Enter the following information: IP Address,Netmask,Gateway, and Preferred DNS.
3. Click Apply and Reboot to save all changes.
16
DW IP Finder™ *

Resetting the Camera
Pressing the reset button on the camera’s back for five (5) seconds will
initialize all environmental variables to factory default. Previous setup
for IP default, time, etc. will be deleted. If a system’s IP address is
lost, reset the camera back to factory default.
The following are the default network settings for a network with no DHCP option. In a network with
DHCP, the camera’s IP address, subnet mask and gateway will be set automatically to match the
network’s settings.
CAMERA REBOOT*
IP Mode 192.168.1.2
Subnet Mask 255.255.255.0
Gateway 192.168.1.1
HTTP Port 80
* Frequent use may cause system error.
17

Remote Video Monitoring Via Web Browser
Login options.
1. Administrator connection (on the initial page)
a. [ ID ] admin (Unchangeable)
b. [ Password ] admin (the default password can be changed in the web setting page)
c. Type the ID and password and click the button “Login’, the web monitoring page
shows up.
d. You can also type the ID and password and click “Login” after checking the box
“Setting”’ to go directly to the camera’s settings page.
2. Guest connection (on the initial page)
a. [ Guest Login ] click the text “Guest Login” below the button “Login” without an ID and
a password.
b. Under the guest connection, only restrictive functions will be available. Settings page
cannot be accessed as a guest.
18

Remote Video Monitoring Via Web Browser
Monitor and configure the MEGApix® PANO™ camera through a built-in
web viewer.
1. Type the camera’s IP address in a web browser. Enter Username and Password.
Default: Username: admin | Password: admin
2. The web browser may ask to install ActiveX to view video from the camera. Once it has been
installed, Internet Explorer will display video images from the camera.
3. Internet Explorer version 8.0 or higher are recommended.
4. The Web Client is also available in Google Chrome, Safari and Firefox web viewers. Please
note that features may be limited.
WEBVIEWER*
19

20
GUI Description
Monitor and configure the MEGApix® camera through a built-in web
viewer.
WEBVIEWER*
* Not supported on the DWC-PF5M1TIR
Table of contents
Other Megapix IP Camera manuals
Popular IP Camera manuals by other brands
Planet Networking & Communication
Planet Networking & Communication ICA-HM227W user manual
Grandstream Networks
Grandstream Networks GVC3212 Quick installation guide
Phylink
Phylink PLC-325PW Bullet HD Quick install guide
Bosch
Bosch NWC-0455-20P operating instructions
EtroVISION
EtroVISION EV6250A Series Assembly guide

Climax
Climax VST-1818 installation manual
