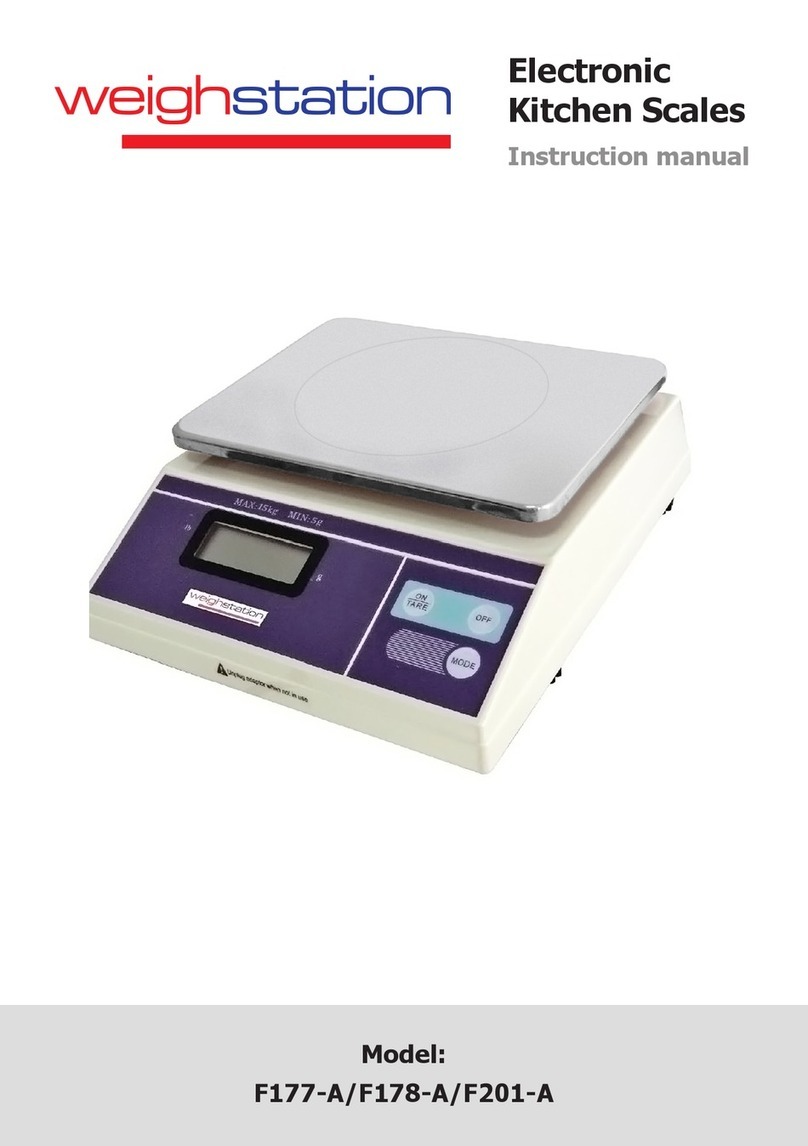
Meltrons MC User manual

MC
Piece Counting
Scale
User Manual


MC Piece Counting Scale –User Manual
- 2 -
Contents
1.
P
r
e
c
a
u
t
i
o
n
s
………………………………………………………………………
3
2.
I
n
s
t
a
ll
a
t
i
o
n
………………………………………………………………………
..
4
3. Name and
f
un
c
t
i
o
n
s
……………………………………………………………
.
6
Key
b
o
a
r
d
………………………………………………………………………
...
6
D
i
s
p
l
a
y
……………………………………………………………………………8
4. O
p
e
r
a
t
i
o
n
………………………………………………………………………
...
9
Power ON
/
O
FF
……………………………………………………………….9
Z
e
r
o
………………………………………………………………………………
.
9
T
a
r
e
………………………………………………………………………………
.
9
5.
P
a
r
t
s
C
o
un
t
i
ng
. ………………………………………………………………..10
Setting uni
t
w
e
i
gh
t
………………………………………………………………10
E
n
t
e
r
i
ng
a
known unit
we
i
gh
t
…………………………………………………
..
10
P
a
r
t
s
c
o
un
t
i
ng
……………………………………………………………………10
A
u
t
o
m
a
t
i
c
part
w
e
i
gh
t
upd
a
t
es
………………………………………………
...
10
S
e
tt
ing
high
/
low limits
……………………………………………………………11
C
h
e
c
k
i
ng
A
l
a
r
m
………………………………………………………………
..1
1
Acc
umu
l
a
t
i
o
n
…………………………………………………………………
...1
1
A
u
t
o
m
a
t
i
c
Acc
umu
l
a
t
e
d
T
o
t
a
l
s
………………………………………………
.1
1
A
u
t
o
Off
……………………………………………………………………….1
1
D
i
s
p
l
a
y
back
li
gh
t
……………………………………………………………
..
1
1
6.
P
a
r
a
m
e
t
e
r
………………………………………………………………………
1
2
Parameter block………………………………………………………………..12
S
e
tt
i
ng
p
a
r
a
m
e
t
e
r
s
……………………………………………………………12
7. RS232
P
r
o
t
o
c
o
l
………………………………………………………………
...18
S
p
e
c
i
f
i
c
a
t
i
o
n
……………………………………………………………………
18
C
o
nn
e
c
t
o
r
………………………………………………………………………
18
Commands……………………………………………………………………..18
C
o
mmun
i
c
a
t
i
o
n
………………………………………………………………
...18
8.
E
rr
o
r
codes……………………………………………………………………..2
1
9.
D
r
a
w
i
ng
…………………………………………………………………………22
P
a
r
t
s
li
s
t
…………………………………………………………………………23
10.
D
i
m
e
n
s
i
o
n
………………………………………………………………………24
11.
S
p
e
c
i
f
i
c
a
t
i
o
n
s
…………………………………………………………………
..
24
Load
cell
s
p
e
c
i
f
i
c
a
t
i
o
n
s
………………………………………………………
..
25

MC Piece Counting Scale –User Manual
- 3 -
1. Precautions
Read this manual before operating or servicing this equipment.
Follow these instructions carefully.
Disconnect this equipment from the power source before cleaning of
performing maintenance.
Keep the manual for your future reference.
Avoid extremes of temperature. Do not place in direct sunlight or near air
conditioning vents.
Avoid unsuitable tables. The tables or floor must be rigid and not vibrate. Do
not place near vibrating machinery.
Avoid unstable power sources. Do not use near large users of electricity such
as welding equipment or large motors.
Avoid high humidity that might cause condensation. Avoid direct contact with
water. Do not spray or immerse the scales in water.
Avoid air movement such as from fans or opening doors. Do not place near
open windows.
Do not stack material on the scales when they are not in use.
Keep the scales clean.

MC Piece Counting Scale –User Manual
- 4 -
2. Installation
Unpacking
Carefully take the balance out of its package, make it sure it’s not damaged and all
accessories are included.
Accessories,
1. Balance
2. Adaptor
3. Stainless steel pan
4. Product manual
Keep the packaging material for your future use.
Parts Description
Pan
Display
Key board
Water mark bubble
On / Off Switch
Adaptor Jack
Adjusting feet
Installation
Place the scale on a table.
Carefully place the pan to the four holes on the top cover
Adjust the water mark bubble level.
Connect the adaptor pin to the adaptor jack.
Adaptor jack is locating below the right side of the scale.
Adaptor connects into your AC power socket. Pluggable
equipment must be installed near an easily accessible socket outlet with a
protective ground/ earth contact.

MC Piece Counting Scale –User Manual
- 5 -
Turn on the power switch. On /
Off switch is locating below the right side of the scale. Press switch forward to
turn on the scale. If you want to turn off, press backward the switch.
Display will be show the scale capacity and will be starting self-checking.
After self-checking, display will be come to normal weighing mode.
Then you can start your operation.
Note: Initial Start Up.
Warm-up time of 15 minutes stabilizes the measured values after switching on.
Level Adjusting
Place the scale on a table.
Check the water mark. If, bubble is not center adjust the leveling feet until reach
center. Check the level when you change the location.
Connect Adaptor
To charge the battery insert the adaptor pin to jack. Adaptor
simply plug into the mains power. The scale no needs to be
turned on.
The battery should be charged for 12 hours for full capacity.
Right side of the display there is an LED to indicate the
status of battery charging. When the scale is plugged into
the mains power the internal battery will be recharged. If
the LED is green, the battery has a full charge. If it is red,
the battery is nearly discharged and if yellow, the battery is being charged.
Do not use any other type of power adaptor than the one supplied with the
scale.
Verify that the AC power socket outlet is properly protected.
Note: Please charge the battery before using the scale for the first time.

MC Piece Counting Scale –User Manual
- 6 -
3. NAMES AND FUNCTIONS
Overall View
Key Board

MC Piece Counting Scale –User Manual
- 7 -
Keys
Press this key to
Enter individual unit weights and the present tare
Clear incorrect entries and error conditions
Returns the display to zero.
Enter the clear tare weights, Storing the current weight as
tare value. Subtracting the tare value from the total weight
and displays the result as net weight.
Add the current count data aggregated. Also evokes the
memory if pressed to balance empty. Can add up to 99
values, or until it reaches the maximum displayable digits.
Recall the accumulator memory.
Enter the numbers of items, used for the unit weight.
Manually enter the weight of sample, also changes the
unit if they are enabled.
To set the upper limit of the number of items counted.
Used to print the results to PC or printer

MC Piece Counting Scale –User Manual
- 8 -
Display
LCD
Overlay
BATT : Battery indicator. When
it’s
illuminated, battery should be recharge.
Net : Net weight indicator. When the scale has been tared and the display is in
NET mode
Stable :
S
t
a
b
le
indicator.
When
it’s illuminated, the scale
is
stable.
Zero :
Zero indicator. When
it’s illuminated, the scale
is in Zero point Sample :
Sample indicator. If the scale that considers the number of samples
is insufficient for an accurate count.
U. Wt : Unit weight Indicator. If the Unit Weight is not sufficient for an
Accurate count it will illuminate.
LED : Battery charging status, when the scale is plugged into the mains
power the internal battery will be recharged. If the LED is green,
the battery has a full charge. If it is red, the battery is nearly
discharged and if yellow, the battery is being charged.

MC Piece Counting Scale –User Manual
- 9 -
4. OPERATION
Initial Start-Up
Warm-up time of 15 minutes stabilizes the measured values after switching on.
1. Power ON/OFF
Power switch is located below the right side of the scale. Switch on the scale
by pressing on/off. The display is switched on and the self-test is started. If you
want to switch off press again the key.
2. Zero
Environmental conditions can lead to the balance exactly zero in spite
of the pan not taking any strain. However, you can set the display of
your balance to zero any time by pressing zero key and therefore
ensure that the weighing starts at zero.
3. Tare
The weight of any container can be tared by pressing tare button so that with
subsequent weighing the net weight of the object being weighed is always
displayed.
Load weight on the pan.
Press tare key. Zero is displayed, and tare is subtracted.
Remove weight from the platform. Tared weight is displayed. It can set only
one tare value. It can display with a minus value.
Press tare key. Zero is displayed, tare weight is cleared.

MC Piece Counting Scale –User Manual
- 10 -
5. PARTS COUNTING
1. Setting Unit Weight
For this function you need to know the average weight of objects to count.
This value can be obtained by weighing a known number of pieces so that
the balance calculation, the average unit weight or manually entered
through the keyword.
Both scales can be used to calculate the unit weight or the manual input
that can be used to count on both scales. It can increase the precision of
the unit weight at any time during the process of counting by the count
displayed and pressing Smpl. Make sure that the amount shown is the
amount on the scale before pressing the button.
The weighing may be amended on the basis of greater numbers of
samples improves the accuracy of counting large quantities.
2. Entering a Known Unit Weight.
If the unit weight is known can be entered from the keyboard.
Enter the value of unit weight using the numeric keys then press U.Wt.
While the display flashes. If nothing is done within seconds, the display
"UNIT WEIGHT" back to the previous value, otherwise it shows the new
value entered.
The sample is then stored in the balance and the net weight is
displayed together with the calculated amount based on the weight
per unit.
3. Parts Counting.
Weigh a sample to calculate the unit weight to determine the average weight of
items to count, put a known number of pieces on the scale and insert their
content. The balance of the total weight divided by the number of samples and
displays the unit weight.
Zero the scale by pressing the zero if necessary. If you use a container,
put it on the scale and the tare weight gain by following the steps above.
Place a known amount of pieces on the scale. When the viewer "Weight" is
stable enter the quantity of pieces using the numeric keys and press the
Smpl.
The number of units is shown by the viewer "Count" and the average
weight shown is calculated from the viewer "Unit Weight".
Adding pieces on the scale, increase the weight and count.
If the scale is not stable, the calculation is completed.
If the weight is less than zero, the viewer "Count" shows a negative count.
4. Automatic Part Weight Updates
After entering into parts counting, the display shows number of parts corresponding
to previous reference weight. So that continuity will be maintained with previous
parts counting this was interrupted due to power failure.

MC Piece Counting Scale –User Manual
- 11 -
5. Setting High / Low limits.
Pressing Pst the user can select count or weigh and set limits. For example: Press
Pst will display "Hi Cnt" pass counting by weighing Press Tare
“Hi cnt”
“1.999”
appears at the upper limit current count, press the CE to cancel and change if
necessary. Press Tare “Lo
cnt” “0.999”
appears lower limit of the current count, press
the CE to cancel and change if necessary. Back to Press Tare weighing limits. i.e.,
possible to delete one or both of the limits. The cancellation of both the limits also
disables the function.
If weight control
is
selected on the first display shows “Hi
n
e
t”
and
“Lo
Ne
t”
.
5.1 Checking Alarm
Press and hold CE
will display “Check net” (for weight checking), “Check
PCS” (
f
o
r
Count
C
hecking) and “Check off”(for not
use) .
6. Accumulation
The values ( weight and counting) displayed may be added to the values
aggregated by pressing the M +. The "weight" display will show the total
weight, the display "Count" will show the total counts aggregated and the
display "Unit Weight" shows the number of times Articles are saved in
memory. These values will appear for 2 seconds.
The balance must return to zero or a negative value before another sample
can be stored.
Other products may be added by pressing the M + key. It may take up to 99
entries or up to the capacity of the display "Weight".
To view the total value stored, press the MR when the balance is zero. The
total will be displayed for 2 seconds,
To free memory, press MR to call the stored value then press the CE to clear
all values.
7. Automatic Accumulated Totals
After entering into accumulation (by pressing M+), it will store values into memory.
The “weight” display will shows total weight and number of a
cc
umu
l
a
tio
n
.
8. Auto Off
The scale can set Automatic power off. The function makes power down
when a scale is not operated by user to save battery power. It can set
different time options. For settings see the parameter.
9. Display-Back light
The scale has the option of back light. It can help to see white background and more
bright.

MC Piece Counting Scale –User Manual
- 12 -
6. PARAMETER
PARAMETER BLOCK
STEP DESCRIPTION DEFAULT
FI CAL Calibration
F2 dI Set Division d 3000
F3 Cnt A/D Count
F4 AU Auto Accumulation AU oFF
F5 AZn Auto Zero Range 2 d
F6 Pin Set New Pin No 0000
F7 SPdSensing SpeedSPd 7.5
F8 OFF Auto Power oF 0
F9 Grv Local Gravity 9.79400
F10 bEP Beep option Low
FI1 rSt Reset

MC Piece Counting Scale –User Manual
- 13 -
SETTING PARAMETERS
Switch on the scale.
Press during that start up time.
Display will show
„Pin‟
briefly if PIN is activated. Press the PIN number to get into the
parameter menu.
The default PIN number is “0000”.
Press
the
“0”
key four
t
im
e
s.
The display will show
“Pin - - - - “, then press the Tare
key.
This function can be accessed by using the . The weight display will show the
name of the function, to enter the function by pressing the key. At any time you
can return to weighing b pressing the .
F1 CALIBRATION
1. Linear Calibration.
Enter the parameter menu using by password 9999.
FI CAL UnLoAd
Load 1
Place the first weight
Load 2
Press Add the second weight
Load 3
Press Add the third weight
Pass
Remove all weights.
Remove the weights; The Linear Calibration procedure is finished.
When the calibration is finished, the display will enter into weighing mode.
Calibration Weights for linear Calibration.
MC SERIES
Model #
MC 3000
MC 6000
MC 15K
MC 30K
Weight 1
1000g
2kg
5kg
10kg
Weight 2
2000g
4kg
10kg
20kg
Weight 3
3000g
6kg
15kg
30kg

MC Piece Counting Scale –User Manual
- 14 -
2. Normal Calibration (Recommended)
Enter the parameter menu using by password. (Default password
“0
000
”
)
When the parameter menu show F1 CAL
FI CAL Set Weight
Load W/t
Remove W/t
F2 SET DIVISION
Set the scale increment
F2 di d 3000
d 6000
d 15000
Press to select.
d 30000
F3 A/D COUNT
Showing internal counts
F3 Cnt XXXXX
Return to menu.
Pass
UnLoad

MC Piece Counting Scale –User Manual
- 15 -
F4 AU ACCUMULATION
Set the Accumulation
Accumulate Manually
Automatic Accumulation
Manually send data to RS 232
Press to select.
F5 AZn AUTO ZERO RANGE
Set the Auto Zero Range.
F5 AZn 0.5d
1d
2d
4d
Press to select.
F4 AU
AU oFF
AU on
P ASk
P Cont

MC Piece Counting Scale –User Manual
- 16 -
F6 Pin PASSWORD
Set the new password (pin number).
F6 Pin Pin 1
Enter the new four digit pin number ----
Press
F7 SPd SENSING SPEED
Set the weighing speed
F7 SPd SPd 7.5
SPd 15
SPd 30
Press to select.
SPd 60
Pin 2
Re-enter the new four digit pin
number
Press

MC Piece Counting Scale –User Manual
- 17 -
F8 oFF AUTO POWER
Set the Automatic power off
oF 0
When display is stable and not in use,
Auto off within three minutes
Auto off within five minutes
Auto off within 15 minutes
Auto off within 30 minutes
Press to select.
F9 Grv GRAVITY
Set the local gravity.
F9 Grv 9.79400
Enter the local gravity by using numeric keys.
Press to select.
F8 oFF
No Off
oF 3
oF 5
oF 15
oF 30

MC Piece Counting Scale –User Manual
- 16 -
F10 bEP B E E P
Set the beep sound
F10 bEP ok
Lov
nG
HiGH
Press to select.
F11 rSt RESET
Reset the company default settings
F11 rSt SUrE?.
Press to conform.
When the value is in the limit
When the value is lower
than the low limit
When the value is in the
out of the limit range
When the value is higher than
the limit range.
Table of contents

