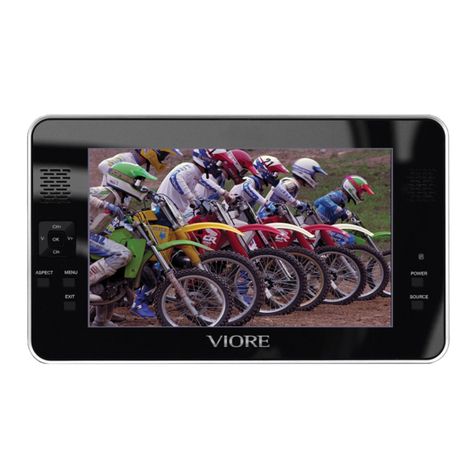
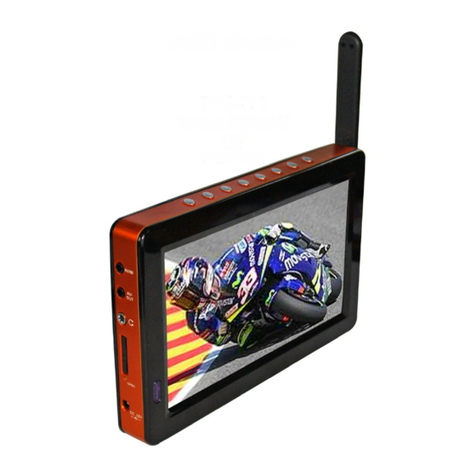
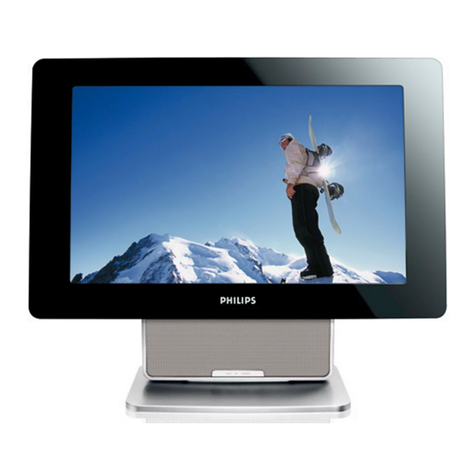
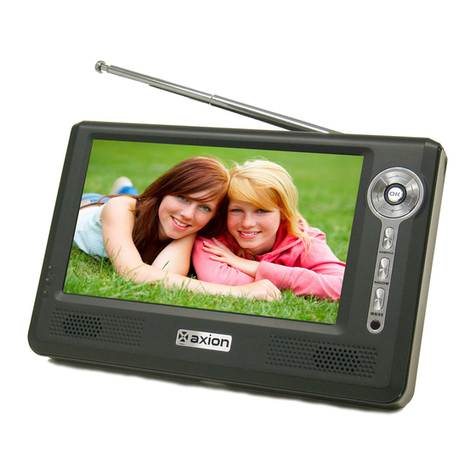
Meos dvd121b User manual

12.1” portable tv/dvd player dvd121b
Instruction manual
PLEASE READ CAREFULLY BEFORE USE


1
Table of Contents
1. INTRODUCTION.............................................................5
How to Use this Manual ......................................................................5
Controls and Connectors....................................................................6
Remote Controller..................................................................................................7
Power and battery-charging ...............................................................7
Connecting a TV aerial........................................................................8
Connecting to a TV..............................................................................9
Reading a USB Device or Memory Card ..........................................9
Connecting AV Equipment ...............................................................10
Using your Player as a PC Monitor..................................................11
2. PLAYING DVD/CDs......................................................12
Inserting a Disc ...................................................................................12
Playing Audio CDs..............................................................................13
Basic Operation ..................................................................................13
Setting Parental Controls .................................................................14
3. RECEIVING ANALOG TV.............................................15
Select Analog TV Mode.....................................................................15
Search for Channels ...........................................................................15
4. RECEIVING DIGITAL TV (FREEVIEW)........................16
Getting Started...................................................................................16
Initial Setup .........................................................................................16
Setting up Digital TV at Other Times.............................................18

2
Viewing Digital TV .............................................................................19
Changing Channels.............................................................................19
Using the EPG.....................................................................................20
Recording Digital TV .........................................................................21
Direct Recording....................................................................................................21
Recording from the EPG......................................................................................21
Manually Scheduling a Recording........................................................................22
Replaying Recorded Programs .........................................................24
Using the Hot Key .................................................................................................24
From the Digital TV Menu...................................................................................24
Deleting Recordings...........................................................................24
5. PLAYING GAMES.........................................................25
NES Games .........................................................................................25
Onboard Games .................................................................................26
6. PHOTOS, MUSIC AND VIDEO.....................................27
Viewing Media.....................................................................................27
Viewing Photos ...................................................................................28
7. CHANGING SETTINGS................................................29
Adjusting the player’s picture...........................................................29
Changing the DVD Setup..................................................................30
System Setup ...........................................................................................................30
Language Setup........................................................................................................30
Audio Setup .............................................................................................................31
Video Setup..............................................................................................................31
Speaker Setup..........................................................................................................31
Digital Setup.............................................................................................................31
Changing the DVB-T Setup ..............................................................32
Channel Manager....................................................................................................32
Installation................................................................................................................33

3
Configuration...........................................................................................................34
Using Parental Control.........................................................................................37
8. IN-VEHICLE USE..........................................................38
Fitting the Headrest Bracket............................................................38
Mounting the Player...........................................................................38
Releasing the Player...........................................................................38
9. TROUBLESHOOTING..................................................39
TV .........................................................................................................39
DVD......................................................................................................40
General.................................................................................................40
10. SPECIFICATION...........................................................42
Features ...............................................................................................42
Technical Details ................................................................................43
Accessories..........................................................................................44

4

5
1. INTRODUCTION
Thank you for buying the Meos 12.1” Portable TV/DVD Player.
The 12.1” Portable TV/DVD Player supportsboth digital DVB-T (Freeview) and
analog TV formats. It is a DVD and CD Player, a digital photo viewer, it can play
and rip CDs, offers AV input and output, reads USB devices and SD memory
cards.
How to Use this Manual
This section shows you where you can find the information you need to use your
Meos 12.1” Portable TV/DVD Player:
Function Task Page
Playing a DVD Controlling playback
Setting parental controls
Changing settings
13
14
30
Playing a Music CD Controlling playback 13
Watching Digital TV
(Freeview)
Connecting the antenna
Tuning the player to digital channels
Setting parental controls
Changing setting
8
37
30
Watching
Analog TV
Connecting the antenna
Tuning the player to analog channels
8
15
Playing Games Playing the games on the CD
Playing the onboard games
25
26
Using the player as a
PC Monitor
Connecting the player to your PC
Setting up the player’s display
11
29
Using the player to
view photos
Where to fit an SD or MMC memory card.
Playing a photo slideshow
6
27
Viewing media on a
camera, camcorder,
or other digital device
How to connect an AV device 10

6
Controls and Connectors

7
Remote Controller
Many of the buttons support different functions in the player’s DVD and DVB-T
modes. Blue text indicates general functions (shown here), black text relates to a
button’s function in DVD mode (see page 13) and green text describes the
buttons function in DVB-T mode (see page 19).
Setup Menu
Enter/OK
Direction keys
Mode
Main Menu
Numeric keypad
Volume -
Volume +
Infrared transmitter
Mute
Play/Pause
On/Off
Stop/Return
Power and battery-charging
The player is a cable-free device. It can operate independently using power from
its internal high energy rechargeable Lithium Ion battery. Before you start to use
your new Player ‘cable-free’, we recommend that you fully charge the battery.
Simply connect the player to the mains supply using the supplied cable. If the
player is switched on and in use,it will take longer for the battery to become fully
recharged than if it is switched off.
As the battery becomes exhausted, the screen may flash or darken although the
sound output may continue as normal. This is a symptom of the low battery state
–it takes more power to operate the screen –and not that there is anything
wrong with the player.

8
Connecting a TV aerial
Whether you intend to view analog or digital (Freeview) TV, you will need to
connect your player to a good quality and compatible antenna or aerial. Use a
connection to an external, roof-top, aerial if possible. You may be able to get
good reception using an indoor aerial but this will depend on the transmission
strength in your area and the positioning of the aerial.
Connect the aerial or TV cable to the Antenna socket on the left side of the
player:
To set up the player to receive digital TV, see page 16.
To set up the player to receive analog TV, see page 15.

9
Connecting to a TV
You can connect the player to your TV set to view DVDs, play games or view
photos on a bigger screen.
Reading a USB Device or Memory Card
When you are using the player as a digital TV, you can record programmes to the
USB device or memory card and view them at a future time. In addition, you can
play music files, view photos or videos stored on a USB device or memory card.
To insert a USB device or memory card (SD or MMC):
1. Insert the storage device: put a USB device into the USB port, insert a
memory card into the card slot (see page 6).
In DVB-T mode, the player preferentially saves data to amemory card; if you
want to record data to a USB device make sure that the memory card slot is
vacant. Don’t insert or remove a storage device when the player is recording a
programme.
2. If you want to view files on the storage device, change the player’s mode to
DVD (see page 12).
3. Press the MEDIA button and change the source to USB or CARD. The player
displays its media viewer (see page 27).

10
Connecting AV Equipment
Connect the cable from your device to the AV port on the right side of the unit.
To view the output from the connected AV device, press the MODE button on
the remote controller or the player. Use the arrow keys to highlight AV and then
press the ENTER?OK button.
If the player displays a black &white picture, you probably need to change the
colour system. Press the SET key: the PICTURE menu is displayed (you can use
this to change the brightness, contrast, hue and saturation). Press the right arrow
key to display the CHANNEL menu. Choose "COLOR-SYS"). There are four
options: "AUTO", "PAL", "NTSC" or "SECAM". Select the colour scheme used by
the AV device or cycle through the options until the picture appears correctly.

11
Using your Player as a PC Monitor
You can use the Player to view any compatible VGA output from, for example, a
PC or another DVD Player. The unit only supports VGA signals with a refresh
rate of 60Hz and a screen resolution of 800 X 600 (or less).
1. Connect the VGA cable to your PC.
2. Press the MODE button on either the remote controller or the player
console.
3. Use the arrow keys to highlight “PC VGA”and then press ENTER/OK.
4. The player should display the image correctly on the screen. If you want to
manually adjust the display, press the SET button. The PC Menu is displayed.
5. The PC menu allows you to manually adjust:
Contrast
Brightness
H-Position
V-Position
Clock
Phase
Color
(temperature, RGB balance)
Auto Adjust

12
2. PLAYING DVD/CDs
This section describes how you can use your player to view DVDs or listen to
audio CDs. If you have a data disc, and want to play audio files, or view photos or
videos, read the first section, Inserting a Disc, and then turn to page 27.
Inserting a Disc
6. Switch the player on.
7. If the player is not already in DVD mode, press the MODE button on the
remote controller or the player console; use the arrow keys to highlight
“DVD” and then press the ENTER button (or OK button on the console).
8. Insert the DVD or CD disc into the slot on the right side of the player. Push
it gently until the loading mechanism takes the disc.
Before you insert a disc, ensure that the player is switched on and in its DVD
mode and that there is not a disc already loaded.
9. To remove a disc, press the EJECT Key on the player console (see page 6).
If there is a problem with a disc, it will be ejected automatically.
Discs start playing automatically.

13
Playing Audio CDs
If the disc is a music CD, a small display across the top of the screen shows track
and time information.
Press the OSD button on the remote controller to change the time
information (time into track, time remaining in track, time into CD or time
remaining on CD) or hide the display.
If you want to repeat a track, or play the entire CD repeatedly, press the
REPT button (see below).
To play a specific track, enter its number using the remote controller.
Basic Operation
To stop, pause, rewind or forward the output you can use the keys on the front
of the player or use the remote controller.
Setup Menu
Enter/OK
Direction keys
Mode
Main Menu
Numeric keypad
Volume -
Volume +
Infrared transmitter
Mute
Play/Pause
On/Off
Stop/Return
DVD Menu
Slow play
OSD
Audio
Title
Zoom
Repeat
Media (Disc/Card/USB)
Angle
Subtitle Menu Goto
Rewind
Fast Forward
Next
Previous
You can also use the controls on the player console (see page 6).

14
Setting Parental Controls
The player allows you to set a rating to define the type of DVDs that can be
viewed. The MPAA (Motion Picture of America) ratings correspond closely with
other international rating systems:
KID SAFE Suitable for all children -especially preschool children.
GGeneral audiences.
PG Parental guidance suggested (some material may not be suitable
for children).
PG13 Parents strongly cautioned (some material may not be suitable for
children under 13).
PG-R
RRestricted; children under 17 require accompanying parent or
guardian.
NC-17 Not suitable for children under the age of 17.
ADULT Adult only content.
For example, if you set the rating at PG, the player will only show DVDs with a U
or Uc certificate.
To set parental controls:
1. Press the Setup button on either the remote controller or on the player
itself. The System Setup menu is displayed.
2. Select the password option.
3. Enter the parental PIN code using the numeric keys on the remote
controller. You can now edit the Rating setting.
The default PIN is "0000". Change this as soon as possible –see page 30. This is
a different PIN to that used to apply Parental Controls in DVB-T (see page 37)
4. Edit the Rating as required. The player will not play any DVDs that are
certified at a higher level.
You cannot change the rating without entering the PASSWORD –see above.

15
3. RECEIVING ANALOG TV
Have you connected an antenna? To receive analog TV transmissions, the player
must first be connected to a compatible antenna (see page 8).
Select Analog TV Mode
1. Switch the player on.
2. Change to the Analog TV mode. Press the MODE button on the remote
controller or the player console; use the arrow keys to highlight “TV” and
then press the ENTER button (or OK button on the console).
Search for Channels
1. Press the SET button. Then, use
the right arrow key to select the
Channel menu.
2. Press the down arrow key to
highlight AUTO SCAN and then
press the ENTER/OK button.
The player starts scanning for
TV channels. This may take
several minutes.
The player’s standard settings and automatic search option provide satisfactory
results in most cases. If you have any problems with the picture or sound, check
that the player is using the correct settings for the broadcasts in your country.
Make sure that the COLOR.SYS setting shows the signal encoding method
used in your country (for example, in the UK the encoding method is PAL).
Change the SOUND.SYS setting to the appropriate audio standard: "BG" or
"DK" or "I" or "L" or "MN".
To adjust the brightness and contrast of the picture see page 29.

16
4. RECEIVING DIGITAL TV (FREEVIEW)
This chapter describes the digital TV functions of the player:
How to set up the signal
How to view TV using the remote controller and the buttons on the player
How to record and playback programs
Getting Started
Have you connected an antenna? To receive digital TV transmissions, the player
must first be connected to a compatible antenna (see page 8).
The first time you enter the digital TV mode, the player automatically prompts
you to configure the signal (this is a short but important process -you need to
select the correct language and transmission area so that the player can
automatically search for digital TV channels).
You can also configure the player for Digital TV through the Setup menu (see
page 34).
Initial Setup
1. Switch on the player.
2. Change to the Digital TV mode. Press the MODE button on the remote
controller or the player console; use the arrow keys to highlight “DVB-T”
and then press the ENTER button (or OK button on the console).
3. If this is the first time you have accessed the DVB-T function or if you have
restored the factory defaults, the Init Install wizard is displayed.
Use the arrow keys to select screen options; press the Return button to go back to
a previous screen. Within the DVB-T Setup menus you can press the Info button
on the remote controller to see information about the current menu and its
options.

17
4. Select the OSD Language e.g.
English.
This is the language used to
display commands and options in
the DVB Setup menu.
5. Set your Country e.g. England.
If you select the wrong area, the
player will not be able to locate
any TV channels.
6. When you have finished choosing the settings, press the OK/Enter button.
7. Confirm that you want the player
to start searching for digital
channels. Highlight YES and press
the OK button.
8. The player now scans through the
transmission frequencies
searching for digital TV and radio
channels. The process can take a
few minutes; the player displays
its progress and lists all the
channels it has found.
9. When the wizard has completed the search it closes and the player displays
one of the TV channels.
To learn how to use the remote controller, see page 19.
To read about recording programs, see page 21.
To find out how to change settings (including the Country, Language and
other settings described here) and scan for channels again, see page 32.
To find out how to edit, sort and customize the channel list, see page 32
.

18
Setting up Digital TV at Other Times
You can set up the digital reception at any time from the DVB-T Setup menu.
1. Press the Setup button on either
the player’s console or on the
remote controller. The Main
Menu is displayed. Select the
Digital TV option and then press
the OK/Enter button.
2. The Digital TV menu is displayed.
Select the Installation option and
press the OK/Enter button.
If you need to change other settings
such as the Language or Country,
select the Configuration option.
See page 31 for details.
3. The Installation menu is displayed.
Select the Area Search option and
press the OK/Enter button.
4. The player now scans through the
transmission frequencies
searching for digital TV and radio
channels. The process can take a
few minutes; the player displays
its progress and lists all the
channels it has found.
Table of contents


