METALSUB TWINNINGSET Programming manual

®
Nederland
Manual
METALSUB - CABLE LIGHT KL1242 - LED2400/5100
Battery Tank PR1204 / PR1209 / PR1213
Battery Tank FX1204 / FX1209
Bedieningshandleiding
TWINNINGSET
www.metalsub.nl
Dive Lights / Quick Release Systems
®NLNL
DE
ENG
Assembling manual
Montageanleitung
Montagehandleiding


1
ENGLISH 3-8
DEUTSCH 9-14
NEDERLANDS 15-20

2

English
TABLE OF CONTENTS
IMPORTANT SAFETY PRECAUTIONS!
.
.
Important safety precautions! 3
Parts 4
Assembly instructions 6
Mounting the backpack holder on the backpack 6
Assembly of the twinning set on the bottles 7
Assembly twinning set to the backpack 8
Technical information 8
Warranty 22
A.
B.
C.
D.
E.
3
Carefully read the instructions for the assembly and use of the twinning
set.
Check your buoyancy again after assembling the twinning set. The extra
weight of the twinning set could mean that you have to adjust your leas
ballast.
Always check to make sure your packpack has been properly attached
to the diving set. Secure the pressure pin with the safety spring that has
been provided for this twinning set.
Regularly check whether all attachment points are securely fastened.
After use, clean all parts with fresh water.
ENGENG

PARTS
Figure 1. Parts
Table 2. Parts list
.
Use Figure 1, 2 and Table 1 to check whether all parts are complete.
4
Photo
nr.
Part name
Amount
of parts
Order number
1 Connection plate 1 008004
2
Backpack holder
1
008202
3 Twinning plate 2 009010
4
Synthetic spacer 8mm
2
009004
5 Synthetic spacer 17mm 2 009005
6
Flat rubber packing
2
009007
7 Locking pin 1 009011
8
Self-locking nut m8
2
009985
9 Lock 2 009021
10
Concave rubber packing
2
009008
11 Pre-assembled threaded end with twinning nut 2 009031
12
Twinning band (stainless steel)
1
009071-009108

Figure 2. Twinningset explode with order numbers
008202
5
009031 009071 - 009108
009010
008004
009004
009021
009985
009005
ENGENG

ASSEMBLY INSTRUCTIONS
Charging the battery pack (fig.3)
Figure 3.
.
1.
2.
1
Mount the backpack holder at the desired height, with the pressure pin
on top. Screw the self-locking nuts on the bolts sufficiently tight without
causing distortion of the backpack if this is made of synthetic material.
Depending on the thickness of your backpack, it may be necessary to
shorten the bolts but make sure you leave enough thread for the self-
locking nut!
Choose the right packing rubber. The twinning set is supplied with two
types of rubber packing that has to be inserted between the backpack
holder and the backpack. The round one is used if the back of your
backpack is concave, use the flat one if the back of your backpack is
flat.
6

Assembly of the twinning belt on the bottles (fig. 4,5,6)
Figure 4.
1.
2.
3.
4.
5.
6.
Figuur 3
B
AA
C
Slide the twinning band to the desired height over the cylinders with the m8 nut at the
rear. Make sure that the Metalsub logo is not upside down. if necessary, first remove
the base of the bottle or the bridge.
Fig. 4: Place the two twinning plates on the twinning band. The twinning band slips into
the recess of the twinning plate.
Fig. 4A: Place the synthetic spacer in the recess left for them in the twinning plate.
Fig. 4B: Slide both threaded ends through the spacers with the pre-mounted m8 nut
and the synthetic washer on the backpack side.
Fig. 4C: Tighten the twinning nuts as tightly as you can by hand onto the threaded ends
of the bolts.
Fig. 5-6: Now alternately screw the two twinning nuts and the m8 nut tight until you
reach a tightening force of 4-7Nm for the two twinning nuts and 6-8Nm for the m8 self-
locking nut on the twinning belt.
Important: While thightening the nuts, make sure that both bottles remain flat and
parallel so no unnecessary pressure is exerted on the bridge.
Figure 5.
Figure 6.
7
ENGENG
2

55
The backpack with the fitted backpack holder can be attached to the diving set
with the mounted twinning plate quickly, firmly and easily.
The twinning plate has two raised ridges that provide a precise fit with the
recesses in the backpack holder.
The top recess of the backpack holder has a safely lock that can be operated
in a simple manner by way of a springloaded pressure pin.
1. First fit the bottom ridge into the bottom recess.
2. Push the pressure pin in completely and push the top ridge into the top
recess.
3. Release the pin. It has a groove on it that once the pin has been released
has to be completely visible.
4. Push the safety spring over the groove in the pin.
- Material: All aluminium parts are anodised in accordance with American
Military Standard MIL-A-8625-E type 3 class 2. Also the coating is
impregnated with Teflon.
- Weight above water: approx. 2,2 kg.
- Weight under water: approx. 1,5 kg.
Figure 7. Figure 8.
TECHNICAL INFORMATION
Assembly twinning set to the backpack (Fig. 7,8)
.
8
53

Deutsch
INHOUDSOPGAVE
WICHTIGE SICHERHEITSMAßNAHMEN!
.
.
Wichtige Sicherheitsmaßnahmen! 9
Teile 10
Montageanleitung 12
Montage der Backpackhalterung am Backpack 12
Anschluss des Twinningbandes an die Flaschen 13
Anbau des Twinningsets am Backpack 14
Technische Daten 14
Garantie 22
A.
B.
C.
D.
E.
DE
Lesen Sie diese Anleitung gründlich durch, bevor Sie den Twinningset
montieren und benutzen.
Überprüfen Sie erneut das Schwimmvermögen nach der Montage des
Twinningsets.Das zusätzliche Gewicht des Twinningsets könnte eine
Anpassung der Bleiballast erforderlich machen.
Überprüfen Sie immer, ob der Backpack korrekt an den Tauchsatz
angeschlossen ist. Sichern Sie den Druckstift mit der dafür
vorgesehenen Federklemme.
Überprüfen Sie regelmäßig, ob alle Befestigungspunkte ausreichend fest
befestigt sind.
Reinigen Sie alle Teile nach dem Einsatz mit Süßwasser.
9

DIE TEILE
Abbildung 1. Die Teile
Tabelle 2. Ersatzteilliste
.
Überprüfen Sie an Hand von Abbildung 1, 2 und Tabelle 1, ob alle Teile
vorhanden sind.
Foto nr.
Name
Anzahl
der
Artikel
Bestellnumber
1 Blokplatte 1 008004
2
Backpack Halterung
1
008202
3 Twinning Platte 2 009010
4
Spacer 8mm
2
009004
5 Spacer 17mm 2 009005
6
Flaches Füllgummi
2
009007
7 Sicherungssystem 1 009011
8
Sicherungsmutter m8
2
009985
9 Verschlussring 2 009021
10
Rundes Füllgummi
2
009008
11 Vormontiertes Gewindeende mit Twinningsmutter 2 009031
12
Twinning band
1
009071-009108
10

Abbildung 2. Twinningset explode mit Bestellnummern
DE
11
008202
009031 009071 - 009108
009010
008004
009004
009021
009985
009005
008202
009031 009071 - 009108
009010
008004
009004
009021
009985
009005

MONTAGEANLEITUNG
Montage der Backpackhalterung am Backpack (Abb.3)
Abbildung 3.
.
1.
2.
1
Montieren Sie die Backpackhalterung in der gewünschten Höhe mit
dem Druckstift ander Vorderseite (Abb. 2). Drehen Sie die
selbstsichernde Muttern ausreichend fest auf die Bolzen, ohne dass
der Backpack, falls er aus Kunststoff sein sollte, verformtwerden darf.
Je nachdem, wie dick Ihr Backpack ist, kann es notwendig sein, die
Bolzen zu kürzen. Achten Sie darauf, dass ausreichend Gewinde für
die selbstsichernde Mutter übrig bleibt!
Wählen Sie Füllgummi der richtigen Form. Der Twinningset wird mit
zwei Formen von Füllgummi geliefert, die zwischen der
Backpackhalterung und dem Backpack angebracht werden. Die runde
Form wird benutzt, wenn die Rückseite Ihres Backpacks eine hohle
Form hat, die flache Form wird eingesetzt, wenn die Rückseitedes
Backpacks flach ist.
12

Anschluss des Twinningbandes an die Flaschen (Abb. 4,5,6)
Abbildung 4.
1.
2.
3.
4.
5.
6.
2
Figuur 3
B
AA
C
Schieben Sie das Twinningband in der gewünschten Höhe mit der m8-Mutter an der
Rückseite über die Zylinder. Achten Sie darauf, dass das Logogramm von Metalsub
nicht kopfüber ist. Entfernen Sie ggf. Zunächst die Flaschensockel oder die Brücke.
Abb.4: Bringen Sie die beiden Twinningbänder gemäß Abbildung 4 an.
Das Twinningsband passt genau in die Aussparung in der Twinning Platte.
Abb. 4A: Bringen Sie die Distanzringe aus Kunststoff in die betreffende Aussparung in
der Twinning Platte an.
Abb.4B Schieben Sie beide Gewindeenden durch die Distanzringe mit der
vormontierten m8-Mutter und dem Kunststoffring auf der Seite des Backpacks.
Abb. 4C: Ziehen Sie die Zwillingsmuttern halbfest auf die Gewindeenden.
Abb. 5-6: Ziehen sie jetzt im Wechsel die beiden Twinningsmuttern und die m8-Mutter
an, bis ein Anzugsmoment von 4 bis 7 Nm für beide Twinningsmuttern und von 6 bis 8
Nm für die Sicherungsmutter des Twinningsbandes erreicht ist.
Wichtig: Achten Sie während des Anziehens der Muttern darauf, dass die beiden
Flaschen genau flach und parallel zueinander bleiben, so dass die Brücke nicht
unnötig belastet wird.
Abbildung 5. Abbildung 6.
DE
13

55
Der Backpack mit der Backpackhalterung lässt sich auf schnelle und einfache
Weise solide an den Tauchsatz mit der montierten Twinning Platte befestigen.
Die Twinning Platte ist mit zwei Nocken ausgestattet, die genau in die
Aussparungen der Backpack-Halterung hinein passen. Die obere
Aussparung der Backpack-Halterung ist mit einem Verschluss ausgestattet,
der über einen Druckstift mit Federklemme einfach betätigt wird.
1. Bringen Sie zunächst die untere Nocke in der unteren Aussparung an.
2. Drücken Sie den Druckstift völlig ein und drücken Sie dann die obere Nocke
in die obere Aussparung.
3. Lassen Sie den Druckstift los. Der Druckstift ist mit einer Rille versehen, die
nach dem Loslassen des Druckstifts völlig sichtbar sein muss.
4. Drücken Sie die Federklemme über die Rille des Druckstifts.
- Material: Aluminium, galvanisiert nach US-Militär-Norm MIL-A-8625-E Type
3 class 2, die Schutzummantelung ist zusätzlich mit Teflon beschichtet.
Dadurch ergibt sich eine höhere Korrosionsbeständigkeit.
- Gewicht: über Wasser ca. 2,2 kg.
- Gewicht unter Wasser ca. 1,5 kg.
7. .
TECHNISCHE DATEN
Anbau des Twinningsets am Backpack (Abb. 7,8)
Abbildung Abbildung 8
.
14
5553

Nederlands
INHOUDSOPGAVE
BELANGRIJKE VEILIGHEIDSOVERWEGINGEN!
.
.
Belangrijke veiligheidsoverwegingen! 15
Onderdelen 16
Montageinstructies 18
Montage van de backpackhouder op het backpack 18
Montage van de twinningband op de flessen 19
Montage van de dubbelset aan het backpack 20
Technische informatie 20
Garantie 22
A.
B.
C.
D.
E.
Lees deze instructies zorgvuldig door voor de montage en het gebruik
van de twinningset.
Controleer opnieuw uw drijfvermogen na montage van de twinningset.
Het extra gewicht van de twinningset kan aanpassing van uw loodlast
vereisen.
Controleer altijd of uw backpack goed aangesloten is op de duikset.
Borg de drukpen met de bijbehorende borgveer.
Controleer regelmatig of alle bevestigingspunten voldoende vast zitten.
Reinig alle onderdelen met zoetwater na gebruik.
NL
15

ONDERDELEN
Figuur 1. Onderdelen
Tabel 2. Onderdelenlijst
.
Gebruik Figuur 1, 2 en Tabel 2 om te controleren of alle onderdelen compleet
zijn.
Foto nr.
Naam onderdeel
Aantal
onderdelen
Ordernummer
1 Blokplaat 1 008004
2
Backpackhouder
1
008202
3 Twinningplaat 2 009010
4
Synthetische spacer 8mm
2
009004
5 Synthetische spacer 17mm 2 009005
6
Vlak vulrubber
2
009007
7 Borgsysteem 1 009011
8
Borgmoer m8
2
009985
9 Sluitring 2 009021
10
Rond vulrubber
2
009008
11 Voorgemonteerd draadeind met twinningmoer 2 009031
12
Twinningband
1
009071-009108
16

Figuur 2. Twinningset explode met ordernummers NL
17
008202
009031 009071 - 009108
009010
008004
009004
009021
009985
009005
008202
009031 009071 - 009108
009010
008004
009004
009021
009985
009005

MONTAGE INSTRUCTIES
Montage van de backpackhouder op het backpack (fig.3)
Figuur 3.
.
1.
2.
Kies de juiste vorm vulrubber. De twinningset wordt geleverd met
twee vormen vulrubbers die tussen de backpackhouder en het
backpack worden geplaatst. De ronde vorm wordt gebruikt indien de
achterkant van uw backpack een holle vorm heeft, de vlakke vorm
indien de achterkant van uw backpack vlak is.
Monteer de backpackhouder op de gewenste hoogte met de
drukpen aan de bovenkant (Fig. 2). Draai de zelfborgende moeren
op de bouten voldoende vast zonder vervorming van het backpack
indien deze van kunstof is gemaakt. Afhankelijk van de dikte van uw
backpack kan het nodig zijn de bouten in te korten. Let op dat er
voldoende draad overblijft voor de zelfborgende moer!
1
18
Table of contents
Languages:
Other METALSUB Diving Instrument manuals
Popular Diving Instrument manuals by other brands

Tritech
Tritech P-Sea product manual
Kirby Morgan
Kirby Morgan SuperLite 17C Helmet Operation and maintenance manual

Waterproof
Waterproof DRYSUIT owner's manual

Mindray
Mindray SV600 Basic Operation, Daily Maintenance and Disinfection Guidelines

Sherwood Scuba
Sherwood Scuba gemini Repair Program
JFD
JFD Divex SLS Mk IV Operation and maintenance manual
heinrichs weikamp
heinrichs weikamp OSTC Series user manual

INTERSPIRO
INTERSPIRO Divator Pro manual

Dräger
Dräger PSS 3000 Series Instructions for use

Beuchat
Beuchat Phare 30W user guide
heinrichs weikamp
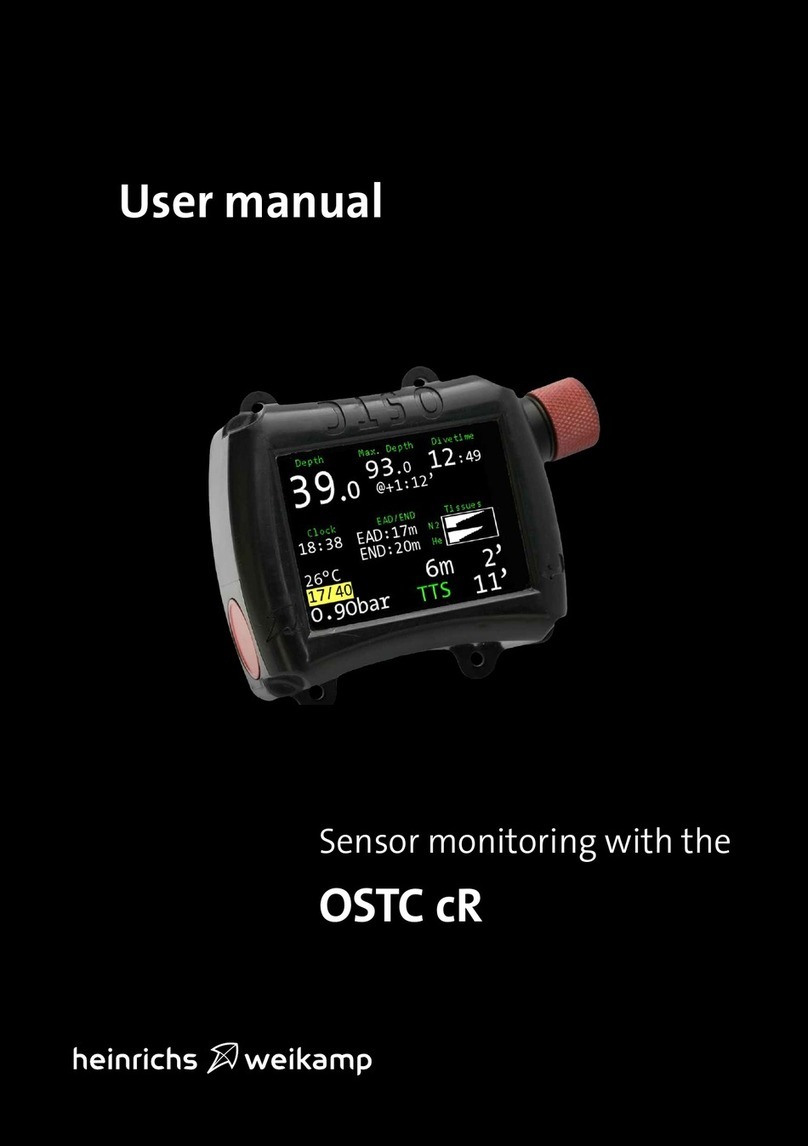
heinrichs weikamp OSTC cR user manual

AP Diving
AP Diving Back Mounted Counterlungs User instruction manual
