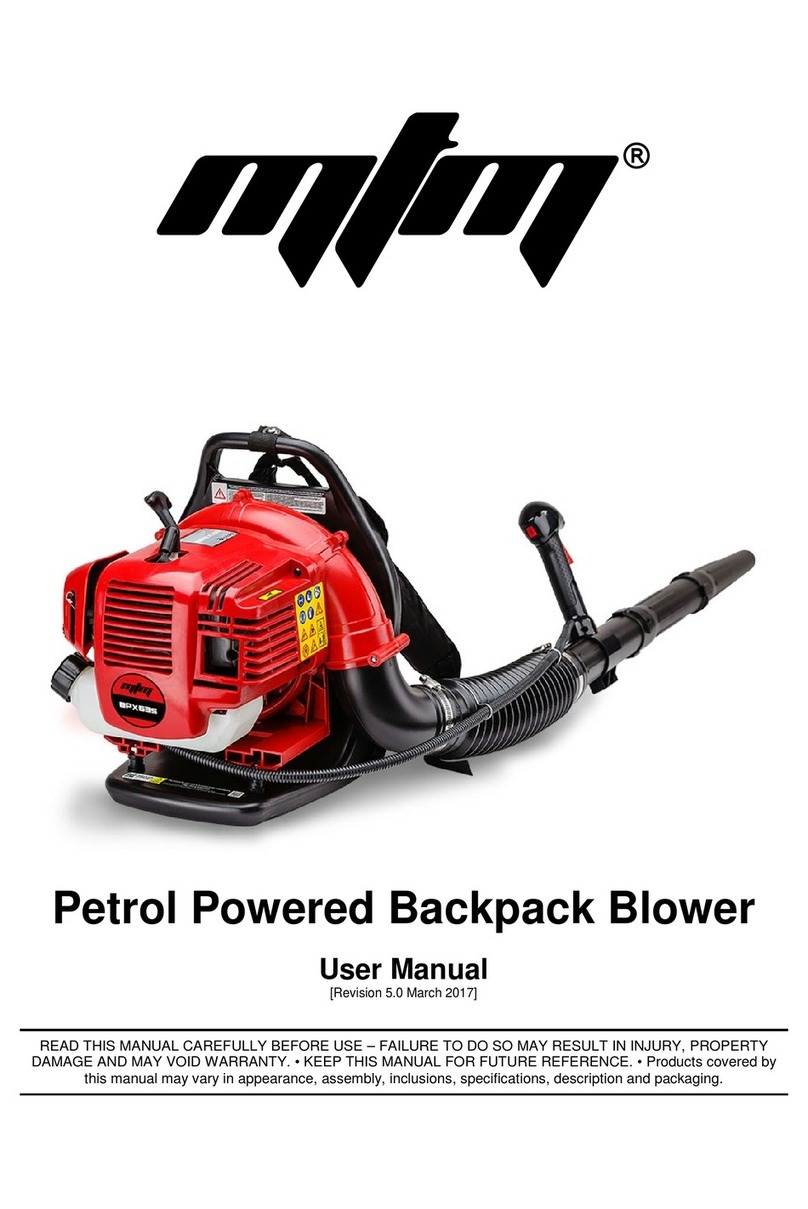
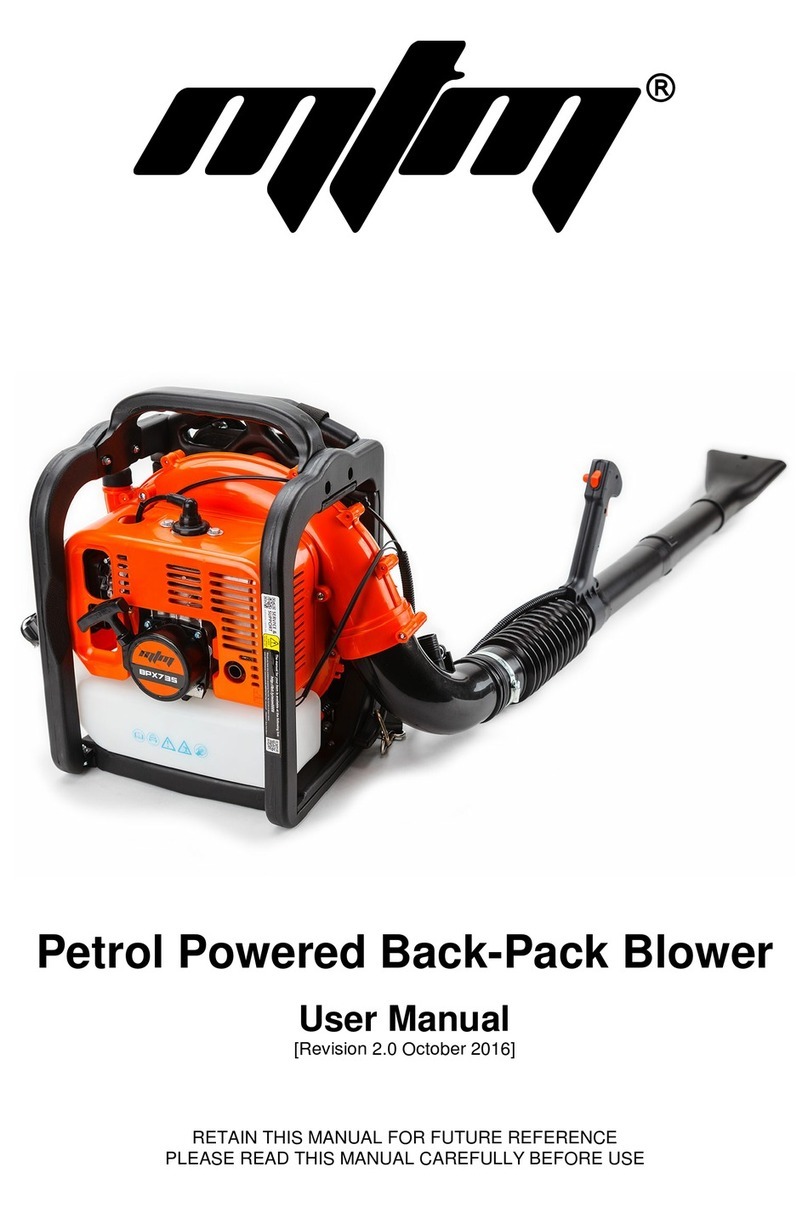
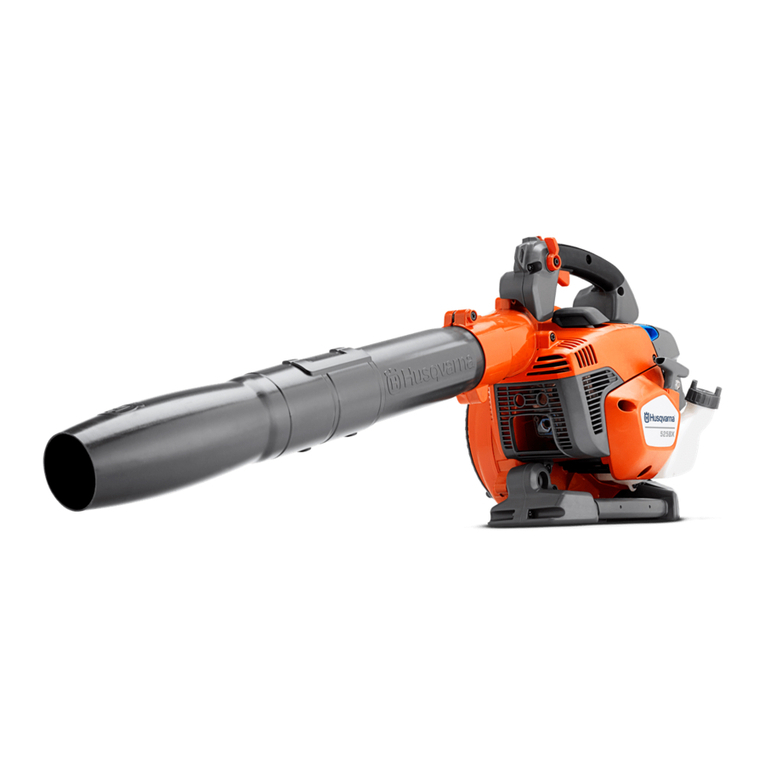
MFM BLWHND02CMTMADJE User manual

Instruction manual
Leaf Blower
SKU# BLWHND02CMTMADJE
The information in this manual must be read and understood by the operator before use
the unit.

SAFETY RULES FOR PETROL BLOWERS
TRAINING
●
●●
●
Read the instructions carefully. Get familiar with the controls and proper use of the equipment.
●
●●
●
Only use the blower for the purpose for which it was designed, i.e. blowing garden debris. nyother use can be
hazardous, causing damage to the machine.
●
●●
●
Never allow children or people unfamiliar with these instructions to use the blower. Localregulations may restrict
the age of the operator.
●
●●
●
Never use the blower:
- When people, especially children, or pets are nearby.
- If the operator has taken medicine or substances that can affect their ability to operate correctly
●
●●
●
Remember that the operator or user is responsible for accidents or hazards occurring to otherpeople or their
property.
●
●●
●
Do not use the unit around people with long hair.
PREPARATION
WARNING! Dress appropriately
●
●●
●
Do not operate with loose clothing or long hair. These can be sucked into the air intake of the blower.
●
●●
●
While blowing, always wear sturdy footwear and long trousers. Do not operate the equipment with bare feet or
open sandals.
DANGER! Fuel for the engine is highly flammable.
●
●●
●
●
●●
●
●
●●
●
●
●●
●
●
Store fuel in containers specifically designed for this purpose.
●
Refuel using a funnel and outdoors only. Do not smoke while re-fuelling or whenever handling the fuel.
●
dd fuel before starting the engine. Never remove the cap of the fuel tank or add fuel while the engine is
running or when the engine is hot.
●
If fuel is spilled, do not attempt to start the engine but move the machine away from the area of spillage and
avoid creating any source of ignition until the fuel has evaporated and the vapourdispersed.
●
Fit all tank lids and container fuel caps securely.
●
Before use, always inspect the machine and check for screws that are not loose or warn.
●
Wear suitable eye and ear protection when operating the blower.
MAINTENANCE AND STORAGE
WARNING! Do not use the equipment with worn or damaged parts.
●
●●
●
Parts are to be replaced and not repaired. Parts that are not of the same quality can damage the equipment and
be dangerous for your safety.
●
●●
●
Keep all nuts, bolts and screws tight to be sure the equipment is in safe working condition. Regular maintenance
is essential for safety and performance.
●
●●
●
Never store the equipment with fuel in the tank inside a building where vapour may reach a flame, a spark or a
source of extreme heat.
●
●●
●
llow the engine to cool before storing in an enclosed space.
●
●●
●
To reduce the fire hazard, keep the engine, muffler, and fuel storage area free of grass, leaves, or excessive
grease.
●
●●
●
If the fuel tank has to be drained, this should be done outdoors and when the engine is cool.
●
●●
●
Fuel goes stale quickly. If you find your blower does not start, 1st change the fuel in the tank with newly
purchased fuel.
SERVICE
●
●●
●
Have your power tool serviced by a qualified repair personnel using only identical replacement parts. This will
ensure that the safety of the power tool is maintained.

OPERATION SAFETY INSTRUCTIONS WARNING!
Stop engine. Remove the spark plug. Empty fuel tank; Before any repairs or maintenance operations.
Check that all nuts, bolts and screws are well tightened before every use.
Do not run the engine in an enclosed and/or poorly ventilated area. The exhaust gas from the engine contains
carbon monoxide, which is dangerous.
Work only when there is sufficient light.
Do not use the blower when it is raining or when the grass is wet.
●●
●●
●●
●●
●●
●
●
●
●
●
●
●
●
●
●
Caution must be taken while blowing on slopes.
●
●●
●
Turn off the engine if you must leave the blower unattended.
●
●●
●
Never change the rated speed of the engine in any way.
●
●●
●
Stop the engine and remove the spark plug cover in these cases:
- Before any maintenance, repairing or checking operations.
- If you leave the blower unattended.
- if the blower vibrates in an abnormal way, take the blower to an authorised service centre.
WARNING! Fuel is highly flammable.
●
●●
●
Keep fuel in a suitable container specially made for this purpose.
●
●●
●
Fill the fuel tank with a funnel and outside. Do not smoke or use a mobile phone.
●
●●
●
Fill with fuel and oil before starting the engine.
●
●●
●
Never open the cap of the fuel tank to add fuel while the engine is running or still hot.
●
●●
●
Do not start the engine if there is spilt fuel on the blower or in the area surrounding. Take the blower away from
the area where fuel has been split and avoid any contact from a heat source as long as the spilt fuel is completely
evaporated.
●
●●
●
Tighten the fuel tank cap and fuel container cap tightly.
ADDITIONAL SAFETY RULES FOR PETROL BLOWERS
WARNING! Dress appropriately
●
●●
●
Do not operate with loose clothing or long hair. These can be sucked into the air intake of the blower.
●
●●
●
Always wear sturdy footwear and long trousers. Do not operate the equipment with bare feet or open sandals.
Always wear protective eye wear. Do not operate equipment without protective glasses.
●
●●
●
Do not operate in a hazardous location. Such areas include where there is a risk of explosion of fumes, leaking
gas or explosive dust.
●
●●
●
Do not operate in a confined area. Exhaust gases, smoke or fumes could reach dangerous concentrations.
●
●●
●
Protect your blower. This blower is NOT WE THERPROOF and should not be exposed to direct sunlight, high
ambient temperature and damp, wet or high humidity conditions.
●
●●
●
Do not smoke or use a mobile phone while refuelling. This is potentially dangerous as it may ignite the fuel and
cause an explosion.
●
●●
●
Take care not to spill fuel. When refuelling the blower ensure that the motor has been switched off. Prevent the
spilling of fuel as this may also ignite with the hot motor. Never refuel whilst the engine running.
●
●●
●
Be careful where you store the blower. Store the blower in a dry area away from flammable liquids.
●
●●
●
Keep your distance. The blower emits exhaust fumes. Ensure bystanders keep a safe distance.
●
●●
●
Ensure you use fuel oil mix. Ensure that you mix 30 parts unleaded fuel to 1 part two stroke oil. If not, the engine
will overheat and cause damage to your blower.
●
●●
●
Never fill fuel tank indoors. Never fill fuel tank when engine is running or hot. Stop the engine before re-fuelling.
●
●●
●
Stop the engine and disconnect the spark plug wire If the blower starts to vibrate abnormally (find and remove the
cause of the vibration immediately).
●
●●
●
Reduce the throttle before turning off the engine and turn the fuel off when you have finished blowing.
●
●●
●
The user is responsible for the safety of other people, animals and objects in the working area. Keep children and
domestic animals at a safe distance while the blower is in use.

IMPORTANT NOTE !!!!!
This blower has 2 safety interlocks fitted.
If the Blower tubes or the side grill are not correctly fitted then the BLOWER WILL NOT START
PARTS IDENTIFICATION
1. Throttle trigger
2. Hand grip
3. Motor
4. Straight tube
5. Nozzle tube
6. Recoil starter
7. Petrol cap
8. Spark plug
9. Primer bulb
10. ir filter cover
11. Outlet exhaust
12. ignition SWITCH
13. Tube locking screw
14. Fuel tank
15. Choke

ASSEMBLY
WARNING! Danger from rotating impeller! Stop the engine before
installing or removing the blower tubes. Never perform any mainte-
nance or assembly procedures on this machine while the engine is
running.
NOTE: This blower has 2 safety interlocks fitted. If the Blower tubes
or the side grill are not correctly fitted then the BLOWER WILL NOT
START
1. Place the blower upright on the ground or on a sturdy work surface.
2. Push the nozzle tube (5) over the straight tube (4) lining up the
locking pins.
3. Rotate the nozzle tube clockwise locking it into place.
4. Lock the tubes together.
5. Push the assembled blower tube over the discharge port and rotate
until locks in place and the screw hole can be seen.
6. Rotate the tube to the desired position.
7. Screw the tubes using the screw provided.
MIXING THE FUEL
ENGINE FUEL: FUEL TO OIL RATIO 25:
IMPORTANT!
Use good quality air cooled 2-stroke engine oil.
This product is powered by a 2-stroke engine and requires pre-mixing fuel with 2-stroke oil.
Use 1litre of Unleaded petrol to 40ml of 2-stroke oil
1. Use fresh unleaded petrol. You must use 100% synthetic oil specifically made for heavily stressed two-stroke
engines.
WARNING!
do not use “E10” ethanol fuel blends.
2. Mix the unleaded petrol and oil in an approved container. Never mix fuel directly in the blower fuel tank.
WARNING!
Never use any type of pre-mixed fuel/oil direct from fuel stations. This may include special blends
intended for use in mopeds, motorcycles, etc.
3. Mix the fuel thoroughly and also each time before fuelling.
4. lways pre-mix in small quantities. Never mix quantities larger than what will be used in a 30 day period.
NOTE! Do not store petrol in plastic containers.
WARNING! Keep fuel out of the reach of children.
FILLING THE FUEL TANK
WARNING.
lways shut off the engine before fuelling.
Never add fuel to a machine with a running or hot engine. Always turn off and allow to cool. Do not smoke or use a
mobile phone when re-fuelling or operating the blower.
WARNING.
Do not use fuel that is more than 2-3 months old. Empty the tank during longer breaks and fill it up
again as soon you wish to use the blower again.
NOTE.
It is normal for smoke to be emitted from a new engine during and after first use.

1. Place the blower upright on the ground or on a sturdy bench and wipe
any debris from around the fuel cap.
2. Unscrew the fuel tank cap (7) and pour the mixture into the tank using a
funnel (not supplied).
3. Be careful not to spill any mixture. If this happens, wipe the spill with a
clean rag.
4. Start the engine at least three meters away from the area where the fuel
tank has been filled up in order to avoid any risk of fire.
●
●●
●
Danger of fire and burn injuries.
●
●●
●
lways use extreme care when handling fuel! Fuel is highly flammable
●
●●
●
Never attempt to fuel the blower if the fuel system components are
damaged or are leaking.
●
●●
●
Never attempt the refuel the engine while it is running or still warm, allow it to cool before fuelling.
●
●●
●
Never smoke or light any fires near the blower or fuels.
●
●●
●
lways transport and store fuels in an approved container.
●
●●
●
Never place flammable material close the engine muffler.
●
●●
●
Do not use petrol which contains ethanol or methanol as it may damage the fuel lines and other engine parts.
●
●●
●
Mix only enough fuel for your immediate needs. If fuel must be stored longer than 30 days, it should first be
treated with a stabilizer or similar product.
OPERATION
CHOKE CONTROL
If the engine is cold you will need to use the choke control.
Start position (choke ON).
Run position (choke OFF).
STARTING THE BLOWER
NOTE: This blower has 2 safety interlocks fitted. If the Blower tubes or the side grill
are not correctly fitted then the BLOWER WILL NOT START
To start the engine, proceed as follows:
1. Set the ignition switch to the ON position “I”.
2. Press the primer 6 times or until there are no air bubbles are visible in the fuel
discharge line.
NOTE.
This is not necessary if the engine is warm.
3. If the engine is cold, move the choke lever upwards to the "ON" position
NOTE.
gain this is not necessary if the engine is warm.
4. Place the blower on the ground, and hold the blower handle firmly with your left hand.
5.
Pull the starter cord slowly until you feel that it is taut and has resistance
6. Now, pull the starter cord upward, firmly. Do steps 5 & 6, 5-6 times until the engine starts or kicks.
(The amount of times will vary, depending on weather and temperature.)
7. Turn the choke lever down to "OFF" and pull starter cord again until engine starts.
8. The blower should now be ready for use.
STOPPING THE BLOWER
Stop the engine by setting the ignition switch to the “STOP” position “O”.

BLOWING
Start the blower engine Hold the blower firmly about 10 - 20 cm from the ground and move it in a sweeping motion
from left to right, directing the debris to the desired location.
●
●●
●
Use low throttle settings when clearing lightweight materials from around lawns or shrubbery.
●
●●
●
Use medium to higher throttle settings to move lightweight grass or leaves from driveways or paths.
●
●●
●
Use full throttle when moving heavy loads.
IMPORTANT. Blower noise increases at higher throttle settings. lways use the lowest throttle setting required to
get the job done.
MAINTENANCE
BEFORE EACH USE:
●
●●
●
Remove dirt and debris from the blower exterior.
●
●●
●
Inspect the engine, tank and hoses for possible fuel leaks, and repair as necessary.
●
●●
●
Inspect the engine cooling fins for accumulations of dirt or debris , and clean as necessary.
EVERY 0~ 5 HOURS OF USE
1, Loosen the air cleaner cover retaining screw, and remove the cover and filter element.
2, Inspect the element. If the element is distorted or damaged, replace it with a new one.
3, Wash the element in clean fuel, and squeeze or blow dry. Wash the air cleaner cover in clean fuel, and wipe or
blow dry.
4, Install the element and cover, and then tighten the cover retaining screw.
5, Use the spark plug wrench to remove the spark plug (turn counter-clockwise to remove)
6, Clean and adjust the spark plug gap to 0.6-0.7 mm. Replace any damaged or visibly worn plug with a L8RCT or
equivalent
7, Install the spark plug finger-tight in the cylinder head, then tighten it firmly with the spark plug wrench.
EVERY 50 HOURS OF USE
●
●●
●
INSPECTION Inspect the entire blower and tubes for damage, including loose or missing component, and repair
as necessary.
●
●●
●
SP RK PLUG Replace the spark plug with a L8RTC, gapped to (0.6-0.7) mm.
●
●●
●
FUEL FILTER Use a wire hook to extract the fuel filter from inside the fuel tank, and then remove and wash the
filter element in clean fuel. Before reinstalling the filter, inspect the condition of the fuel line. If damage or
deterioration is noted, the blower should be removed from service until it can be inspected by a trained service
technician.
ADJUSTING ENGINE IDLE SPEED
From time to time it may be necessary to adjust the idle speed of the
motor for smooth running.
1. Start the engine.
2. Run the engine at idle speed until operating temperature is reached
usually (2-3 minutes)
3. Use a screwdriver to adjust the engine idle speed to (2800-3000) rpm.

NOTE
●
●●
●
Turn the idle screw clockwise to increase engine idle speed.
●
●●
●
Turn the idle screw counterclockwise to decrease engine idle speed.
IMPORTANT Blower tubes and intake cover must be installed while adjusting engine idle! Engine idle speed will
also be affected if the intake cover or blower tubes are blocked, damaged or incorrectly fitted.
TROUBLE SHOOTING
Power loss or sudden stopping of the engine
●
●●
●
Check whether the fuel tank is empty.
●
●●
●
There is water in the mixture. Drain and rinse the fuel system with petrol.
●
●●
●
The air filter is dirty. Clean the air filter.
Starting a flooded engine
●
●●
●
Disconnect the spark plug lead, and use the plug wrench to remove the spark plug in a counter clockwise
direction.
●
●●
●
If the spark plug is fouled or is soaked with fuel, clean or replace the plug as required.
●
●●
●
Clean excess fuel from the combustion chamber by cranking the engine several times while the spark plug is
removed.
●
●●
●
Install the spark plug and firmly tighten it with the spark plug wrench.
●
●●
●
Repeat the starting procedure as if the blower was already warm.
STORAGE (30 DAYS OR LONGER)
●
●●
●
CLE NING - Thoroughly clean the blower exterior.
●
●●
●
INSPECTION - Inspect the entire blower and tubes for damage, including loose or missing components, and
repair as necessary.
●
●●
●
FUEL - Drain the fuel tank, and then clear the carburettor and lines by running the blower until it stops from lack
of fuel.
●
●●
●
LUBRIC TION - Remove the spark plug, and then pour approximately Tea spoon of 2 stroke oil into the cylinder
through the spark plug hole. Before reinstalling the spark plug, pull the recoil starter 2 or 3 times to distribute the
oil over the cylinder walls.
●
●●
●
IR CLE NER - Remove, clean, and reinstall the filter element as described under “BEFORE E CH USE”
●
●●
●
STOR GE - Store the blower in a clean, dry, dust-free environment.
SPECIFICATIONS
SKU# ……………………………………………….. BLWHND02CMTM DJE
Engine Type…………………………………………..2 cycle air cooled gas engine, vertical cylinder
Bore & Stroke………………………………………. 34 x 28 mm
Displacement/Power …………………………...… 26 cm3 / 700W
Fuel……………………………………………………Unleaded fuel/oil mixture 25:1
Carburettor…………………………….………. ……Diaphragm-type with primer pump
Ignition ………………………………………………. ll transistor electronic ignition system
Spark plug………………………………………..…. L8RTC or Equivalent
Fuel Tank Capacity……………………………….….0.65 litre
ir Cleaner Type……………………………….…..Semi-wet
Weight (dry with blower tubes) ……………………4.8kg

Some experts believe the incorrect or prolonged use of almost any
product could causeserious injury or death. For information that
may reduce your risk of serious injury or death consult thepoints
below and additionally, the information available at
www.datastreamserver.com/safety
- Consult all documentation, packaging and
product labelling be fore use. Note that some
products feature online documentation which
should be printed and kept with the product.
- Check product for loose / broken / damaged /
missing parts, wear or leaks (if applicable) be fore
each use. Never use a product with loose / broken
/ damaged / missing parts, wear or leaks (if
applicable).
- Products must be inspected and serviced (if
applicable) by a qualified specialist every 6
months assuming average residential use by a
person of average weight and strength, ab ove
average technical aptitude, on a property
matching average metropolitan specification.
Intended use outside these guidelines could
indicate the product is not suitable for intended
use or may require more regular inspection or
servicing.
- Ensure all possible users of the p roduct have
completed an industry recognised training course
before being given access to the product.
- The product has been supplied by a general merchandise
retailer that may not be familiar with your specific applic ation or
your description of the application. Be sure to attain third party
approval for your application from a qualified specialist before use
regardless of prior assurances by the retailer or its representatives.
- This product is not intended for use where fail-safe operation is
required. As with any product (take an automobile, aircraft,
computer or ball point pen for example) there is always a small
chance of a technical issue that needs to be repaired or may
require replacement of the product or a part. If the possibility of
such failure and the associated time it takes to rectify could in any
situation inconvenience the user, business or employee or could
financially affect the user, business or employee then the product
is not suitable for your requirements. This p roduct is not for use
where incorrect operation or a failure of any kind, including but
not limited to a condition requiring product return, replacement,
service by a technician or replacement of parts could cause a
financial loss, loss of employee time or an in convenience
requiring compensation.
- If this item has been purchased in error considering the points
above simply contact the retailer directly for details of their
returns policies if required.
Table of contents
Other MFM Blower manuals
