manuals.online logo
Brands
  1. Home
  2. •
  3. Brands
  4. •
  5. MicroBoards Technology
  6. •
  7. Computer Hardware
  8. •
  9. MicroBoards Technology G3 Auto Printer User manual

MicroBoards Technology G3 Auto Printer User manual

Quick Reference Guide
for Windows 7, Vista, and XP
Rev 10.03.11 PleasevisitourTechnicalSupportwebsiteatwww.microboards.com/support
For a more in-depth look at the
installationprocess,pleaserefer
to the Installation section of
the User’s Manual.
Be sure your computer meets the
Minimum System Requirements
as stated in the User’s Manual and
that you have read these
instructions and the Manual prior to
contacting Microboards Technical
Support with installation or configuration
questions!
G3 Disc Publisher Installation:
YoushouldnotattempttoinstalltheG3DiscPublisherunlessyouareloggedonto
yourPCwithadministrative rights.
Thehardwareandmuchofthesoftwareinstallationwilloccurwithoutintervention.
1. Unpack the G3 Disc Publisher and place it in the selected workspace. This
spaceshouldhaveenoughverticalspacetoallow for easyloadingofmediainto
theinputhopperandhaveenoughroomtothebackoftheG3DiscPublisherto
allowtheunloading of rejected discs.
2. Insert the G3 Disc Publisher Installation disk into the CD/DVD ROM drive on
yourcomputer. The installer should open automatically.
If the installer does not automatically open, click the Start button and select
Runfrom the Startmenu. Clickthe Browsebuttonandgoto the CD/DVD drive,
highlight MBInstall.exe, click the Open button, then click OK.
G3 Disc Publisher Installation
Prerequisite Windows components may need to be installed before the Disc
Publisher can be installed. If any prerequisites are not present, they will be
installed at this point. You will not be able to install your Disc Publisher without
installing the prerequisite components. You may need to reboot the PC after
any prerequisites are installed. The Disc Publisher installer will launch
automaticallyafter rebooting.
Select Microboards G3 Disc Publisher from the list, then click the Install
Microboards G3 Disc Publisher buttonthatappears.
3. Youwillfirstbeguidedthroughthehardwaresetup. Please follow alldirections
on each window before clicking the Next button.
4. Afterthe physical hardware setupiscomplete,you will be instructedtoconnect
the G3 Disc Publisher to the computer. Once this occurs, Windows will find
yournew hardware and run through the driver installation process.
5. ClicktheFinish button when complete. If the hardware is still being installed at
this point, you will be asked to wait until that process is complete.
6. ClicktheFinish buttontobegintheDiscPublishingsoftwareinstallationprocess.
7. Rebooting your PC is required before attempting to run your G3 Disc
Publisher! Click the Finish button to do so.
The Microboards Printer Toolbox Installation
The Microboards Toolbox is installed silently during the G3 installation. This
applicationisusedforgeneralmaintenancefunctions.
After the installation completes, the Toolbox will start up. You will see an icon
appear in the tool tray in the lower right corner of your Windows desktop. To
access the Toolbox, double-click the icon circled below.
TheToolbox willalsoautomatically startup after
rebootingthePC.
For more information on configuration options, please see the G3
Disc Publisher Configuration Quick Reference Guide on the other
side of this page, or refer to the appropriate sections of the User’s
Manual.
Windows Configurations for Non-Administrative Users
Toallowusers whoarelogged ontoyour PCwithoutadministrative privilegestouse
PrintWrite, a few final steps must be taken. You will need to be logged in as an
administratortoperform these steps.
If you only have users with administrative rights on your PC, or do not intend to
allow non-administrative users to run PrintWrite, you will not need to perform the
followingsteps.
Do NOT connect your G3 Disc Publisher to your computer
until the Installer instructs you to do so!!
COLOR INK CARTRIDGE CAN BE USED!
As is true with all printers, the quality of ink cartridge and the quality of the ink
within the cartridge will affect your output. To ensure quality results, the G3 Disc
Publisher will not operate with any other color ink cartridge in place.
The use of refilled ink cartridges will void your warranty!
ONLY MICROBOARDS GX-300HC
In order to guarantee quality results from the G3 Disc Publisher,
Drive not appearing in
WindowsExplorer 1. PC needs tobe rebooted
2. Mapped drive conflict: Disconnect G3 Disc
Publisher and reboot PC. Disconnect Network
drives and remap to letters near end of alphabet.
ReconnectG3Disc Publisher.
Printernot responding 1. Inkcartridgeinstalled correctly?
2. Turn on power to Printer (front panel). Press the
power button and wait several seconds for the
printerpowerLED to come on.
Hardwarenotinstallingon
PC 1. Turnonpower to G3 Disc Publisher (back panel)
2. ReseatUSBconnection
3. InstallationCD in drive?
Installation Troubleshooting Guide:
Sharing the PrintWrite Working Directories
IfPrintWriteis to berunbyusers logged in as StandardorotherNon-Administrative
usertypes, the main PrintWrite application directory will need to be shared to allow
those users access to the necessary files and directories. The main application
directorywillbethe sameasthedirectoryspecified duringthePrintWrite installation.
Thedefaultinstallation directory is C:\Program Files\Microboards\PrintWrite; if
you changed the location, you must share the directory you selected.
You will need to specify that you are allowing users to modify the contents of the
PrintWrite directory.
You will also need to share the C:\MBSDK Data directory in the same way. The
location of this directory cannot be changed during the installation. This directory
will not appear until the first time PrintWrite is launched.
Windows Firewall
You may need to add two applications, PrintWrite.exe and ServerManager.exe to
the Windows Firewall Exceptions list, depending on your PC’s Windows Firewall
settings. If Windows Firewall is on and you do not add them to the exceptions list,
anynon-administrativeuserswillbeblocked from running PrintWrite.

Quick Reference Guide
for Windows 7, Vista, and XP
PleasevisitourTechnicalSupportwebsiteatwww.microboards.com/support
Print Image Alignment
Your G3 Disc Publisher has been factory aligned to .1mm precision. Fine tuning
maybe required depending on the mediabrandandprintablesurfacetype you are
usingto provide fullsurfacecoverage.
1. Access the Printing Preferences for the Microboards G Series. How this is
done will depend on the Operating System and the currently selected Start
Menulayout.
Windows 7: Select Devices and Printers from the Start button.
Windows Vista: Select the Control Panel from the Start button. Once the
Control Panel opens, select Printer from the Hardware and Sound section.
Windows XP, Start Menu layout: Select Printers and Faxes from the
Windows Start button.
Windows XP, Classic Start Menu layout: You will need togo totheSettings
selection, then to the Printers and Faxes from the Start button.
NOTE: THE ALIGNMENT VALUES MUST BE ENTERED THROUGH THE
PRINTERS AND FAXES WINDOW FOR THE SETTINGS TO BE USED IN
PRINTWRITE, NOT FROM WITHIN THEAPPLICATION!!!
2. Right click on the icon for the Microboards G Series and select Printing
Preferences…
3. On the Print Quality tab, select Photo for the Print Mode and Best or Max
DPI for the Print Quality.
Photo Best or Max DPI should always be selected when aligning the printer, in
order to insure the greatest accuracy during the alignment process. Other
settings may not result in the best alignment.
4. Select the Alignment tab. The .1mm Resolution setting must be selected
beforesettingalignmentvalues(seebelow). SettheTop andLeft Side alignment
valuesto those required for image alignment.
These settings will change the size of the top and
left margins, respectively. Decreasing the values
willmove the image up or to the left, increasing will
adjust down or to the right.
5. Clickthe Apply buttonto save the changes, found
onthebottomofthe Printing Preferences window.
6. Verify the alignment by printing a full disc image
on the media. Repeat these steps if further
alignmentadjustments are required.
For further details on the alignment process, please refer to the
section on Alignment in the G3 Disc Publisher User’s Manual.
Printer Toolbox
The Printer Toolbox contains
severalutility functionsfortheG3
Disc Publisher. The toolbox will
open automatically after
installation of the G3, and each
timethePCbootsup. Itcanalso
be run by double-clicking the
MicroboardsToolboxiconinthe
tool tray.
The functions of the Toolbox
include:
•Test Print
•Belt Exerciser
•PrintheadCleaning Utility
•LowInk warnings
Formoreinformation on theToolbox,please referto theUser’sManual.
Be sure your computer meets the Minimum System Requirements as stated
in the User’s Manual and that you have read these instructions and the
Manual prior to contacting Microboards Technical Support with installation
or configuration questions!
G3 Disc Publisher Configuration
G3 Disc Publisher Robotics
Configuration
NOTE: You must complete the
hardware, driver, and software
installationprior toconfiguring
the G3 Disc Publisher and
aligningthe printer. Please see
the other side of this Guide for
the Installation Quick Reference
Guide, or refer to the Installation
section of the User’s Manual.
The G3 Disc Publisher robotics will need to be configured prior
to use. When launching PrintWrite for the first time, the Configuration screen will
appear.
Ifthese entries are not auto-populated, you will need to manually select the correct
configuration.
Drive: Select the drive letter from the drop-down list. Verify the correct drive
selectionby clicking the Test button;thedrivetrayintheG3DiscPublisher should
eject and then retract.
Printer: Select Microboards G
Series from the drop-down list.
Once selected, click the Test
button to verify the selection; the
belts will run if the correct printer
has been selected.
COM Port: Select the COM port
from the drop-down list that is
specified by the PC as the USB
SerialPort in the WindowsDevice
Manager (see User’s Manual for
more information); generally, the
correctport will be the largest port
number listed. Verify the correct
port selection by clicking the Test
button to the right of the port list.
Theelevatorbelowtheinputhopper
will lift and then drop if the correct
porthas been selected.
Name: Enter in the name of the Disc Publisher, which defaults to Publisher.
Click the OK button to accept the selections and continue in the Disc Publishing
software.
For more information on the configuration of the G3 Disc Publisher
robotics, please refer to the Configuration section of the User’s
Manual.
COLOR INK CARTRIDGE CAN BE USED!
As is true with all printers, the quality of ink cartridge and the quality of the ink
within the cartridge will affect your output. To ensure quality results, the G3 Disc
Publisher will not operate with any other color ink cartridge in place.
The use of refilled ink cartridges will void your warranty!
ONLY MICROBOARDS GX-300HC
In order to guarantee quality results from the G3 Disc Publisher,

Other manuals for G3 Auto Printer

4

Other MicroBoards Technology Computer Hardware manuals

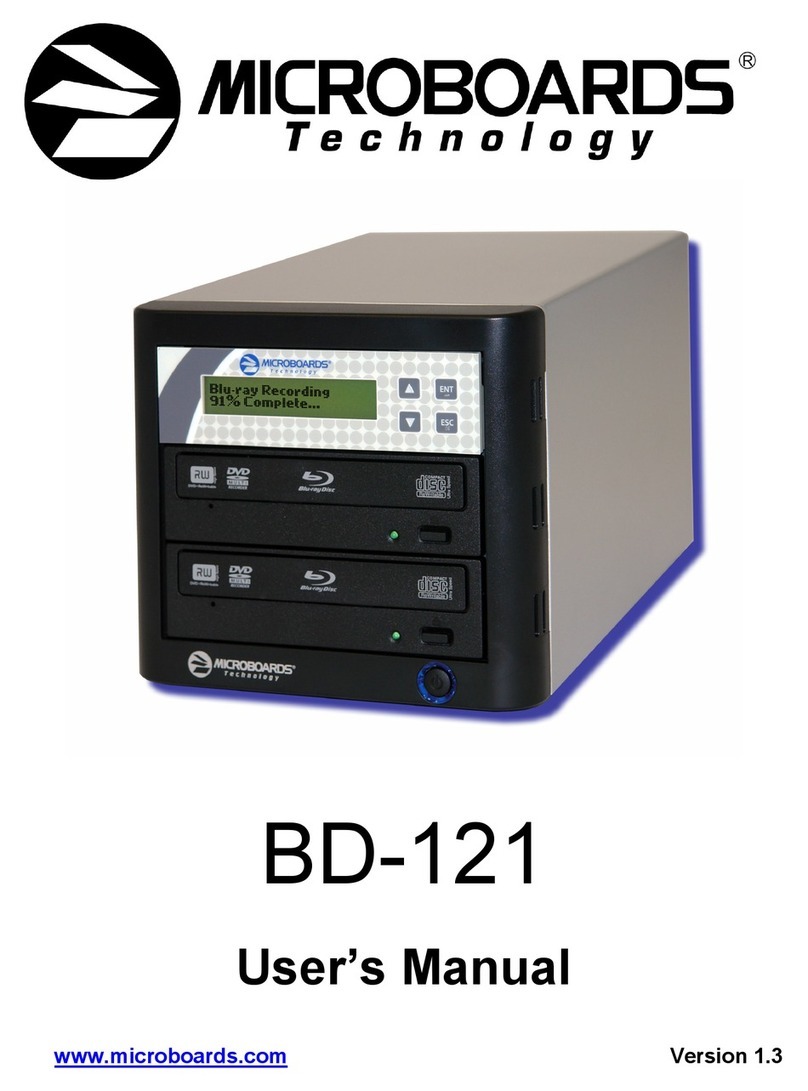
MicroBoards Technology BD-121 User manual

MicroBoards Technology

MicroBoards Technology BD-121 User manual

MicroBoards Technology NX1-1000 User manual

MicroBoards Technology

MicroBoards Technology NX1-1000 User manual

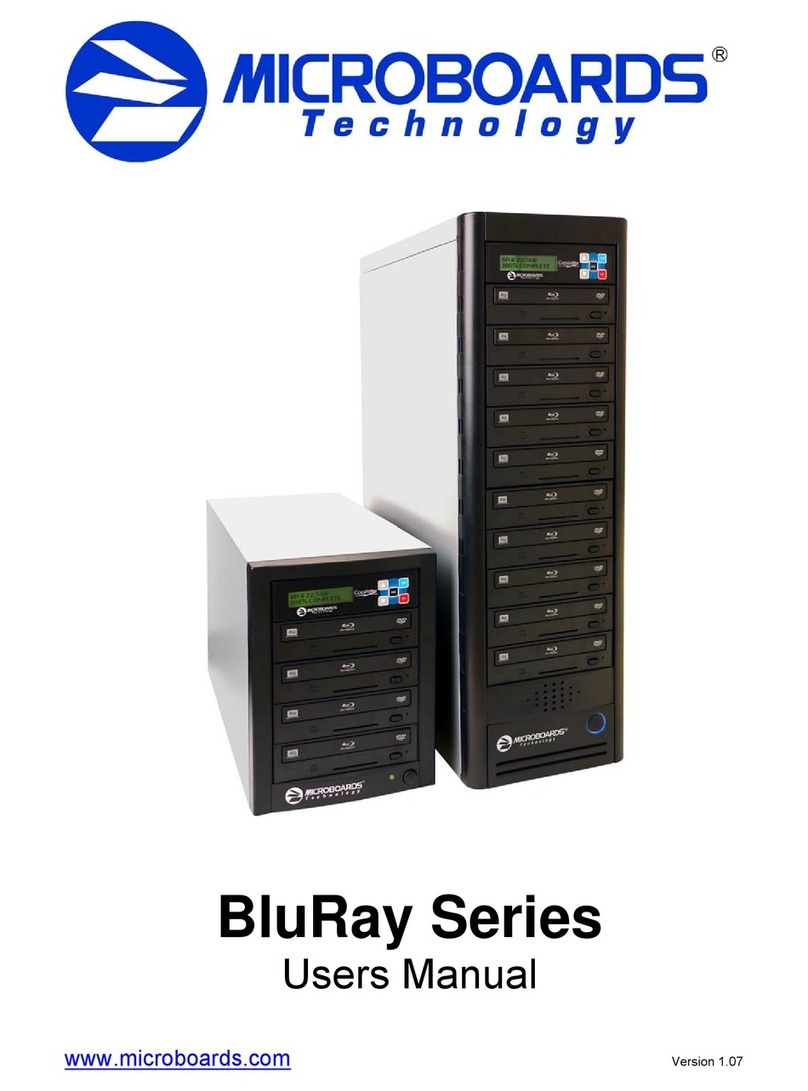
MicroBoards Technology CopyWriter BluRay Series User manual

MicroBoards Technology

MicroBoards Technology CopyWriter BluRay Series User manual

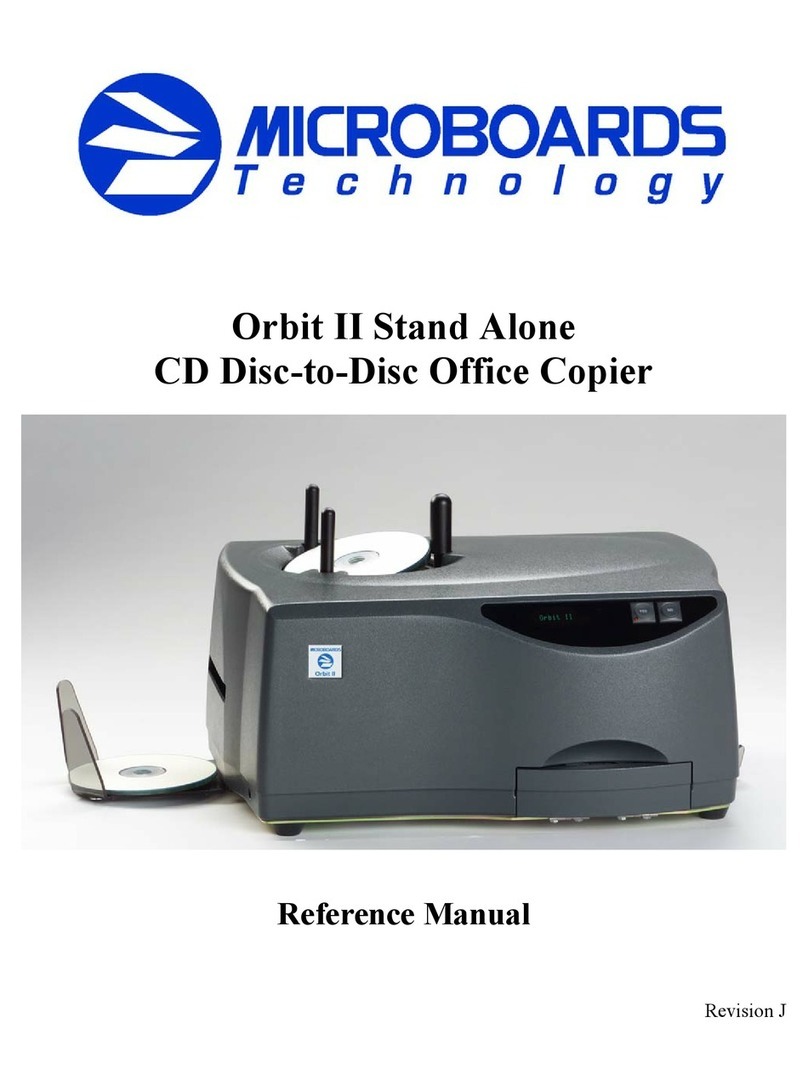
MicroBoards Technology Orbit II Stand Alone User manual

MicroBoards Technology

MicroBoards Technology Orbit II Stand Alone User manual

MicroBoards Technology QD-123 User manual

MicroBoards Technology

MicroBoards Technology QD-123 User manual

Popular Computer Hardware manuals by other brands

Alesis MICROVERB 4 supplementary guide

Alesis

Alesis MICROVERB 4 supplementary guide

Equinox Systems Megaport SS Serial I/O Board Series Hardware installation & reference manual

Equinox Systems

Equinox Systems Megaport SS Serial I/O Board Series Hardware installation & reference manual

ekwb EK-FB ASUS Z270E Strix Monoblock Series installation manual

ekwb

ekwb EK-FB ASUS Z270E Strix Monoblock Series installation manual

Intel 3100C - SERVICE Service manual

Intel

Intel 3100C - SERVICE Service manual

Campbell SDM-IO16A product manual

Campbell

Campbell SDM-IO16A product manual

3Com SuperStack II user guide

3Com

3Com SuperStack II user guide

Transcend TS8~32GSSD34E-M Specifications

Transcend

Transcend TS8~32GSSD34E-M Specifications

Premier Farnell Embest SBC-PH8700 user manual

Premier Farnell

Premier Farnell Embest SBC-PH8700 user manual

ADLINK Technology Q7-BT Technical reference

ADLINK Technology

ADLINK Technology Q7-BT Technical reference

Cypress Semiconductor CY7C2563KV18 Configurations

Cypress Semiconductor

Cypress Semiconductor CY7C2563KV18 Configurations

Phanteks Glacier G1080 Ti Installation

Phanteks

Phanteks Glacier G1080 Ti Installation

Siemens 6GK7343-1EX10-0XE0 Product information

Siemens

Siemens 6GK7343-1EX10-0XE0 Product information

Wiener VM-DBA user manual

Wiener

Wiener VM-DBA user manual

Z3 Technology SBE264-10-RPS User instructions

Z3 Technology

Z3 Technology SBE264-10-RPS User instructions

Alpine ERA-G320 owner's manual

Alpine

Alpine ERA-G320 owner's manual

Lexicon MV-5 user guide

Lexicon

Lexicon MV-5 user guide

Exsys EX-42032 manual

Exsys

Exsys EX-42032 manual

Xilinx AV6045 user manual

Xilinx

Xilinx AV6045 user manual

manuals.online logo
manuals.online logoBrands
  • About & Mission
  • Contact us
  • Privacy Policy
  • Terms and Conditions

Copyright 2025 Manuals.Online. All Rights Reserved.