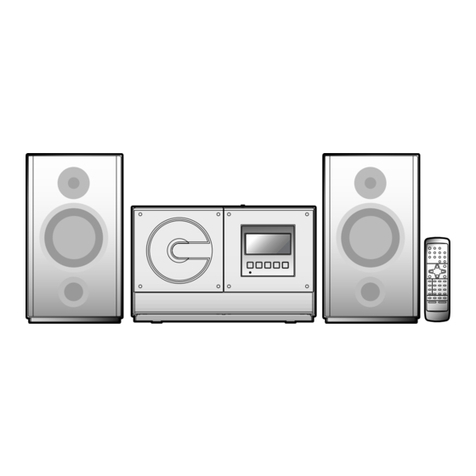
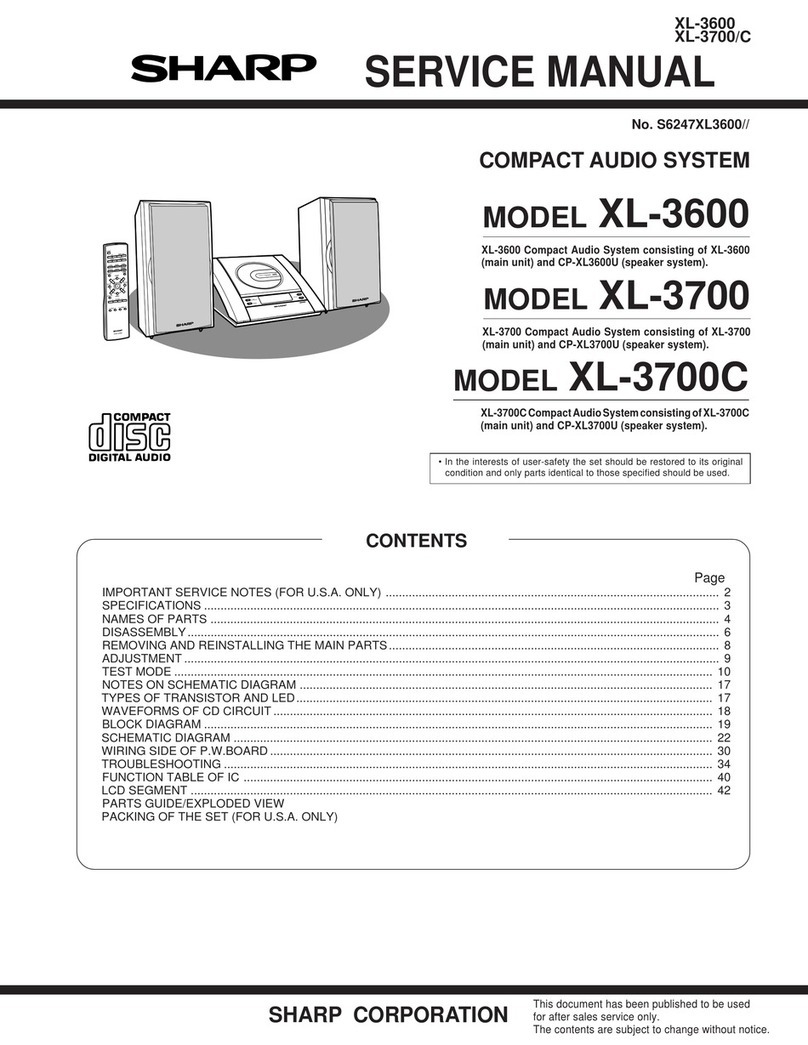
Mikomi Z123DX User manual

Z-123-DX
10-07
Instruction Manual - Please keep for future reference
Mikomi Z123DX Micro System

1
WARNING
• Misuse or modification of this appliance may result in breakdown or injury.
• To reduce the risk of fire or electric shock, do not expose this appliance to rain or moisture.
• Invisible laser radiation when open. Avoid exposure to the beam.
IMPORTANT INFORMATION
• The appliance is intended for household use only.
• The appliance should always be turned to OFF before plugging or unplugging from socket. Never
yank cord to disconnect from socket; instead, grasp plug and pull to disconnect.
• Check that the voltage on the rating plate of your product corresponds with your local electricity
supply which must be A.C. (Alternating Current).
• If the mains sockets in your home are not suitable for the plug supplied with this product, check
with a qualified electrician for replacement.
• Never touch the pickup lens.
• Do not allow foreign objects to get inside the player.
• To keep dust from the pickup lens, keep the disc compartment or lid closed after use.
FOR OPTIMUM PERFORMANCE
• Do not use in environments which are extremely hot, cold, dusty or humid.
• Keep the unit free from dust and clean with a dry cloth.
• Do not use in areas exposed to direct sunlight or where it can become extremely hot.
• Keep away from sources of strong magnetism - such as televisions or speakers.
• Avoid placement where there is a lot of movement, vibration or on an unstable surface.
FOR SAFETY
DO NOT:
• Attempt to disassemble this unit or carry out repairs.
• Attempt to modify the unit in any way.
• Make sure that foreign objects do not get inside the unit.
• Place naked flame sources - such as lit candles on or near the unit.
• Place objects filled with liquids - such as vases, on or next to the unit.
• Cover the unit - allow the unit to be well ventilated.
• Drop the unit or subject it to strong shocks.
CHILDREN
• Children do not always understand the dangers associated with operating electrical appliances.
Never allow children to use this appliance.
POWER SUPPLY
• If the unit uses a mains supply, ensure that the plug is securely inserted into the mains socket,
and it is easily accessible.
• Protect the power lead from sharp objects, excessive heat and damp or wet locations. Check
the power lead periodically, and replace if damaged.
• If the unit uses batteries, please ensure that they are inserted correctly - observing the polarity
(+/-).
• Do not mix new and used batteries.
• Please make sure that used batteries are disposed of correctly. Do not burn or incinerate.
• Check that the voltage on the rating plate of your product corresponds with your local electricity
supply which must be A.C. (Alternating Current).
• Any repairs should only be carried out by a fully qualified electrician or an authorised service
agent.
LISTENING WITH EARPHONES
• Listen at moderate volumes to avoid hearing damage.
• If you hear no sound during playback, do not turn the volume up as the music may suddenly
begin at a high volume.
• To avoid damaging your ears, adjust the volume to the lowest level before playback, and turn
up to the desired level when playback has started.
IMPORTANT SAFETY INSTRUCTIONSIMPORTANT SAFETY INSTRUCTIONS
Read all instruction before use and keep for future reference.Read all instruction before use and keep for future reference.
CAUTION: TO REDUCE THE RISK OF ELECTRIC SHOCK DO NOT REMOVE COVER
(OR BACK), THERE ARE NO USER SERVICEABLE PARTS INSIDE, REFER SERVICING
TO QUALIFIED SERVICE PERSONNEL.

B
CD
E
F
G
H
J
K
LM
N
O
P
Q
R S T
KNOW YOUR MACHINEKNOW YOUR MACHINECONTENTS
2 X Speaker
1 X Micro System
Rear View
Know Your Machine .........................................................................................3
Assembly ..........................................................................................................4
Using with AC Power........................................................................................5
Operation Of Radio ..........................................................................................6
Operation Of CD................................................................................................7
Maintenance ..................................................................................................... 13
Specifications .................................................................................................. 14
B
C
D
E
F
G
H
J
K
L
M
N
O
P
Q
R
S
T
U
V32
Y
A
DBBS LED LIGHT
ON/OFF LED LIGHT
LCD DISPLAY
CD DOOR
CD DOOR TAB
CD "STOP"
CD "REPEAT"
CD "PROGRAM"
VOLUME KNOB
FUNCTION SWITCH (AUX /
RADIO / CD / OFF)
RADIO BAND SWITCH (AM / FM)
& DBBS ON/OFF SWITCH
RADIO TUNING KNOB
CD "BACK"
CD "NEXT"
CD PLAY/ PAUSE
HEADPHONE SOCKET
SPEAKER OUTPUT SOCKET
(LEFT & RIGHT)
AUX-IN SOCKET
POWER LEAD
FM-ANTENNA WIRE
U V

Using with AC Power
NOTES:
- Please read the important safety
instructions before use.
- Before connecting to the mains
make sure that the rated voltage
shown on the real panel match
your mains voltage supply.
- Connect the Speakers first,
before connecting to the mains.
NOTE: For the best stereo
sound, place the
speakers as far apart as
possible. Don't position
the speakers in close
proximity to a TV, as they
may effect the TV's
picture and sound
quality.
USING WITH AC POWERASSEMBLY
AC Power Cord Connection
1. After all other connections are
made, connect the Power Lead
Uto the mains socket.
See fig. 3.
NOTE : When the power is "ON"
the ON/OFF LED Light C will
turn red.
See fig. 4.
3. Set the Function Switch L to
"OFF" to turn off the unit.
See fig. 2.
2. Set the Function Switch L to the
"CD" or "RADIO" position to turn
on the unit.
See fig. 2.
Connecting the Speakers
1. Insert the Speaker Plugs on the
back of the Speakers Y into the
Speaker Sockets S.
See fig. 1.
2. Please note that "R" connects to
Right side Speaker and "L"
connects to Left side Speaker.
45
IMPORTANT:
NOTE: Make sure your local
voltage is 230V/240V~, 50Hz.
NOTE: Turn the Volume Control K
to MIN to prevent causing
damage to the speaker.
See fig. 4.
fig. 1
fig. 2
fig. 3
fig. 4
Please make sure to set the
Function Switch L to the "OFF"
position when unit is not in use
to conserve power.
See fig. 2.
Back View
Y Y
S
L
U
C
K

To remove the disc
• Open the cover, pick up the disc
holding its edge whilst pressing
the centre pivot gently.
3. Close the disc compartment.
See fig. 11.
2. Place a disc in the centre with the
label side facing up, press down
into place
See fig. 10.
OPERATION OF RADIO OPERATION OF CD
Rear View
NOTE: Make sure a CD is not
playing. Always press the
Stop Button G before
opening the CD Door E.
See fig. 9.
NOTE: When the Headphones are
connected the Speakers will be
disabled automatically. When
the Headphones are
disconnected the Speakers will
be re-activated.
Inserting a Disc
1. Set the Function Switch L to the
"RADIO" position.
See fig. 5.
1. Open CD Door A using CD Door
Tab F.
See fig. 9.
Operation of Radio
3. Rotate Radio Tuning Knob N to
the desired station, as displayed
in the LCD Display D.
See fig. 7.
4. Adjust the position of FM Antenna
Vto obtain the best reception.
See fig. 8.
5. Adjust the Volume Knob K to the
desired level.
See fig. 7.
6. To turn off the radio, slide the
Function Switch L to "OFF".
See fig. 5.
1. Insert the Headphones jack into
the Headphone Socket R.
See fig. 8.
Headphones (not included)
2. Set the Radio Band Select M to
the desired band.
See fig. 6.
76
fig. 11
fig. 10
fig. 9
fig. 5
fig. 6
fig. 7
fig. 8
EGF
L
M
K N
D
VR

OPERATION OF CD OPERATION OF CD
Normal CD operation
3. LCD Display D will show the
number of tracks on the CD.
See fig. 13.
4. Press Play/Pause Q to play the
first track. The LCD Display D will
indicate the current track number.
See fig. 14.
5. Press Play/Pause Q again the
track will pause, to restart press
again.
See fig. 14.
6. During playback pressing Stop G
will stop the CD. Press Play/Pause
Qto start the CD from the first
track.
See fig. 14.
7. During playback, press Back O
or Next P to skip backwards or
forwards one track at a time.
See fig. 14.
8. At anytime during playback, press
Pause Q to pause operation.
Press Play Q to resume operation
at the same point.
See fig. 14.
1. Make sure the CD is not playing.
Press Program J and
" PROG " and "0101" will show in
the LCD display D.
See fig. 15 and 16.
2. The first two non-flashing digits
indicate the memory position (e.g.
No.1).
The last two flashing digits indicate
the track number (e.g. Song no.
1).
See fig. 16.
3. Press Back O or Next P to search
for the desired track number.
See fig. 15.
4. When the desired track is
displayed, press Program J again
to store it. LCD displays next
memory position number (e.g.
"0200" for 2nd position.
See fig. 15 and 17.
5. Repeat until you have entered all
your desired tracks (up to max. 20
tracks). If you store the maximum
number then the display will show
the first stored track.
NOTE: This unit can be
programmed to play any
sequence of up to 20 tracks as
desired. Always press the Stop
Button G before starting the
programming mode.
98
2. Insert a CD as described
previously.
Programming the CD-Player
PROG
fig. 16
fig. 12
fig. 14
fig. 13
fig. 15
PROG
fig. 17
1. Set the Function Switch L to the
"CD" position.
See fig. 12.
L
D
Q
GP
O
D
GP
O
J

OPERATION OF CD OPERATION OF CD
1. During playback, press Repeat H
once to repeat the current track.
The LCD Display D shows the
flashing "REP" indicator and
selected track.
See fig. 19 and 20.
Repeat a Single Track
2. Press Repeat H twice to cancel
the repeat function.
See fig. 19.
1. During playback, press Repeat H
twice to repeat the entire CD. The
LCD Display D shows "REP"
indicator and selected track.
See fig. 19 and 20.
Repeat Entire CD
2. Press Repeat H once to cancel
the repeat function.
See fig. 19.
6. After you complete your program
selection, press Play Q to listen
to the tracks chosen.
See fig. 18.
7. Pressing Back O or Next P will
move to the next or previous
song in the saved sequence.
See fig. 18.
8. The symbol "PROG" will remain
"on" to indicate that you have
saved a program.
9. To clear the program, press Stop
Gtwice or switch "OFF" the unit.
See fig. 18.
Dynamic Bass Boost System
(DBBS) Function
- Activate by sliding the DBBS On/Off
Switch M to the on position, the
DBBS LED Light B will turn red.
The built in "Dynamic Bass Boost
System" (DBBS) circuit provides a
powerful enhancement to low
frequencies, giving a stronger bass
sound. This function is only effective
in CD-mode.
See fig. 21.
1110
fig. 18
fig. 19
fig. 20
REP
fig. 21
Q
GP
O
Q
G
H
D
M
B

OPERATION OF CD MAINTENANCE
Using The Audio Line In
Connection (AUX-Input)
- You can connect the audio output
of an external device such as a
MP3 player to this unit.
1. To connect the external device
use the standard stereo
headphone cable supplied with
the device (3.5mm). Connect one
end to the headphone socket or
Audio line Out on the device, then
connect the other end to the AUX-
IN Socket T on this unit.
See fig. 22.
2. Set the Function Switch L to
"AUX".
See fig. 23.
3. Start playback of the external
device and adjust the Volume
Knob K to the desired level.
4. Switch off the unit when you have
finished using the external device.
1312
CAUTION:
• Read safety instructions before
you attempt any cleaning.
• Always ensure the batteries are
removed and the unit is not
plugged into an external power
source.
• We recommended cleaning the
CD player with a commercially
available cleaning kit.
fig. 24
fig. 25
fig. 23
fig. 22
To clean the lens
• If the lens becomes dirty, the player
can skip or not play. If this occurs,
clean the lens in the following
manner.
Carefully remove dust or dust
particles, using a camera lens
blower/brush, blow a few times to
loosen particles, then gently brush
the lens finish cleaning by blowing
the lens again.
See fig. 24.
Clean discs
• Before playing, wipe the disc from
the centre to the outside with a
cleaning cloth. After playing, store
the disc in its case.
See fig. 25.
T
KL

PRODUCT GUARANTEE
This product is guaranteed against manufacturing defects for a period of
This product is guaranteed for twelve months from the date of original purchase. Any
defect that arises due to faulty materials or workmanship will either be replaced,
refunded or repaired free of charge where possible during this period by the dealer
from whom you purchased the unit.
The guarantee is subject to the following provisions:
- The guarantee does not cover accidental damage, misuse, cabinet parts, knobs
or consumable items.
- The product must be correctly installed and operated in accordance with the
instructions contained in this manual.
- It must be used solely for domestic purpose.
- The guarantee will be rendered invalided if the product is re-sold or has been
damaged by inexpert repair.
- Specifications are subject to change without notice.
- The manufacturer disclaims any liability for the incidental or consequential damages.
- The guarantee is in addition to, and does not diminish your statutory or legal rights.
Guarantor: Argos Ltd
489 - 499 Avebury Boulevard
Central Milton Keynes
MK9 2NW
Year
WASTE ELECTRICAL PRODUCTS SHOULD NOT BE
DISPOSED OF WITH HOUSEHOLD WASTE. PLEASE
RECYCLE WHERE FACILITIES EXIST. CHECK WITH
YOUR LOCAL AUTHORITY FOR RECYCLING ADVICE.
14
SPECIFICATIONS
IMPORTANT
The wires in this mains lead are coloured as follows:
Blue-Neutral
Brown-Live
As the colours of the wires in the mains lead of this
apparatus may not correspond with the coloured
markings identifying the terminals in your plug,
proceed as follows:
The wire which is coloured blue must be connected
to the terminal, which is marked with N or coloured blue. The wire which is coloured
brown must be connected to the terminal which is marked L or coloured brown.
Always ensure that the plug cord grip is fastened correctly. If a 13A (BS1363)
fused plug is used it must be fitted with a 3A fuse conforming to BS1362 and be
ASTA approved. If in doubt contact a qualified electrician.
Technical Data
Model no. Z-123-DX
Power Supply 230VAC~50Hz
Power Consumption 15W
Speaker 3" x 2
Frequency AM 530-1600 kHz
FM 88-108 MHz
If you need to replace the fitted plug.
Plug Replacement
WARNING :
Never connect live or neutral wires to the earth terminal of the plug.
Only fit an approved 13 Amp BS1363/A plug and the correct rated fuse.
If in doubt, consult a qualified electrician.
BROWN
(LIVE)
CABLE
GRIP
BLUE
(NEUTRAL)
Check that the voltage marked on the product corresponds with your supply voltage.
This product is fitted with a 13A plug complying with BS1363. If this plug is unsuitable
or needs to be replaced, please note the following :
Connecting to Power
Table of contents


