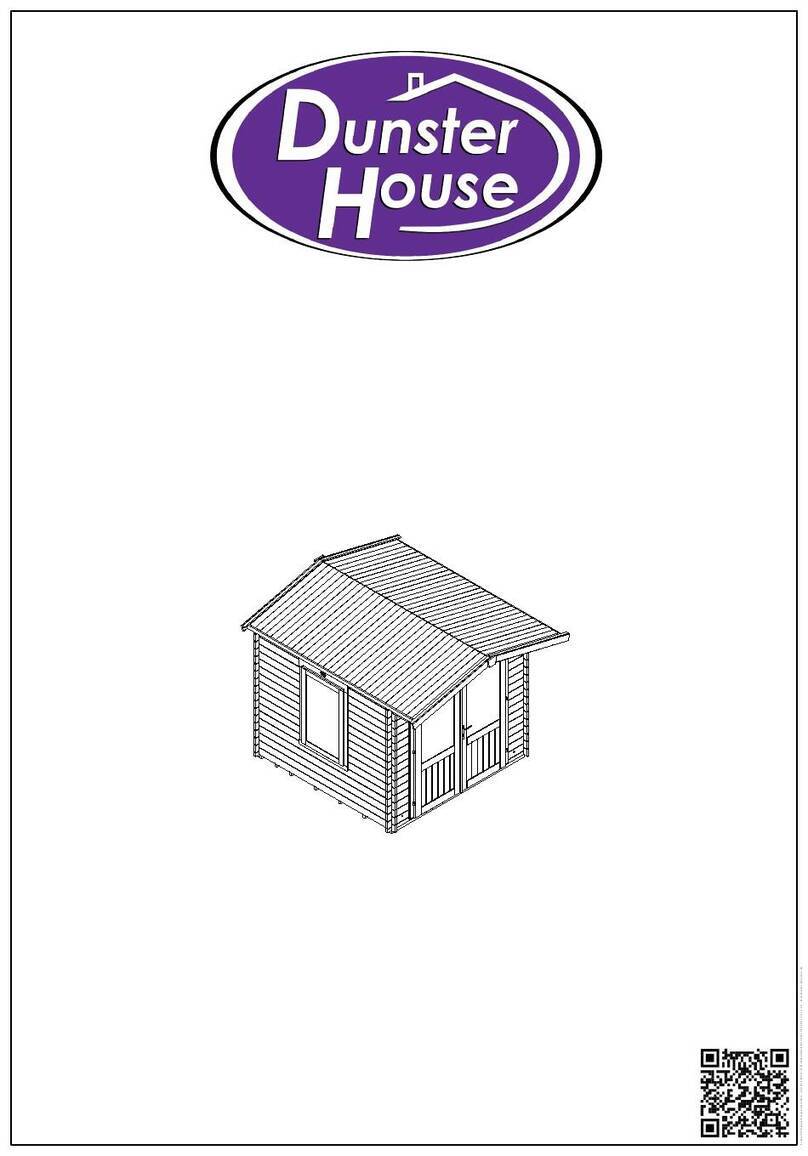
Milton 8x8 User manual

Assembly of 8x8
Thank you and congratulations on the purchase of your garden building.
We believe that this product will give you many years of excellent service. This
is a natural product manufactured to a high standard therefore if you have any
queries or experience any difficulties then please contact our customer service
hotline
Preparation of base
We recommendthat the base onto which your building will stand should beat least
75mm larger in each direction than the total floor size of the building.
Actual floor area of the building (not including verandah): 2390x2390 (8’x8’)
Total height clearance: 2096mm
The chosen position in your garden for the siting of the building should be
excavated to a depth of 75mm to allow a base of sand, on to which paving slabs
can be evenly laid - THEY MUST BE LEVEL AND FIRM.
Treatment/care of your Garden Building
Treat with a suitable decorative wood finishimmediately. We recommend that all
timber pieces be treated again prior to assembly and again within 3 months of
assembly. We further recommend that all pieces are treated again at least annually
or as frequently as the instructions on the product used recommends.
We would suggest that all wall panels be treated in an upside-down position to
allow the finish/treatment to ingress into the tongue and groove jointing.
We would also remind you that you would rarely (if ever) be able to re-treat the
underside of the floor following assembly. We strongly recommend that the
underside of the floor is treated an absolute minimum of twice (not including pre-
treatment).
Garden buildings are not waterproof, therefore on assembling building we
recommend using a silicon based sealant between wall panels and between
wall panels and floor.
●Hammer
●Step ladder
●Sand paper
●Battery-powered drill/screwdriver
●8mm drill
●Pencil
●Tape measure
●Gloves
●Sharp knife and saw
IMPORTANT!
PLEASE READ PRIOR TO ASSEMBLY OF
THE BUILDING
EVERY PRECAUTION IS TAKEN TO
ENSURE THAT YOUR BUILDING HAS NO
ELEMENT INCORRECTLY PLACED OR
POSSIBLY HAZARDOUS, HOWEVER
PRIOR TO USE PLEASE CHECK ALL
SURFACES FOR THE FOLLOWING:
1 RAISED GRAIN, SPLINTERS: sand
down timber to smooth finish
2 NAIL/SCREW/PIN HEADS PROUD: tap
home to be flush with surface of timber
3 DAMAGED SCREW HEADS
RESULTING IN SHARP SPLINTERS OF
METAL: replace
4 SHARP ENDS OF NAILS/ SCREWS/
PINS PROTRUDING THROUGH THE
PANEL: remove and reposition.
5 ENSURE ALL PARTS ARE SECURED
AGAINST REASONABLE FORCE:
remove and refit
6 ENSURE THERE ARE NO LOOSE
PARTS: remove and refit/discard
We recommend that protective
gloves be worn throughout
Wood is a natural product and is therefore
prone to changes in appearance, including
some warping, movement and splitting,
particularly during unusual climatic conditions
(long hot or wet spells of weather). As a natural
occurrence this is not covered by a guarantee.
PLEASE NOTE
18/12/08
TOOLS REQUIRED
QTY DESCRIPTION
6 Door glazing 544x373
6 Window glazing 360x373
13 Beading 553mm
13 Beading 363mm
25
4
4
Beading 377mm
Plain fascia 1420
Cover strip 1840
2 Diamonds
1 Gate latch set
36 60mm screws
10 25mm black screws
32 40mm nails
160 Felt nails
96 15mm panel pins
1 Felt roll 10mtr x 1mtr
VERANDAH (IF ORDERED)
2 Balustrade rails
4 ‘L’ shaped brackets
4 60mm screws
8 25mm screws
3 Felt roll 4mtr x 1mtr
1831~1831
2390
FRONT PANEL BACK PANEL
2390
2320
1834
WINDOW SIDE PANEL
2320
PLAIN SIDE PANEL
1834
1195
2390
FLOOR PANEL QTY 2
(IF ORDERED)
VERANDAH FLOOR
2390
900
2760
1312
ROOF PANEL QTY 2
3390
1312
VERANDAH ROOF QTY 2 (IF ORDERED)
Parts List
EXTERNAL VIEW
OF PANELS

Remove all travel protection blocks from
bottom edge of panels.
1. Ensure that your base is firm and
absolutely level.
2. Lay floor of building on base. Make sure
the open ends of the floor are facing out-
wards. Join floor sections together through
the bearers using 3 x 60 mm screws - you will
need to turn the floor over to do this.
3. Pre drill panels in 3 places, top, bottom and
middle.
4. Place the back panel onto the floor ensur-
ing the cladding has overhung the floor. Place
side panel next to this and join together from
the inside using 3 x 60 mm screws. The front
and back panels extend from floor edge to
floor edge. The side panels sit inside the front
and back panels.
5. Place remaining side panel into position.
Join together from the inside using 3 x 60
mm screws.
6. Place the front panel in position and
secure to side panels using 3 x 60 mm
screws each side.
1. Slide one panel into position using the cut-
out of the ridge as a guide. Repeat for the
other panel.
Please note that a small amount of planning
may be necessary to the tops of the walls to
ensure a snug fit.
2. Drill then screw roof sections together at
the ridge from the inside using 4 x 60 mm
screws.
3. Once in position secure down from the
inside using 2 x 60 mm screws per wall, fixing
from the framework of roof to framework of
the gable walls.
4. Fix along the length of the building using
2 x 60 mm screws per side.
Supplied with 2 balustrade sections as side
rails. Place verandah floor in front of building.
1. Trim uprights of balustrade as required.
2. Place balustrade for side rail in position.
Secure upright post of balustrade to roof
framework from the inside using 1 x 60 mm
screw. Secure balustrade to front panel using
2 x ‘L’ shaped brackets and 25 mm screws,
one at the top and one at the bottom.
Repeat for the other side.
3. Secure rail to floor at front edge using
1 x 60 mm screw. Repeat for other side.
1. Open roll of felt and lay out on an even
surface. Measure and cut the required 3
lengths allowing an overhang of approx 50
mm on all sides. Starting at the lower edge
(the eaves) place one piece of felt along the
length of the building. Secure the felt using
felt nails spaced at 100 mm intervals. Repeat
for other side, but do not nail along centre of
building until the piece of felt covering the
ridge is in place.
2. Place the last piece of felt at the ridge of
the building. This piece will overlap both of
the other pieces of felt. Nail into position
along both edges and at both ends.
1. Fix the corner strips in position where the
panels meet using 4 x 40 mm nails per strip.
1, Secure wall panels to the floor on the
inside of the building through framework into
floor bearers using 2 x 60 mm screws per
panel.
1, Nail the 4 fascia boards to gable ends
using 3 x 40 mm nails per piece.
2. Trim of any excess felt with cutting knife
against the edge of the fascia board
3. Nail diamonds on top of and in the centre
of the fascia board using 2 x 40 mm nails per
diamond.
1. Place glazing material into the aperture of
each window and door.
2. Hold into position with four pieces of
beading. Secure into position using 2 x 15
mm panel pins per piece of beading. Repeat
for all window apertures.
A Floor & Walls
B Roof Assembly
C Verandah & Balustrade
D Felt Roof
E Corner strips
F Secure Walls to Floor
G Fascia & Diamonds
H Glazing
. Assembly Completion Checklist
1Check and ensure that no raised grain or
splinters are evident on timber components. Sand
down any raised grain or splinters using fine
grade sandpaper.
2Check that all screw, nail and pin heads are
properly tapped home and are not proud of the
timber surface.
3Check and ensure that no screws, nails or pins
protrude through any panel.
4 Check and ensure that all parts are properly
secured against reasonable force.
5Do not apply decorative wood finish/treatments to
wet or damp timber. Please observe the instruc-
tions of the wood finish/treatment manufacturer. 6
.
Popular Garden House manuals by other brands

Lemeks
Lemeks Palmako Element house EL18-5658 installation manual

Palmako
Palmako FR34-3548 installation manual
Reynolds Building Systems
Reynolds Building Systems Roanoke Assembly Book

Kiehn-Holz
Kiehn-Holz KH 34-007 manual
Sojag
Sojag Savino Assembly manual

Palmako
Palmako ETTA ELD18-4533 installation manual

total sheds
total sheds Apex Summer House 12ft x 4ft Assembly manual
Weka
Weka 226.3021.10400 ASSEMBLY, USER AND MAINTENANCE INSTRUCTIONS
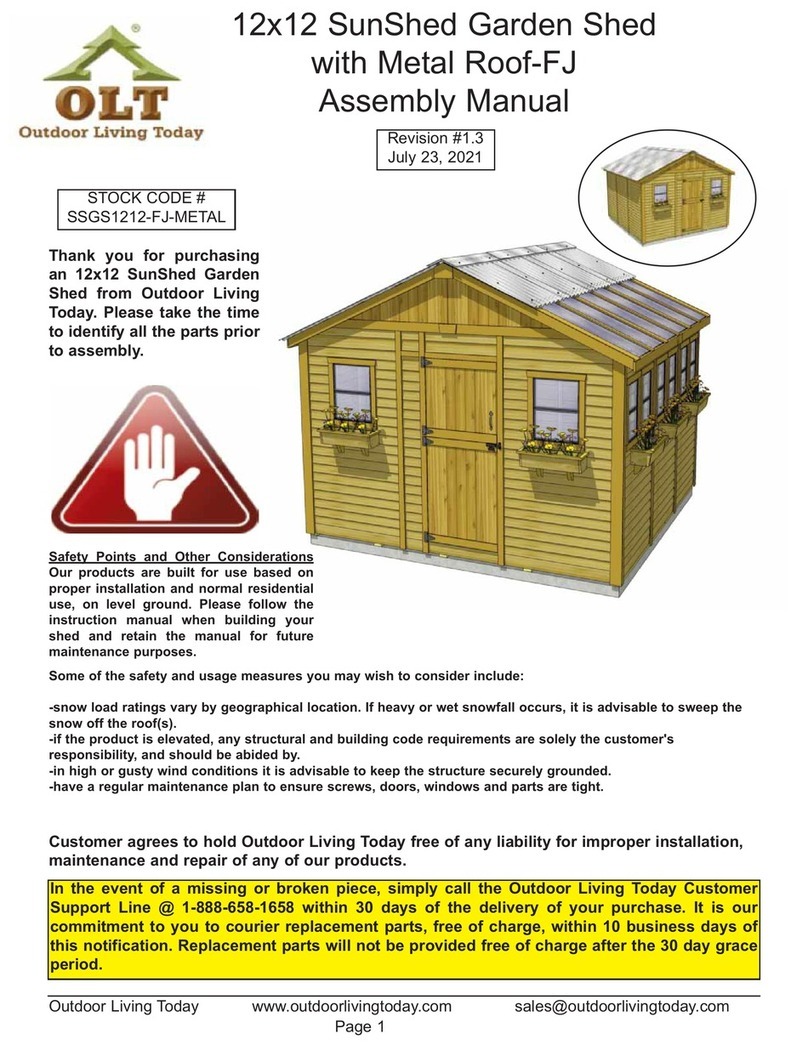
OLT
OLT SunShed Garden Shed SSGS1212-FJ-METAL Assembly manual
Palmako
Palmako PM44-5839 installation manual
Palmako
Palmako PM70-8050 installation manual

Lemeks
Lemeks Palmako Lotta FR28-3030-7 installation manual
