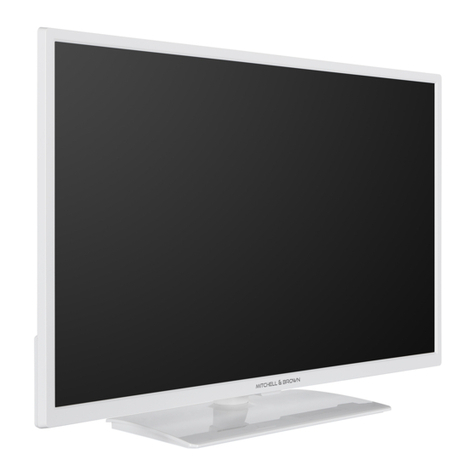
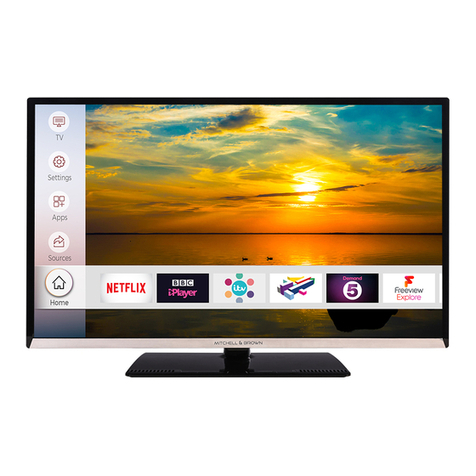
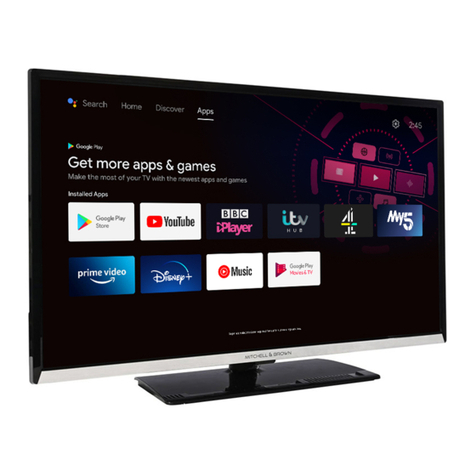
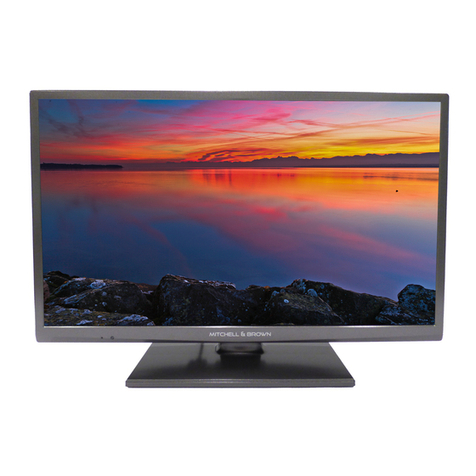
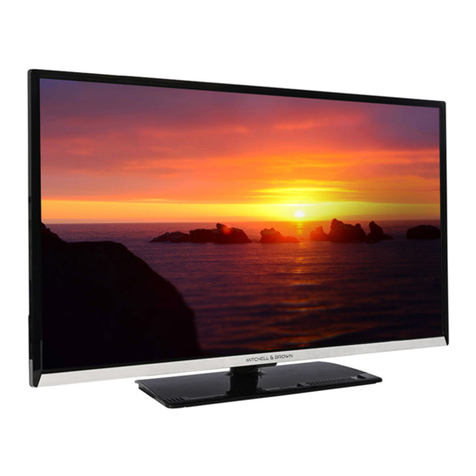
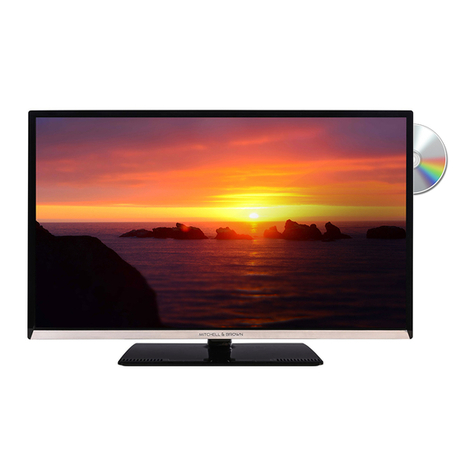
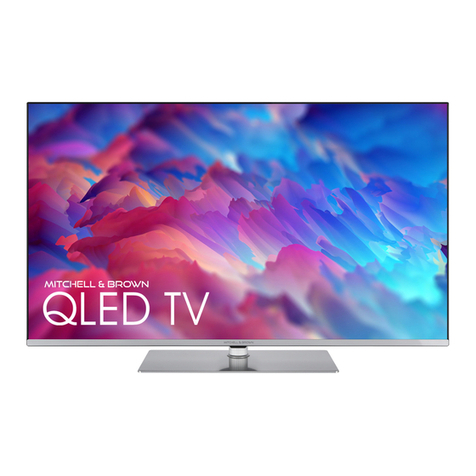
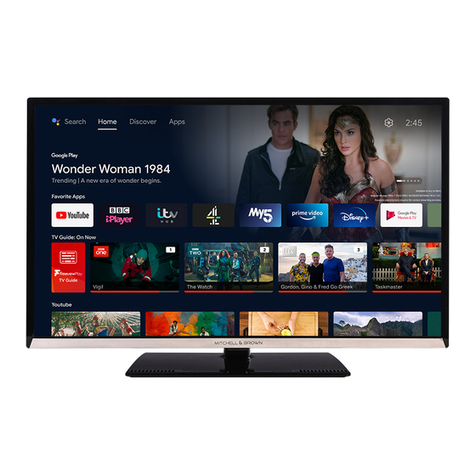
Mitchell & Brown JB-55QLED1811 User manual


English
Table of Contents
English
Safety Information
CAUTION
RISK OF ELECTRIC SHOCK
DO NOT OPEN
CAUTION:
Note: Follow the on screen instructions for operating the
related features.
IMPORTANT - Please read these
instructions fully before installing or
operating
WARNING: This device is intended to be
used by persons (including children) who are
capable / experienced of operating such a device
unsupervised, unless they have been given
supervision or instruction concerning the use of
the device by a person responsible for their safety.
WARNING
ABOVE ALL - NEVER let anyone, especially
children, push or hit the screen, push anything
into holes, slots or any other openings in the TV.
Mains Supply

English
Markings on the Product
Class II Equipment:
Hazardous Live Terminal:
Caution, See Operating Instructions:
Class 1 Laser Product:
WARNING
– – – – – – – – – – – –
– – – – – – – – – – – –
WALL MOUNTING WARNINGS
English
Introduction
Accessories Included
Features
Ultra HD (UHD)
High Dynamic Range (HDR) / Hybrid Log-
Gamma (HLG)
Menu
HDMI EDID Version
TV Options>Settings>Device Preferences>Inputs
EDID 2.0Auto EDID
Dolby Vision
MenuHDMI EDID
VersionTV Options>Settings>Device
Preferences>Inputs EDID 2.0Auto EDID
Picture Mode
Dolby Vision
BrightDolby Vision Dark Dolby Vision Vivid
Picture Mode
Menu
Picture
PicturePicture Mode

English
Stand Installation &
Wall Mounting
Assembling / Removing the pedestal
Preparations
Assembling the pedestal
1.
2.
Removing the pedestal from the TV
When using the wall mount bracket
VESA WALL MOUNT MEASUREMENTS
min. (mm)
max. (mm)
Antenna Connection
Left side of the TV
$17
English
Other Connections
Connector Type Cables Device
HDMI
Connection
(back&side)
SPDIF SPDIF
(Optical Out)
Connection
(back)
HEADPHONE Headphone
Connection
(back)
USB
Connection
(side)
CI
Connection
(side)
CAM
module
LAN Ethernet
Connection
(back)
When using the wall mounting kit
(contact your dealer to purchase one,
if not supplied), we recommend that
you plug all your cables into the back
of the TV before mounting on the
wall. Insert or remove the CI module
only when the TV is SWITCHED
OFF. You should refer to the module
instruction manual for details of the
settings. The USB inputs on the
TV support devices up to 500mA.
Connecting devices that have current
value above 500mA may damage
your TV. When connecting equip-
ment using a HDMI cable to your
79WRJXDUDQWHHVXFLHQWLPPXQLW\
against parasitic frequency radiation
and trouble-free transmission of high
GH¿QLWLRQ VLJQDOV VXFK DV . FRQ-
tent, you have to use a high speed
shielded (high grade) HDMI cable
with ferrites.

English
Stand Installation &
Wall Mounting
Assembling / Removing the pedestal
Preparations
Assembling the pedestal
1.
2.
Removing the pedestal from the TV
When using the wall mount bracket
VESA WALL MOUNT MEASUREMENTS
min. (mm)
max. (mm)
Antenna Connection
Left side of the TV
$17
English
Other Connections
Connector Type Cables Device
HDMI
Connection
(back&side)
SPDIF SPDIF
(Optical Out)
Connection
(back)
HEADPHONE Headphone
Connection
(back)
USB
Connection
(side)
CI
Connection
(side)
CAM
module
LAN Ethernet
Connection
(back)
When using the wall mounting kit
(contact your dealer to purchase one,
if not supplied), we recommend that
you plug all your cables into the back
of the TV before mounting on the
wall. Insert or remove the CI module
only when the TV is SWITCHED
OFF. You should refer to the module
instruction manual for details of the
settings. The USB inputs on the
TV support devices up to 500mA.
Connecting devices that have current
value above 500mA may damage
your TV. When connecting equip-
ment using a HDMI cable to your
79WRJXDUDQWHHVXFLHQWLPPXQLW\
against parasitic frequency radiation
and trouble-free transmission of high
GH¿QLWLRQ VLJQDOV VXFK DV . FRQ-
tent, you have to use a high speed
shielded (high grade) HDMI cable
with ferrites.

Note:7KHSRVLWLRQRIWKHSRZHUFRUGLQOHWPD\GL௺HUGHSHQGLQJ
on the model.
Note: 7KHSRVLWLRQRIWKHFRQWUROEXWWRQPD\GL௺HUGHSHQGLQJ
on the model.
Note: Live TV settings menu OSD in Live TV mode cannot be
displayed via the control button.

Note:7KHSRVLWLRQRIWKHSRZHUFRUGLQOHWPD\GL௺HUGHSHQGLQJ
on the model.
Note: 7KHSRVLWLRQRIWKHFRQWUROEXWWRQPD\GL௺HUGHSHQGLQJ
on the model.
Note: Live TV settings menu OSD in Live TV mode cannot be
displayed via the control button.

English
Initial Setup Wizard
Note: Follow the on-screen instructions to complete the initial
setup process. Use the directional buttons and the OK button
RQWKHUHPRWHWRVHOHFWVHWFRQ¿UPDQGSURFHHG
OK
Factoryreset
Settings>Device Preferences>About
Settings
TV options
1. Welcome Message and Language Selection
Welcome
OK
2. Region/Country
OK
3. Initial Setup
ContinueOK
StandbyPower
o� OK
OK
4. Search for accessories
Back/Return
5. Quick Setup
Continue
OK
Skip
Change
network OK
6. Network Connection
OK
Other
network
Skip
Network
& Internet Settings
TV options
7. Sign in to your Google account
Sign In
OK
Skip
8. Terms of Service
Accept
OK
Terms of Service Privacy Policy
Play Terms of Service
English
9. Google Services
Accept
OK
Use location
Use
location OK
Location statusSet-
tings>Device Preferences>Location
Help improve Android
Help improve Android OK
Settings>De-
vice Preferences>Usage & Diagnostics
Services and your privacy
OK
10. Password
OK
11. Select TV Mode
Home Store
Store
Home
12. Chromecast built-in always available
On
13. Tuner Mode
Aerial .
OK
Right
Next OK
Antenna
Aerial
OK
Skip scan
Right
OK
Accept
OK
Next
Settings>Device
Preferences>Manufacturer Usage & Diagnostics
Exit
Home Screen
Network & Internet
Connecting to the Internet
Home
Android TV Home
Inputs
InputsSource
Menu
English
Initial Setup Wizard
Note: Follow the on-screen instructions to complete the initial
setup process. Use the directional buttons and the OK button
RQWKHUHPRWHWRVHOHFWVHWFRQ¿UPDQGSURFHHG
OK
Factoryreset
Settings>Device Preferences>About
Settings
TV options
1. Welcome Message and Language Selection
Welcome
OK
2. Region/Country
OK
3. Initial Setup
ContinueOK
StandbyPower
o� OK
OK
4. Search for accessories
Back/Return
5. Quick Setup
Continue
OK
Skip
Change
network OK
6. Network Connection
OK
Other
network
Skip
Network
& Internet Settings
TV options
7. Sign in to your Google account
Sign In
OK
Skip
8. Terms of Service
Accept
OK
Terms of Service Privacy Policy
Play Terms of Service
English
9. Google Services
Accept
OK
Use location
Use
location OK
Location statusSet-
tings>Device Preferences>Location
Help improve Android
Help improve Android OK
Settings>De-
vice Preferences>Usage & Diagnostics
Services and your privacy
OK
10. Password
OK
11. Select TV Mode
Home Store
Store
Home
12. Chromecast built-in always available
On
13. Tuner Mode
Aerial .
OK
Right
Next OK
Antenna
Aerial
OK
Skip scan
Right
OK
Accept
OK
Next
Settings>Device
Preferences>Manufacturer Usage & Diagnostics
Exit
Home Screen
Network & Internet
Connecting to the Internet
Home
Android TV Home
Inputs
InputsSource
Menu


English
Scanning always available:
OK
Wow:
Wol:
Ethernet
Connected/Not connected:
Proxy settings:
IP settings:
Channel
Channels
Channel
Installation Mode
Input Source - Antenna
Channel Scan:
Back/Return
Update Scan:
Single RF Scan: RF Channel
Signal Level
Signal Quality
OK
Manual Service Update:
LCN:
Channel Scan Type:
Channel Store Type:
Favourite Network Select:
Channel Skip:
Programme +/-
OK
Channel Swap:
OK
Yellow
OKOK
LCNO�
Channel Move:
OK
Blue
Yellow
OK
OK
LCNO�
Channel Edit:
Network
Name Channel Type Frequency
OK
Yellow
Blue
Channel Delete:
OKYellow
Blue
Clear Channel List:
OKOK
CancelOK
Input Source
Single RF Scan: Frequency Signal
LevelSignal QualityFrequency
ScanOK
Right
LCN:
Channel Scan Type:
Channel Store Type:
Favourite Network Select:
English
Channel Skip:
Programme +/-
OK
Channel Swap:
OK
Yellow
OKOK
LCNO�
Channel Move:
OK
Blue
Yellow
OK
OK
LCNO�
Channel Edit:
Network
NameChannel TypeFrequency Modulation
Symbol Rate
OKYellow
Blue
Channel Delete:
OKYellow
Blue
Clear Channel List:
OKOK
CancelOK
Note: Some options may not be available and appear as
greyed out depending on the operator selection and operator
related settings.
Auto Channel Update
Channel Update Message
Parental Controls
7RHQWHUWKLVPHQXWKH3,1VKRXOGEHHQWHUHG¿UVW8VH
WKH3,1WKDW\RXKDYHGH¿QHGGXULQJWKHLQLWLDOVHWXSSURFHVV
If you have changed the PIN after the initial setup use that PIN.
If you didn’t set a PIN during the initial setup, you can use
the default PIN. The default PIN is 1234. Some options may
not be available or vary depending on the country selection
during the initial setup. The content of this menu may not be
displayed if the channel installation is not completed and no
channels are installed.
Channels Blocked:
OK
Programme Restrictions:
Inputs Blocked:
OK
Change PIN:
OK
Open Source Licences
Accounts & Sign In
OK
Google:
Choosesynced
apps OK
Sync nowOK
Add account:
Apps
Recently opened apps
See
all appsOK
OK
Changing the storage location of an app

English
Scanning always available:
OK
Wow:
Wol:
Ethernet
Connected/Not connected:
Proxy settings:
IP settings:
Channel
Channels
Channel
Installation Mode
Input Source - Antenna
Channel Scan:
Back/Return
Update Scan:
Single RF Scan: RF Channel
Signal Level
Signal Quality
OK
Manual Service Update:
LCN:
Channel Scan Type:
Channel Store Type:
Favourite Network Select:
Channel Skip:
Programme +/-
OK
Channel Swap:
OK
Yellow
OKOK
LCNO�
Channel Move:
OK
Blue
Yellow
OK
OK
LCNO�
Channel Edit:
Network
Name Channel Type Frequency
OK
Yellow
Blue
Channel Delete:
OKYellow
Blue
Clear Channel List:
OKOK
CancelOK
Input Source
Single RF Scan: Frequency Signal
LevelSignal QualityFrequency
ScanOK
Right
LCN:
Channel Scan Type:
Channel Store Type:
Favourite Network Select:
English
Channel Skip:
Programme +/-
OK
Channel Swap:
OK
Yellow
OKOK
LCNO�
Channel Move:
OK
Blue
Yellow
OK
OK
LCNO�
Channel Edit:
Network
NameChannel TypeFrequency Modulation
Symbol Rate
OKYellow
Blue
Channel Delete:
OKYellow
Blue
Clear Channel List:
OKOK
CancelOK
Note: Some options may not be available and appear as
greyed out depending on the operator selection and operator
related settings.
Auto Channel Update
Channel Update Message
Parental Controls
7RHQWHUWKLVPHQXWKH3,1VKRXOGEHHQWHUHG¿UVW8VH
WKH3,1WKDW\RXKDYHGH¿QHGGXULQJWKHLQLWLDOVHWXSSURFHVV
If you have changed the PIN after the initial setup use that PIN.
If you didn’t set a PIN during the initial setup, you can use
the default PIN. The default PIN is 1234. Some options may
not be available or vary depending on the country selection
during the initial setup. The content of this menu may not be
displayed if the channel installation is not completed and no
channels are installed.
Channels Blocked:
OK
Programme Restrictions:
Inputs Blocked:
OK
Change PIN:
OK
Open Source Licences
Accounts & Sign In
OK
Google:
Choosesynced
apps OK
Sync nowOK
Add account:
Apps
Recently opened apps
See
all appsOK
OK
Changing the storage location of an app

Note: You may be asked to enter a PIN to proceed with the
UHVHWRSHUDWLRQ(QWHUWKH3,1\RXKDYHGH¿QHGGXULQJWKH
initial setup. If you didn’t set a PIN during the initial setup,
you can use the default PIN. The default PIN is 1234.
Dolby Vision Modes:If Dolby Vision content is detected
Dolby Vision BrightDolby Vision Dark and Dolby Vi-
sion Vivid picture mode options will be available instead
of other picture modes.
Note: The JDPHPRGHFDQQRWEHXVHGIRU1HWÀL[DQG
YouTube. If you want to use the game mode for Multi
Media Player or HDMI source, you need to set the MJC
option to 2௺.
,

Note: Depending on the currently set input source some menu
options may not be available.
Note: 7KLV IHDWXUH KDV DQ H௺HFW RQO\ LI WKH LQSXW DXGLR
IRUPDWLV$&RUGROE\DXGLRSURFHVVLQJLVHQDEOHG7KLV
H௺HFWRQO\DSSOLHVWRWKH79ORXGVSHDNHURXWSXW
Note: If you move data to your USB storage device, you
may need to plug in your storage device to use all your
apps and other content.
Note: Formatting the connected storage device will erase
DOOGDWDLQVWDOOHGRQLW%DFNXSWKH¿OHVWKDW\RXZDQWWRNHHS
before you proceed with formatting the device.
Note: Formatting the connected storage device will erase
DOOGDWDLQVWDOOHGRQLW%DFNXSWKH¿OHVWKDW\RXZDQWWRNHHS
before you proceed with formatting the device.

English
About
Screen Saver:
Energy Saver:
Never
Location:
Usage & Diagnostics:
Manufacturer Usage & Diagnostics:
Accessibility:Audio Type,Visually Im-
paired Captions Text to Speech
High Contrast Text
Audio Type:
Normal Audio Description Spoken Subtitle
Hearing Impaired Audio Description and
Spoken Subtitle
Visually Impaired: Audio Type Au-
dio Description
Speaker:
Headphone:
Volume:
Pan and Fade:
Audio for the Visually Impaired:
Fader Control:
Main
AD
Captions:
Display
OK
Text to speech:
High Contrast Text:
OK
Restart:
Restart
Cancel
Remote & Accessories
OK
Add accessory
OK
OK
OKOK
OK
Unpair OK OK
OK
OK
Change nameOKOK
Channel List
Channel List
OKChannel List
Red
Green
Right Left
FavouritesHD channels
Interactive channelsIP channelsRadio channels
All channels
English
All channels
Note: ,I DQ\ RSWLRQ H[FHSW All channels is selected in the
channel list, you can only switch to the channels that are
currently listed in the channel list.
Yellow
Blue Green
Red
Editing the Channels and the Channel List
Channel SkipChannel Swap, Channel Move,
Channel Edit Channel Delete
Settings>Channel>Channels
Settings
TV options
Note: The channel editing options may not be available and/
or appear as greyed out depending on the operator selection
DQGRSHUDWRUUHODWHGVHWWLQJV<RXFDQWXUQR௺WKHLCN setting
in the Settings>Channel menu, as it prevents channel editing.
This option might be set to On by default depending on the
selected country during the initial setup process.
Managing Favourite Channel List
Blue
Blue
Left Right
Favourites
Programme Guide
Guide
Programme
+/-
Info
Back/Return
Blue Yellow
Green
Red
OK
Freeview Live TV
Settings>Chan-
nel>Parental Controls>Inputs Blocked
Integrated Catch-Up Services
Red
OK
OK
Connecting to the Internet Freeview Play
Platform
Connecting to the Internet
Settings>Net-
workandInternet
OK
Network & Internet
Settings
Wired Connection
Ethernet
Network & Internet
Not connectedConnected
Table of contents
Other Mitchell & Brown TV manuals

Mitchell & Brown
Mitchell & Brown JB-50QLED1811 User manual

Mitchell & Brown
Mitchell & Brown JB-32SM1811AW User manual

Mitchell & Brown
Mitchell & Brown JB-321811FDVD User manual

Mitchell & Brown
Mitchell & Brown JB-43UHD18114KBL User manual

Mitchell & Brown
Mitchell & Brown JB-50UHD18114K User manual

Mitchell & Brown
Mitchell & Brown JB-24SM1811 User manual

Mitchell & Brown
Mitchell & Brown JB-43FV1811 User manual

Mitchell & Brown
Mitchell & Brown JB-24ST1811 User manual

Mitchell & Brown
Mitchell & Brown JB-32DVD1811SMS User manual

Mitchell & Brown
Mitchell & Brown JB-24DVD1811 User manual