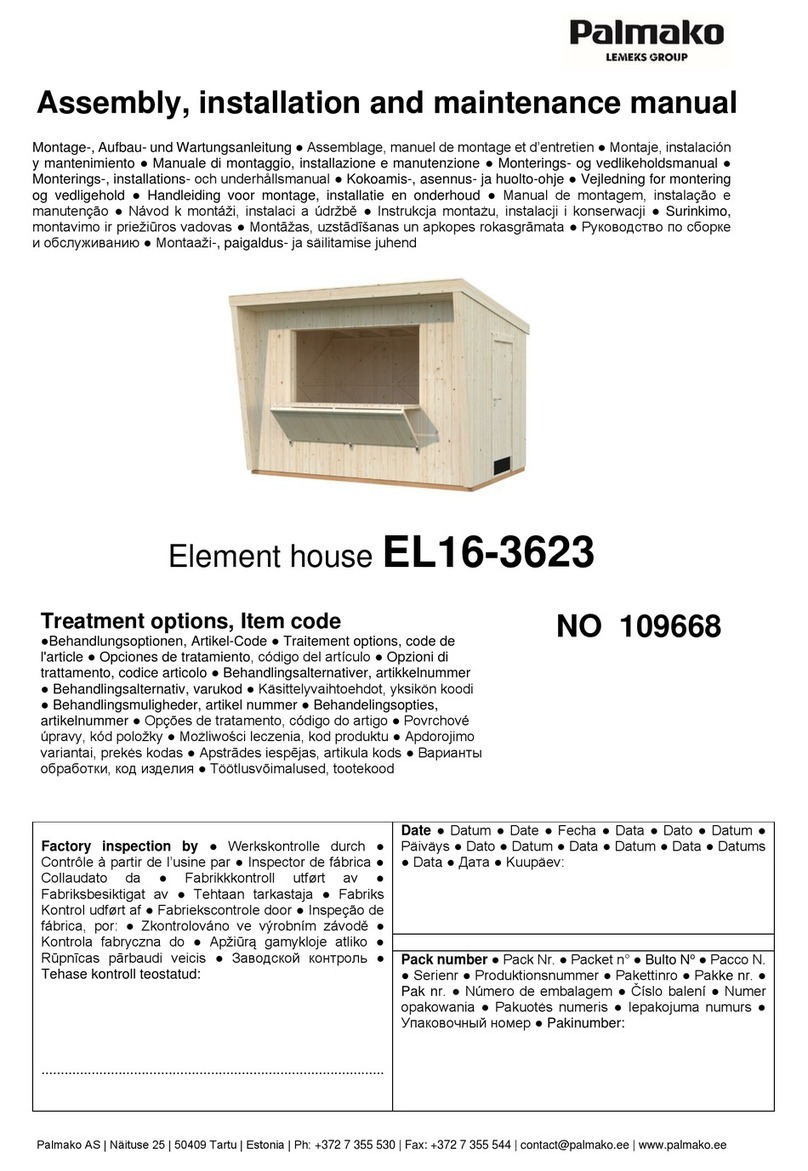
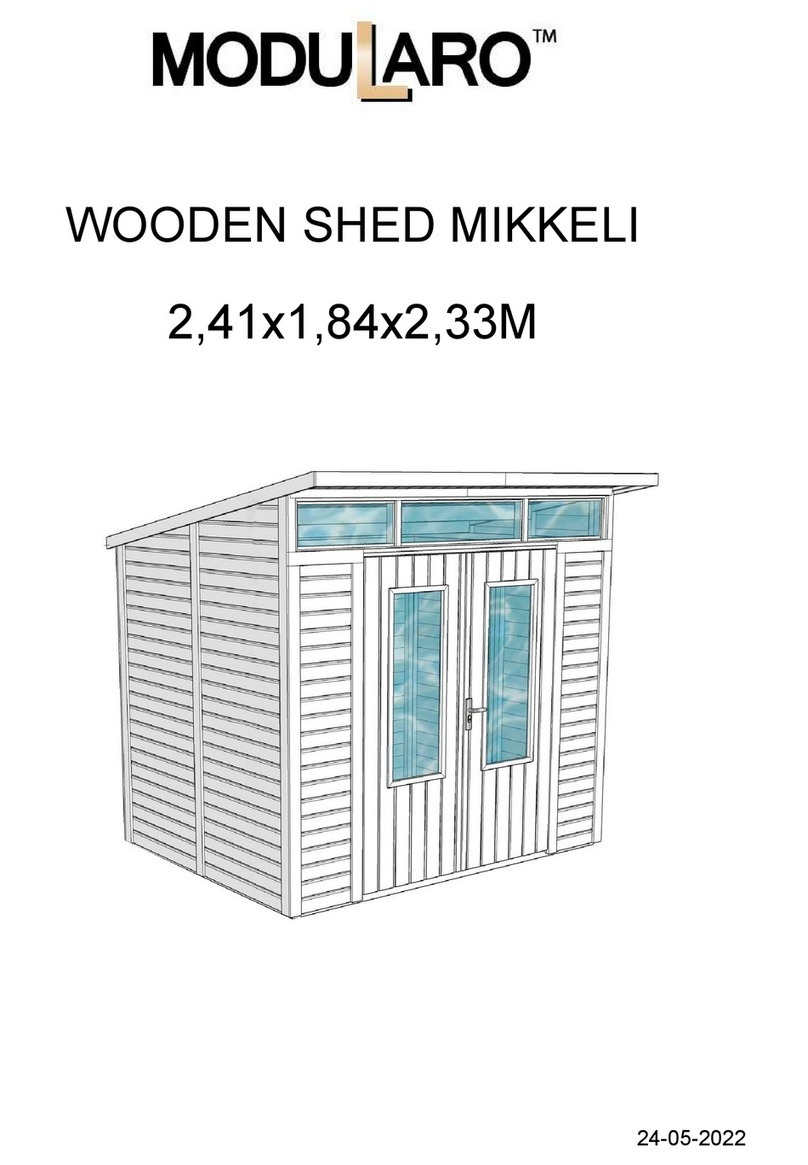
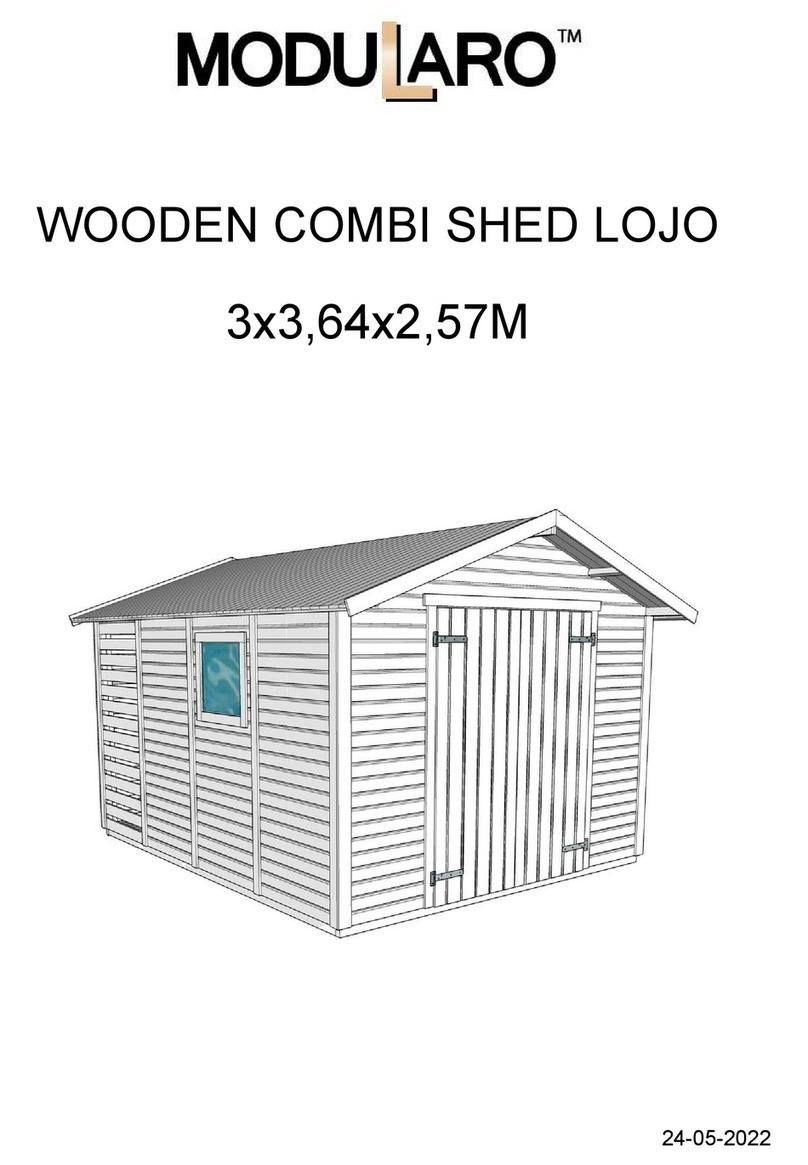
ModuLaro WC192090 User manual

The producer shall have the right to make technical changes to the product Technische Änderungen vorbehalten Le
Il produttore mantiene il diritto di apportare
modifiche tecniche al prodotto Reservado el derecho a modificaciones técnicas Produsent forbeholder seg retten til å endre
tekniske egenskaper ved produktet Alle rechten en technische wijzigingen voorbehouden Výrobce si vyhrazuje právo na
robku Valmistaja pidättää oikeuden tehdä tuotteeseen teknisiä muutoksia Tillverkaren har rätt att utföra
tekniska förändringar för produkten Producent zastrzega sobie prawo do dokonywania zmian technicznych produktu
jätab endale õiguse muuta toote tehnilisi omadusi
Installation manual
struzioni per il montaggio Manual de montaje
Installatiegids Asennusohje Installationsmanual Instrukcja instalacji Paigaldusjuhend
Log cabin
Blockhaus Maisonnette en poutres i Casa de jardin Anneks
Timmerstuga Dom z bali Freesprussmaja
Width 504 x Depth 380 cm
Breite/Tiefe Largeur/Profondeur Lunghezza/Profondita Ancho/Profundidad Bredde/Dybde Breedte/Diepte
Bredd/Längd
Log thickness 28 mm
Bohlenstärke Épaisseur des murs elle pareti Grosor de pared Tykkelse
Seinän paksuus Väggtjocklek

Installation manual
1 General information
Dear client,
We are glad that you have decided in favour of our garden house!
Please read the assembly manual carefully before proceeding with the house installation! You
will thus avoid problems and will not waste time.
Recommendations:
Keep the house package until its complete assembly in a dry place, but not in direct contact with
the ground, protected from weather conditions (moisture, the sun, etc.). Do not keep the house
package in a heated room!
When selecting the garden house location, make sure that the house will not be subjected to
extreme weather conditions (areas of strong snowfall or winds); otherwise you should attach the
house (for instance, with anchors) to the subsoil.
Warranty
Your house is made from high quality spruce and delivered in the natural (unprocessed) form. If,
despite our thorough inspection, you should have complaints, please submit the filled out control sheet
and purchase invoice to the product seller.
ATTENTION: Please be sure to keep the documentation accompanying the house package! The
control sheet includes the control number of the house. We can only review complaints if you
submit the control number of the house to the seller!
The warranty does not cover:
Peculiarities of wood as a natural material
Wooden details already painted (processed with a wood preservative)
Wooden details containing whole branches that do not endanger the stability of the house
Colour tone variations caused by wood structure differences that do not influence wood lifetime
Wooden details containing (caused by drying) small cracks/gaps that do not pass through and do
not influence the structure of the house
Twisted wooden details if they can nevertheless be installed
Roof and floor boards that may have on their concealed surfaces some non-planed areas, colour
differences and waning
Complaints resulting from an incompetent manner of the installation of the house or the house
subsiding due to an incompetently made foundation
Complaints caused by introducing self-initiative changes to the house, such as the deformation of
wooden details and doors/windows due to an incompetent manner of wood processing; the
attachment of storm braces too rigidly, doorframes being screwed onto wall logs, etc.
The complaints covered by the warranty are satisfied to the extent of replacing the
deficient/faulty material. All other demands will be excluded!

Installation manual
Garden house painting and maintenance
Wood is a natural material, growing and adapting depending on weather conditions. Large and small
cracks, colour tone differences and changes, as well as a changing structure of wood are not errors,
but a result of wood growing and a peculiarity of wood as a natural material.
Unprocessed wood (except for foundation joists) becomes greyish after having been left untouched for
a while, and can be turn blue and become mouldy. To protect the wooden details of your garden
house, you must immediately process them with a wood preservative.
We recommend that you cover the floor boards in advance with a colourless wood impregnation
agent, especially the bottom sides of the boards, to which you will no longer have access when the
house is assembled. Only this will prevent moisture penetration.
We definitely recommend that you also process the doors and windows with a wood impregnation
agent, and do that namely both inside and outside! Otherwise the doors and windows can become
twisted.
After the house assembly is completed, we recommend for the conclusive finishing a weather
protection paint that will protect wood from moisture and UV radiation.
When painting, use high quality tools and paints, follow the paint application manual and
weather. Consult a specialist regarding paints suitable for unprocessed softwood and follow the paint
that you inspect the house thoroughly once every six months.
2 Preparation for assembly
Tools and preparation of components
To assemble the garden house, you will need the following tools:
assembly aid
water-level
knife
ladder
screwdriver
measuring tape
hammer
saw
pliers
drill
ADVICE: To avoid splinters, we recommend that you wear the corresponding protective gloves during
the assembly process.

Installation manual
Preparation of components:
Sort the components
based on the
wall plans (see Technical
specifications) and place them at
the four sides o
f the house in the
installation sequence.
ATTENTION:
Never place the
components
directly on grass or a
muddy surface because it will be
very difficult or even impossible to
clean them up later!
Foundation
A good foundation is the most important aspect guaranteeing the duration and safety of your house.
Only a completely level, rectangular and bearing foundation will ensure problem-free installation of the
house, its stability and especially the matching of the doors. With a good foundation, your house will
stand for many years more.
Prepare the foundation so that its upper edge extends from the ground to a height of at least 5 cm. At
the same time make sure that there are sufficient air apertures under the house floor for ventilation.
We recommend the following foundation options:
Strip or spot foundation
Foundation from concrete or pavement slabs
Cast concrete bed
Prepare the foundation so that the foundation joists are propped up on every side with intervals not
exceeding 50-60 cm.
Consult an expert in this field or have the foundation prepared by specialists.
3 Garden house assembly
ATTENTION:
The house package also includes 2-3 marked hitting blocks (wall profile approximately 20-30 cm
long).
These details listed above ARE NOT mentioned in the specification list.
The drawings have the details marked with three-digit position numbers. The exact positions of
specification list.

Installation manual
Base frame (Foundation joists)
The base frame of the house must be completely flat and level to ensure that the installation proceeds
without problems.
ATTENTION: different house can have different foundation placements see the appended
base frame drawing (in Technical specifications)!
Place the impregnated foundation joists on the prepared foundation in accordance with the drawing at
equal intervals. Make sure that the joists are level and rectangular prior to screwing them together.
ADVICE: It is recommended to place between the foundation joists and foundation a damp-proof
course that will protect the house from moisture and decay.
ADVICE: To ensure protection from wind and storm, it is recommended to attach the foundation joists
to the foundation (for this, you can use for instance metal angles, anchors, etc.). The corresponding
materials are not included in the supplied kit!
Installation of foundation joists:
Walls
When installing the walls, it is important to remember that:
The logs are always assembled with their tongue upwards!
If necessary, use the hitting block and hammer! Never directly hit the tongue with the hammer!
Install the walls in accordance with the appended wall plans (see Technical specifications).
First of all place half logs of
front and back wall at the
correct location and attach them with screws to the
foundation joists. Then install the side wall log
s. Make sure
that the first layer of logs
extends a bit over the foundation
joists: the logs must extend over the joists by some 3-
5 mm.
You will thus protect the house from moisture, allowing the
free flow of rainwater into the ground.
ATTENTION: After the first layer of logs
, measure the
diagonal lengths and, if necessary, re-install the logs
. Only if
the diagonal lengths are completely equal is the base frame
rectangular and you can mutually attach the logs.
The first layer of logs:

Installation manual
Continue the installation of the walls by strongly forcing the wall logs into one another. If necessary,
use the hitting block and hammer. At the same time, do not forget to begin the installation of the door
and windows. You should definitely begin the door installation after the 5th-6th layer of logs.
Door and window
Doorframe:
If it is a double door
, the
doorframe is supplied in
separate parts due to
transportation requirements and
you will have to begin by
assembling it.
To do this, place together the 4
parts o
f the frame and screw
them onto one another.
Make sure that the part of the
frame with the deeper notch is
installed upwards. The lateral
jamb parts have hinges and are
mirrored.
It is recommended to install the
leaves later.
If it is a single door, its
frame and
leaf are supplied already
assembled.
Doorframe installation (Only necessary for a double door!):
Door installation:
The doorframe is placed at the
formed aperture and pushed with
force onto the lower log. If
it is a
double door, place the l
eaves on the
hinges now. To open and close the
door, fit the separately packaged lock
and handle.
Window installation:
Continue with the installation of the wall logs until you reach the window height. The wall plans (see
Technical specifications) show how many logs go under the window. Install the window similarly with
the door. Just like the door, push the window frame with the window into the window aperture onto the
lower log, applying force. Make sure that the window is not fitted backwards (topsy-turvy).
ADVICE: Definitely make sure that the windows and doors open in the proper direction. The doors
always open from the inside to the outside. The tilt&turn windows open to the inside. The revolving
and the slinging windows open to the outside (the window handles are on the inside).
ATTENTION: It is not necessary to fix the doors and windows to the wall logs! If you wish to do this, it
will be sufficient to fix them with a couple of screws in the lower part of the frame because as they dry,
the wall logs will begin subsiding.
You can conduct the final adjustments of the doors and windows only some 2-3 weeks after the house
installation, when the house will have become adapted to weather conditions and its logs settled.

Installation manual
Apex
In most cases, the apex is supplied in one piece (attention: in some house options, the apex
can
comprise several parts! In this case, these parts will have to be screwed together prior to other
actions). Having installed the last wall logs, place the apex on the front a
nd back walls and attach
them with screws.
The apexes have indents for the purlins. The purlins
also have the corresponding indents, ensuring
that the roof is placed firmly and in the right place.
Now place the purlins
in the
corresponding indents in the
apexes.
Make sure that the upper wall log
,
apexes and purlins
are level.
Having fitted the purlins
, screw
them onto the apex from above.
Installation of purlins:
ATTENTION: If the wall logs are not properly pressed on top of one another without gap
s, the upper
wall log may not be on the same level with the apexes. In this case you should tap the wall logs
downwards as necessary or plane the apex or sidewall log somewhat lower.
Roof
Before installing the roof boards, make sure that the house is completely level. Use the water-level to
check all walls.
ATTENTION: When placing the roof, use a stable ladder. Do not step on the roof as the structure is
suitable to sustain only an even load (snow, wind, etc.), and not a point load!
Begin the installation of the roof boards from the front edge of the roof. Tap the boards lightly and
attach them from above and below with nails to the purlins and upper wall log.
ATTENTION: Do not press the roof boards together too densely and you will avoid moisture-causing
bulging! Leave an interval of about 1 mm between the boards to allow for swelling.
During the whole process of installing the roof boards, make sure that their crest purlins coincide
and the eave sides of the boards extend at a uniform distance. Verify this with a rope or the lateral
eave lath that you may install for verification purposes.
The roof boards must be even with the purlin ends in front and behind. If necessary, saw both last
roof boards so narrow that they are even with the purlin ends.

Installation manual
Having installed the roof boards, the roof felt and roof
slats must be attached.
The table of components shows whether the roof
cover material and slats are included with this
house option!
First of all, screw the
roof edge reinforcements and eave
edgings
under the roof board ends. Then install the roof
cover material.
Installation of roof slats:
Roof cover material (NB! Some house options do not include it in the kit!)
Cut the roof felt in accordance with the roof length into suitable pieces and begin installing them
parallel to the lower edge of the roof, moving toward the crest and placing the felt strips in the direction
from the back wall to the front wall. The felt should extend from the edge by approximately 2-4 cm.
Attach the roof felt to the roof boards with the supplied felt nails at intervals of about 15 cm. Make sure
that the felt strips overlap by at least 10 cm.
Having installed the roof cover material, attach the
wind braces to the roof and the facia boards
to the
purlins and upper wall logs.
Installation of wind braces and facia boards:
Floor
Only when the house is built completely you can install the floor boards, thus avoiding unnecessary
smudging on the floor.
Place the floor boards on the base frame, tap them lightly against one another and then nail them with
force to the foundation joists. If necessary, cut the last floor board to the suitable width.
The final operation is the fitting of the floor beadings to cover the spaces between the floor boards and
walls. If necessary, cut the floor beadings to the suitable length.
ATTENTION: Depending on the climate at the house location, the floor boards can either swell or
diminish. If the floor boards are very dry while the climate is damp, they will easily absorb moisture. In

Installation manual
this case, the floor boards should not be attached very densely to avoid likely bulging. Leave some
space (1-2 mm) between the floor boards to allow for swelling. But if your climate is warm and dry, you
can install the boards densely because they will become drier and spaces may appear between them.
Storm braces (NB! Not included in some house option kits!)
Attach the storm brace
s (if included in
the supplied kit) to the inner sides of
the front (2 units) and back (2 units)
walls with the supplied bolts.
It is
important for the log
s to be drilled
through in advance. Please keep the
distances indicated in the drawing so
that no problems occur due to wood
swelling or diminishing.
ADVICE: Make sure that the
storm
braces are attached to the apex log
from abov
e and to the middle of the
first full-length wall log
from below. If
necessary, shorten the upper ends of
the slats.
Do not turn the screws tightly so wood
can further swell or diminish.
With the house having settled, you
should adjust the attachments so
the
wall logs can settle.
Installation of storm braces:
General advice:
Problem: Gaps appear between the wall logs
Cause: Additional details are attached to the house that do not allow wood to
swell/diminish.
Solutions: If the door/window is attached to the wall logs with screws/nails, remove these
screws/nails;
If the storm brace is screwed on too tightly, loosen its attachment;
If (rain water) pipes are installed on the wall, loosen their attachments;
Problem: The doors and windows become stuck.
Cause: The house/foundation has settled.
Solution: Check whether the house is level. Level the foundation joists and walls.
Cause: The doors and windows have swelled due to moisture.
Solution: Adjust the door and window hinges; if necessary, plane the door or window narrower.
We wish you total success with the garden house installation and much
joy with this house for many years to come!

Aufbauanleitung Deutsch
I. Generelles
Sehr geehrter Kunde,
Blockhauses beginnen! So vermeiden Sie Probleme und
Tipps:
aufbewahren!
Achten Sie bei der Standortwahl darauf, dass das Blockhaus nicht extremen Witterungsbedingungen
Fundament verankern.
Ihr Haus besteht aus hochwertigem nordischen Fichtenholz und wird unbehandelt geliefert. Wenn es trotz
WICHTIG: Bitte unbedingt die Dokumentation aufbewahren! Auf dem Kontrollschein finden Sie die
Abweichungen die keinen Reklamationsgrund darstellen:
Materialreklamationen werden nicht akzeptiert, wenn bereits ein Anstrich erfolgte!
Risse /Trockenrisse die nicht durchgehend sind und nicht die Konstruktion beeinflussen.
An den nicht sichtbaren Seiten von Dach- und Fuss
sse Montage, Absac e
n.
Blockbohlen usw., sind ausgeschlossen.

Aufbauanleitung Deutsch
Anstrich und Pflege
Holz ist ein Naturprodukt und arbeitet unterschiedlich. Merkmale wie grobe und feine Maserungen,
Farbschattierung
Das unbehandelte Holz (auss
Grundierung zu behandeln. Besonders die Unterseite, welche nach der Montage nicht mehr zu erreichen ist.
Nur auf diese Weise wird das Eindringen der Feuchtigkeit verhindert.
ter mit einer Grundierung zu behandeln. Es ist sehr wichtig
sowohl die Innen- als auch die Auss
Nach dem Aufbau empfehlen wir Ihnen die Aussenhaut (ohne Dach) zu Grundieren, sobald diese trocken ist
sollten Sie das Haus mit einer Holzlasur streichen, die das Holz vor Feuchtigkeit und UV-
Beim Anstrich benutzen Sie hochwertiges Werkzeug und Farbe, beachten Sie die Sicherheits- und
Verarbeitungshinweise des Farbenherstellers. Streichen Sie nie in praller Sonne oder beim regnerischen
beraten.
ssigen Anstrich beeinflussen Sie im Wesentlichen die Lebensdauer Ihres Gartenhauses.
II. Vorbereitung zur Aufbau
Werkzeuge und Vorbereitung der Details
Beim Aufbau brauchen Sie Folgendes:
Montagehelfer
Wasserwaage
Messer
Stehleiter
Schraubenzieher
Bandmass
Hammer
Zange
Bohrer
HINWEIS:
entsprechende Schutzhandschuhe.

Aufbauanleitung Deutsch
Vorbereitung der Details:
Sortieren Sie das Material und
legen es an den vier Seiten des
Hauses entsprechend der
Reihenfolge des Aufbauens bereit.
WICHTIG:
cht
Fundament
und vor a
- oder Punktfundament
- bzw. Gehwegplattenfundament
-
Lassen Sie sich ggf. von einem Fachmann beraten bzw. lassen Sie das Fundament von einem Fachmann
erstellen.
III. Aufbau
WICHTIG:
Im Paket sind auch 2-3 gekennzeic . 20-30 cm langes Bohlenprofil).
Alle obengenannten Teile sind NICHT
Auf den Abbildungen sind die Teile mit dreistelligen Positionen bezeichnet. Die genauen Positionen dieser
Teile, deren 3. Stelle auf der Abbildung sind,
ACHTUNG: Der Fundamentplan kann bei verschiedenen Hausmodellen abweichen. Bitte beachten sie
Technische Daten)!

Aufbauanleitung Deutsch
(siehe Fundamentplan in Technischen Daten). Ac
rechten Winkel liegen, bevor sie zusammengeschraubt werden.
HINWEIS
HINWEIS
z.B. Stahlwinkel, Betonanker o.
st es wichtig zu wissen:
Die Wandbohlen werden immer mit der Feder nach oben zeigend zusammengesteckt!
Beim Bedarf benutzen Sie das Schlagholz und den Hammer! Nie mit dem Hammer direkt auf die Feder
schlagen!
Technische Daten) zeigen I
Als erstes verlegen Sie die halben Bohlen der Vorder-
und
ihre Position. Hierbei beachten Sie, dass der erste
Bohlenkranz
sollten ca. 3-
WICHTIG:
Nach dem ersten Bohlenkranz, die Diagonale
messen und gegebenenfalls neu ausrichten! Nur, wenn
die
Diagonalmass
einander befestigen. Beim Bedarf neu ausrichten.
Bohlenkranz

Aufbauanleitung Deutsch
eim Bedarf verwenden Sie das
beginnen.
-6. Bohlenschicht vornehmen.
Bei
Rahmenteile aus
zusammenmontiert werden.
zusammen und verschrauben
Sie diese.
Beachten Sie, dass das
Rahmenteil mit den tief
eren
seitlichen Rahmenteile sind mit
Scharnieren und spiegelbildlich.
Es ist empfehlenswert, die
Rahmenteile und das T
schon zusammenmontiert.
Der Rahmen wird von oben in die
in.
Montieren Sie nun die separat
Montage der Fenster:
Technische Daten) wird ersichtlich, wie viele Bohlen unter den Fenstern sind. Beim Einsetzen der Fenster
ter nicht auf dem Kopf
stehend eingebaut wird.
HINWEIS
vom Innenraum des Hauses nach aussen auf. Die Dreh-Kipp-Fenster gehen nach innen - und
Drehfenster gehen nach aussen auf (Fenstergriffe sind innerhalb des Hauses).

Aufbauanleitung Deutsch
WICHTIG
dann befestigen Sie diese mit ein oder zwei Schrauben nur im unteren Bereich der Rahmen, damit die
angepasst hat und die Wandbohlen sich gesetzt haben.
Giebel
Das Giebeldreieck be
Wandbohlen montiert sind, werden die Giebeldreiecke auf die Vorder-
Schrauben befestigt.
In den Giebeldreiecken sind Aussparungen, worin die Dachpfetten eingelassen werden. In den Pfetten sind
ebenfalls Aussparungen, so wird ein Verrutschen des Daches verhindert.
Pfetten, in die
Giebel ein.
Verbindungsstellen zwischen
Giebel, obersten Wandbohlen und
bilden. Nachdem die Pfetten
eingepasst wurden, werden diese
von oben mit dem Giebel
verschraubt
Montage der Dachpfetten:
WICHTIG: Wenn die Oberseiten der Pfetten mit d
en, sollten Sie
entsprechend die Wandbohlen nach unten klopfen oder den Giebel bzw. die Seitenwandbohle etwas
nachhobeln.
Dach
Vor dem Verlegen der Dachbretter ist darauf zu achten, dass das Haus hundertprozentig in Waage steht.
WICHTIG cht
eine Punktbelastung.
Beginnen Sie mit dem Verlegen der Dachbretter von der Vorderseite des Hauses. Klopfen Sie die einzelnen
Bretter leicht zusammen und vernageln Sie diese oben und unten an die Dachpfetten und an die oberste
Wandbohle.
WICHTIG: Beachten Sie bitte, dass die Dachbretter nicht zu dicht aneinander befestigt werden, damit durch
mieden werden. Lassen Sie ca. 1 mm Abstand zwischen
den einzelnen Brettern, damit das Holz noch etwas arbeiten kann.
eibendem
iger Auflage auf der
dem seitlichen Traufenbrett, welches Sie zur Kontrolle anlegen.
en. Beim Bedarf die
letzten Dachbretter entsprechend sc

Aufbauanleitung Deutsch
und Dachabschlussleisten angebracht werden.
Ob Dacheindeckung und -
abschlussleisten zum
gen und
Dachrandleisten unter die Enden der Dachbretter (Falls
im Lieferumfang). Danach verlegen Sie die Dachpappe.
Montage der Dachleisten:
Dachpappe (Falls im Lieferumfang)
on der mitgelieferten
Dachpappe ab. Beginnen Sie mit der Befestigung der Bitumenbahnen an der unteren Seite des Daches, indem
- zur Vorderwand verlegen. Lassen Sie die erste Bahn seitlich ca. 2-4 cm
). Befestigen Sie die Dachpappe mit gelieferten Dachpappenstiften ca. 15 cm Abstand.
Nach dem Einlegen der Dachpappe erfolgt
die Montage de
r Windbretter und die
Befestigung der Giebelblenden an die
Pfetten und obersten Wandbohlen.
Montage der Windbretter und Giebelblenden:
Fussboden
Erst wenn das Haus komplett aufgebaut wurde, erfolgt das verlegen der Fussbodenbretter, dadurch vermeiden
Sie ein bodens.
Legen Sie die Fuss
eiden
anpassen.
Zum Abschluss wird im Innen boden angebracht, um evtl. Fugen an den
WICHTIG
Fussbodenbretter unterschiedlich arbeiten. Wenn die Fussbodenbretter sehr trocken sind, das Klima aber

Aufbauanleitung Deutsch
feucht, nehmen sie leicht Feuchtigkeit auf. Deswegen ist es ratsam, die Bretter nicht zu dicht nebeneinander zu
-2 mm Abstand zwischen
den einzelnen Brettern, damit das Holz arbeiten kann. Wenn das Klima aber heiss
die Bretter dicht nebeneinander legen, denn sie trocknen noch mehr aus und es entstehen Spalten zwischen
den Brettern.
Sturmleisten (Falls im Lieferumfang!)
mit den mitgelieferten Schlossschrauben
an die Vorder-
St.) montiert wer
erforderlich, die Bohlen vorher zu
durchbohren. Bitte beachten Sie hier die
HINWEIS
: Beachten Sie, dass die
Sturmleisten oben an die
Giebelbohle und
unten in der Mitte der ersten ganzen
Wandbohle befestigt werden. Beim Bedarf
schneiden Sie die Leisten von der oberen
Handfest angezogen werden, damit das
Holz weiterhin arbeiten kann.
Wenn das
die Befestigungen reguliert werden, damit
die Wandbohlen sich nach unten setzen
Montage der Sturmleisten:
Allgemeine Tipps:
Problem: Es entstehen Spalten zwischen den Bohlen.
Ursache: Es sind z
verhindern.
Wenn die Sturmleisten zu fest an die Bohlen geschraubt sind, sie flexibel montieren;
Wenn eine (Wasser)Leitung an der Wand montiert ist, die Befestigungen flexibler montieren;
Problem:
Ursache: Das Haus/Fundament hat sich gesenkt
waagerechten Zustand bringen.
Ursache:
-
jahrelange Freude mit Ihrem Gartenhaus!

Notice de montage
I.
Cher client,
Nous sommes heureux que votre choix se soit p !
de
votre maisonnette en poutres!
Conseils:
as conserver la marchandise
!
ait bon
d'ancrer la maisonnette en poutres dans des fondations.
Garantie
Si
!
IMPORTANT: ! Vous trouverez sur le bon de
!
:
Le bois est un produit nature
tombent pas sous le coup de la garantie.
!
Fissures / fentes de retrait qui ne sont pas traversantes et qui n'exercent pas d'influences sur la
construction.
re.
Sur les faces non visibles des planches du toit et du plancher, il se peut que les planches ne soient pas
affaissement de la maisonnette
construction insuffisantes, la fixation trop rigide du contreventement, le vissage des dormants sur les
madriers, etc., est exclue.
fectueux. Tous les autres recours
sont exclus!

Notice de montage
Peinture et entretien
que les imbrications, ont leur origine
une part
vec des produits de
vous ne pourrez
important de peindre
!
le rayonnement ultraviolet.
onsignes de
-
utiliser pour les con
II.
Outils et
:
une personne pour vous
aider au montage
couteau
echelle double
tournevis
-ruban
marteau
scie
pince
foret
REMARQUE:
porter des gants de protection correspondants lors du montage.

Notice de montage
-
le sur
IMPORTANT:
bois directement sur le gazon ou
alors difficiles, voire i
nettoyer plus tard!
Fondations
galement noter que, plus tard, la maison sera
Nous vous proposons les fondations suivantes:
-60
cm.
Faites-vous
III. Montage
IMPORTANT:
environ).
-dessus NE SONT PAS
x
Longrines
ATTENTION:
vous reporter au plan de fondations ci-
This manual suits for next models
1
Table of contents
Languages:
Other ModuLaro Garden House manuals
Popular Garden House manuals by other brands

Palmako
Palmako FRG44-5341 installation manual

Palmako
Palmako FRB28-3531 installation manual

Palmako
Palmako FR40-3232-1 Assembly, installation and maintenance manual

Décor et Jardin
Décor et Jardin 63417P000 Assembly Notice

Décor et Jardin
Décor et Jardin CASETTA EVELIN 28mm Elite Assembly Notice

Décor et Jardin
Décor et Jardin 78457SX17 Assembly Notice