manuals.online logo
Brands
  1. Home
  2. •
  3. Brands
  4. •
  5. MPS
  6. •
  7. Toy
  8. •
  9. MPS 13-401 User manual

MPS 13-401 User manual

Набор содержит 172 фототравленых детали, 204 деталей из смолы, а также необходимые
пластиковые, металлические детали и крепеж. Клей и краски приобретаются отдельно.
При работе соблюдайте технику безопасности обращения с острыми предметами и смолой.
The kit contains 172 PE parts 204 resin parts and plastic and metal details and hardware.
Glue and paint are not included. Please keep safety rules while working with sharp parts and resin.
4-осная платформа с металлическими бортами модель 13-401
Soviet / Modern russian low-sided railcar model 13-401
MPS35-13401
Установить крепеж
Set fixing
1/35
Железнодорожная платформа предназначена для перевозки колесных и гусеничных машин,
штучных лесных и других грузов, не требующих защиты от атмосферных осадков. Модель 13-401
изготовлялась с 1964 по 1984 года в СССР на Днепродзержинском вагоностроительном заводе имени
газеты «Правда», Стахановском ВСЗ, Крюковском ВСЗ. Платформа этой конструкции была удостоенного
государственного Знака качества. До настоящего времени эта платформа в бортовом, безбортовом
This low-sided railcar is suitable to transport wheeled and tracked vehicles, log wood and other
weatherproof goods. The model was built from 1964 to 1984 in USSR at Dneprodzerzhinsk Imeny gazety
“Pravda” car plant, Stakhanov car plant, Kryukov VSZ. The construction of a car was graduated with state
Quality Sign. Until today this low-sided car or a flatcar or as a wellcar is one of wide used type of railway cars.
Рекомендуется для соединения фототравленых деталей использовать пайку.
It is recommended to solder PE parts.
Модель предназначена для опытных моделистов старше 14 лет.
Suitable only for advanced modelers age 14 and over.
2
3
4
5
6
Обратите внимание на ориентацию поперечных балок
относительно отверстий для тормозных рычагов
на хребтовой балке!
Note the position of cross-beams relatively brake lever openings
on the main beam!
7
Аналогично хребтовой балке изготовьте левую и правую
боковые балки и присоедините к раме.
Make left and right side beams the same way as the main
beam and connect to the frame.
8
Обратите внимание на расположение деталей!
Note the positions of details!
9
Отрезать Cut off
Вставьте и приклейте заклепки.
Зачистите с обратной стороны
Insert and glue the rivets.
Clean the other side.
8
Изготовить отрезки швеллера 3.2*1.8мм длинной 33мм и приклеить на места.
Make the pieces of I-beam (3.2*1.4mm) 33mm long and glue in positions.
10
Изготовить отрезки швеллера 3.2*1.8мм длинной 270.4мм
и приклеить на места.
Make the pieces of I-beam (3.2*1.4mm) 270.4mm long
and glue in positions.
11
Изготовить отрезки швеллера 3.2*1.8мм длинной 52.7мм и приклеить на места.
Make the pieces of I-beam (3.2*1.4mm) 52.7mm long and glue in positions.
12
13
Приклейте или припаяйте на места четыре кронштейна
тормозной магистрали, кронштейн тормозного цилиндра и
воздухораспределителя.
Glue or solder in position four brake pipe brackets, brake cylinder
bracket and air distributor bracket.
Некоторые детали скрыты.
Some details are hidden.
14
Расположите резервуар между крепежных отверстий на балке.
и закрепите проволочными хомутами на клей.
Установите имитацию болтов в отверстия кронштейнов и боковой балки.
Place the reservoir between side beam openings and glue with wire
holders.
Place screw imitations in brackets and side beam openings.
Схема воздушных трубопроводов малого диаметра.
Изготовьте и установите трубы из проволоки 0.8мм или полистирола.
Scheme of small diameter air piping.
Make pipes out of wire 0.8mm or styrene and place in position.
Ранний вариант на стр.28
Early variant on p.28
Тормозной цилиндр
Brake cylinder
Запасной резервуар.
Air reservoir.
Авторежим
Empty-load device
Тройник воздушной магистрали
Main line tee
15
Воздухораспределитель
Brake control valve
Некоторые детали скрыты.
Some details are hidden.
Расположение тормозных рычагов.
Placement of brake levers.
Соберите и установите на места тормозные рычаги.
Установите оси.
Connect and place brake levers.
Set axles.
16
Полистирол диаметром 0.8 10мм длиной
Styrene 0.8 diameter 10mm length
1
1
2
3
4
5
6
7
Соберите детали в указанном порядке, соблюдая взаимную ориентацию.
Glue pieces in order as shown keeping mutual orientation.
8
17
24
16
Схема расположения петель и скоб по бортам вагона.
Scheme of hinges and brackets placement on railcar sides.
Ось симметрии.
Axis of symmetry
18
8
4
4
Соберите детали по схеме. Используйте проволоку
для дополнительной жесткости.
Connect the details as shown. Use wire for additional firmness.
Резиновая трубка.
Rubber pipe.
19
4
4
0.4
Расположите крюки для колец крайних бортов
на полке бокового двутавра.
Place the hooks for low-side rings on side beams
8.1мм для другой стороны платформы.
8.1mm for the other side of the flatcar.
20

Popular Toy manuals by other brands

Horizon Hobby Blade Fusion 180 instruction manual

Horizon Hobby

Horizon Hobby Blade Fusion 180 instruction manual

Arizona Curtiss Model F user manual

Arizona

Arizona Curtiss Model F user manual

Rail King F-3 Passenger Set operating instructions

Rail King

Rail King F-3 Passenger Set operating instructions

Eduard 33 297 Assembly instructions

Eduard

Eduard 33 297 Assembly instructions

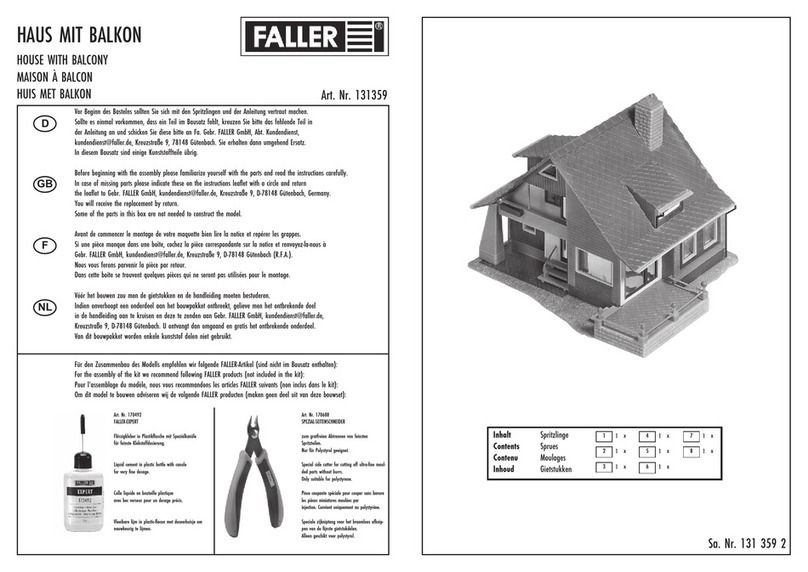
Faller 131359 manual

Faller

Faller 131359 manual

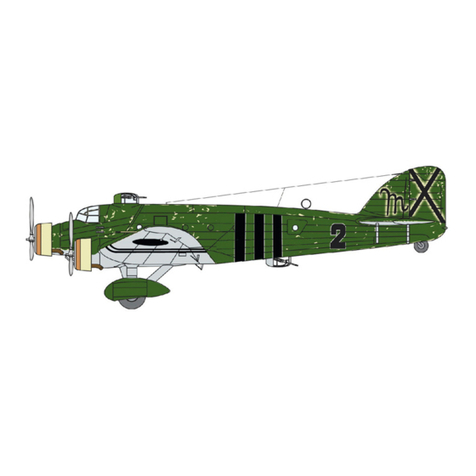
Italeri Savoia Marchetti SM 81 Pipistrello manual

Italeri

Italeri Savoia Marchetti SM 81 Pipistrello manual

Eduard SAM-6 AA missile Assembly instructions

Eduard

Eduard SAM-6 AA missile Assembly instructions

Mega Bloks Skylanders Giants Crusher's Pirate Quest manual

Mega Bloks

Mega Bloks Skylanders Giants Crusher's Pirate Quest manual

Fisher-Price POWER WHEELS L6348 Owner's manual & assembly instructions

Fisher-Price

Fisher-Price POWER WHEELS L6348 Owner's manual & assembly instructions

NOCH 14388 manual

NOCH

NOCH 14388 manual

Pichler ALPHA JET C9655 instruction manual

Pichler

Pichler ALPHA JET C9655 instruction manual

E-FLITE UMX PittsS-1S instruction manual

E-FLITE

E-FLITE UMX PittsS-1S instruction manual

krakpol 102/246105 Assembly instruction

krakpol

krakpol 102/246105 Assembly instruction

Hasbro Tiger Electronics Electronic Furby instruction manual

Hasbro

Hasbro Tiger Electronics Electronic Furby instruction manual

Giant Leap Rocketry Talon 2 instruction manual

Giant Leap Rocketry

Giant Leap Rocketry Talon 2 instruction manual

Fisher-Price LIL KAWASAKI 76937 Owner's manual & assembly instructions

Fisher-Price

Fisher-Price LIL KAWASAKI 76937 Owner's manual & assembly instructions

Trix BR 185.2 manual

Trix

Trix BR 185.2 manual

Aztech Helex series user manual

Aztech

Aztech Helex series user manual

manuals.online logo
manuals.online logoBrands
  • About & Mission
  • Contact us
  • Privacy Policy
  • Terms and Conditions

Copyright 2025 Manuals.Online. All Rights Reserved.