44
33
trio cd receivertrio cd receiver trio cd receivertrio cd receiver
Features12. Damage Requiring Service
Stop using the unit immediately and have it inspected by an authorized music hall service
center whenever:
1. The power supply cord or plug has been damaged.
2. Liquid has been spilled into the unit.
3. The unit has been exposed to rain.
4. The unit does not operate properly.
5. The unit has been dropped or damaged.
6. Smoke or any unusual smell is detected from the unit.
CAUTION: TO REDUCE THE RISK OF ELECTRIC SHOCK, DONOT REMOVE COVER. NO USER
-SERVICEABLE PARTS INSIDE. REFER SERVICING TO QUALIFIED SERVICE PERSONNEL.
CAUTION: TO REDUCE THE RISK OF ELECTRIC SHOCK, DONOT REMOVE COVER. NO USER
-SERVICEABLE PARTS INSIDE. REFER SERVICING TO QUALIFIED SERVICE PERSONNEL.
Indicates that the user of this unit must understand important operation
and maintenance instructions.
Indicates high-voltage power inside the unit, which will cause electric
shock.
A Few Precautions
Getting Started
Placement
We designed the trio to enhance the modern life of the space conscious music lover by
providing them with three gorgeous sounding components in one simple uncluttered package.
The one box trio contains; a two-channel integrated amplifier, an am/fm tuner, and cd player.
We chose a select group of technologically advanced components to create this powerful one
box wonder. Thank you for purchasing the music hall trio.
50 watt/channel integrated amplifier
am/fm remote controllable tuner with 80 assignable presets
sophisticated cd player
thick brushed-aluminum fascia and solid chassis
headphone output
gold-plated inputs include: 4 audio + 1 linked S-video or single rca video
gold-plated outputs include: pre-amp, sub, tape, and 1 linked S-video or single rca video
a, b, a + b speaker switching
115v/230v switchable transformer
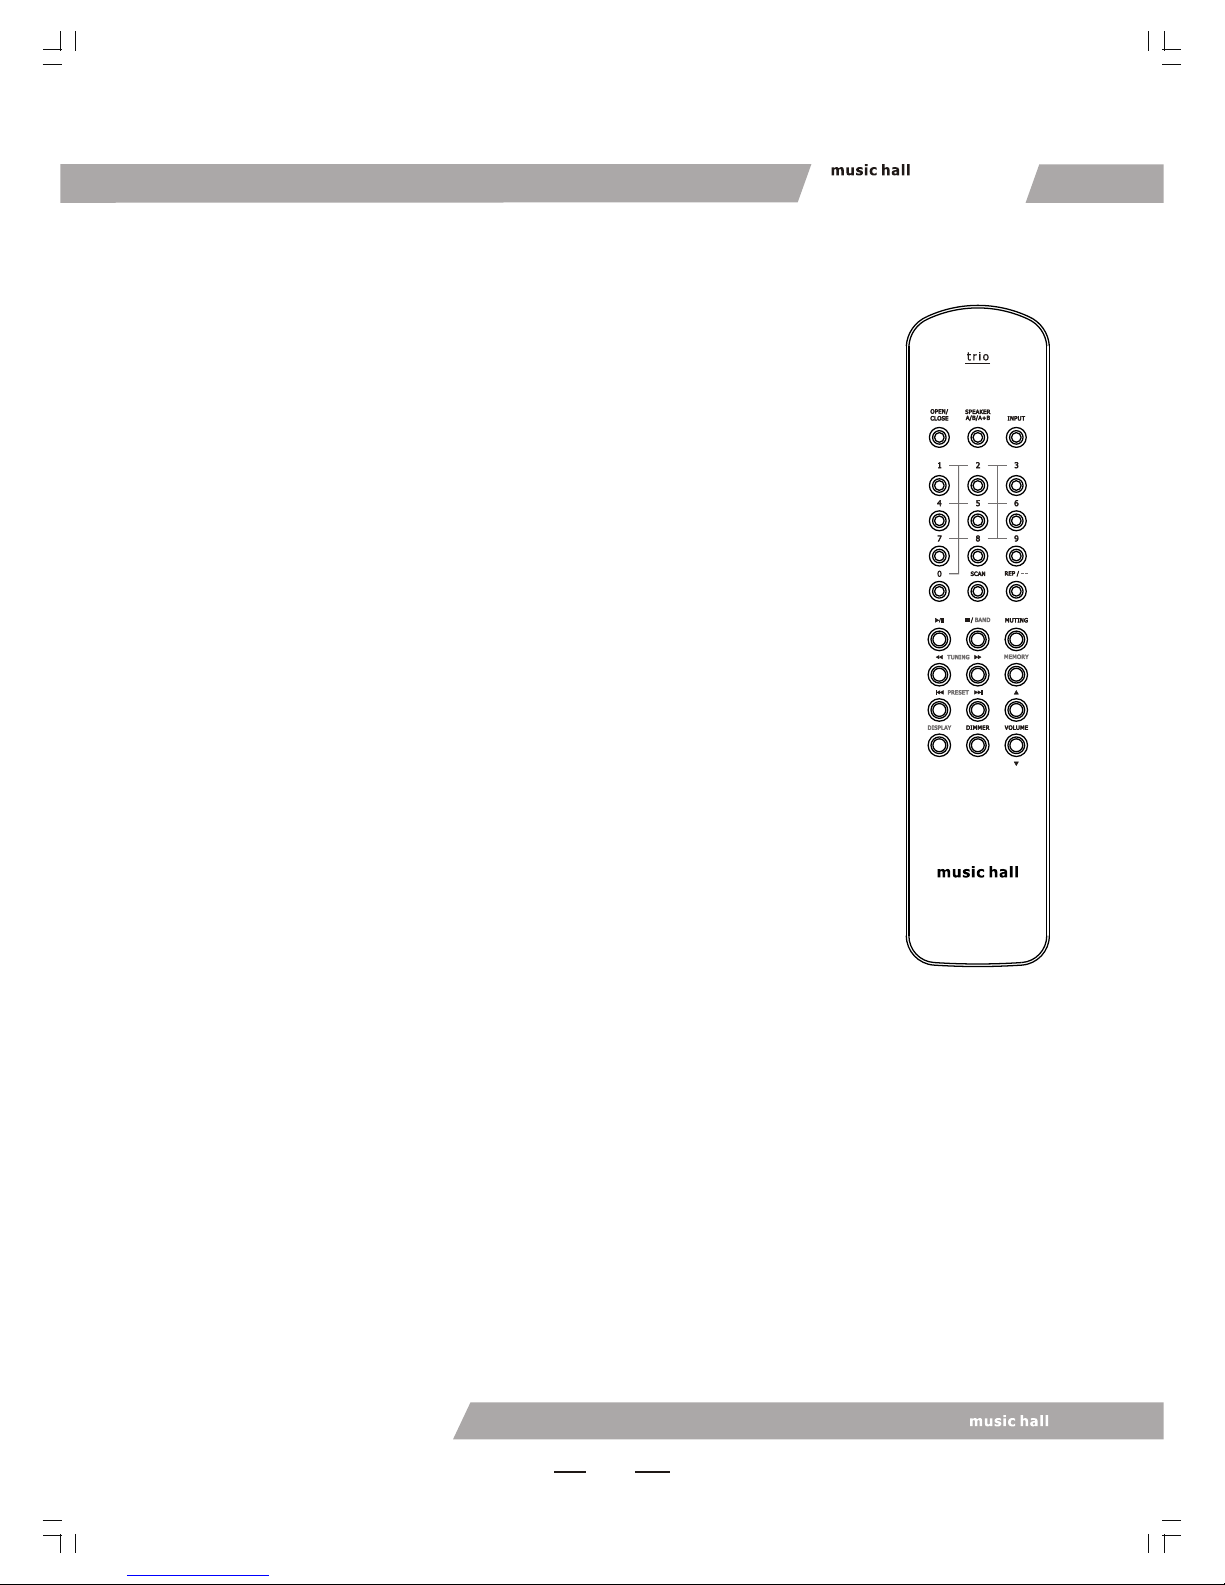
slim-line remote control
easy to read and dimmable florescent display
detachable power cord
Please read this manual carefully. In addition to installation and operating instructions, it
provides valuable information that will help you get optimum performance from your system.
Please contact your authorized music hall dealer for answers to your questions. In addition,
all of us at music hall welcome your questions and comments. Save the shipping carton
and all enclosed packing material for future use. Shipping or moving the unit in
anything other than the original packing material may result in severe damage that is not
covered by the warranty. Be sure to keep the original sales receipt. It is your best record of
the date of purchase, which you will need in the event warranty service is required.
Unbox your unit, accessories bag, and power cord.
Use common sense when placing your unit. Always place it on a firm, level surface. Make
sure that the shelf or cabinet can support the weight. Insure that there is adequate ventilation
around all sides of the unit. Avoid placing your unit where it may be subject to excessive
heat, such as near a heat register. Do not place anything on top of it. For best performance,
avoid placing your unit where it may be subject to vibration, such as near a speaker.