manuals.online logo
Brands
  1. Home
  2. •
  3. Brands
  4. •
  5. Net World Sports
  6. •
  7. Sport & Outdoor
  8. •
  9. Net World Sports Mini FORZA Locking Goal Instruction Manual

Net World Sports Mini FORZA Locking Goal Instruction Manual

Assembly Instructions & Safety Procedures
Assembly Instructions
Mini FORZA Locking Goal
Layout all components as in component
table above.
Assemble the base using components
identied on diagram above.
Please ensure all locking clips are inserted
into the connectors.
Place net over goal with the green edging
indicating crossbar and post position.
To nish, place one sticker on each of the two uprights (#1051)
Starting at the top corners, t the net by
wrapping it round the posts and clipping it
to the inside using clips enclosed. Attach
clips equally along all lengths.
Attach uprights, 1051, using corner pieces.
Part 1051 should have two button holes at
base and single button hole facing
backwards at top.
Attach cross bar. Attach sticker at centre of
crossbar.
QtyNo
Sticker 2
Additions
• Nets
• Clips
• Forza Bag (optional)
2
1068
2
1051
2
9040
One Top
Button Hole
Single
Button Hole
Two Side
Button Hole
9255 1068
1051
9255
9255 1068
9255
9255
9040
9255
9040
1051
1
4
7
2
5
3
6
Important Safety Instructions Additional Information
• Always inspect goal post and net for defects before use and replace damaged parts in accordance with BS 8461:2005 code of practice.
• Do not use goal with faulty parts.
• The goal must always be secured to the ground. Weights to be used on hard surfaces, ground anchors on grass.
• Never climb on the net or the goal frame. The goal must never be used without the net tted.
• Please adhere to the safety instructions at all times.
• Please ensure all locking clips are inserted into the connectors
• When the goal is not being used, dismantle and store under cover.
• This goal conforms with BS8462:2005.
• Not suitable for children under 3 years old.
• It is recommended that the goal is assembled by an adult.
• Warranty excludes net.
•
Please see forzagoal.com/forza-goal-instructions for more details.
Net World Sports USA
www.networld-sports.com
sales@networld-sports.com
1-866-861-9095
Net World Sports UK
www.networld-sports.co.uk
sales@networld-sports.co.uk
+44 (0)1691 683807
6
9255
[To Ensure Warranty is validated, please ensure stickers are applied to part no #1051]
9231 12
Locking
Clips
- Weitere Informationen und Sicherheitshinweise -
1
4
7
2
5
3
6
Alle Einzelteile wie auf der Abbildung gezeigt
auslegen.
Contiene todos los elementos como se muestran
en la tabla.
Coloque red sobre objetivo con el ribete verde que
indica travesaño y post posición .
Adjuntar montantes, 1051, utilizando piezas de las
esquinas. Parte 1051 deben tener dos ojales en la
base y ojal solo mirando hacia atrás en la parte
superior.
A partir de las esquinas superiores, coloque la red
envolviéndolo alrededor de los puestos y de recorte
a la parte interior utilizando clips cerrados. Adjuntar
clips igualmente a lo largo de todas las longitudes.
Coloque la barra transversal. Pegue la etiqueta
adhesiva en el centro de la barra transversal.
Déployez toutes les pièces comme indiquer dans le
dessin.
Placez net sur but avec la bordure verte indiquant
la barre transversale et après la position.
Fixez les montants, 1051, en utilisant des pièces
d'angle. Partie 1051 devrait avoir deux trous du
bouton à la base et boutonnière unique vers
l'arrière en haut.
En commençant par les coins supérieurs , monter le
net en l'enveloppant autour des postes et la
coupure à l' intérieur à l'aide des clips fermés . Fixez
les clips aussi le long de toutes les longueurs.
Fixez la barre transversale. Collez l'étiquette au
centre de la barre transversale.
Distribuire le parti come indicato nel disegno.
Posizionare rete sopra porta con il bordo verde
indica traversa e post posizione .
Fissare i montanti, 1051, utilizzando angolari .
Parte 1051 dovrebbe avere due asole alla base e
foro unico pulsante rivolti all'indietro in alto .
A partire da angoli superiori, montare la rete
avvolgendolo intorno ai post e ritaglio al suo interno
mediante clips in dotazione. Fissare le clip altrettanto
lungo tutte le lunghezze.
Allega traversa . Applicare adesivo al centro
deltraversa.
Bringen Querstange. Kleben Sie den Aufkleber in
der Mitte der Querlatte.
Zeigen Netz über Ziel mit der grünen Umrandung
zeigt Querlatte und Postposition.
Zum Abschluss je einen Aufkleber auf den Torpfosten #1051 anbringen, damit tritt die Garantie in Kraft.
Para terminar, ponga una barra en cada uno de los postes de la portería #1051.
Pour nir et pour activer la garantie achez un autocollant réspectivement aux deux poteaux #1051.
Inne, e per attivare la garanzia visualizzare un adesivo per i due poli #1051.
Bringen Pfosten, 1051, mit Winkelstücke. Teil 1051
müssen zwei Knopöcher an der Basis und einzigen
Knopoch an der Spitze nach hinten.
Beginnend an den oberen Ecken, passen die Netto
durch Umwickeln runden den Pfosten und es mit
dem Clip an der Innenseite mit Klammern
umschlossen. Bringen Clips gleichmäßig entlang
aller Längen.
1
4
7
2
5
3
6
1
4
7
2
5
3
6
1
4
7
2
5
3
6
- Informaciones adicionales Recomendaciones y seguridad -
- D'autres instructions d'information et de sécurité -
- Informazioni e sicurezza aggiuntive istruzioni -
Fügen Sie den unteren Rahmen wie in der Abbildung
angegeben zusammen.
Bitte stellen Sie sicher, dass alle Verschlussklemmen in
den Verbindungsstücken eingesetzt werden.
•
Überprüfen Sie Rahmen und Netz vor Benutzung immer auf Beschädigungen und ersetzen Sie beschädigte Teile durch
Originalteile. Benutzen Sie das Tor nicht mit schadhaften Teilen.
•
Das Tor muss immer am Boden gesichert sein. Auf harten Oberächen müssen geeignete Gewichte benutzt werden, Bodenanker
auf Gras.
•
Nie auf das Netz oder den Torrahmen klettern. Das Tor nie ohne angebrachtes Netz benutzen.
•
Bitte stellen Sie sicher, dass alle Verschlussklemmen in den Verbindungsstücken eingesetzt werden.
•
Wenn das Tor nicht benutzt wird, zerlegen Sie es und lagern es geschützt.
•
Nicht für Kinder unter 3 Jahren geeignet.
•
Es wird empfohlen, dass das Tor von einem Erwachsenen zusammengebaut wird.
•
Die Garantie erstreckt sich NICHT auf das Netz.
•
Für nähere Informationen besuchen Sie bitte www.forzagoal.com/forza-goal-instructions
Ensamble la base usando los elementos identicados
en el diagrama.
Por favor tenga en cuenta que todos los clips para
asegurar se encuentren insertados en los conectores.
•
Inspeccione los postes y la red para identicar posibles defectos antes de ser usados
•
No utilice la portería con partes faltantes.
•
La portería debe estar siempre asegurada al suelo.
•
Nunca se suba sobre la red o el marco de la portería.
•
Por favor tenga en cuenta que todos los clips para asegurar se encuentren insertados en los conectores.
•
Cuando la portería no esté siendo utilizada, desármela y manténgala almacenada en un
lugar cubierto.
•
No adecuada para niños menores de 3 años.
•
Se recomienda que la portería sea ensamblada por un adulto.
•
La garantía excluye la red.
•
Para más detalles por favor vea las instrucciones en forzagoal.com/forza-goal-instructions.
Assemblez le cadre inférieur avec les pièces
indiquées dans le dessin.
S'il vous plaît, assurez-vous que tous les clips sont
insérer dans les éléments connecteur.
•
Toujours vériez-vous que le cadre et le let sont sans fautes avant de l’utiliser, et remplacez des pièces endommagées.
•
Ne utilisez pas la cage avec des pièces endommagées.
•
Il faut que la cage soit xée au sol. Aux surfaces dures il faut utiliser des poids assez lourds, des ‚Sardines‘ á la pelouse.
•
Jamais grimper sur le let ou le cadre. Ne utilisez pas le cadre sans le let xé.
•
S'il vous plaît, assurez-vous que tous les clips sont insérer dans les éléments connecteur.
•
Quand la cage n’est pas utilisée, démontez-elle et entreposez-elle couvrée.
•
Ne convient pas aux enfants de moins de 3 ans.
•
C’est conseillé que un adulte ajoute la cage.
•
La garantie exclut le let.
•
Pour des informations en plus, s'il vous plaît visitez
www.forzagoal.com/forza-goal-instructions.
Montare il telaio inferiore con le parti indicate nel
disegno.
Assicurarsi che tutte le clip di bloccaggio sono
inseriti nei connettori
•
Sempre assicurarsi di conoscere il contesto e la rete sono presenti errori prima di utilizzare e sostituire le parti danneggiate.
•
Non utilizzare la gabbia con parti danneggiate.
•
Deve essere allegata al pavimento della gabbia. Le superci dure devono essere usati pesi abbastanza pesanti, prato á Sardine'.
•
Non salire mai sulla rete o telaio. Non utilizzare il telaio senza il paniere di compensazione.
•
Assicurarsi che tutte le clip di bloccaggio sono inseriti nei connettori.
•
Quando la gabbia non viene utilizzato, rimuoverlo e riporlo couvrée.
•
Non adatto a bambini sotto i 3 anni.
•
Si raccomanda che un adulto aggiunge la gabbia.
•
La garanzia esclude la rete.
•
Si prega di consultare forzagoal.com/forza-goal-instructions per maggiori dettagli.

Other Net World Sports Sport & Outdoor manuals

Net World Sports Forza ProFlex User manual

Net World Sports

Net World Sports Forza ProFlex User manual

Net World Sports Forza User manual

Net World Sports

Net World Sports Forza User manual

Net World Sports 6m/20ft BALL STOP POST User manual

Net World Sports

Net World Sports 6m/20ft BALL STOP POST User manual

Net World Sports Forza 3 x 2 LOCKING GOAL User manual

Net World Sports

Net World Sports Forza 3 x 2 LOCKING GOAL User manual

Net World Sports Forza User manual

Net World Sports

Net World Sports Forza User manual

Net World Sports RAPIDFIRE User manual

Net World Sports

Net World Sports RAPIDFIRE User manual

Net World Sports FORB GOLF User manual

Net World Sports

Net World Sports FORB GOLF User manual

Net World Sports Forza User manual

Net World Sports

Net World Sports Forza User manual

Net World Sports VERMONT User manual

Net World Sports

Net World Sports VERMONT User manual

Net World Sports Forza User manual

Net World Sports

Net World Sports Forza User manual

Net World Sports Forza ALU80 User manual

Net World Sports

Net World Sports Forza ALU80 User manual

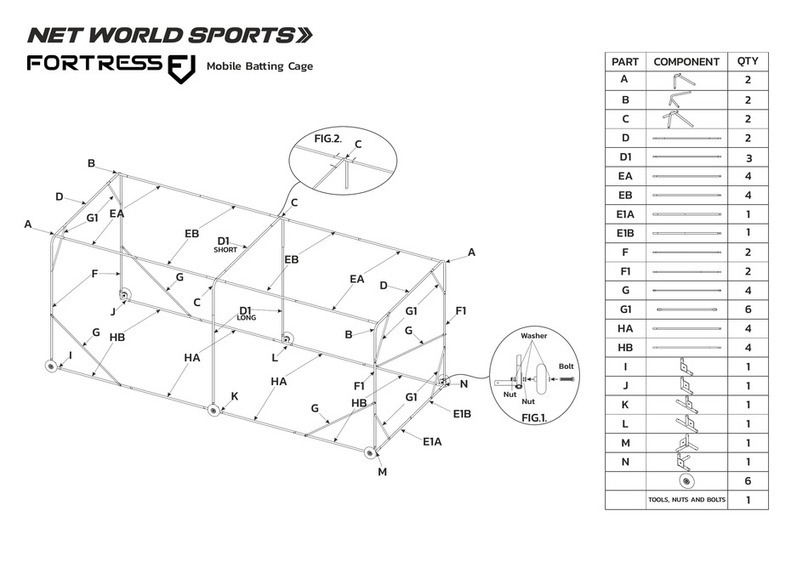
Net World Sports Fortress Mobile Batting Cage User manual

Net World Sports

Net World Sports Fortress Mobile Batting Cage User manual

Net World Sports PRO HOCKEY GOAL User manual

Net World Sports

Net World Sports PRO HOCKEY GOAL User manual

Net World Sports FORZA FIH User manual

Net World Sports

Net World Sports FORZA FIH User manual

Net World Sports REGULATION LACROSSE GOAL User manual

Net World Sports

Net World Sports REGULATION LACROSSE GOAL User manual

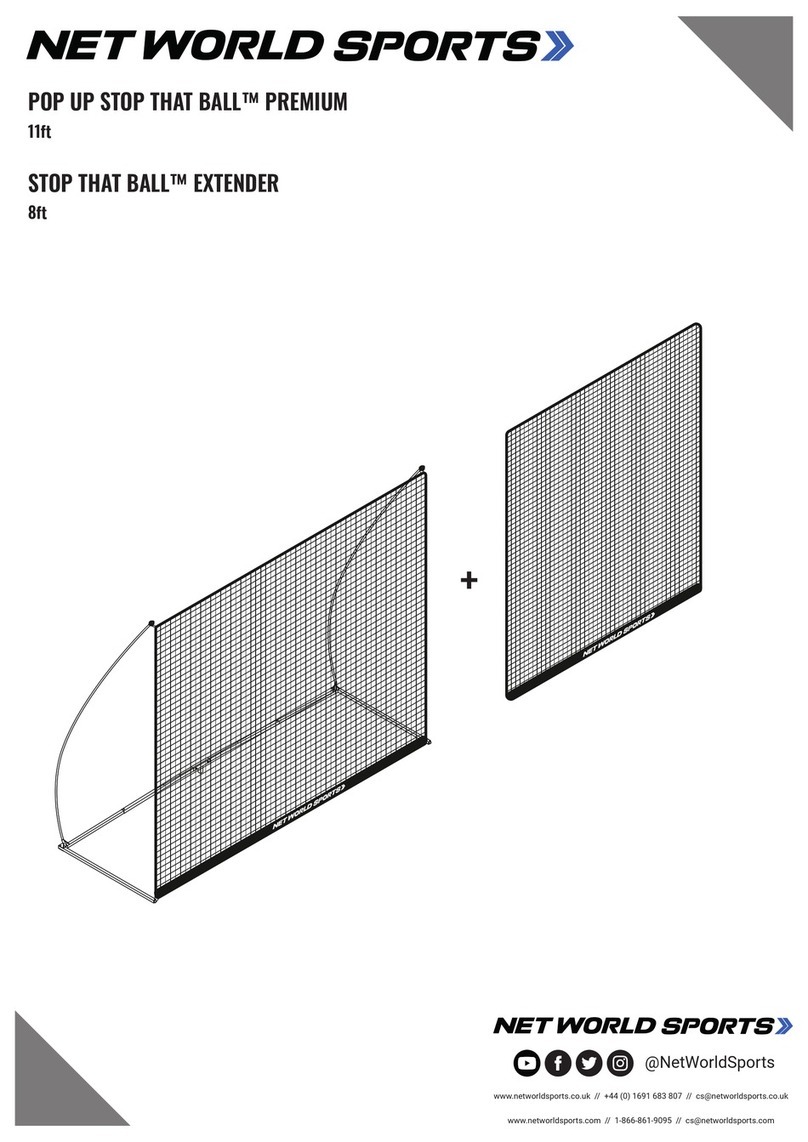
Net World Sports POP UP STOP THAT BALL PREMIUM User manual

Net World Sports

Net World Sports POP UP STOP THAT BALL PREMIUM User manual

Net World Sports Forza ALU80 User manual

Net World Sports

Net World Sports Forza ALU80 User manual

Net World Sports FORB golf User manual

Net World Sports

Net World Sports FORB golf User manual

Net World Sports Forza 8 x 6 STEEL42 User manual

Net World Sports

Net World Sports Forza 8 x 6 STEEL42 User manual

Net World Sports 8 x 4 FORZA Match Goal Instruction Manual

Net World Sports

Net World Sports 8 x 4 FORZA Match Goal Instruction Manual

Net World Sports Forza User manual

Net World Sports

Net World Sports Forza User manual

Net World Sports FORTRESS 360 BATTING CAGE - 33FT User manual

Net World Sports

Net World Sports FORTRESS 360 BATTING CAGE - 33FT User manual

Net World Sports FORZA MINI LOCKING GOAL User manual

Net World Sports

Net World Sports FORZA MINI LOCKING GOAL User manual

Net World Sports Forza ALU110 User manual

Net World Sports

Net World Sports Forza ALU110 User manual

Popular Sport & Outdoor manuals by other brands

Springfree SF80 Assembly, Installation, Care, Maintenance, and Use Instructions

Springfree

Springfree SF80 Assembly, Installation, Care, Maintenance, and Use Instructions

Daktronics Aquatics maintenance

Daktronics

Daktronics Aquatics maintenance

Swing-N-Slide NE 4699-T manual

Swing-N-Slide

Swing-N-Slide NE 4699-T manual

SMARTGOLF AI Club SG3-A1-X manual

SMARTGOLF

SMARTGOLF AI Club SG3-A1-X manual

Oypla Leisure 3905 user manual

Oypla Leisure

Oypla Leisure 3905 user manual

Hathaway BG3138 quick start guide

Hathaway

Hathaway BG3138 quick start guide

Crivit 282089 Instructions for use

Crivit

Crivit 282089 Instructions for use

Salta 5357 user manual

Salta

Salta 5357 user manual

Lifetime QUICK ADJUST II 1008 Owner's manual with assembly instructions

Lifetime

Lifetime QUICK ADJUST II 1008 Owner's manual with assembly instructions

AllSportSystems DIY Bay installation guide

AllSportSystems

AllSportSystems DIY Bay installation guide

SKLZ Quickster Lacrosse Goal Getting started

SKLZ

SKLZ Quickster Lacrosse Goal Getting started

Pop-A-Shot PRO DUAL SHOT PASPDS22 Assembly instructions

Pop-A-Shot

Pop-A-Shot PRO DUAL SHOT PASPDS22 Assembly instructions

Hathaway Quick Set BG2323 Assembly instructions

Hathaway

Hathaway Quick Set BG2323 Assembly instructions

Aeros ADAM-13T Owner's service manual

Aeros

Aeros ADAM-13T Owner's service manual

Heater Sports PowerAlley Pro PAPRO149 manual

Heater Sports

Heater Sports PowerAlley Pro PAPRO149 manual

AluSport EL100 LEFT manual

AluSport

AluSport EL100 LEFT manual

Jaypro Sports TC-710 Installation and maintenance manual

Jaypro Sports

Jaypro Sports TC-710 Installation and maintenance manual

LOBSTER SPORTS Elite EL04 Troubleshooting

LOBSTER SPORTS

LOBSTER SPORTS Elite EL04 Troubleshooting

manuals.online logo
manuals.online logoBrands
  • About & Mission
  • Contact us
  • Privacy Policy
  • Terms and Conditions

Copyright 2025 Manuals.Online. All Rights Reserved.