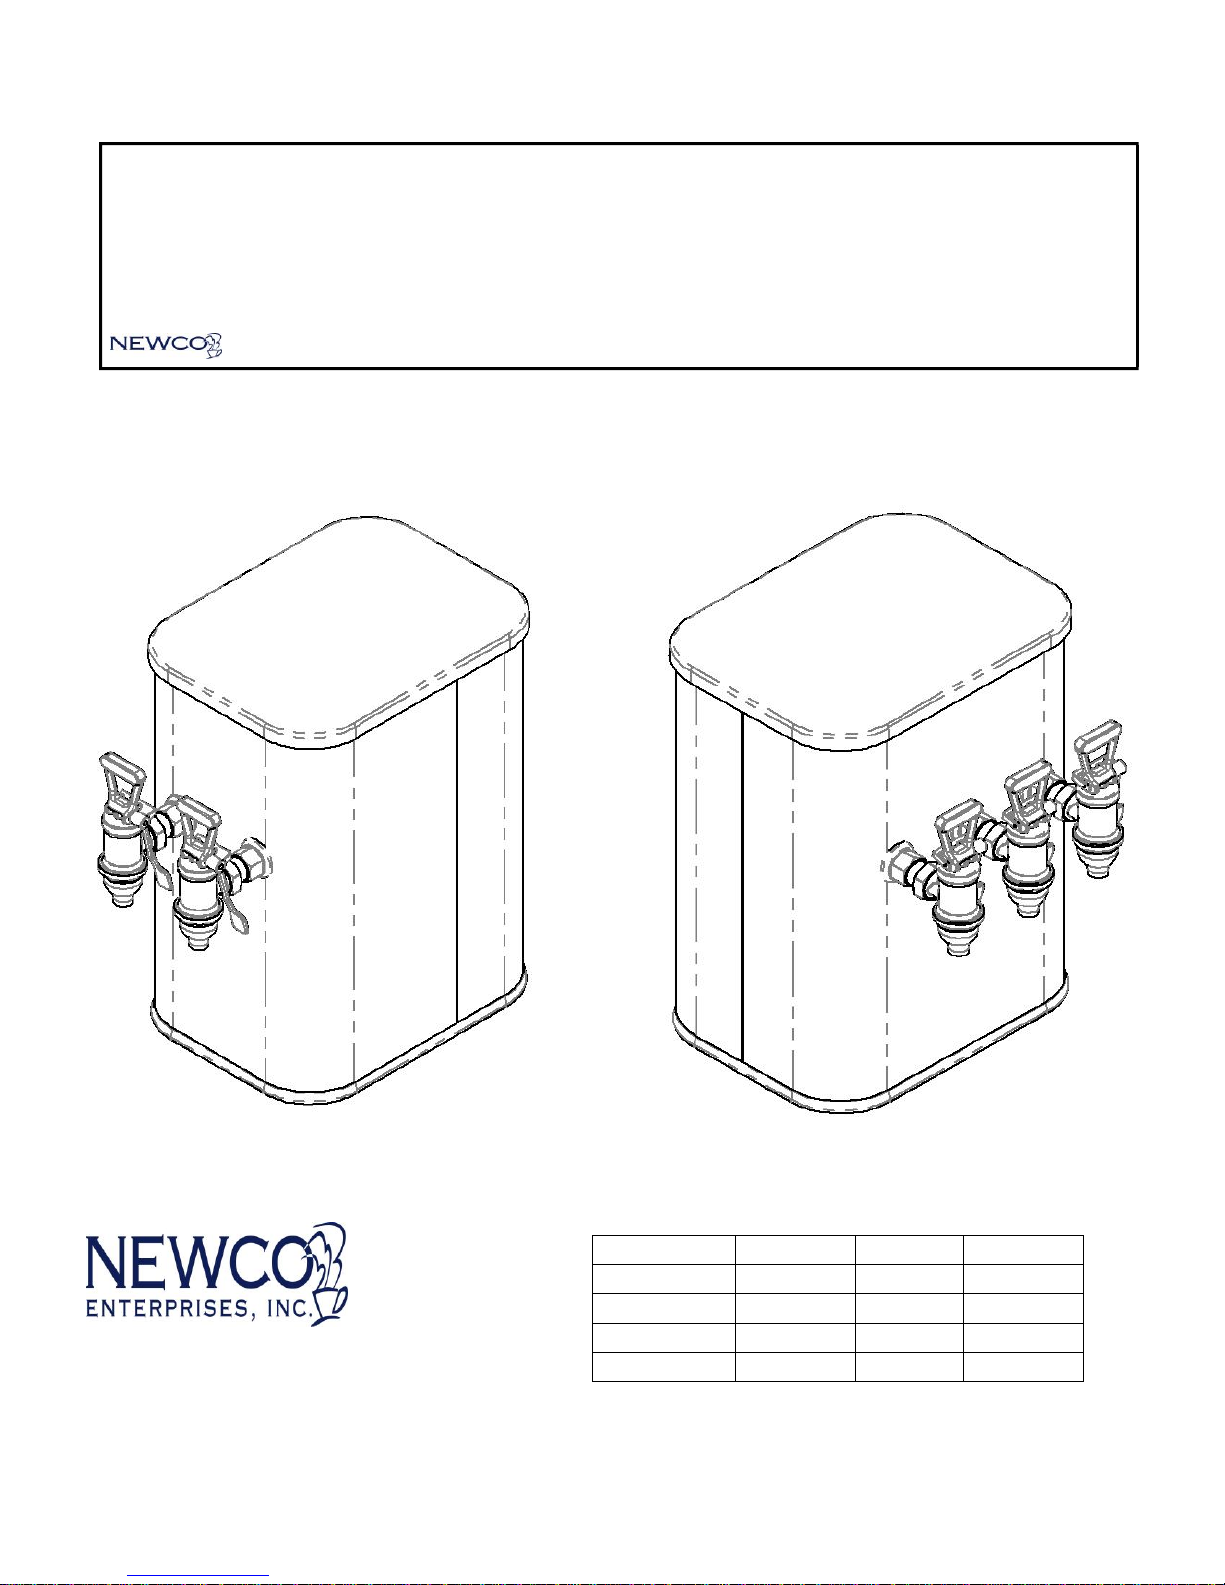
Part No. 803172 Issued 3-29-13 Rev 012015
5. Press QCD towards the dispensing
spout until it is flush with the
collar of the QCD.
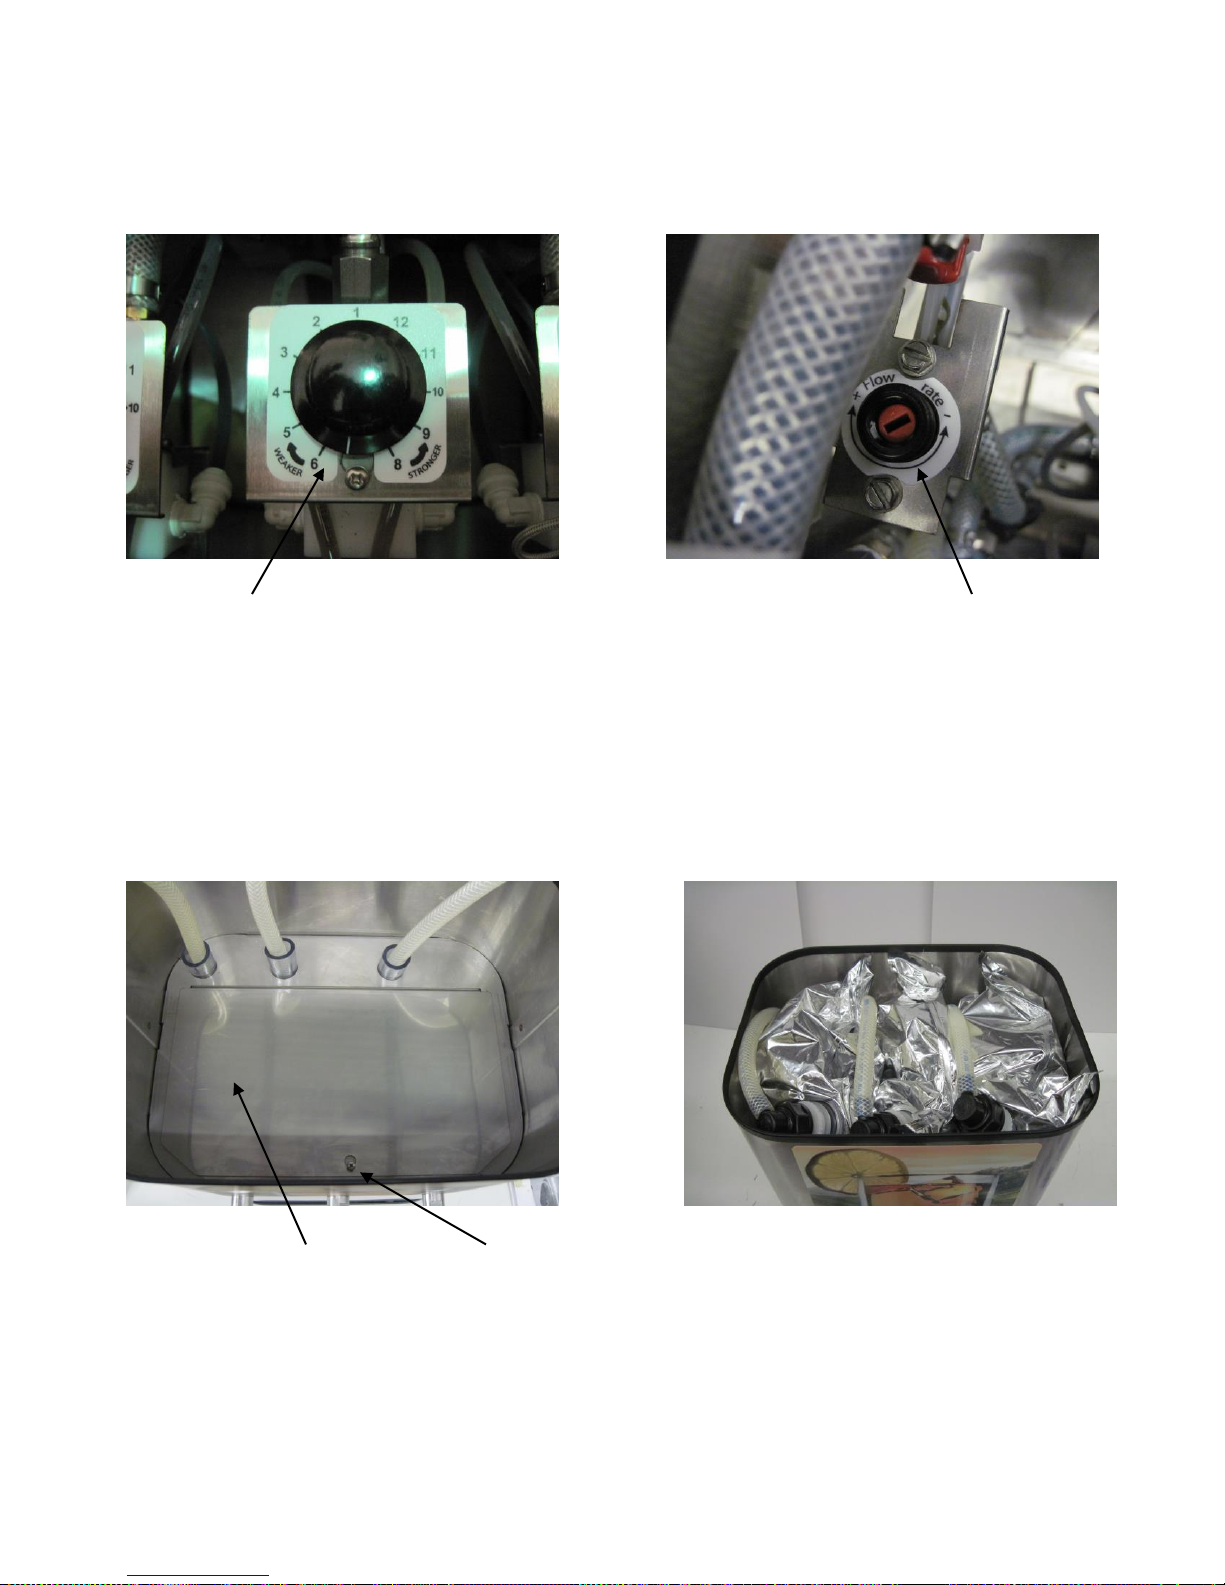
6. The BIB should lie horizontally
•
Avoid loops in the product line
•
Use the minimum amount of
product line required.
•
Check for air bubbles in the
product line to trouble shoot for
priming.
PRIME SYSTEM
7. After the BIB has been connected to
the QCD valve dispense
approximately 12 ounces of product.
8. Dispense another 8 ounces of
product and sample for taste. If
an adjustment is necessary refer to
taste calibration section page #7.
NOTE: Be sure there are no air
bubbles in the product line.
Cleaning Instructions
To clean and flush lines before connecting
BIB product to unit or when changing
product. Flush should be performed at least
once a week.
Note:
Cleaning requires the use of a
cleaning/flush adapter. An adapter may be
purchased from Newco Enterprises, Inc.
#320282 for QCD cleaning /flush adapter.
#120508 for Scholle cleaning/flush adapter.
A cleaning adapter can be made by taking
an empty BIB bag and cutting away as
much of the empty bag as possible. Wash
the remaining connector and further trim
off any remaining bag pieces if desired.
This is now your cleaning adapter. It will
allow the check valve in the connector to
stay open during the cleaning process.
Cleaning adapters may be saved for later
use.
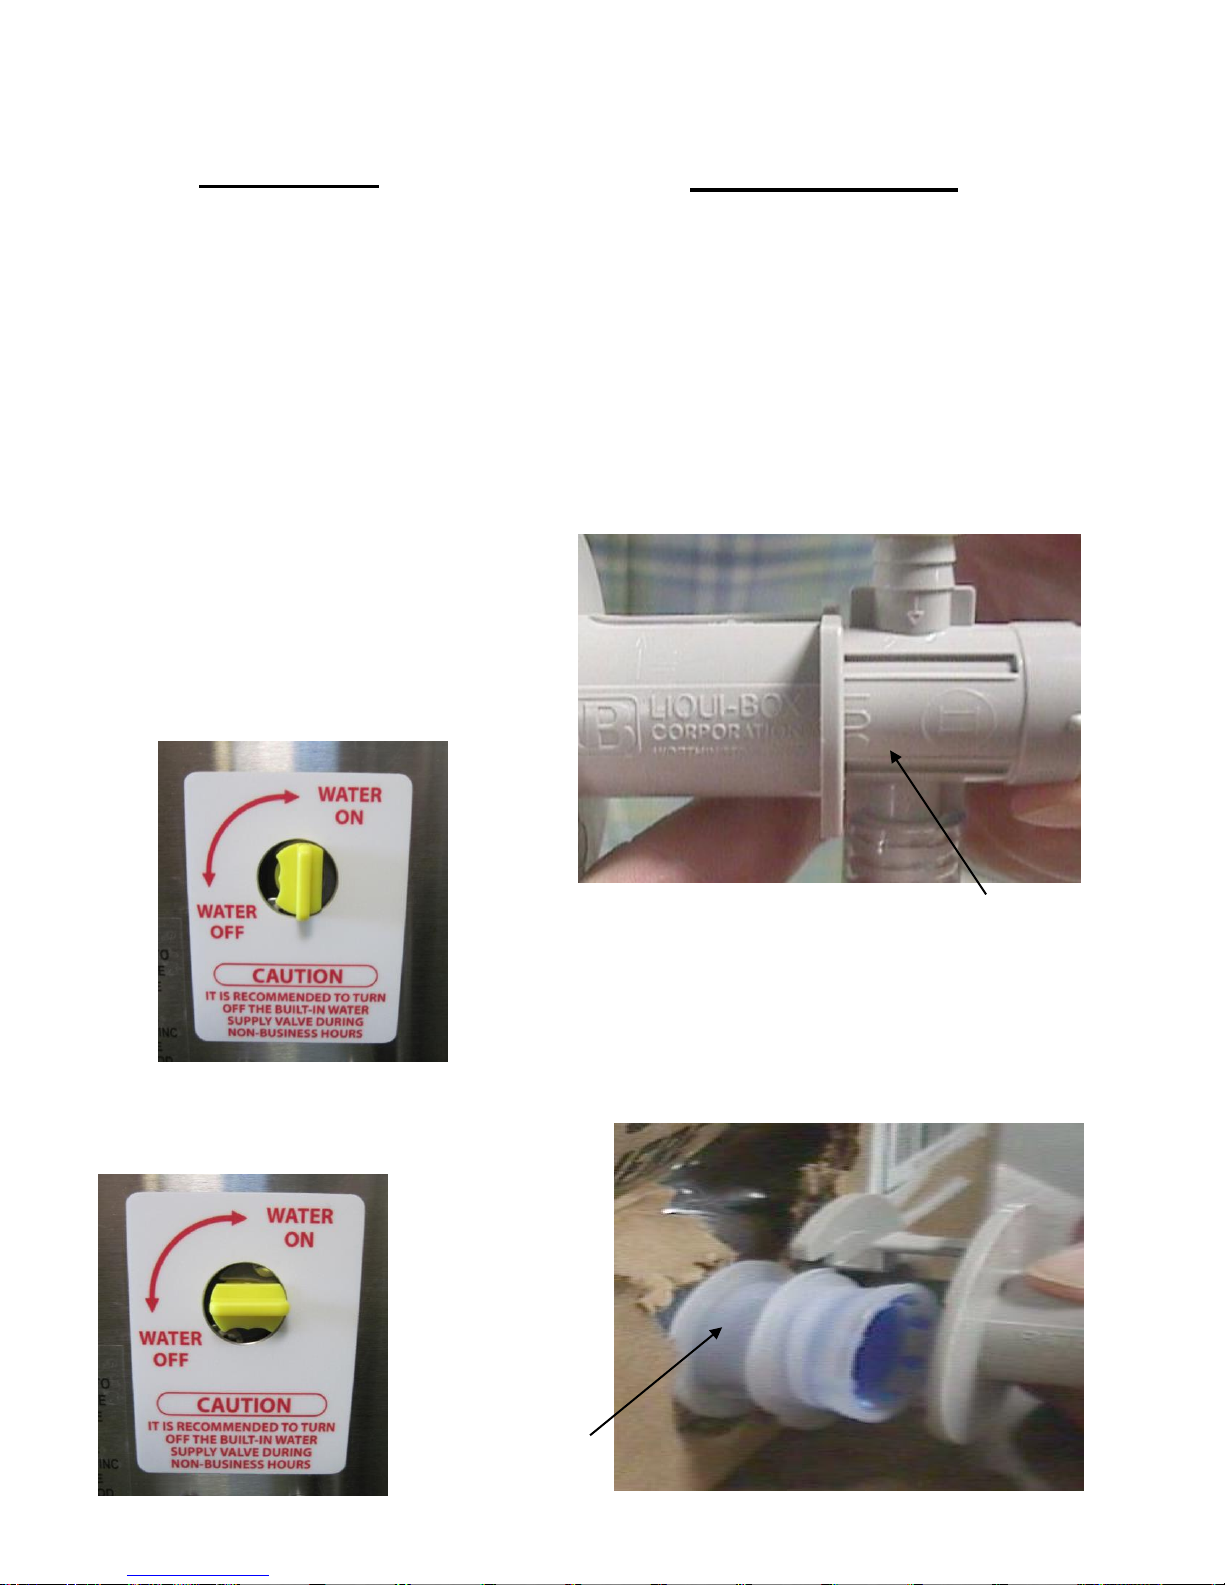
1. Connect clean/flush adapter to QCD
or Scholle connector.
2. Place connector with adapter in
container of hot water.
3. Lock or hold faucet handle down
until clear water runs from faucet.
4. Remove adapter from connector.
5. Attach connector to new BIB.