Nexus Industrial Design IW261C-N User manual

Reset
RF Transmission LED
Reset
Outdoor wireless transmitter
FCC ID: TIUIW261C
INPUT : DC5V
BATTERY: DC4.5V 3xAAA
Stand
BATTERY + / - DIRECTION
1. INSERT THE STAND HORIZONTALLY
2. THEN ROTATE THE STAND CLOCKWISE
BY 90° TO SECURE IT
Stand
/
LED
RESET
HOLDER
INSERT 2 x AAA
BATTERIES
CHANNEL 1
CHANNEL 2
CHANNEL 3
WIRELESS OUTDOOR TRANSMITTER
FCC ID: TIUTW003
Model No. TW003
1.5V / AAA x 2
FCC ID: TIUTW003
Model No. TW003
1.5V / AAA x 2
INSTRUCTION MANUAL OF IW261C-N
COLOR WEATHER FORECAST STATION V1.1 - June. 18, 2015
INSTRUCTION MANUAL OF IW261C-N
COLOR WEATHER FORECAST STATION V1.1 - June. 18, 2015
RF 433.92MHz
RF 433.92MHz

P. 2
FEATURE LIST
4.7” / 120mm (diagonal) display with 1.1” time digits
Alarm 1 and Alarm 2
Programmable Snooze 5-60 minutes
Dimmer for nighttime viewing
Color forecast : Sunny, Partly Cloudy, Cloudy, Rainy, Stormy
12-hour forecast based on changing air pressure
Tendency indicator of weather forecast
Indoor-outdoor temperature and humidity (RH%)
Max-Min records of temperature and humidity
Month-Date Calendar interchangeable with Air pressure readout (inHg)
Degree C/F readout
12/24 hour time format
433Mhz wireless outdoor transmitter (one transmitter is included)
Up to 50-meter transmission of outdoor temperature and humidity
Auto scrolling of outdoor temperatures and humidity of up to three transmitters
Low battery indicator of outdoor transmitter
Can expand to use with two additional outdoor transmitters (purchase separately)
Main unit powered by external AC/DC adaptor
Batteries : 3 “AAA” alkaline for backup of the main weather station (not included)
: 2 “AAA”alkaline for outdoor transmitter (not included)
QUICK SETUP
Step 1: Power up your weather station
Insert the AC/DC adaptor to any 120V AC household outlet. Then insert the DC jack to the back case of your
unit.
Take out the stand at the back case and insert it horizontally to the back case, then rotate it by 90 degree to
secure it to the back case.
Step 2: install batteries to your outdoor transmitter
Keep your weather station and wireless outdoor transmitter next to each other. Slide open the battery cover at
the back of your wireless outdoor transmitter, then insert 2 x AAA alkaline batteries to the battery compartment.
Make sure the Channel selector is at 1position. Replace the battery cover.
Remark : Make sure (Channel 1) is displayed under the outdoor temperature and humidity. You could
press / CHANNEL to select Channel 1.
Your weather station will receive data signal from the outdoor transmitter in few seconds. Then place your
outdoor transmitter in a dry and shaded area.

P. 3
Installing backup batteries to your weather station
Your weather station requires 3 “AAA” alkaline batteries to provide backup power to it in the event of a
temporary power interruption.
1. Place your unit face down on a flat surface.
2. Slide and remove the battery cover at the bottom of your unit.
3. Insert 3 “AAA” alkaline batteries into the battery compartment by observing the “+” and “-“ polarity as
indicated.
4. Replace the battery cover.
If the AC main power is interrupted, the backlight will go off. The backup batteries will keep the time and all
settings of your unit. Press once to turn on the backlight for 5 seconds.
Remarks:
Keep in mind that your outdoor transmitter has a 180-ft open air transmission with no obstructions.
Actual transmission range will vary depending on what is in the path of the signal. Each obstruction (roof,
walls, floors, ceilings, thick trees, etc.) will effectively cut signal range in half.
Insert the holder to the bottom of the outdoor transmitter for desktop or insert it to the back of the
transmitter for wall mount purpose.
TO SET YOUR UNIT MANUALLY
The setting of your unit comes into the sequence of 12/24 hour, hours, minutes, year, month, date, month-
date/date-month display and snooze duration.
1. Press and hold for 2 seconds, time digits change to “12Hr“ and flash. Press or to select
“24 Hr” time format if need. When 12Hr time format is selected, PM indicator will be displayed.
2. Then press once again, “12” the hour digits flash. Press or button to
set the hours. Press and hold / will accelerate your setting faster.
3. Then press once again, “00”” the minute digits flash. Press or button to
set the minutes. Press and hold / will accelerate your setting faster.
4. Then press once again, “Yr” and “2013” digits flash. Press or button to
set the year.

P. 4
5. Then press once again, month digits flash. Press or button to set the month.
6. Then press once again, date digits flash. Press or button to set the date.
7. Then press once again, “m”, “d”, month-date digits flash. Press or to select
month-date “m” “d” or date-month “d” “m” calendar display.
8. Then press once again, “SN” and “05”. Press or button to set the
snooze duration from 5 minutes to 60 minutes.
9. Press to return to normal mode, or it will return to normal mode in around 10
seconds if no further press of any other buttons.
TO SET ALARM TIME
1. Press once, time digits change to alarm time digits “6:00” and “A1”. Then press
and hold for 2 seconds, the alarm hour digits flash. Press or to set the hours of your desired
alarm time.
2. Then press once again, the alarm minute digits flash. Press or button to set the minutes of
your desired alarm time.
3. Press once, time digits change to alarm time digits “6:00” and “A2”is
displayed. Then repeat the above in Alarm 1 setting.
P. 5
3. Your weather station will return to normal mode, or it will return to normal mode in around 10
seconds if no further press of any other buttons.
TO TURN ON OR OFF YOUR DAILY ALARM
Simply press to turn on or off the Alarm 1, Alarm 2, or Alarm 1 & 2.
When Alarm 1 is turned on, the appears. When Alarm 2 is turned on, the appears.
TO USE SNOOZE ALARM
When time reaches your set alarm time, your weather station will give a beep sound to wake you up. The
corresponding or will flash.
1) Press once to stop the alarm temporarily, the corresponding or keeps flashing.
The alarm will beep again according to your set snooze duration.
2) When the alarm is sounding, press once, the alarm beep will stop, or
become static, alarm will beep again at the same time next day.
Alarm Duration: 2 minutes
TO USE THE DIMMER
Press button once to adjust the display brightness for nighttime viewing.
TO DISPLAY TEMPERATURE IN DEGREE °C OR °F
Simply press (°C/°F) to display temperature in degree °C or degree °F.
WEATHER FORECAST AND PRESSURE TREND INDICATOR
Your weather station has a built-in barometric sensor which measures the change of the air pressure over time.
Your weather station takes around 12 hours to gather and average air-pressure readings to provide a weather
forecast for next 12 hours.
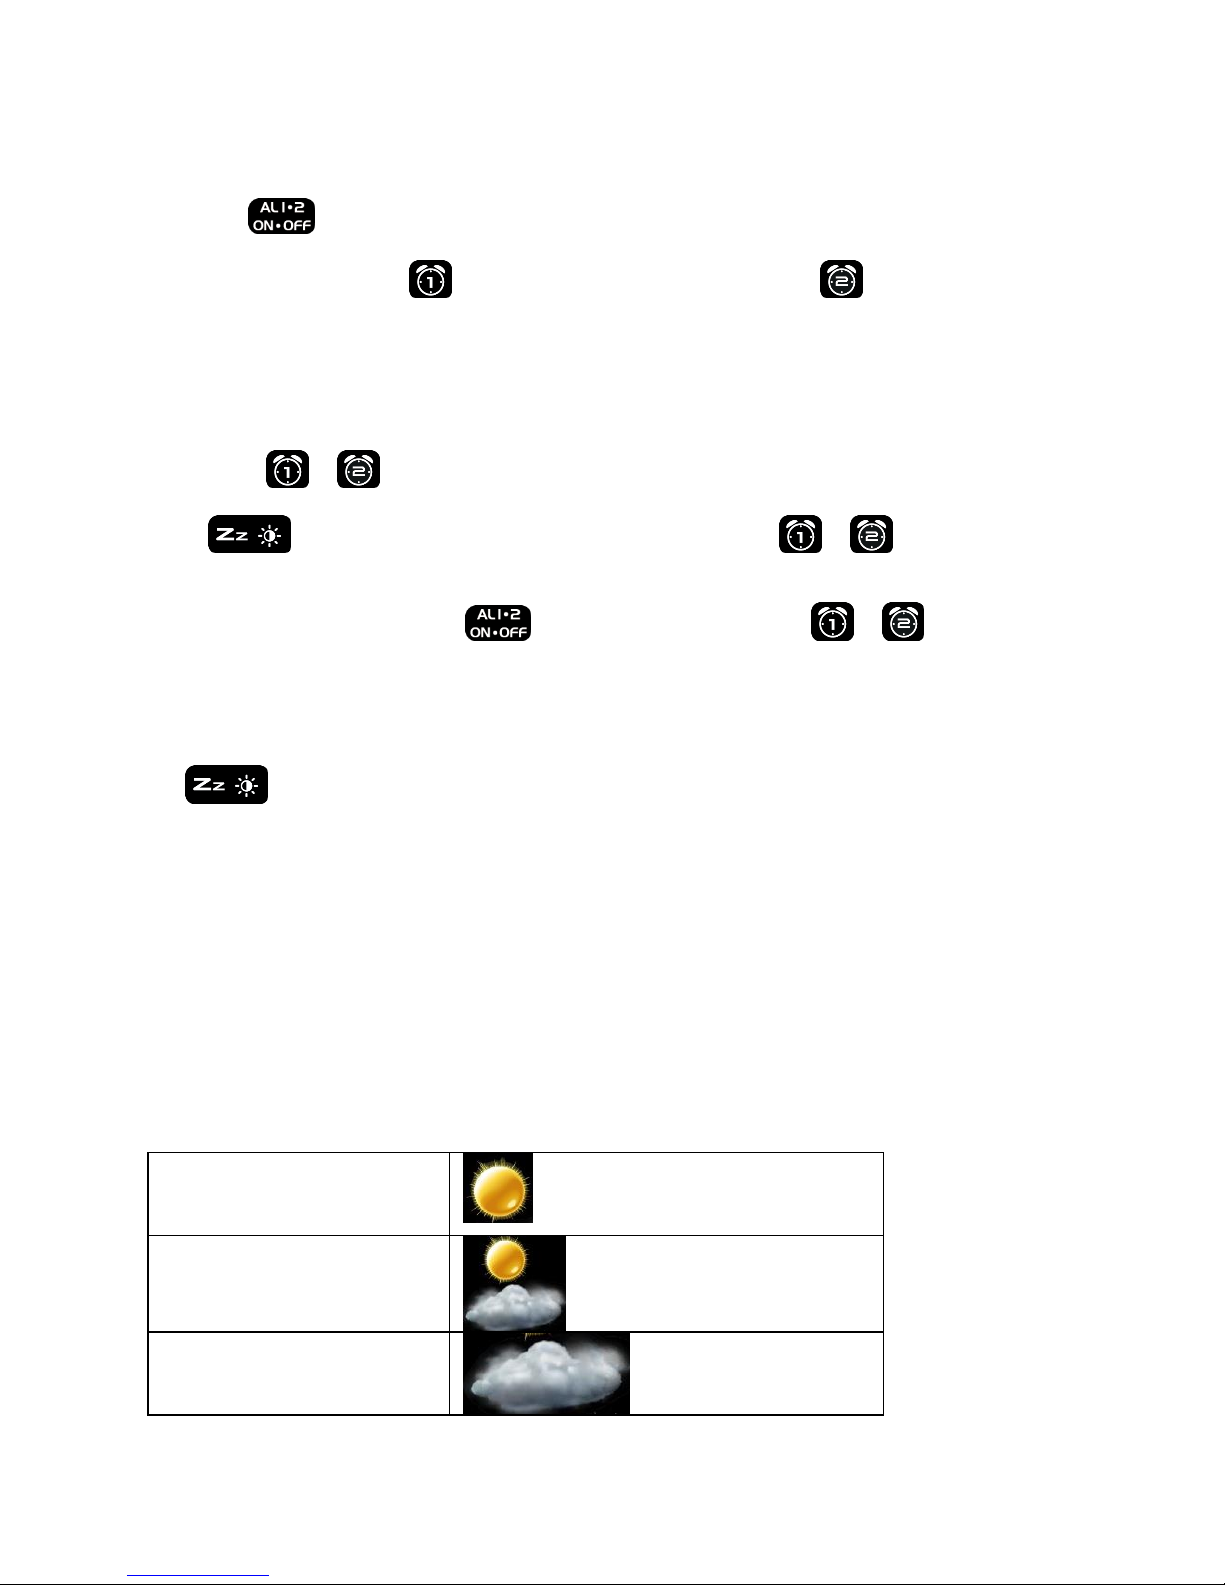
WEATHER ICONS
There are five possible types of weather icons that will be displayed:
SUNNY
SUNNY AND CLOUDY
(PARTLY SUNNY)
CLOUDY

P. 6
RAINY
STORMY
FROST ALERT
Frost Alert Icon appears when outdoor
temperature is below +3°C
AIR PRESSURE TENDENCY INDICAOTRS
When the arrow appears, the air pressure is increasing, the weather is expected to improve.
When the arrow appears, the air pressure is decreasing, the weather is expected to become worse.
When the arrow appears, the air pressure change is stable.
Remarks: Moving your weather station from one floor of a building to another floor will affect the accuracy
of your weather station, which should operate at the same altitude all the time. If you move it to a new
location, it will take 12 hours to get stable and accurate again.
Our weather station provides next 12-hour weather forecast. It may not match with the current weather
condition outside.
TO DISPLAY AIR PRESSURE READOUT
Press and hold until the calendar display shows the air pressure readout in inHg. Press and hold
again to revert back to calendar display.
TO READ MAXIMUM-MINUMUM IN-OUT TEMPERATURES AND HUMIDITIES
Simply press the to view the maximum indoor-outdoor temperatures and humidities records with
“MAX” icons appearing on the display. Press again to view the minimum indoor-outdoor temperatures and
humidities and the air pressure with “MIN” icons appearing on the display.
When the maximums or minimums are displayed, press and hold the to reset both records and it will
start to record the maximums and minimums again.
IF YOU LOSE THE OUTDOOR TEMPERATURE AND HUMIDITY
When the outdoor temperature and humidity digits show '---", the wireless transmission is either interrupted or
lost. Press and hold the / CHANNEL button to start searching for the signal from the outdoor transmitter with
the flashing.
If you continue to lose the outdoor temperature and humidity display, which could happen in extreme cold
weather, try placing the transmitter in a different location until you have smooth transmission of temperature /
humidity data.

P. 7
HOW TO SYNCHRONIZE YOUR WEATHER STATION WITH ANOTHER OUTDOOR TRANSMITTER
1. Press / CHANNEL at the back of your weather station, icon appears under your outdoor temperature
and humidity.
2. Press and hold / CHANNEL until the icon blinks, your weather station is searching for the signal
of another outdoor transmitter at Channel 2.
3. Slide open the battery door of your second transmitter, slide the switch to the middle position marked
with 2, then insert two AAA batteries into the battery compartment by observing the correct +/- polarity.
Replace the battery cover.
4. The outdoor temperature and humidity of your second transmitter will appear on the LCD together with
icon within few seconds. If the data still does not appear, press RESET at the front of your
second transmitter once.
5. To synchronize your weather station with a third outdoor sensor, repeat the same step by choosing
on your weather station and select 3on your third transmitter.
AUTO SCROLLING THE OUTDOOR TEMPERATURE AND HUMIDITY OF DIFFERENT
TRANSMITTER
Press / CHANNEL one at a time until the icon flashes. Then the outdoor temperature and humidity of
different outdoor transmitter will be displayed for few seconds alternately with , , flashing.
To stop the auto scrolling, press / CHANNEL once to go back to constant display of the temperature
and humidity of the transmitter, the icon remains static on the display.
LOW BATTERY INDICATION OF YOUR OUTDOOR TRANSMITTER
The icon will appear to indicate the battery level of your outdoor transmitter is getting low. You may
need to replace the batteries of your outdoor transmitter with new ones.
Extreme cold weather (e.g. below 14 °F) will also cause low battery voltage.
TROUBLESHOOTING
In case your weather station clock shows irrelevant information or digits, it maybe affected by
electrostatic discharge or interferences from other devices. Use a sharp object to press RESET. Your
unit will be reset to default settings and you need to set the time, calendar and alarm time again.

P. 8
Problem
Solution
LCD is blank
1. Press RESET on the main unit.
2. Replace fresh batteries in your weather station.
No Outdoor Temperature and
Humidity is displayed
1. Press and hold ▲/CHANNEL on the weather station.
2. Press and hold▲/CHANNEL then press RESET on the
outdoor transmitter.
3. Make sure the correct channel is selected on your
weather station (default setting is –Channel 1)
4. Observe if the Low Battery icon appears on the left of the
outdoor temperature. If yes, replace batteries in outdoor
sensor with fresh alkaline batteries.
5. No other interfering sources are being used (such as
computer monitors, TV sets, headphones, or speakers) in
the path of signal from the outdoor sensor. The signal
travels in a straight line, an electrical source near that
“line” may cause interference.
Temperature, humidity, or air
pressure is incorrect
1. Press RESET on the main unit.
2. Make sure your main unit and the outdoor transmitter is
away from sources of heat / cold / direct sunshine.
CARE OF YOUR WEATHER SATATION CLOCK
1. Do not expose the unit to extreme temperature, water or direct sunlight.
2. Avoid contact with any corrosive materials.
3. Do not subject the unit to excessive force, dust or humidity.
4. Do not open the inner back case or tamper with any components of this unit.
5. Do not plug in any other AC/DC adaptor with incorrect specifications or voltage.
SPECIFICATIONS:
Temperature Range
Indoor +32°F to +122°F (0°C to +50°C) (display shows HH.H / LL.L if out of this range)
Outdoor -58°F to +158°F (-50°C to +70°C) (display shows HH.H / LL.L if out of this range)
Humidity Range
Indoor 20% - 95%
Outdoor 20% - 95%
Temperature Resolution 0.2°F / 0.1°C
RH% Resolution 1%
Temperature & Humidity measure every 30 seconds
RF Transmission distance up to 180 feet line-of-sight distance
Alarm Duration 2 minutes
Snooze Duration 5 minutes

P. 9
FCC STATEMENT
1. This device complies with Part 15 of the FCC Rules. Operation is subject to the following two
conditions:
(1) This device may not cause harmful interference, and
(2) This device must accept any interference received, including interference that may cause
undesired operation.
2. Changes or modifications not expressly approved by the party responsible for compliance could
void the user’s authority to operate the equipment.
This equipment has been tested and found to comply with the limits for a Class B digital device,
pursuant to part 15 of the FCC Rules. These limits are designed to provide reasonable protection
against harmful interference in a residential installation. This equipment generates, uses and can
radiate radio frequency energy and, if not installed and used in accordance with the instructions, may
cause harmful interference to radio communications. However, there is no guarantee that interference
will not occur in a particular installation. If this equipment does cause harmful interference to radio or
television reception, which can be determined by turning the equipment off and on, the user is
encouraged to try to correct the interference by one or more of the following measures:
—Reorient or relocate the receiving antenna.
—Increase the separation between the equipment and receiver.
—Connect the equipment into an outlet on a circuit different from that to which the receiver is
connected.
—Consult the dealer or an experienced radio/ TV technician for help.
IM of IW261C-N V1.0
June-18-2015

P. 10
Words in the figure:
Figure 1:
ENGLISH
Other Language
Outdoor humidity
Outdoor sensor channel 1/2/3
Max / Min temperature & Humidity data
Outdoor temperature
Outdoor sensor low battery icon
Barometric Pressure
Weather forecast
Storm warning icon
Indoor humidity
Frost alarm icon
Indoor temperature
Alarm 1
Alarm 2
Month/Day/Date
Figure 2:
SNOOZE / BACKLIGHT
/ CHANNEL
SET / ALARM SET
ALARM ON/OFF
MEMORY
(°C/°F)
RESET
BATTERY / BATTERY COVER
HANGING HOLE
STAND
DESK STAND SLOT
Figure 3:
OUTDOOR TRANSMITTER
LED INDICATOR
RESET
BATTERY COVER
CHANNEL 1,2,3 SELECTOR
FOOT / HANGER
Popular Weather Station manuals by other brands


ADE
ADE WS 1711 operating instructions

WAREMA
WAREMA EWFS Weather station eco Operating and installation instructions

Auriol
Auriol z29592 Operation and safety notes

Auriol
Auriol 296289 Operation and safety notes

Hyundai
Hyundai WS 2266 instruction manual

La Crosse Technology
La Crosse Technology WS-2210 Operation manual

La Crosse Technology
La Crosse Technology WS-811561 manual

Ventus
Ventus W177 owner's manual

National Geographic
National Geographic VA Colour RC instruction manual

Instant Transmission
Instant Transmission MA 10410 instruction manual

Lutron Electronics
Lutron Electronics PHB-318 Operation manual

Oregon Scientific
Oregon Scientific Alizé BAR266 user manual