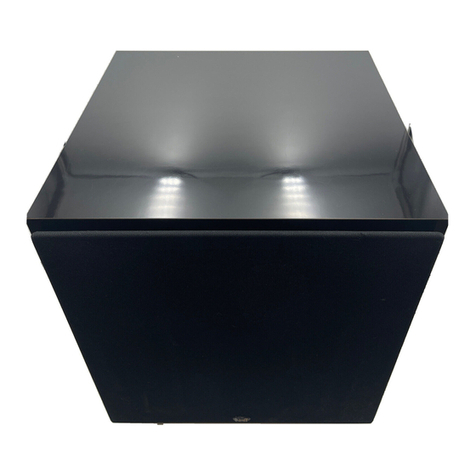
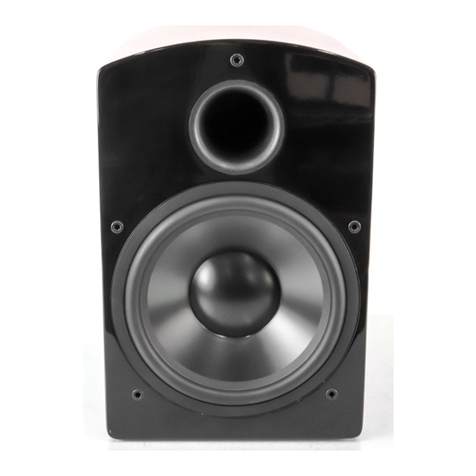
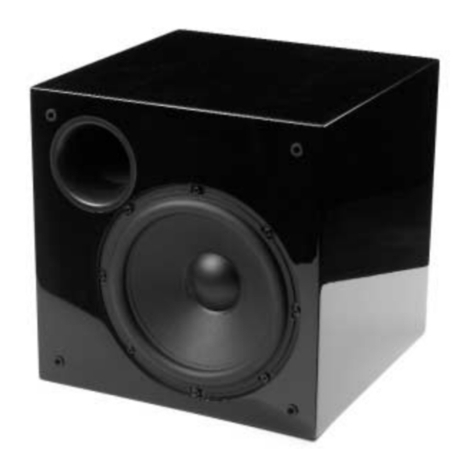
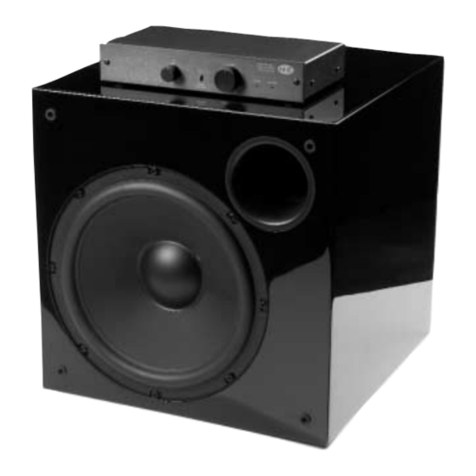
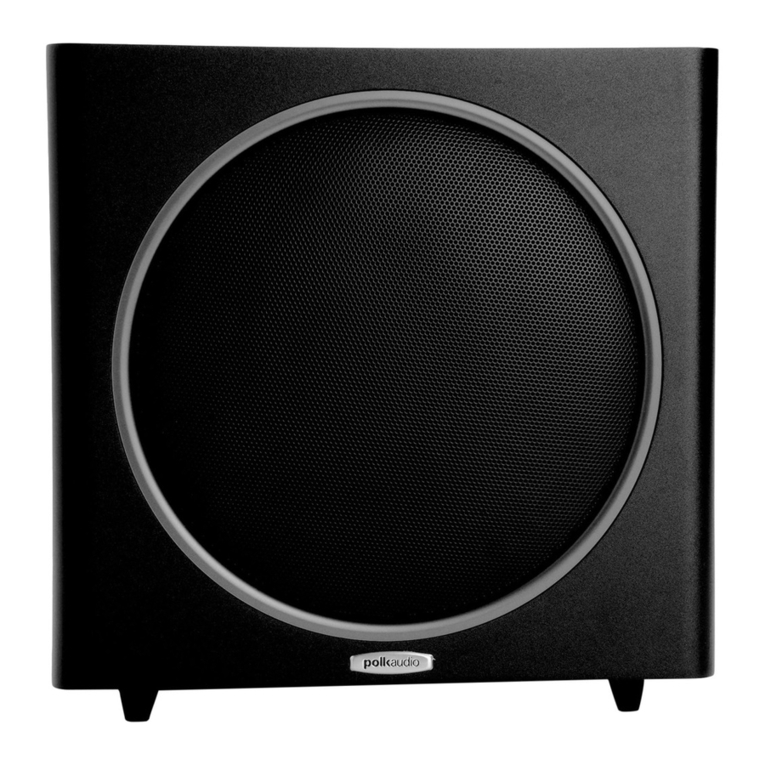
NHT B-10d User manual

B-10d
Powered Subwoofer
Setup Guide
Howto usethis setup guide:
This set up guide will get you started using your
new NHT Subwoofer.
In
this guide we will show
you the basic and most common configurations
and settings. For many, this will be all the
information you require. However if you would
like more detail you can find the completeowner's
manual onlineatwww.nhthifi.com
If at any time during the setup, you need
assistance, call our hotline at 1-800-NHT-9993
(800-648-9993)oremail us at [email protected].
N-IT

Subwoofer
Volume
control
Matches subwoofer volume to
the satellite speaker's output.
EQ
switch
Movie setting augments soundtracks,
special effects and offers higher output.
Music setting will provide lower,
more balanced bass response.
B10d
IN
Powered
Subwoofer
RISQUE
DE
CHOC ELECTRIQUE
NE
PAS
OUVRIR
For continued protection
<of
fire, replace only with
type fuse and rating.
)N:
Utiliser
un
fusible de
de
meme type et calibre.
120V"'60Hz 3.15A
220-230V"'50Hz 1.6A
l:'·~=rc€
lfi1
U.S.Patent15,075,634and
~
5,510,753
P.tentPending
120V Fuse: T3.15A L 250V
230V Fuse: T1.6A L 250V
+@@+
Hllevel~~~
In-@@-
-@@-
Hilevel~
~
~
Out+@
@+
Left Right
Subwoofer
Low
Pass
Crossover
control
Use only with
hi
or
low level inputs.
Does not function when LFE input is used
Phase
Switch
Matches subwoofer phase
to the satellite speaker system.
Auto
On
Puts the subwoofer to sleep
when no signal is present.
LFEin
(Recommended) Connection for modern
surround receivers that have dedicated
subwoofer or LFE output.
Line
In
(Legacy connection #1)
Pre-amp out connection.
For receivers/processors that do not
have a dedicated subwoofer or LFE output.
Wireless
In
Powers a wireless receiver
(not yet available)
Hi
Level
In
&
Out
(Legacy connection #2)
Speaker wire connection method for older
stereo and surround receivers that do not
have pre-amp or subwoofer outputs.
AC
Connection for IEC AC power cord.
(included)
Fuse
Protective fuse drawer

Placement
Note: Always provide adequate space for
ventilation
of
the Subwoofer amplifier. Do not
place the Subwoofer directly against a wall,
curtainsoranyothersurface.
For best results, try to place the subwoofer
in
the
same horizontal planeand along the
-same
wall as
thefront satellite speakers (Positions
A,
BorC).
Connections
Make sure all components are powered off and
that the Subwoofer
is
not plugged
in
to the AC
outlet until all connections are completed.
1 Connecting Your Subwoofer to Your AV
Surround Receiver
The most common connection for receivers
is
to
run a single audio cable from the receiver
Subwoofer or LFE output to the LFE input. The
LFE input bypasses the Subwoofer's crossover
control. Follow the instructions
in
your receiver's
speakersetup menu to enable the subwooferand
makecrossoversettings.
2 Connecting Your Subwoofer Using Your
Receiver's Preamp Out
Some older surround receivers/processors only
offered preamp outputs. Connect a pair
of
audio
cables from the Left and Right Preamp output to
thetwo Line
In
jacks
on
the Subwoofer. Followthe
instructions
in
Control Settings below for setting
the Subwoofer'scrossoverpoint.
Some newer stereo receivers have pre-amp
outputs and in some cases they also have a
subwooferoutput. Ifconnecting from the preamp
out
on
your receiver follow the instructions
immediately above. If connecting from a
subwooferout, use a single RCAcable to the Line
in
(either left
or
right). Follow the instructions
in
Control
Settings
below
for
setting
the
Subwoofer'scrossoverpoint.
Reciever
LFE
or
Subwoofer
out
Preamp
Out
Reciever
Subwoofer
LFEin
Line
In
Subwoofer

3 Connecting
your
Subwoofer
Using Hi Level Inputs.
This is for use with older stereo receivers that
have no preamp output. Connect a pair
of
stereo
speakerwires from yourreceiverto the
Hi
Level
In
terminals on the subwoofer. Then connect a
second stereo pair
of
speaker wires from the
Subwoofer to each satellite speaker. Follow the
instructions
in
Control Settings below for setting
the Subwoofer's crossover point. Make sure the
speakerwires are connected with the correct
polarity(plusto plus and minusto minus).
Control
Settings
Volume
Start
in
the 12 o'clock position· then trim up or
down after you have listened for a while. (For
LFE connection method, see the online Owners
Manual foradditional information).
Crossover
(Connection method 2 and 3 only)
EQ
Listen to both to find your preference. The Music
position offers more natural response, the Movie
position offers more mid-bass volume for special
effects.
Phase
Listen to some
of
your favorite music. Have
someone help you byflipping the switch between
180 and 0 degrees. Find the position that
produces the loudest bass from your favorite
chair.
Auto On
Leave
in
the auto position to have the Subwoofer
"sleep" when there is no sound present after 20
minutes. If you prefer to turn off via an external
powerswitch, leave it
in
theAlwaysOn position.
Volume
C)
Min Max
Crossover
(Hz)
'r5
eo"'~""
Eq
Music @ Movie
Phase
oo
@ 180°
Auto
On Always
On
Left Right
.
I
Crossover
(Hz)
't)
eo
,P,."
Crossover
(Hz)
~t5'"

IMPORTANT SAFETY INSTRUCTIONS
CAUTION
RISK OF ELECTRIC SHOCK
DO NOT OPEN
CAUTION:
TO
REDUCE
RISK
OF
ELECTRICAL
SHOCK,
DO
NOT
REMOVE
COVER
(OR
BACK).
NO
USER
SERVICEABLE
PARTS INSIDE.
REFER
TO
QUALIFIED
SERVICE
PERSONNEL.
/f\
The lightning flash with the arrowhead symbol, within
an
equilateral triangle, is intended to alert the user to the presence of uninsulated
/ 1 \ "dangerous voltage" within the product's enclosure that may be of sufficient magnitude to constitute a risk of electric shock to persons.
/f\ The exclamation point within
an
equilateral triangle is intended to alert the user to the presence of important operating and maintenance
/ • \ (servicing) instructions
in
the literature accompanying the appliance.
WARNING:
TO
REDUCE
THE
RISK
OF
FIRE
OR
ELECTRIC
SHOCK,
DO
NOT
EXPOSE
THIS
APPLIANCE
TO
RAIN
OR
MOISTURE.
1.
READ INSTRUCTIONS-All safety and operating instructions should
be
read before the appliance is operated.
2.
RETAINI NSTRUCTIONS- Safety and operating instructions should
be
retained for future reference.
3.
HEED WARNINGS
-All
warnings on the appliance and
in
operating instructions should be adhered to.
4.
FOLLOW! NSTRUCTIONS
-All
operating and use instructions should
be
followed.
5.
WATER AND MOISTURE- The appliance should not
be
used near
water-
near bathtub, washbowl, kitchen sink, laundry tub;
in
a wet basement near
a swimming pool, etc.
6.
CARTS AND STANDS -Do not place this product
on
an unstable cart, stand, tripod, bracket, or table. The appliance should be used only with a cart
or stand that is recommended by the manufacturer.
7.
VENTILATION- The appliance should
be
situated so that its location and position
do
not interfere with proper ventilation. The appliance should not
be
situated on a bed, sofa, rug, or any surface that may obstruct cabinet openings.
8.
HEAT- The appliance should
be
situated away from heat sources such as radiators, heat registers, stoves,
or
other devices (including amplifiers) that
produce heat.
9.
POWER SOURCES
-This
product should be operated only from the type of power source indicated on the marking label. If you are not sure ofthe
type power supply
in
your home, consult your product dealer
or
local power company. For products intended
to
operate from battery power or other
sources, refer to the operating instructions.
10. POWER CORD PROTECTION- Power supply cords should be routed so that they are not likely to be walked upon
or
pinched by items placed upon
or
against them, paying attention to cords and plugs, convenience receptacles, and the point where they exit from the appliance.
11.
POLARIZED
PLUG-
This appliance is equipped with a polarized line plug
(a
plug having one blade wider than the other). This plug will fit into the
power outlet only one way. This is a safety feature. If you are unable to insert the plug fully into the outlet, try reversing the plug. If the plug still fails to
fit, contact your electrician to replace your obsolete outlet. Do not attempt to defeat this safety feature.
12. LIGHTNING- For added protection for this product during a lightning storm,
or
when it is left unattended and unused for long periods oftime, unplug
it
from the wall outlet and disconnect the antenna
or
cable system. This will prevent damage to the product due to lightning and power line surges.
13.
OVERLOADING -
Do
not overload wall outlets, extension cords,
or
integral convenience receptacles, as this can result
in
a risk of fire
or
electric-
shock.
14.
CLEANING-
Unplug this product from the wall outlet before cleaning. Do not use liquid cleaners or aerosol cleaners. Use a damp cloth for cleaning.
15.
NON-USE PERIODS
-This
amplifier should
be
unplugged from the outlet when the appliance is left unused for a long period of time.
16.
OBJECT AND LIQUID ENTRY- Never push objects of any kind into this product through openings, as they may touch dangerous voltage points or
short-out parts that could result
in
a fire
or
electric shock. Never spill liquid of any kind on this product.
17.
DAMAGE REQUIRING
SERVICE-
The appliance should
be
serviced by qualified personnel when:
a.
The power supply cord or plug has been damaged;
or
b.
Objects have fallen on or liquid has been spilled into the appliance;
or
c.
The appliance has been exposed to rain;
or
d.
The appliance does not appear to operate normally
or
exhibits a marked change
in
performance;
or
e.
The appliance has been dropped or the enclosure is damaged.
18. SERVICING -Do not attempt to service this product yourself, as opening or removing covers may expose you to dangerous voltage
oro
ther
hazards. Refer all servicing to qualified service personnel. For service warranty information call the NHT Hotline number: 1-800-NHT-9993.
19. REPLACEMENT
PARTS-
When replacement parts are required,
be
sure the service technician has used replacement parts specified by the manu-
facturer or that have the same characteristics as the original part. Unauthorized substitution may result
in
fire, electric shock,
or
other hazards.
20. SAFETY CHECK -Upon completion of any service
or
repairs to this product, ask the service technician to perform safety checks to determine that
the product is
in
proper operating condition.
CAUTION
TO PREVENT ELECTRIC SHOCK, DO NOT USE THIS (POLARIZED) PLUG WITH AN EXTENSION CORD,
RECEPTACLE OR OTHER OUTLET UNLESS THE BLADES CAN
BE
FULLYI NSERTED TO PREVENT
BLADE EXPOSURE.

Limited Warranty
Valid Only
in
the U.S.A.
Warranty Period
For a period
of
5 years for parts and 5 years for labor
(1
year parts and 90 days labor for
electronics) from the date this product is first purchased from
an
authorized NHT dealer, Now Hear
This (NHT) warrants that if it fails to function properly due to a manufacturing defect, despite its
being installed and operated according to these instructions and used under normal conditions, it
will
be
either replaced
or
repaired with new
or
rebuilt parts (both at NHT's option) with a unit
of
comparable value without charge to you.
What's Not Covered
Altered, defaced or removed serial numbers void this warranty.
This warranty does not cover any product used
in
trade, business, industrial or commercial
applications.
This warranty also does not cover the cabinet
or
appearance factors,
or
costs, defects
or
damage
resulting from misuse, abuse, accident, improper maintenance, alterations or modifications not
authorized
in
writing by
NHT,
or parts or labor from any source other than an authorized NHT
service location.
Damage due to power exposure
in
excess
of
the speaker's published power ratings;
ie,
overpowering, lightning or power surges, are also not covered.
Your Rights
This warranty gives you specific legal rights, and you may have other rights which vary from state to
state.
NHT limits this warranty to the purchase price
of
the product, excludes incidental or consequential
damages, and limits its obligations under any implied warranties under state laws to a period not
exceeding their warranty periods. As some states do not allow the above limitations, however, they
may not apply to you.
To
Obtain Service
To
find the name and address
of
the nearest authorized NHT service location, call or write:
Customer Service Department,
NHT,
140 West Industrial Way., Benicia, CA 94510, 1-800-NHT-9993
(648-9993), www.nhthifi.com
For your future convenience, please keep this warranty with your sales receipt, and record date and
place
of
purchase for further reference.

This manual suits for next models
1
Table of contents
Other NHT Subwoofer manuals
