North Star Design BLUE DIAMOND User manual

Blue Diamond CD Player / USB DAC
Operating Manual
North Star Design®
BLUE DIAMOND
CD PLA ER / USB DAC

Rev. 1.0 August 15

WARNING: TO REDUCE THE RISK OF FIRE OR ELECTRIC SHOCK, DO NOT
EXPOSE THIS APPLIANCE TO RAIN OR MOISTURE.
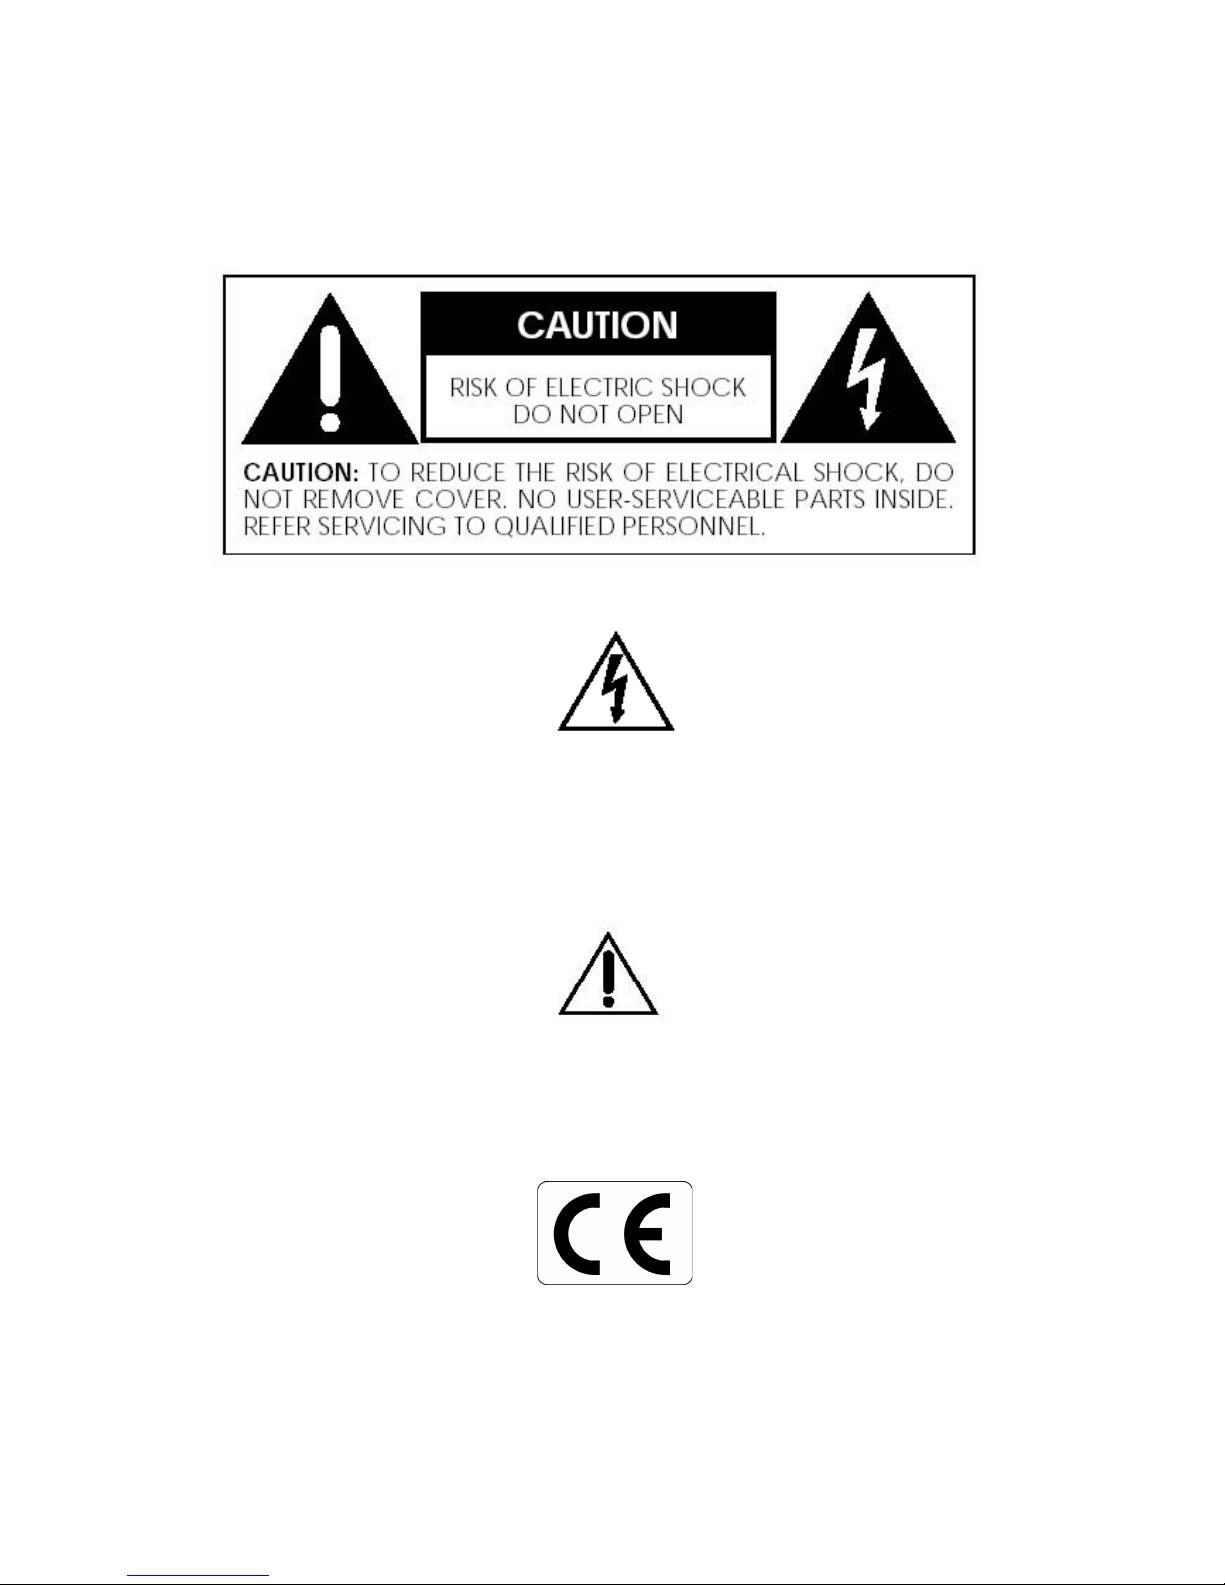
The lightning flash with arrowhead symbol, within an equilateral triangle, is intended to alert the
user to the presence of uninsulated “dangerous voltage” within the product’s enclosure that may be
of sufficient magnitude to constitute a risk of electric shock to persons.
The exclamation point within an equilateral triangle is intended to alert the user to the presence
of important operating and maintenance (servicing) instructions in the literature accompanying
the appliance.
Marking by the “CE” symbol (shown left) indicates compliance of this device with the EMC
(Electromagnetic Compatibility) and LVD (Low Voltage Directive) standards of the European
Community.
3

Important Safety Instructions
Please read all instructions and precautions carefully and completely before operating your North
Star Design® CDP BLUE DIAMOND.
1. ALWAYS disconnect your entire system from the AC mains before connecting or
disconnecting any cables, or when cleaning any component.
2. This product must be terminated with a three-conductor AC mains power cord which
includes an earth ground connection. To prevent shock hazard, all three connections must
ALWAYS be used.
3. AC extension cords are not recommended for use with this product.
4. NEVER use flammable or combustible chemicals for cleaning audio components.
5. NEVER operate this product with any covers removed.
6. NEVER wet the inside of this product with any liquid.
7. NEVER pour or spill liquids directly onto this unit.
8. NEVER bypass any fuse.
9. NEVER replace any fuse with a value or type other than those specified.
10. NEVER attempt to repair this product. If a problem occurs, contact your North Star
Design® retailer.
11. NEVER expose this product to extremely high or low temperatures.
12. NEVER operate this product in an explosive atmosphere.
13. ALWAYS keep electrical equipment out of the reach of children.
14. ALWAYS unplug sensitive electronic equipment during lightning storms.
RoHS Compliant Information
This statement clarifies North Star Design srl product compliance with the European Union directive
2002/95/EC,or, RoHS (Restrictions of Hazardous Substances). As of July 01, 2006, All North Star
Design products placed on the European Union market are compliant (containing quantity limit
weight less than or equal to 0.1% (1000 ppm)of any homogeneous Lead (Pb), Mercury (Hg),
Hexavalent Chromium (Cr VI), and flameretardant Polybrominated Biphenyls (PBB) or
Polybrominated Diphenyl Ethers (PBDE)).
4

Contents
1 Introduction..................................................................................................................................6
Initial Inspection.............................................................................................................................. 6
Contents......................................................................................................................................... 6
installation...................................................................................................................................... 6
2 Controls........................................................................................................................................ 7
Front Panel.....................................................................................................................................7
Rear Panel..................................................................................................................................... 8
Remote control............................................................................................................................... 9
Replacing remote control batteries...............................................................................................11
3 CD player section ...................................................................................................................... 12
Preliminary operation................................................................................................................... 12
Playback CD................................................................................................................................. 13
4 DAC Section................................................................................................................................ 15
Become familiar with DAC............................................................................................................15
5 Set up and driver installation....................................................................................................16
How to move in set-up..................................................................................................................16
Settings in Set-up.........................................................................................................................16
Driver Installation..........................................................................................................................17
6 Message & Symbol list CD player.............................................................................................18
Operative Symbol......................................................................................................................... 18
Error messages............................................................................................................................ 18
7 Troubleshooting......................................................................................................................... 19
5

1 Introduction
Welcome to the North Star Design “family” and congratulations on your purchase of our new CDP
BLUE DIAMOND. With its combination of features, precision electronic circuitry and accurately
machined chassis components throughout, your CDP BLUE DIAMOND will offer you many years of
musically satisfying enjoyment. Please take a few moments to read the remainder of this Operating
Manual. A thorough understanding of the operational features will allow you to gain the maximum
performance and ease of use for which this CDP BLUE DIAMOND was designed.
Enjoy the music!
Initial Inspection
Inspect the shipping container for damage. If the shipping container, packing material, CD Player or
accessories are damaged or missing, notify your dealer and the shipper (if a claim is to be made).
Note: Many shippers require notification and an inspection within twenty-four (24) hours of delivery
to ascertain the nature of damages incurred.
our CDP BLUE DIAMOND has undergone extensive performance evaluations, listening tests,
quality control inspections and a minimum twenty-four (24) hour burn-in period prior to shipment
and should be in a perfect operational condition upon receipt. If the CD Player does not operate
correctly, please notify your dealer immediately.
We strongly suggest that you save all packing materials. If the CD Player is returned to your dealer
the original packing materials must be used for shipment. Neither North Star Design nor the shipper
can be held responsible for damages incurred during transit if the original factory packing is not
used. All factory returns require that a Return Authorization number be issued by North Star Design
prior to shipment.
Contents
Ensure that all of the auxiliary components listed below are enclosed into the box.
1 One (1) Operating Manual
2 One (1) AC power cable
3 One (1) USB2.0 cable
4 One (1) CD-ROM with drivers
5 One (1) Remote Control
6 One (1) warranty card (in some countries warranties are provided by the respective importer)
Installation
Locate the CDP BLUE DIAMOND as close as possible to its final installation point. Allow access to
the rear panel for making connections.
6

2 Controls
Before attempting any system interconnection, please familiarize yourself with the front and rear
panel controls of the CDP BLUE DIAMOND.
Front Panel
1 STAND-BY/SETUP Push button
2 PREVIOUS TRACK/SETUP Push button
3 NEXT TRACK/SETUP Push button
4 REPEAT TRACK/CD Push button
5 DISPLAY OLED
6 REMOTE SENSOR RECEIVER
7 STAND-BY MODE LED INDICATOR
8 DAC MODE LED INDICATOR
9 DISCK TRAY
10 OPEN/CLOSE DISK Push button
11 PLAY/PAUSE TRACK Push button
12 STOP TRACK Push button
13 DAC MODE Push button
7

Rear Panel
14 USB DIGITAL INPUT
15 COAXIAL DIGITAL INPUT
16 OPTICAL DIGITAL INPUT
17 COAXIAL DIGITAL OUTPUT
18 UNBALANCED ANALOGUE OUTPUT
Use this output to connect the CD Player to the input of a preamplifier or integrated amplifier using
interconnect provided with RCA connectors (not shipped with the equipment).
19 BALANCED ANALOGUE OUTPUT
Use this output to connect the CD Player to the input of a preamplifier or integrated amplifier using
interconnect provided with XLR connectors (not shipped with the equipment).
20 AC MAINS SWITCH
This switch may be used to disconnect the power supply from the AC mains without having to
actually unplug the CD Player from the wall outlet. If you plan to be away for an extended period,
or have any other reason to turn the CD Player completely off, you may use the AC mains switch.
21 AC MAINS FUSES
Two slow-blow 500mA (220-240V), 1000mA (100-120V) fuses are located inside a small drawer in
the AC main inlet. If you suspect that your AC fuse have blown, disconnect the CD Player from the
AC mains and contact your North Star Design dealer for assistance.
22 AC MAINS INLET
Standard IEC power cords is provided with the BLUE DIAMOND CD Player. High quality power
cords will improve the sonic performances; ask your North Star Design dealer.
Caution!
Switch Off the BLUE DIAMOND CD PLAYER when you need to connect or disconnect any
cables.
The North Star Design BLUE DIAMOND CD Player has been safety tested and is designed
for operation with a three conductor power cord. Do not defeat the “third pin” or earth
ground of the AC power cord. Danger! Potentially dangerous voltages and current
capabilities exist within the BLUE DIAMOND CD Player, when connected to the AC mains.
Do not attempt to open any portion of the CD Player cabinet.
There are no user serviceable parts inside the BLUE DIAMOND CD Player. All service of this
product must be referred to a qualified North Star Design dealer or distributor.
8

Remote control
9

1 STANDBY
Use this key to enter or to exit from CD mode.
2 MODE
Use this key to enter or to exit from DAC mode.
3 O/C
Use this key to open and close the disc tray.
4 NUMERIC KEYS 0-9
Use these keys to select tracks.
5 FW/RW
Use these keys to skip to the forward or previous track.
6 PLAY/PAUSE
Use this key to go alternately in playback and in pause mode.
7 STOP
Use this key to stop playback.
8 REPEAT
When press this key one time, select repeat all disc, the following repeat current track. Press one
time again to return in continuous playback
9 SKIP VELOCITY
When press in continuous mode these keys, increase/decrease speed of executing track to 4X and
after few seconds to 8X.
10 TIME
When press alternately this key shows time on disc or time in track.
11 AMPLIFIER KEYS
Use these keys with the Blue Diamond integrated amplifier (available in 2016).
Operation distance:
- Directly in front within 5 meters
- 17° left or right within 5 meters
10

Replacing remote control batteries
.
Replace used batteries opening the battery compartment
cover. Lift the cover off, and insert a new battery.
Be careful to follow the + and – polarity indications at the
bottom of the battery compartment.
Battery: lithium button battery 3Volts CR2025
11

3 CD player section
This unit can play music CDs that are commercially available and CD-R and CD-RW discs that
have been recorded as audio CD format at a sampling frequency of 44.1 kHz.
ou can use coaxial digital output to send the audio CD tracks ,in S/PDIF format, to coaxial input
of an external DAC (see DAC section for technical specification of digital output).
Preliminary operation
On front panel of Blue Diamond there are 8 keys, only one (MODE) of which can't be used for the
function of CD player. ou can find the same function on remote control. It is not necessary to
press key for long time, for multi-function keys (PLA /PAUSE, OPEN/CLOSE, REPEAT).
The CD player can start only from stand-by mode pushing the appropriate key on front panel of the
Blue Diamond. ou will realize to be in stand-by from the led red glowed.
Wait until CD reader acquire TOC(Table Of Contents) of the disc before pushing any other keys. If
no disc appear on display you have to insert a disc.
If you want load a new disc push open button, then press again to close the tray.
Note:
With tray opened you can use directly 'Play/Pause' key to start playback.
12

Playback CD
ou can start to play disc from first track pressing 'Play/Pause', or you can select another one using
skip previous and next track keys, then confirm with 'Play/Pause' key.
From numeric keys of remote control you can select directly the number of track, an automatically
will be played back.
This unit can play tracks using three types of playback modes:
Continuous playback (default setting)
the tracks on a disc are played back in numerical order.
Repeat all disc
when disc finish, the playback start again from the first track.
Repeat track
when a track finish, is repeated again. In pause mode, if you press skip previous or next track
keys, the player remain on the same track.
Press 'Repeat' key to cycle through the playbacks mode.
Press 'Play/Pause' key to put in pause the disc.
Press 'Stop' to stop the disc.
In Stop or Pause or after reading a TOC, you can always select a track as described above.
Note:
When you have a disc from 10 to 99 tracks , the player consider the first digit you press from
remote as the ten. After few seconds if you don't select unity digit, it is played back the number of
track that is previously pressed.
If you press '0' as first number, the player waits until you press unity digit.
13

4 DAC Section
The Blue Diamond contains inside a DAC section, that can be used like a standalone DAC by
connecting a source at one of these three digital input:
USB input
Use this input to connect the Blue Diamond to the USB2.0 port of a computer (PC/MAC) using a
certified USB2.0 cable (shipped with the equipment).
Coaxial input
Use this input to connect the Blue Diamond to the digital output of a source (CD transport, DAT
tape, DVD player), using a 75 Ohm digital cable provided with RCA connectors (not shipped with
the equipment).
Optical input
Use this input to connect the Blue Diamond to the digital output of a source (CD transport, DAT
tape, DVD player), using a digital fiber optic cable (not shipped with the equipment).
Digital Output
In addiction you can use coaxial digital output to send your streaming at native sampling frequency
to an external digital device. Are available sampling frequency until 192kHz 24 bit in PCM format
and no is possible to send DSD format.
Become familiar with DAC
The DAC mode can start only from a stand-by situation. ou will realize to be in stand-by from the
led red glowed. After pressing 'MODE' key on front panel or from remote, the DAC mode led
indicator get glowed blue.
Scanning input
Press for short 'MODE' key on front panel of Blue Diamond or skip forward track key on remote
control.
Exit from DAC
Press for more time 'MODE' key on front panel of Blue Diamond or 'MODE' key on remote control.
14

Sampling frequency accepted
On Coaxial and Optical input is possible to send 44.1 kHz to 192 kHz sample frequency range of
digital Audio S/PDIF mastered up to 24 bit
On USB input is possible to send 44.1 kHz to 384 kHz sample frequency range of digital Audio file
mastered up to 32 bit in PCM mode. In addiction can playback in native, digital Audio file mastered
in DSD mode (x64 x128 x256).
Note:
When appear 'no Lock' on display or you have not well connected your source, or is not recognized
sampling frequency of digital Audio, or no stream is available at the USB input.
15

5 Set up and driver installation
How to move in set up
From stand-by mode (led red glowed) you can enter in the settings of set-up
Press for long time 'SETUP'' key.
To scroll forward and backward the settings press
'OPTIONS' keys.
To change the settings press for little time 'SETUP'
key, and use 'OPTIONS' keys to scroll the various
option. To confirm the option press again for little time
'SETUP ' key.
Press for long time 'SETUP' to return in stand-by.
Settings in Set up
Pcm filter options
Low: low slope of digital filter. (Factory preset)
High: high slope of digital filter.
Dsd filter options
47: fix -3dB bandwidth at 47kHz (Factory preset)
50: fix -3dB bandwidth at 50 kHz
60: fix -3dB bandwidth at 60 kHz
70: fix -3dB bandwidth at 70 kHz
Pll bandwidth options
Lowest: lowest locked bandwidth (Factory preset)
Med Low: medium-low locked bandwidth
Medium: medium locked bandwidth
High: high locked bandwidth
Phase options
0: 0° output phase. (Factory preset)
180: 180° output phase.
16

Driver Installation
The Blue Diamond, in USB mode configuration, need proprietary drivers to be installed in the PC.
Drivers are available for different Operative Systems:
PC : XP, Vista/Win7/Win8/Win10 (both 32 and 64 bits)
Installation
1) connect the Blue Diamond input at one of the USB2.0 port of your PC
2) your PC will search for new drivers
3) insert the CD-ROM with drivers supplied with the unit
4) the drivers will be installed automatically
5) select in the Audio preferences of the OS, like preferred output device, the 'North Star
Design PCM-DSD US Audio' Interface.
For Mac Users are not required any Drivers.
17

6 Message & Symbol list
CD player
Operative Symbol
Symbol Meaning
Disc is in play
Disc is in pause
Disc is in stop
Repeat track
Repeat all disc
Speed playback forward or backward at 4x
Speed playback forward or backward at 8x
Error messages
Message Meaning
our selection has exceeded the maximum number of
tracks on disc
There is no disc on tray or TOC can't be read
18

7 Troubleshooting
No power
check the connection to the AC power supply.
Remote control doesn't work
Check to see if the battery is properly installed in the remote control.
If the battery is dead, change the battery
No sound
Check the connection to the monitor system again
.
Check the volume and settings of the amplifier.
There is unwanted noise
Check if the connecting cables all properly connected and functioning.
A CD cannot be played back
Check if the disc is scratched or dirty.
if you suspect to have inserted a CD turned over, wait that appears 'No disc' message on display.
If this doesn't happen after a while, keep 'OPEN/CLOSE' key pressed until tray start to open.
19

SPECIFICATIONS
CD formats supported CD, CD-R, CD-RW
Digital to analogue converter ES9016 SABRE
Frequency response 1 Hz – 22 kHz (CD)
1 Hz – 100 kHz (DAC)
Digital Input S/PDIF COAX, TOSLINK (44.1-192 kHz 16/24 bit)
Digital Input USB 44.1-384 kHz 32 bit (PCM)
2.8-11.2 Mbit/s (DSD)
Digital Output S/PDIF Coax 75 Ohm (44.1-192 kHz 16/24 bit)
Maximum Output (0dbFS) 4 V balanced
2 V single ended
Output 1 pair XLR balanced audio output
1 pair RCA single ended audio output
Output impedance 75 Ohm single ended
150 Ohm balanced
Power supply 100 V, 120 V, 230 V, 240 V (50-60 Hz)
factory set for destination country
Power consumption 25 W max.
Dimensions 17 in (W) x 15.5 in (D) x 3.35 in (H)
43.5 cm (W) x 35 cm (D) x 8.5 cm (H)
Shipping Weight 22lbs. (10 kg)
20
Table of contents
Other North Star Design CD Player manuals