NorthernTel 2704R User manual

HI-SPEED INTERNET
USER GUIDE
Wireless Modem Router - 2704R
2013-11 VERSION
Printed on paper that contains 100% recycled post-consumer fibre.
1-800-360-8555
2013-11

Wireless Modem Router
TABLE OF CONTENTS
1. Installing Your Wireless Modem Router ..............................4
1.1 Hardware Provided ......................................................4
1.2 Connecting Your Modem Router – ADSL Technology........5
1.3 Connecting Your Modem Router – Cable Technology........5
2. Configuring Your Modem Router .........................................6
3. Connecting to a Wireless Network (Wi-Fi) ..........................7
4. Configuring a Mailbox .......................................................8
5. Security...........................................................................9
6. Troubleshooting .............................................................12
7. Configuring TCP/IP Protocol.............................................14
8. Contacting us .................................................................26
9. Important Information....................................................26

Hi-Speed Internet User Guide4
WIRELESS NETWORK
Note: Actual data throughput will vary. Network conditions and environmental factors,
including volume of network traffic, building materials and construction, and network
overhead, lower actual data throughput rate. Environmental conditions will adversely
affect wireless signal range and throughput.
1.1 HARDWARE PROVIDED
1. INSTALLING YOUR WIRELESS
MODEM ROUTER
Item Description
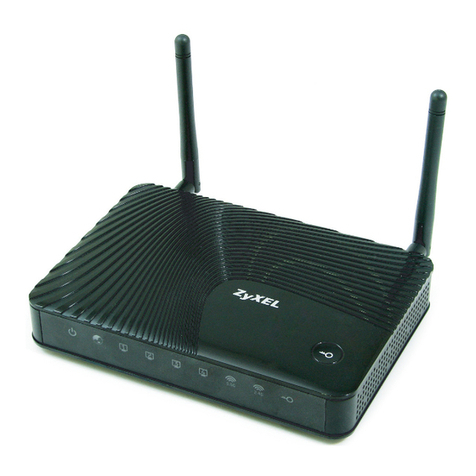
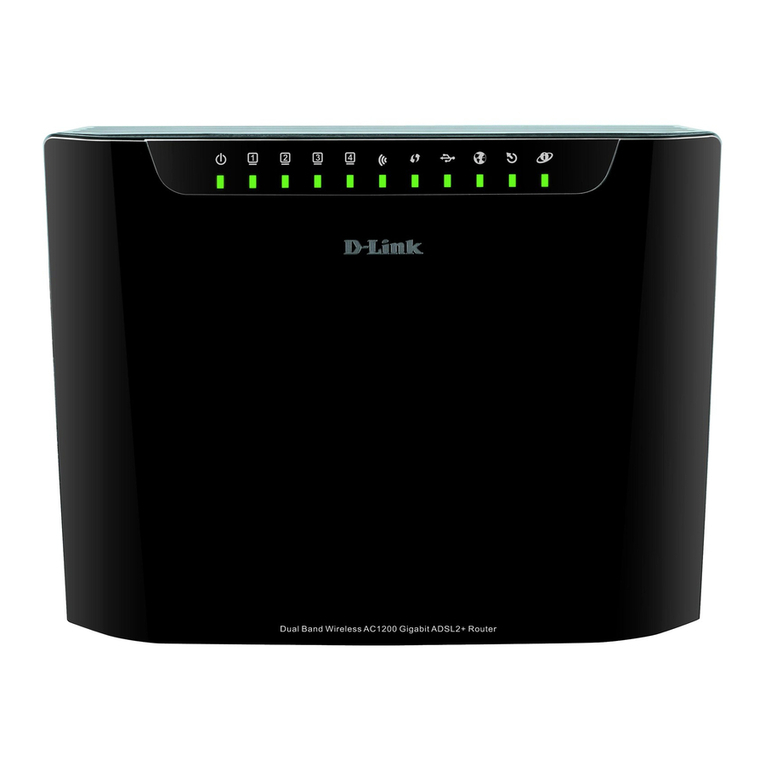
1 F@ST2704R Wireless modem router
2 Power cord adapter
3ADSL line cable used to connect your modem router
to your telephone line
4Ethernet cable used to connect your modem router to
the Ethernet port of your computer
5 Quick Installation Guide
6Filter/Splitter used to connect one phone set and your
modem router to your telephone line*
7Microfilter used to connect another phone set to your
telephone line
* Option depending on pack contents requested
1
2
3
4
5
6
7

5Wireless Modem Router
Power cord
Coaxial cable
Cable modem
Ethernet cable
1.2 CONNECTING YOUR MODEM ROUTER – ADSL TECHNOLOGY
CONNEXION DU MODEM ROUTEUR SANS FIL
Phone jack
Phone
ComputerEthernet cable
ADSL cable
To ADSL port
Filet/Splitter
Phone jack
Filter
Phone
Important note: If you are plugging in or adding phones, it is very important to
have a filter in place with ADSL technology.
1.3 CONNECTING YOUR MODEM ROUTER – CABLE TECHNOLOGY
Important note: The Cable modem must be connected in the #4 port of your wireless
modem router.

Hi-Speed Internet User Guide6
Your modem router comes already preconfigured to allow you to get on the Internet
immediately after you have completed step 1. The purpose of this section is to
tell you how you can access the modem router to make various changes, such as
security-related ones in Section 5.
Follow these steps to change the configuration of your modem router:
1- Start your Internet browser and type in the following address:
http://192.168.1.1/
or
http://myrouter/
The setup wizard will appear and guide you through the setup process.
2- Enter Username and Password.
You will find this information on the label below your modem router.
The default user name is “admin”.
Example:
2. CONFIGURING YOUR
MODEM ROUTER

7Wireless Modem Router
3- This screen will appear.
Description of Icons
My Network – View the status of users using your modem router.
Configuration - Configure the settings of your wireless network.
Services – Configure the parental and application control options.
Management – Configure your modem router password and access the Advanced
menu for your modem router.

Hi-Speed Internet User Guide8
1. Before you connect to a wireless network, make sure that:
- your cable modem is correctly installed and configured;
- your Internet access is working properly when your computer is connected to
the router with a physical connection (Ethernet cable);
- your computer is equipped with a built-in wireless adapter.
- Your wireless adapter is on (if necessary)
- On a laptop computer, the wireless adapter is turned off by default. Refer to
your computer’s user manual for how to turn it (Wi-Fi) on;
- you have on hand during the configuration:
- The name of your wireless network (SSID)
Example: SSID: SAGEMCOM_XXXX. The XXXX portion will consist of various
letters and numbers.
Important :
“SSID” is not part of the name of your network.
- Your encryption key (WPA)
Example: WPA: XXXXXXXX. The XXXXXXXX portion will be made up of
various letters and numbers that you must type exactly as they appear,
making sure to use upper or lower case letters, where indicated.
Important : “WPA” is not part of your encryption key.
This information appears on the label underneath your modem router.
Example of a label:
For the modem corresponding to the above example of a label, the name of the
wireless network (SSID) would be SAGEMCOM_190D and the encryption key (WPA) to
connect to this wireless network would be 46J9H5DD.
If you are not familiar with configuring a wireless network on your computer,
visit the Technical Support section of our website : northerntel.ca
Follow these steps:
Under Internet, select Troubleshooting Tools and Guides, then Connecting to a
wireless network (Wi-Fi).
3. CONNECTING TO A WIRELESS
NETWORK (WI-FI)

9Wireless Modem Router
To configure your mailbox, visit the Technical Support section of our website:
northerntel.ca
Follow these steps:
Under Internet, select Troubleshooting Tools and Guides, then
Configuring a Mailbox.
4. CONFIGURING A MAILBOX

Hi-Speed Internet User Guide10
Password for your modem router (default)
You will find a default username and individual password on the label below your
modem router that you will need to access the router.
Wireless network (default)
Your modem router has been configured with a default network name (SSID).
and
Your modem router has been configured with a default individual encryption key
(WPA).
You will find this information on the label below your modem router.
You can start using your modem router right away.
Security Warning
In order to protect your computer systems against unauthorized access, NorthernTel strongly
recommends that you change the encryption key.
Follow the instructions below to change your password and encryption key.
Important: Record the new password and encryption key under “Important Information”
on this guide. If you have to reset your modem router (Reset button on right side), the
password and encryption key will be the default ones (on the label below your modem
router). To reset your modem router, you absolutely have to maintain pushed the Reset
button during a period of 20 seconds.
5. SECURITY

11Wireless Modem Router
1- Select Configuration
2- Next, select WLAN to configure your encryption key (SSID).
3- Enter your new encryption key in WPA/WAPI passphrase. Make up an
encryption key of about 30 characters long. It should be hard to figure out
for an external user but easy for you to remember.
It is also recommended that you change your network name (SSID) to a more
personalized name to avoid confusion with your neighbours’ modem routers.
4- Click SAVE/APPLY to apply the change.
Note: Current users of the wireless network will have to reconnect using the new
encryption key.

Hi-Speed Internet User Guide12
To change the password for your device.
This password should be hard for an external user to figure out but easy for you
to remember.
Select Management
Then select Access Control
To change your password:
Enter your current password (which you will find on the label below your
modem router) in the Old Password field.
Enter your new password in the New Password field
Re-enter your new password in the Confirm Password field.
Click Save/Apply to apply the change.
Your basic security settings are now configured.

13Wireless Modem Router
The area at the top indicates the overall status of your modem router.
ADSL Green = Good
Red = Bad
Downstream and Upstream = Your connection speeds
Internet Green = Good, you can get on the Internet
Red = You cannot get on the Internet
6TROUBLESHOOTING
LED Status Meaning
Power Off Power Off
Green Power On
Red Router in rescue mode
ADSL Green steady ADSL Up
Green blinking • ADSL Synchronization in progress
or
• Down
@Internet Off • Power Off
or
• The Internet account must be congured
or
• Bridge mode
Green steady The Internet account is configured
Green blinking Tx/Rx traffic
Red Invalid or unauthorized Internet account

Hi-Speed Internet User Guide14
DEL Statut Signification
LAN x
(1 to 4)
Off No link detected on the Ethernet port
Green steady Ethernet port has detected a link with 100 Mbps device
Green blinking Tx/Rx traffic at 100 Mbps
WLAN Off Wi-Fi deactivated
Green steady Wi-Fi activated
Green blinking Wi-Fi Tx/Rx traffic
USB Off No USB connection
Green steady USB connection available
Green blinking USB connection ready in progress
WPS Off WPS deactivated
Green steady WPS activated
Green blinking WPS activation in progress

15Wireless Modem Router
The TCP/IP protocol must be installed, as this step enables you to be identified on
the Internet. Without this information, you will not be able to access the Internet. It
is therefore important that you make sure that the data you enter is accurate. Please
refer to the “Important Information” section of this document.
Before configuring the IP address, make sure that the physical components are
working properly. The network interface card needs to have been configured and the
modem installed in order to do this.
7.1 CONFIGURING IN WINDOWS XP
Please note that the following screens may look different on your computer
depending on the display settings selected.
1- Click Start -> Settings -> Control Panel.
The Network and Dial-up Connections shortcut might appear and, if so, select it
and go directly to Step 3.
2 - Double-click Network and Dial-up Connections. A summary of the connections
will appear if you have several types of connections. It is not unusual to see an
analog modem connection (dial-up connection) and a network connection
(Local Area Network).
7. CONFIGURING TCP/IP PROTOCOL

Hi-Speed Internet User Guide16
3 - In Network and Dial-up Connections, right-click the Local Area Connection
icon and then click Properties.
4 - In Local Area Connection Properties, in the list of components, click once on
Internet Protocol (TCP/IP). Then click the Properties button.

17Wireless Modem Router
5 - In Internet Protocol (TCP/IP) Properties, select the options Obtain an IP
address automatically and Obtain DNS server address automatically.
6- Click OK.
Your configuration is now complete. Please restart your computer to test your
Internet connection.
If your Internet connection does not work, please check to ensure that you followed
the previous steps. If the problem persists, contact Technical Support at
1-800-360-8555.

Hi-Speed Internet User Guide18
2- Double-click Network and Sharing Center.
7.2 CONFIGURING IN WINDOWS VISTA
Please note that the following screens may look different on your computer
depending on the display settings selected.
1- In Start (the Microsoft Windows icon ), click Control Panel.

19Wireless Modem Router
4- Right-click the Local Area Connection icon. Then click Properties.
3- In the menu on the left, click Manage network connections.

Hi-Speed Internet User Guide20
5- Under the Networking tab, select Internet Protocol Version 4 (TCP/IPv4) by
clicking on it once. Then click the Properties button.
6- In Internet Protocol (TCP/IPv4) Properties, select the options Obtain an IP
address automatically and Obtain DNS server address automatically.
7- Click OK
Your configuration is now complete. Please restart your computer to test your
Internet connection.
If your Internet connection does not work, please check to ensure that you followed
the previous steps. If the problem persists, contact Technical Support at
1-800-360-8555.

21Wireless Modem Router
7.3 CONFIGURING IN WINDOWS 7
Please note that the following screens may look different on your computer
depending on the display settings selected.
1- Click Start - > Control Panel.
2- In the Control Panel, choose the classic view by clicking on the little downwards
pointing arrow next to the “Control Panel” in the address bar at the top and
choose All Control Panel Items.
3- Click Network and Sharing Center.
Table of contents
