NovaStar PSD100-WiFi User manual

All intellectual property rights involved in this document belong to
Xi’an NovaStar Tech co., LTD., whose rights are reserved.
PSD100-WiFi Quick Start Guide
Stable Reliable Powerful Quality
Rev1.0.0 NS120110045

- 1-
PSD100-WiFi Features
1) Wireless communication with WiFi module :support AP mode,
Station mode and AP + Station Mode;
2) Remote publish play-program, monitor the current play information
and control power supply;
3) Play as period or according to date, week and time;
4) Support a variety of media formats, such as video, images, text,
weather, clock, countdown, Word, Excel, Txt .etc;
5) Support emergency insert play, immediate notification;
6) Remote manage the playback log ,upgrade of application software
and hardware programs;
7) Flexible loading capacity: 512x1024, 960x600, 1024x576, 1520x384,
2048x256, 704x800, 1120x500, 904x640;
8) Support full-color static to 32 scan, real pixel/virtual pixel;
9) Field frequency as 60Hz;
10) The gray level is settable, and support 16 bit 65536 level gray to the
maximum;
11) Refresh frequency: dynamic 3840Hz and static 6000Hz;
12) Support brightness correction and chromaticity correction;
13) Open-short test of MBI5036, MBI5034, MBI5039, DM13H;
14) Support all monitoring states of MON300 (monitoring working state,
temperature, humidity, smoke, switching power supply voltage);
15) On-board temperature and voltage test;
16) Support (with NS048C) automatic brightness adjustment;
17) Support secondary development;
18) Support multi-function card MFN300.

- 2-
Hardware Introduction
Prompt:
1) Please do not directly switch PSD100-WiFi into local area networks by
network cables at the time of DHCP opening. As the DHCP of this card will
conflict with the DHCP service for routers in the local area network at the
time of opening and meanwhile, IP addresses will be distributed
simultaneously.
2) When the PSD100-WiFi switches into routers, Huawei, TP-link, Tenda and net
gear brands are recommended for the guarantee of stability.
3) When the bridge feature is used, the superior router under bridge
connection shall have the WDS function, otherwise, bridge connection will
fail. Mutual bridge connection can be realized among PSD100-WiFi systems
and for superior router, it is allowed to pre-confirm whether the WDS of the
superior router can be enabled. The mode is generally enabled.
4) The default factory settings of control card are that DHCP service is disable.
5) The default factory settings of control card are that router mode, users could
select the bridge mode according network interface,long press the WiFi
module reset button to restore factory settings.

- 3-
Mode I: WiFi control card does not connect with external network.
Prompt: In this case, devices at the distribution and management terminals cannot
get on the internet.
1) Connect PSD100-WiFi to user computers by network cables;
2) Set computer's IP address as static IP: 192.168.10. *;
3) Open the browser and input 192.168.10.1 in the address bar, to enter
the setting interface of wireless routers. Both the Login User and the
password are admin by default. Enter the DHCP server >DHCP service
and open DHCP services;
4) Use mobile device to search the hot spots of the WiFi module for
connection: The SSID is nova****** (check information label) and the
default password is 0123456789.

- 4-
Mode II: connect the WiFi card with external network by wireless
network:
1) Set computer's IP address as static IP: 192.168.10. *;
2) Open the browser and input 192.168.10.1 in the address bar, to enter
the setting interface of wireless routers. Both the Login User and the
password are admin by default. Enter the DHCP server ->DHCP
service and open DHCP services. Conduct wireless setting -> scanning
hot spots and decide the spot for connection:
3) The connection status is displayed as connected (see the Figure
above), when it is allowed to use mobile device for searching the hot
spots of the WiFi module for connection: The SSID is nova******
(check information label) and the default password is 0123456789;

- 5-
Mode III: connect the WiFi card with external network by network
cables:
Prompt: Please close the DHCP service before setting wireless network parameters.
Connect PSD100-WiFi to external routers by network cables and then use mobile
devices for WiFi hot spots searching: The SSID is nova****** (check information
label) and the default password is 0123456789;
Mode IV: WiFi card opens the bridge connection mode:
Prompt: Please close the DHCP service before setting wireless network parameters.
1) Open the browser and input 192.168.10.1 in the address bar, to enter
the setting interface of wireless routers. Both the Login User and the
password are admin by default. Upon successful login, configure the
Relay mode -> Bridge connection;

- 6-
2) After configuration, reset computer IP as automatic acquisition, select
Wireless setting -> Scan hot spots and determine the hot spot for
connection. The topological graph of bridge connection mode is as
shown below;
Prompt: Please refer to the PSD100-WiFi User Guide for mode bridge connection
schemes.
IP intelligent search
Prompt: If the DHCP service is opened, both the IP addresses of the notebook and
the control card are 192.168.10. *; If the DHCP service is closed, notebook and
control card all use the IP addresses configured by external routers. After the
wireless control card is successfully connected, the IP addresses of the notebook and
the control card are in the same network segment, for facilitating software search.
1) Install and run the Nova LCT-Pluto in broadcast control computers
and click System -> Search All Display;

- 7-
2) After required display is complete, click Connect Display;
3) Click User -> Advanced login, enter the password "admin" and click
for logging in;
3 LED display lightening
1) Click LED Screen Configuration on the LCT homepage;
2) Click Smart Setting on the left lower corner in “Scan Board”page;

- 8-
3) Select Option 1 and click Next for starting Smart Setting;
4) Conduct LED display lightening as per Smart setting wizards.
Prompt: Please log in the website of Novastar (www.novastar-led.com) and review
the NovaLCT-Pluto User's Manual in the Download Center, for detailed introductions
to the Smart wizard.
4 LED display configuration
1) Click Screen Configuration on the LCT homepage and then click
Screen Configuration, to switch to the LED display screen
configuration page, as shown below.
2) Fill in as per practical information and click Save to Screen.
Prompt: Please log in the website of Novastar (www.novastar-led.com) and review

- 9-
the NovaLCT-Pluto User's Manual in the Download Center, for detailed introductions
to the operations of cascading Scan Board.
5 Programming and publishing
Programming:
Install and run the PlutoManager and select the editing mode as BillBoard.
Click "Create PlayList" to enter the interface as shown below.
The schedule consists of several common segments and one or more
inserted segments. Both common segment and inserted segment consist
of one or more program pages, each of which is divided into one or more
windows. The window could be classified into Common Window, Clock
Window, Scroll Text Window, Countdown Timer Window, Weather
Window. Common Window can be added with one or more media.

- 10-
Publishing:
Program publishing includes Publish Standard Playlist, Publish Temporary
Content,Publish Immediate Notification.
In the primary interface of PlutoManager, click the Publish PlayList or
directly click the Publish key in the Play-Program creating page to enter
the playlist publishing interface.
6 Electrical parameter
Operational voltage
4.5V-5.5V
Operational current
Rated 2A, maximum 3A
Operating
temperature
-20℃-60℃
Storage temperature
-40℃-80℃

Xi'an NovaStar Tech Co., Ltd.
http://www.novastar-led.cn
Floor 2, Block D, Qinfeng Pavilion, Xi'an Software Park, 2nd Keji
Road, High-Tech Zone, Xi'an,710075,Shannxi China
Table of contents
Popular Network Card manuals by other brands
Charles
Charles 31929E Product information manual

Sun Microsystems
Sun Microsystems Ethernet Device Driver none product manual
SMC Networks
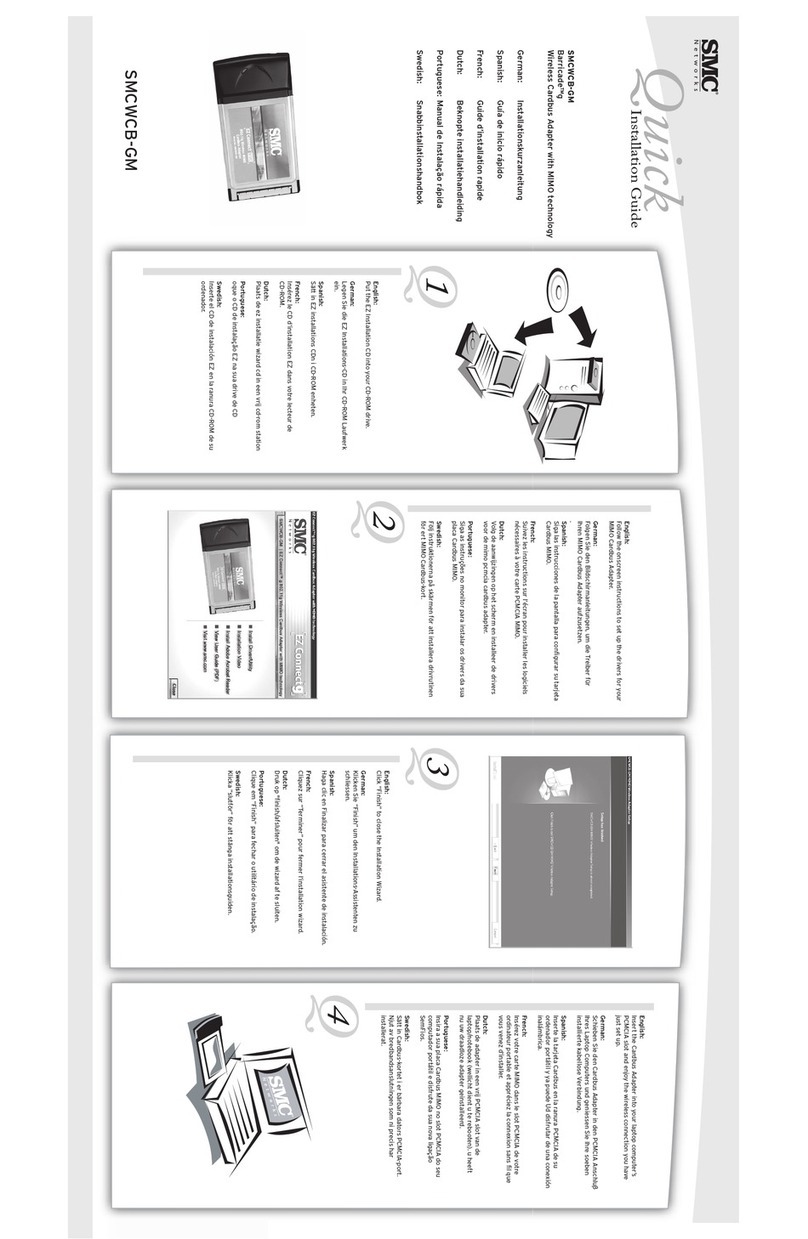
SMC Networks Barricade SMCWCB-GM manual
AMX
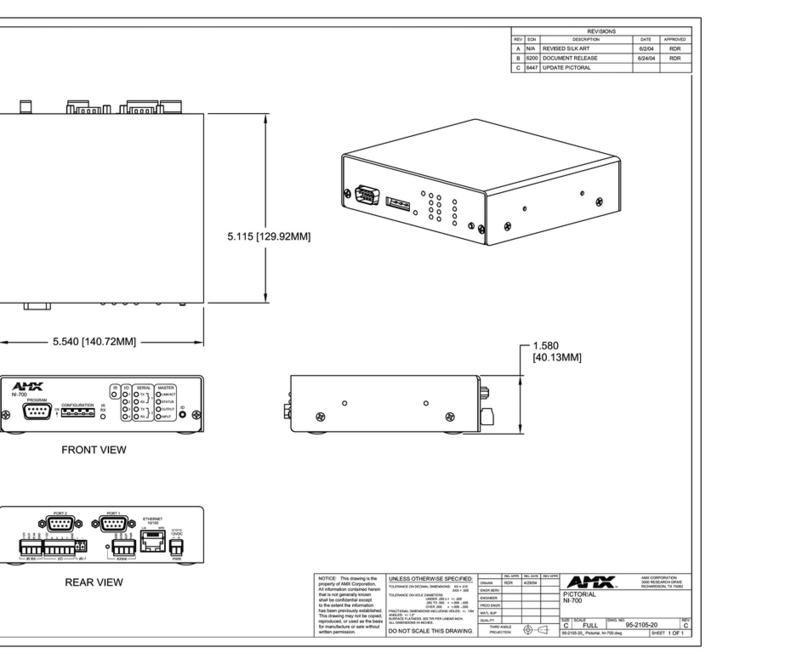
AMX NetLinx Integrated Controller NI-700 Specifications
SMC Networks
SMC Networks EZ Connect SMC8036TX user guide
TDK
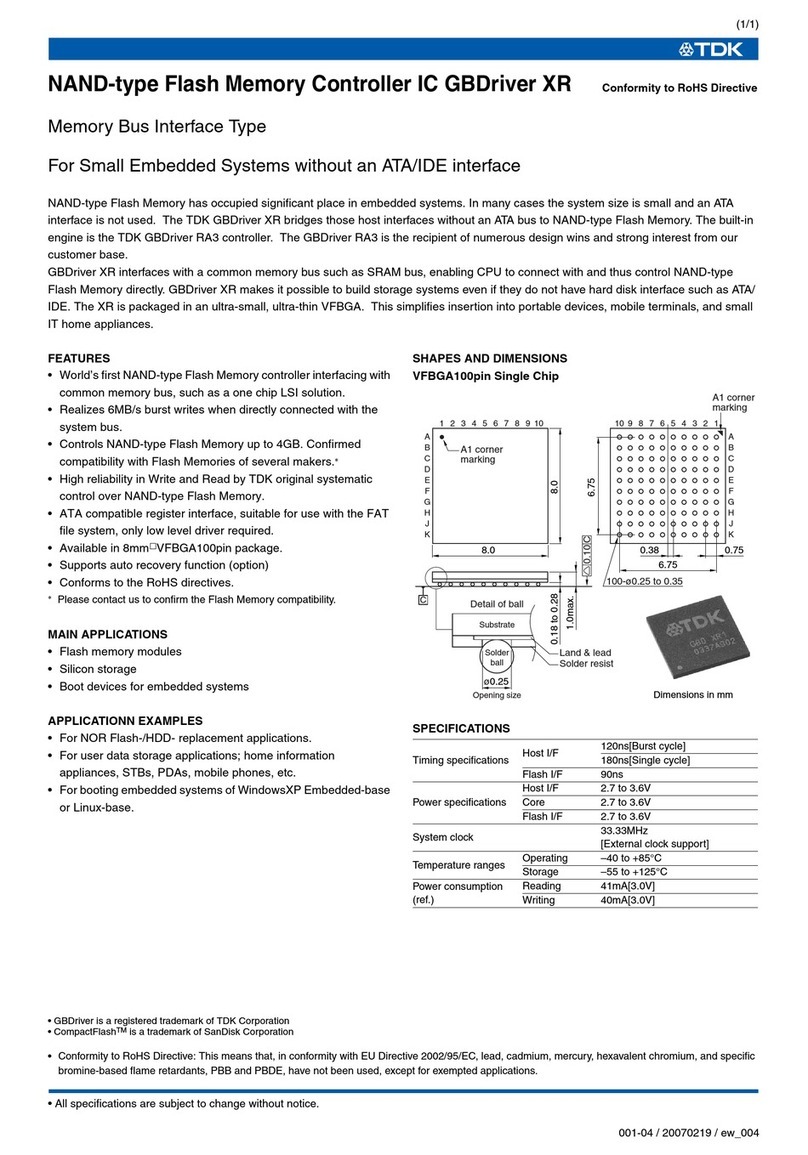
TDK Memory Bus Interface Type Specification sheet

Cisco
Cisco Catalyst 4500 Series Release notes

Allied Telesis
Allied Telesis AT-2451FTX datasheet
Delta Electronics
Delta Electronics Analog Output Module DVP04DA-S instruction sheet
Belkin
Belkin SURF F5D4077UK user manual

Delta Electronics
Delta Electronics DeviceNet CME-DN01 instruction sheet
LSIS
LSIS Ethernet option board manual
