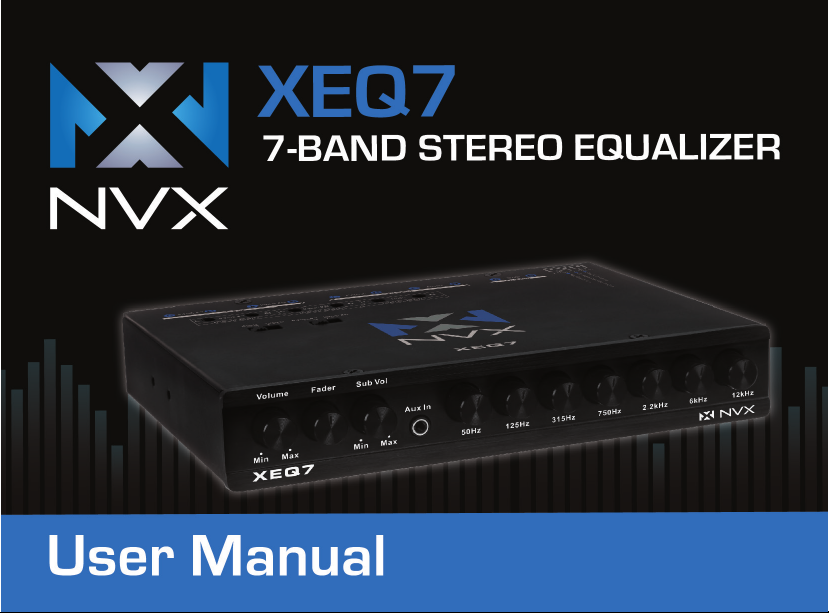
NVX XEQ7 User manual

•XEQ7 Equalizer
• 2 Mounting Brackets
• 8 Phillips-head screws
• Instruction Manual
• Warranty Card
What’s in the Box?

Congratulations on purchasing your equalizer. Sound excellence is our most import-
ant objective and your selection of this component tells us you desire to achieve the
same goal.
This manual has been prepared to help you maximize your enjoyment of this unit.
To fully enjoy the exceptional performance this product is capable of, it is recommended
that all signal sources, ampliers, and speakers be of the highest quality possible.
This unit is one of the rst production pre ampliers to incorporate a bandwidth
parametric equalizer with 12dB boost or cut on each of its seven bands. It can
compensate for the seven acoustic anomalies unique to the automotive environ-
ment. This unit easily becomes the “Mission Control Center” of any high-end
automotive system.
Thanks for choosing NVX...

• Seven equalization bands (50Hz, 125Hz, 315Hz, 2.2KHz, 6kHz, and 16 kHz),
each frequency adjustable from -12 to +12dB (-15 to +15dB for subwoofer
frequencies)
• Subwoofer output uses a built-in 18dB per octave electronic crossover xed at
60Hz or 90Hz.
• Three stereo RCA outputs to drive front, rear, and subwoofer audio ampliers
• An auxiliary stereo RCA input for use with portable devices, such as an MP3
player or DVD player
• Separate controls for master volume, subwoofer volume (sub level), front/rear
fader, and selection of main or auxiliary inputs
• Extended frequency response from 20 Hz to 30 kHz with exceptional 100 dB
signal- to-noise performance
• Gold-plated RCA connectors to ensure the best audio signal output
•ISO mounting holes and removable trim ring for custom installation
Features

•Do not operate this product in ways other than those described in this manual.
•Do not disassemble or modify this unit.
•Do not pour liquid or poke foreign objects into the unit. Water and humidity may
damage internal circuitry.
•If the unit becomes wet, turn off all power and ask your authorized NVX dealer to
clean or service the unit.
Failure to observe these precautions may damage your car, the monitor, or the
video source, and may void the warranty.
Installation
Installation of mobile audio and video components requires experience with a
variety of mechanical and electrical procedures. Although this manual provides
general installation and operation instructions, it does not show the exact
installation methods for your particular vehicle.
If you do not have the required knowledge and experience to successfully complete
the installation, consult an authorized NVX dealer about professional installation
options.
Precautions
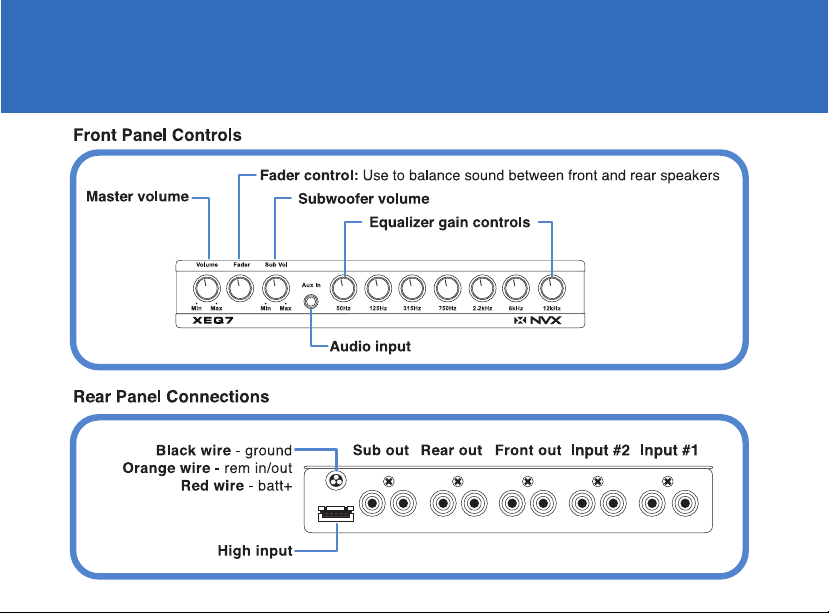
Controls


Setting system volume
• Turn the master volume and subwoofer level controls to their minimum settings.
• Turn the source unit on and increase the volume until you hear distortion.
• Reduce the volume to just below the distortion point
(approximately 80% of full volume).
This is the maximum usable musical signal for the source unit. Turning the volume
beyond this point increases noise and distortion without increasing the musical
signal.
Note
Once you set the source unit volume, do not change it. Always use the volume
control on the XEQ7 as the master (main) volume control. The XEQ7 has better
electronics, a higher sound to noise ratio, and is more linear than the volume
settings on any source unit available.
Operations

Adjusting the controls
The XEQ7 provides a graphic adjustment band for each of seven frequency ranges:
sub, low, mid, mid-high and high frequency. You can adjust the center of each
frequency band to ne tune the acoustical response to your vehicle’s interior.
• Set all frequencies to the center position. The small dot on the control knob
should be set at 12 o’clock.
• Play your favorite music track and adjust the individual controls to suit your taste.
Avoid extreme settings, which can distort musical peaks.
• Increase or decrease the equalizer gain controls to suit your taste.
• If your system includes a subwoofer, slowly increase the subwoofer level until
you hear a solid bass.
• If your system includes rear speakers, adjust the fader control to add rear sound.
Set it so most of the music comes from the front and only lls the rear.

Setting the low-pass frequency
Set the low pass frequency switch on the top of the XEQ7 to either 60Hz or 90Hz
depending on the subwoofer and subwoofer amplier requirements.
Connecting an MP3 player or video unit
• Plug the MP3 player or video unit into the auxiliary RCA input on the back of the
XEQ7 unit.
• Make sure the auxiliary button on the front of the unit is out, ready to receive input
from the main RCA input (not the auxiliary RCA input).
• Turn the XEQ7 master volume to a normal listening level.
• Press the play button on the auxiliary source.
• Push in the AUX button to change to the auxiliary source.
• Using a small athead screwdriver, adjust the AUX gain controls located on the
top of the unit so that the volume of the auxiliary source matches the volume of
the main source.
Operations Continued
Table of contents


